VMware Self Service Provisioning Portal with vRealize Automation
Automation is the name of the game today with organizations needing to streamline operations and ensure the proper governance controls are in place across the board. Using vRealize Automation, VMware Identity Manager, and Active Directory, you can create a VMware self-service provisioning portal that allows users to login, perform the action assigned with all the governance requirements attached.
VMware Self-Service Provisioning Portal with vRealize Automation
Creating a VMware self-service provisioning portal requires a few solutions in place to get started. These include:
- vRealize Automation
- VMware Identity Manager
- Active Directory – Not absolutely required but will be desired users in most cases
While I won’t go through the provisioning process to get vRealize Automation up and running in this post, you can read one of my earlier posts covering the basics of the installation process here:
Once you have the components in place and the appliances are stood up, you can begin putting the pieces in place to create an easy self-service provisioning portal.
Add Active Directory to VMware Identity Manager
In most environments in the enterprise, Active Directory is the directory service most are using for IAM to resources. Active Directory users are most likely the users you will want to assign to vRealize Automation self-service workflows. To add Active Directory users to your environment and allow them to log into vRealize Automation, we need to add the Active Directory directory service to VMware Identity Manager.
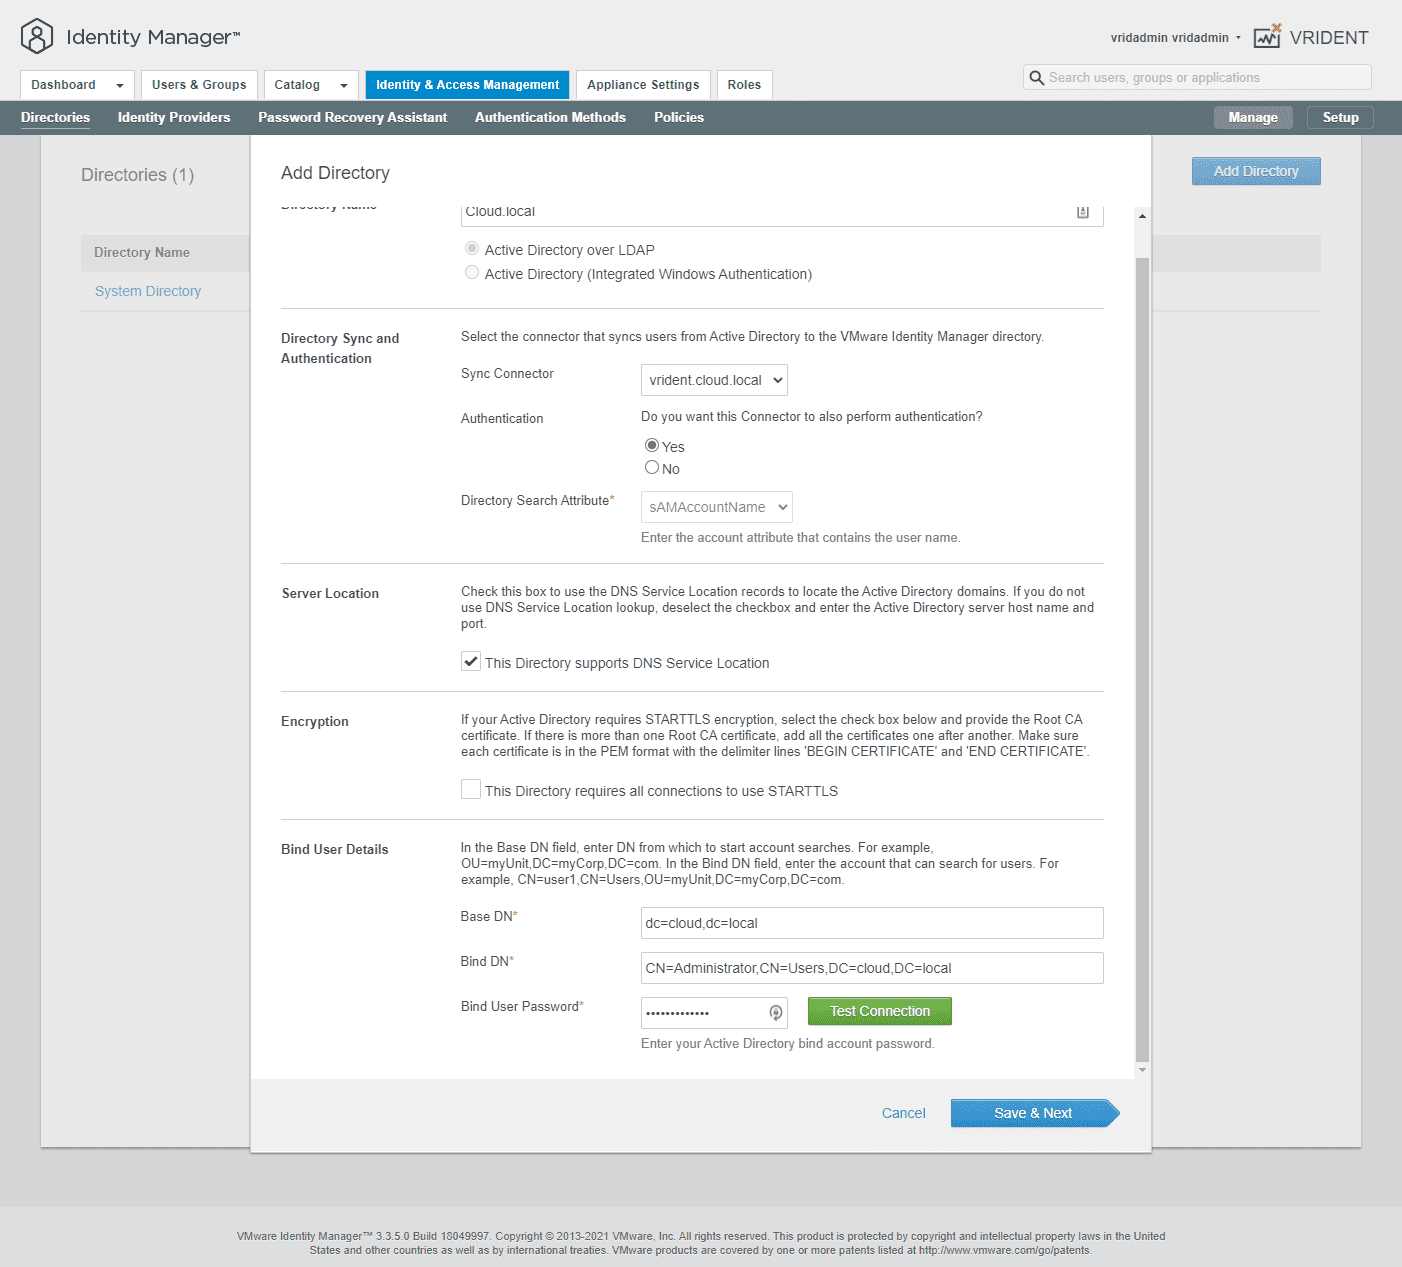
Navigate to Directories > Add Directory in VMware Identity Manager. Select LDAP Directory. Fill in the pertinent information for your directory. Also, set the Bind user details which is a user with the permissions to view Active Directory. For ease in the lab, I am using an administrator user. However, in production, you will want to create a service account for this purpose.
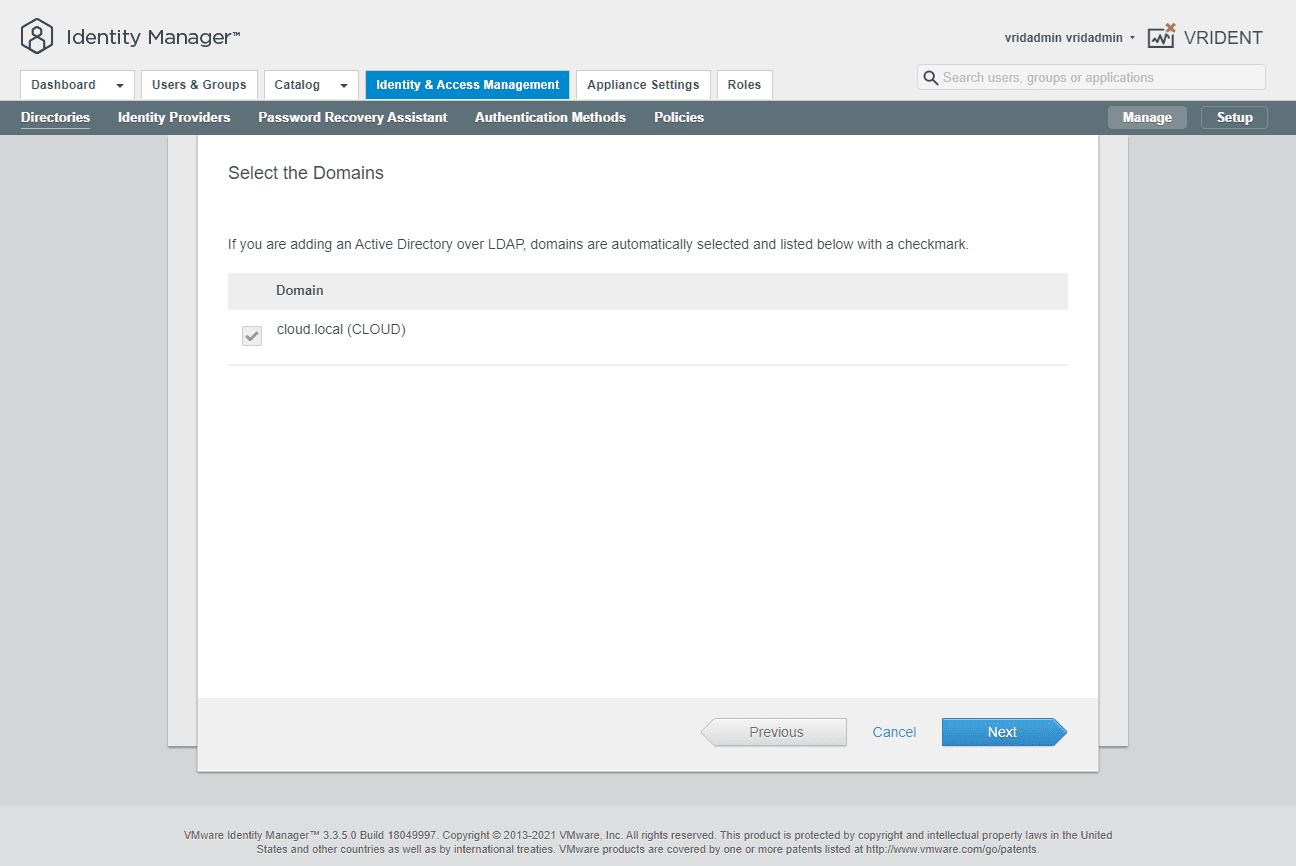
The wizard will display the domain to be added.
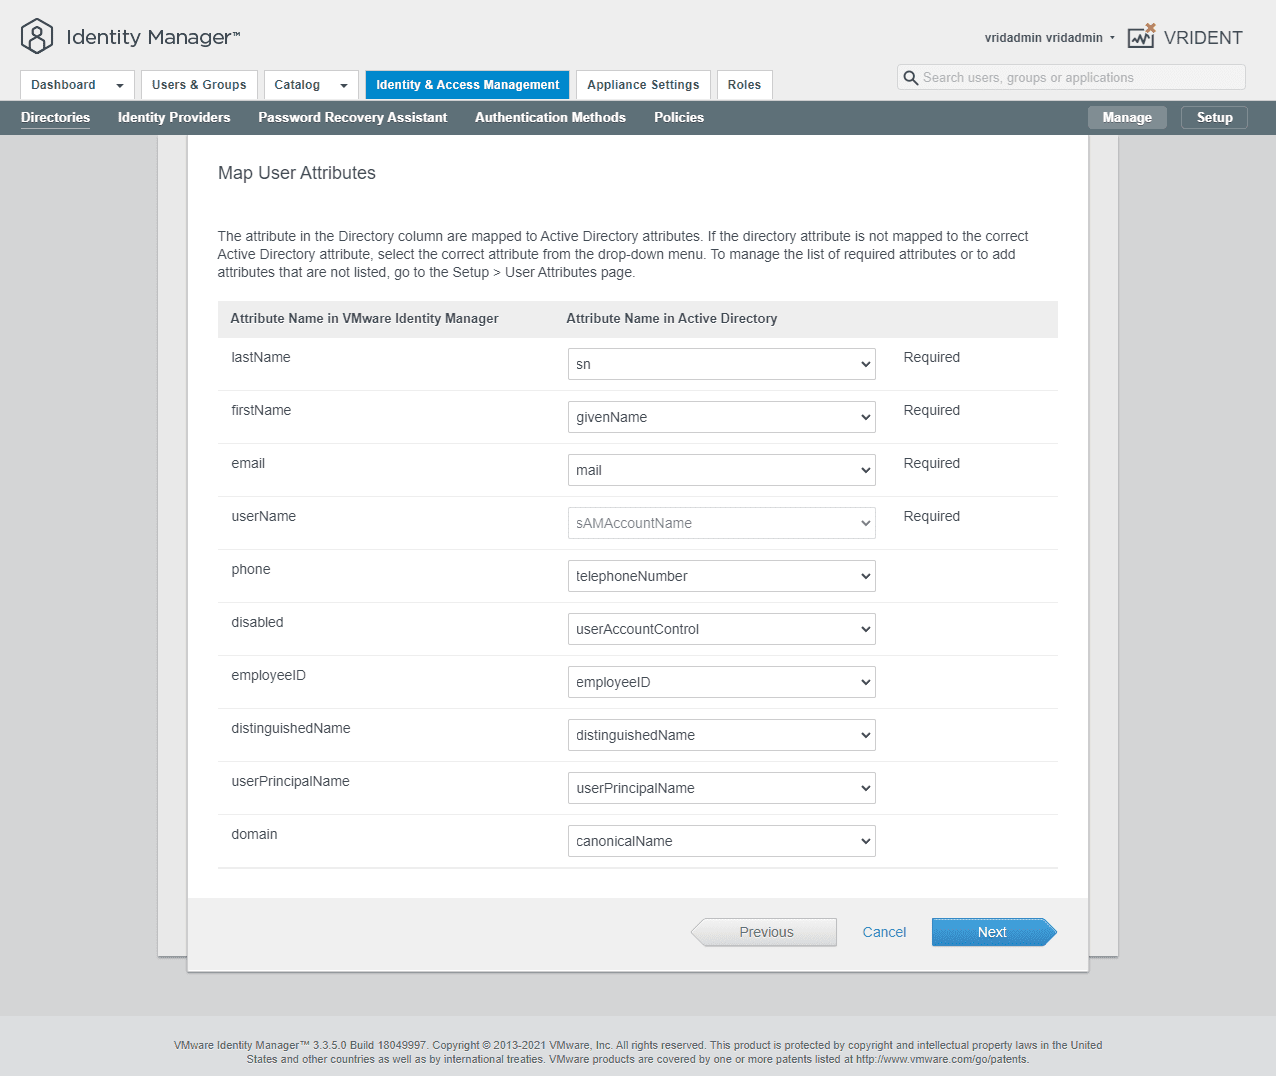
VMware Identity Manager has four attributes that are required for mapping a user and importing them. As you can see below, these are:
- lastName
- firstName
- userName
If any of the users targeted do not have the attributes populated, you will see an error as we will detail below.
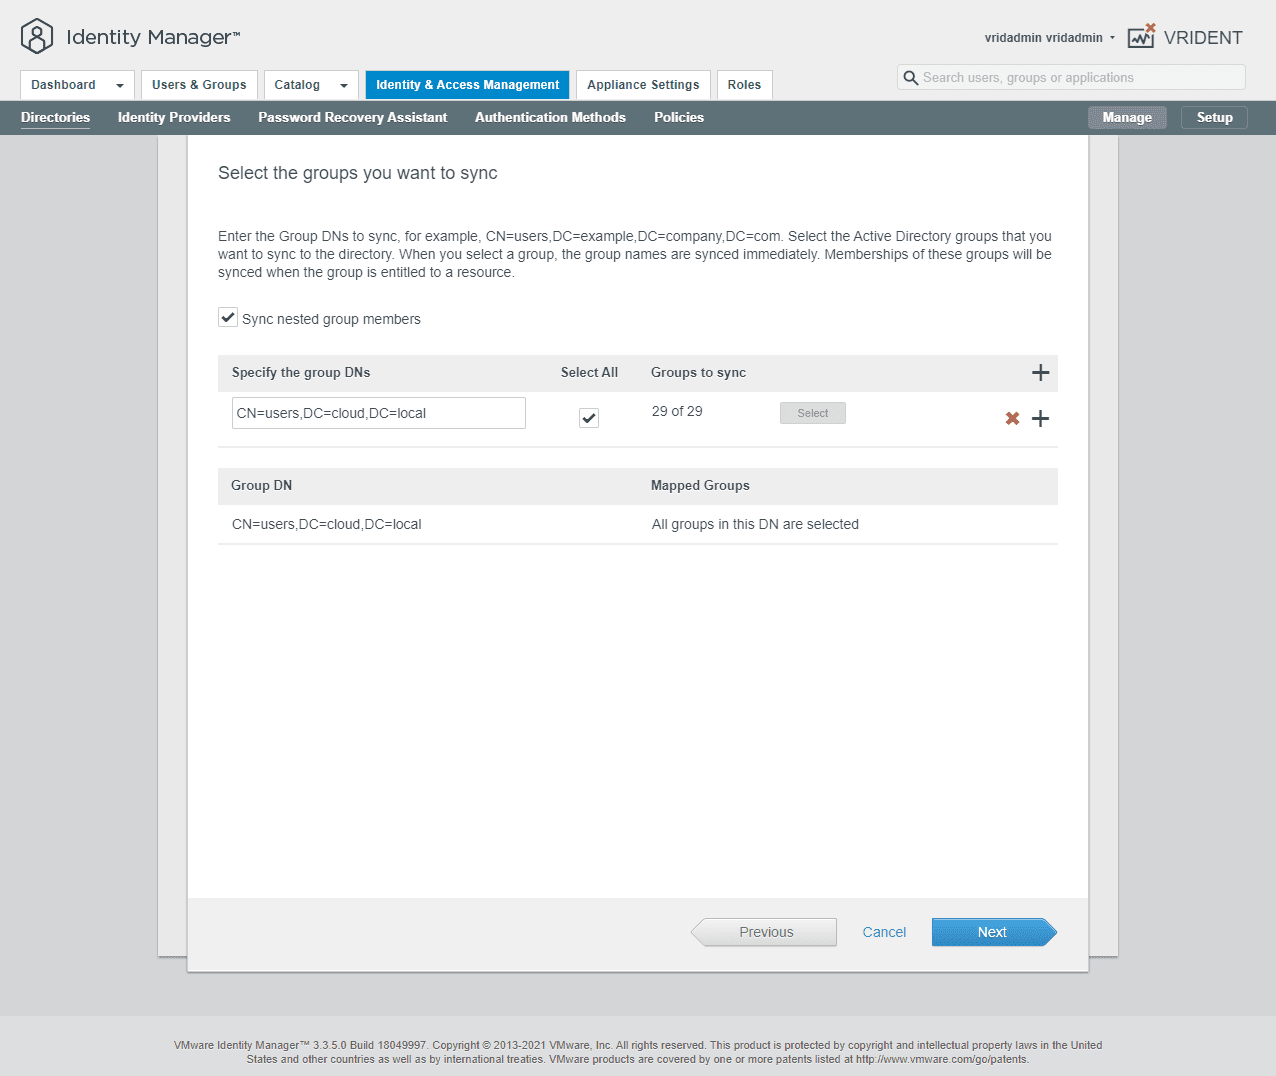
Map your group DNs you want to import.
As mentioned above, you will receive an error if you have attributes missing on the users that would be imported based on the group DN. You will need to populate the missing attributes before you can import the users.
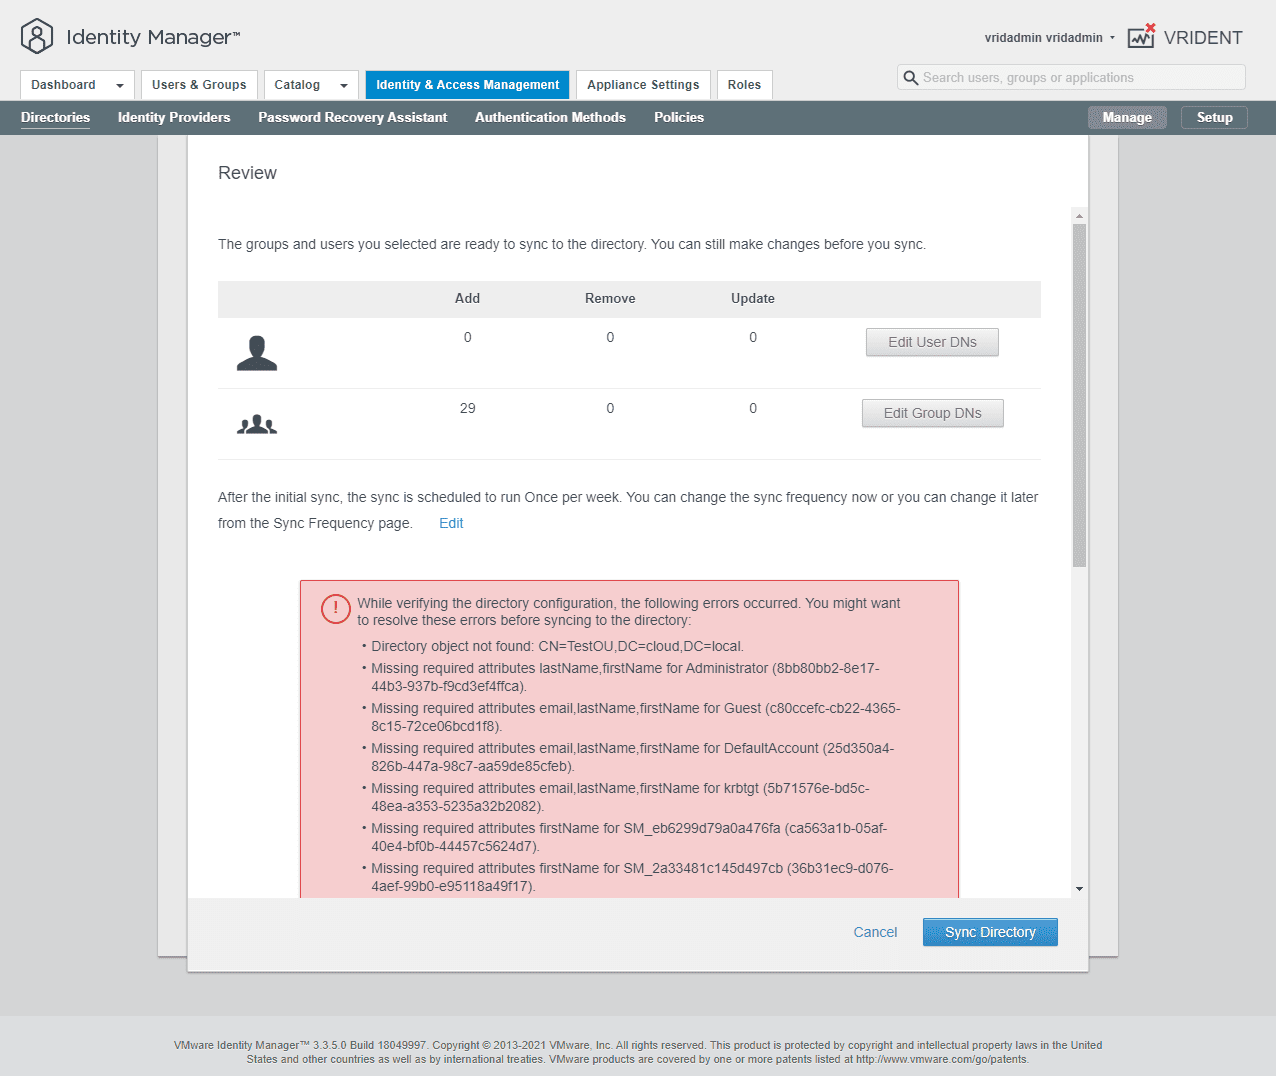
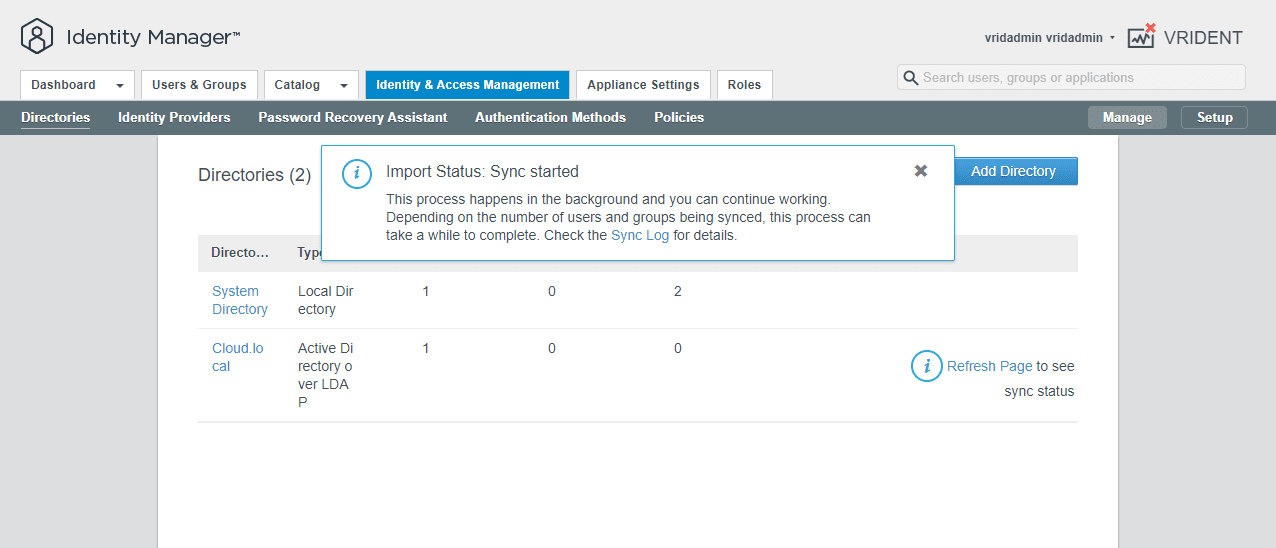
After resolving any missing attributes for users you want to import, run the synchronization process.
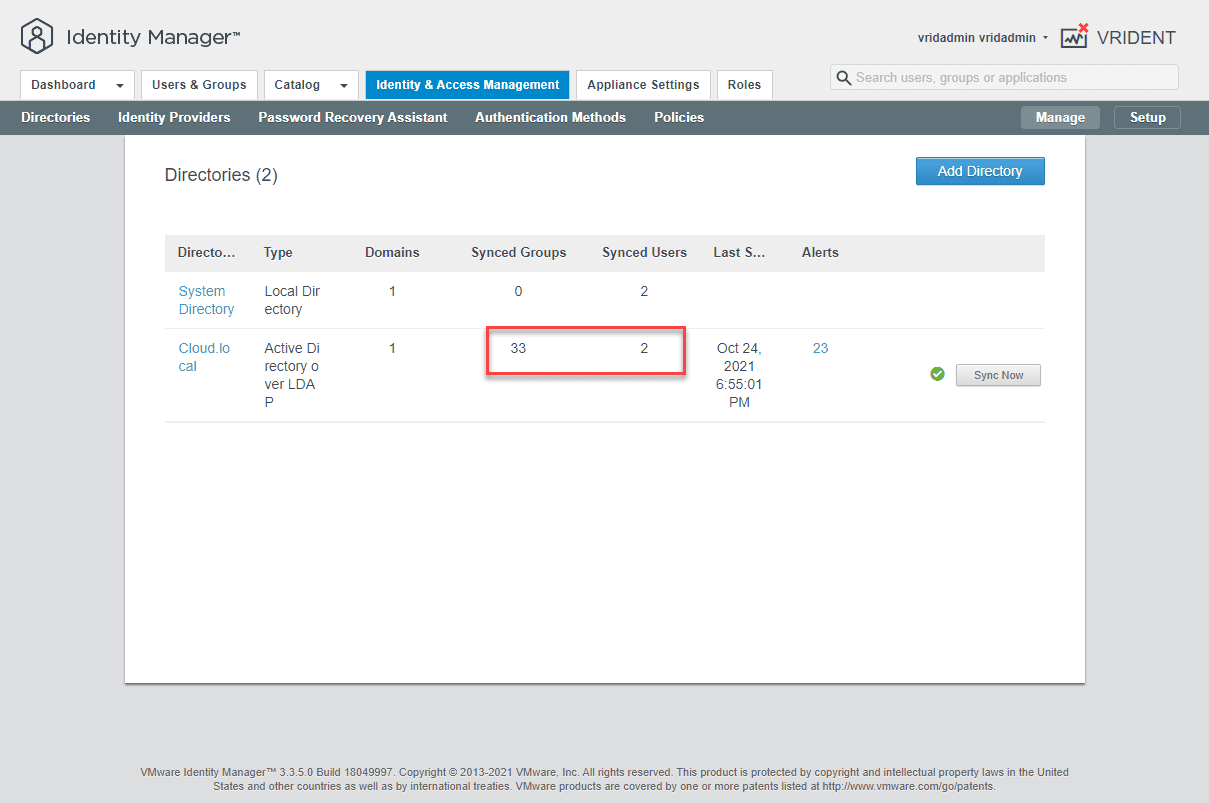
As you can see below, we have imported a couple of test users into the directory.
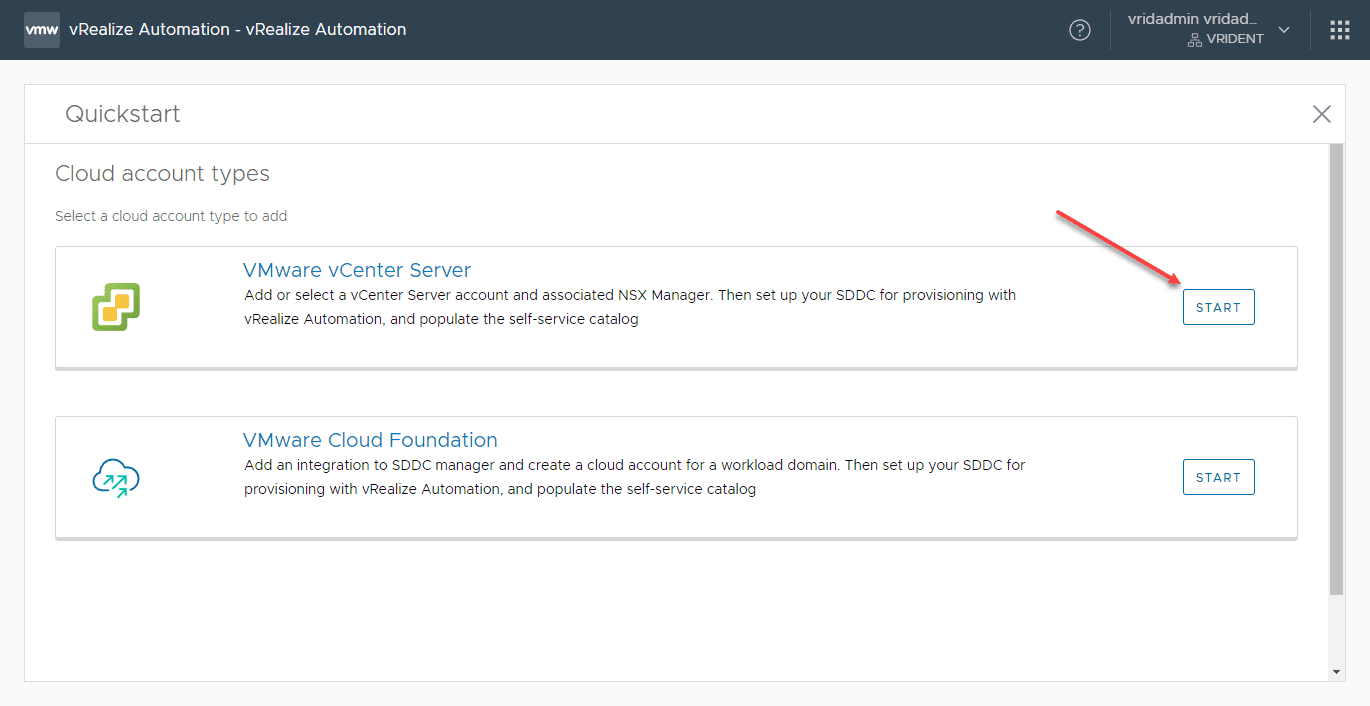
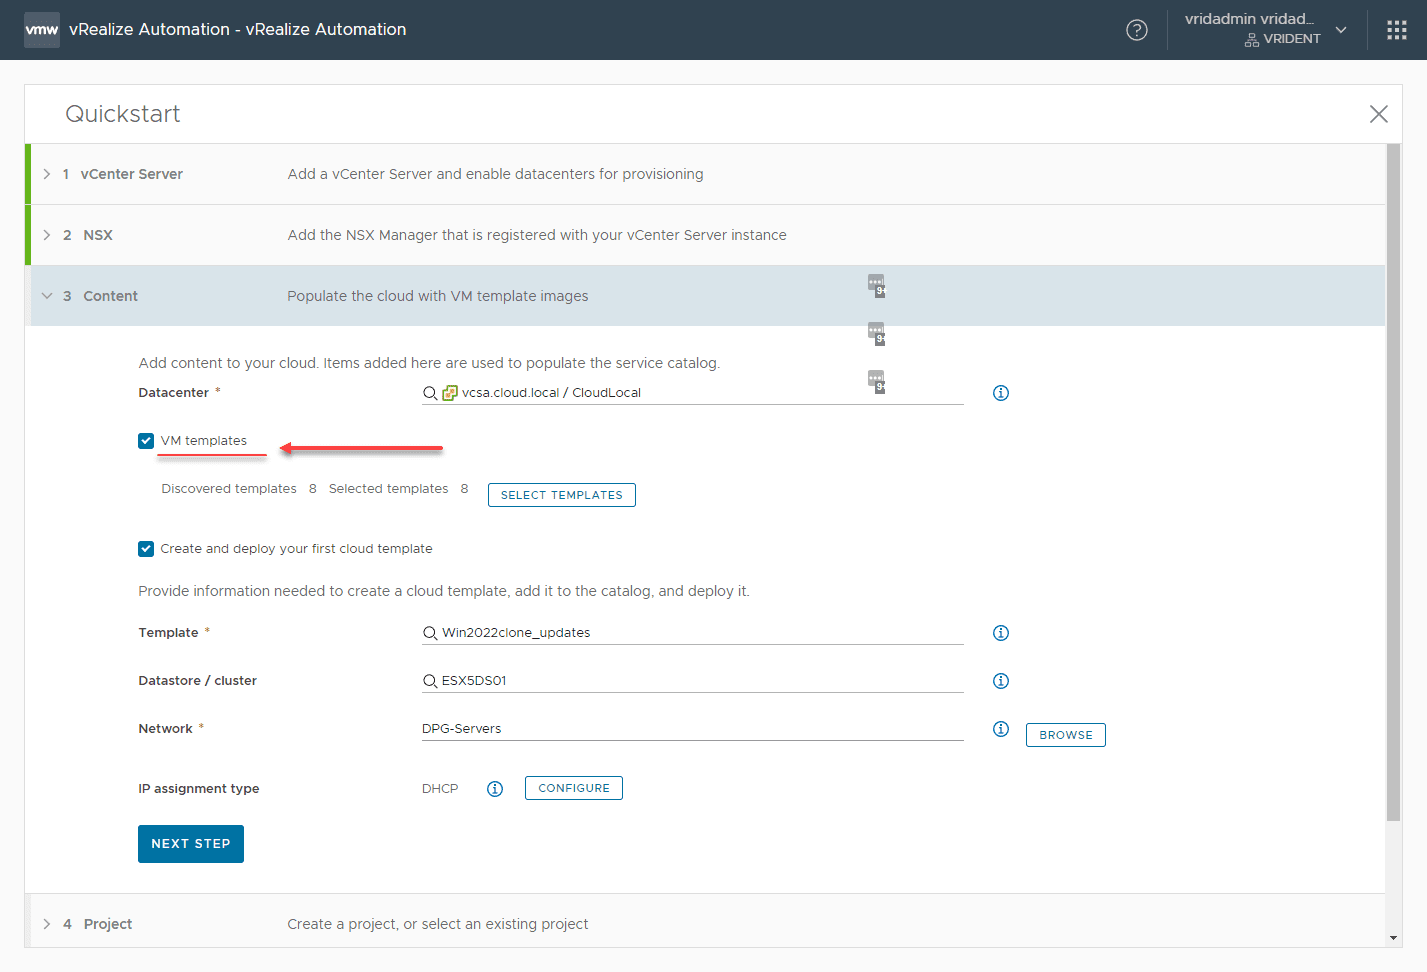
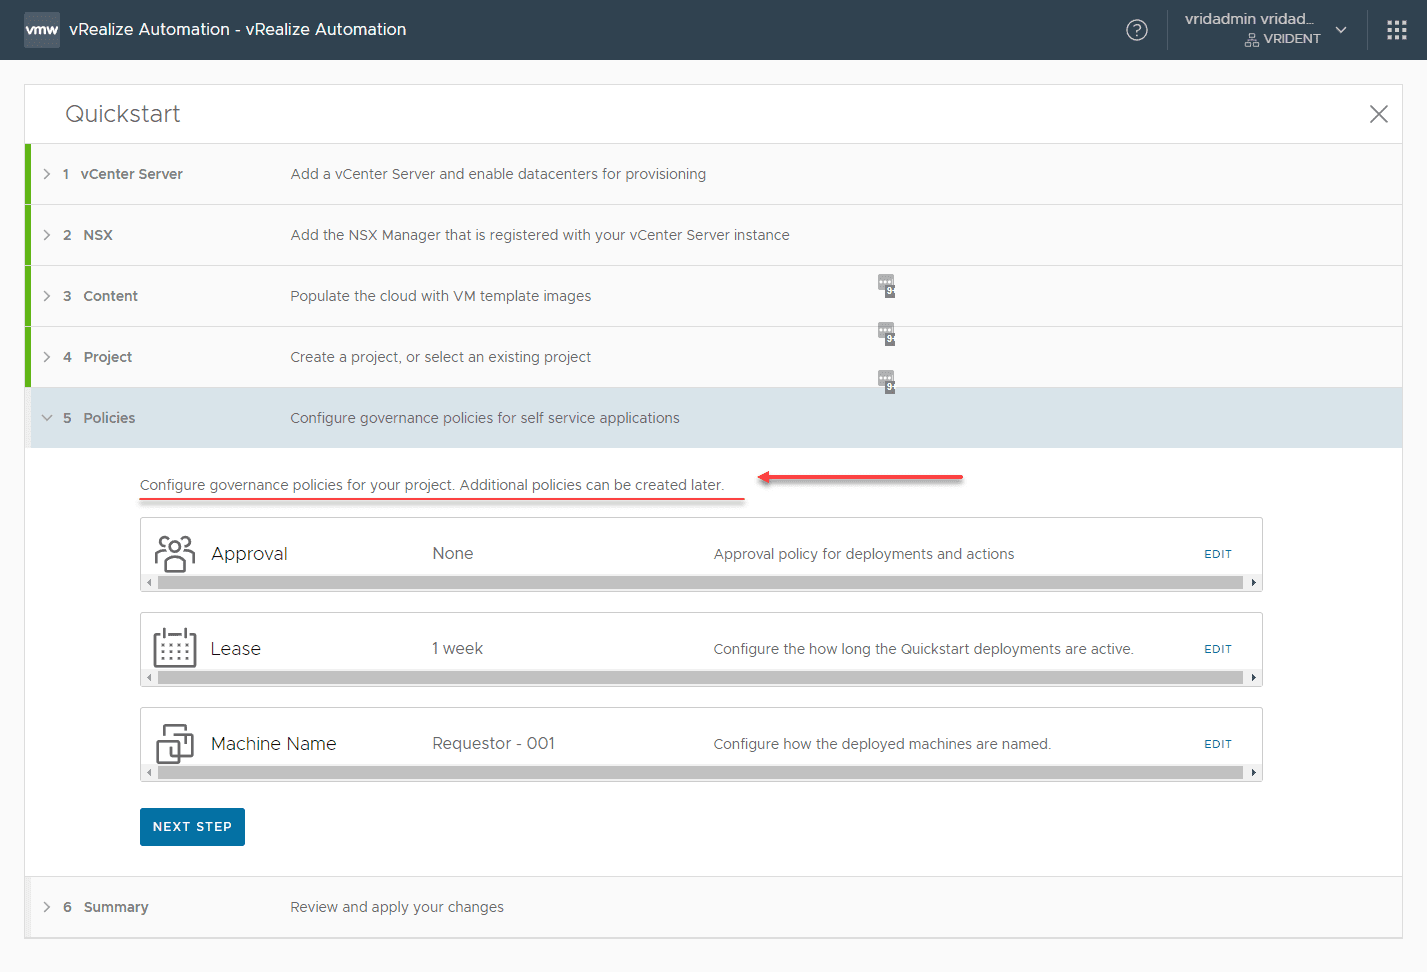
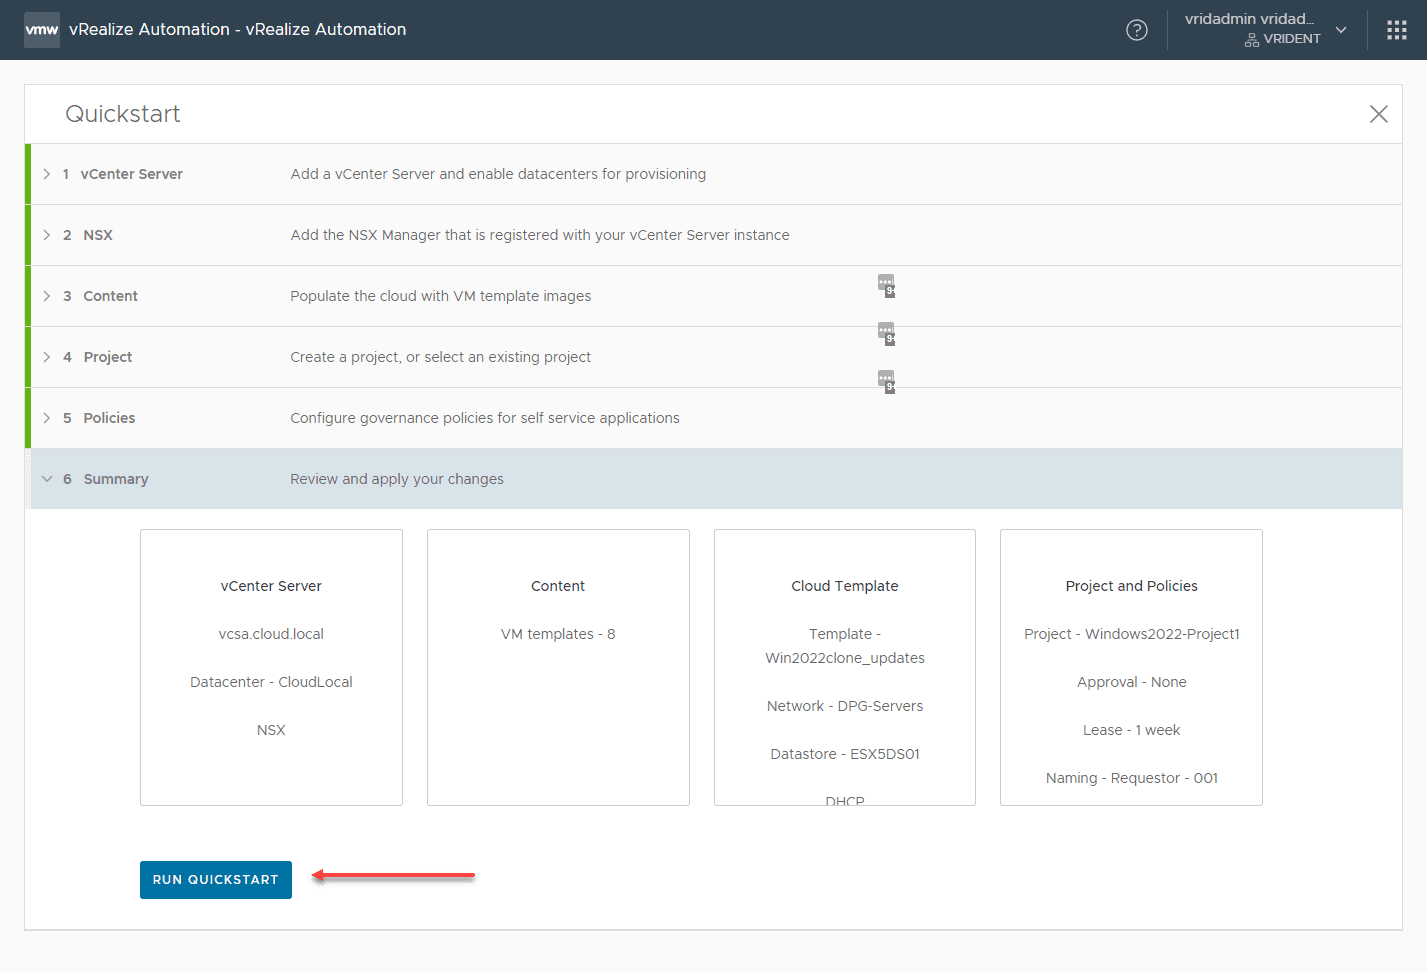
Create a vRealize Automation Quickstart Project
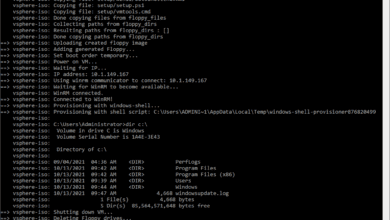
For testing and lab purposes, you can easily use the vRealize Automation Quickstart wizard to quickly spin up a new project that provisions a virtual machine.
Add Active Directory Group to the Service Broker
The final step after we have added our Active Directory LDAP directory to VMware Identity Manager and created a project to work with provisioning vSphere resources is to add the Active Directory group we want to have access to perform self-service actions to the Service Broker.
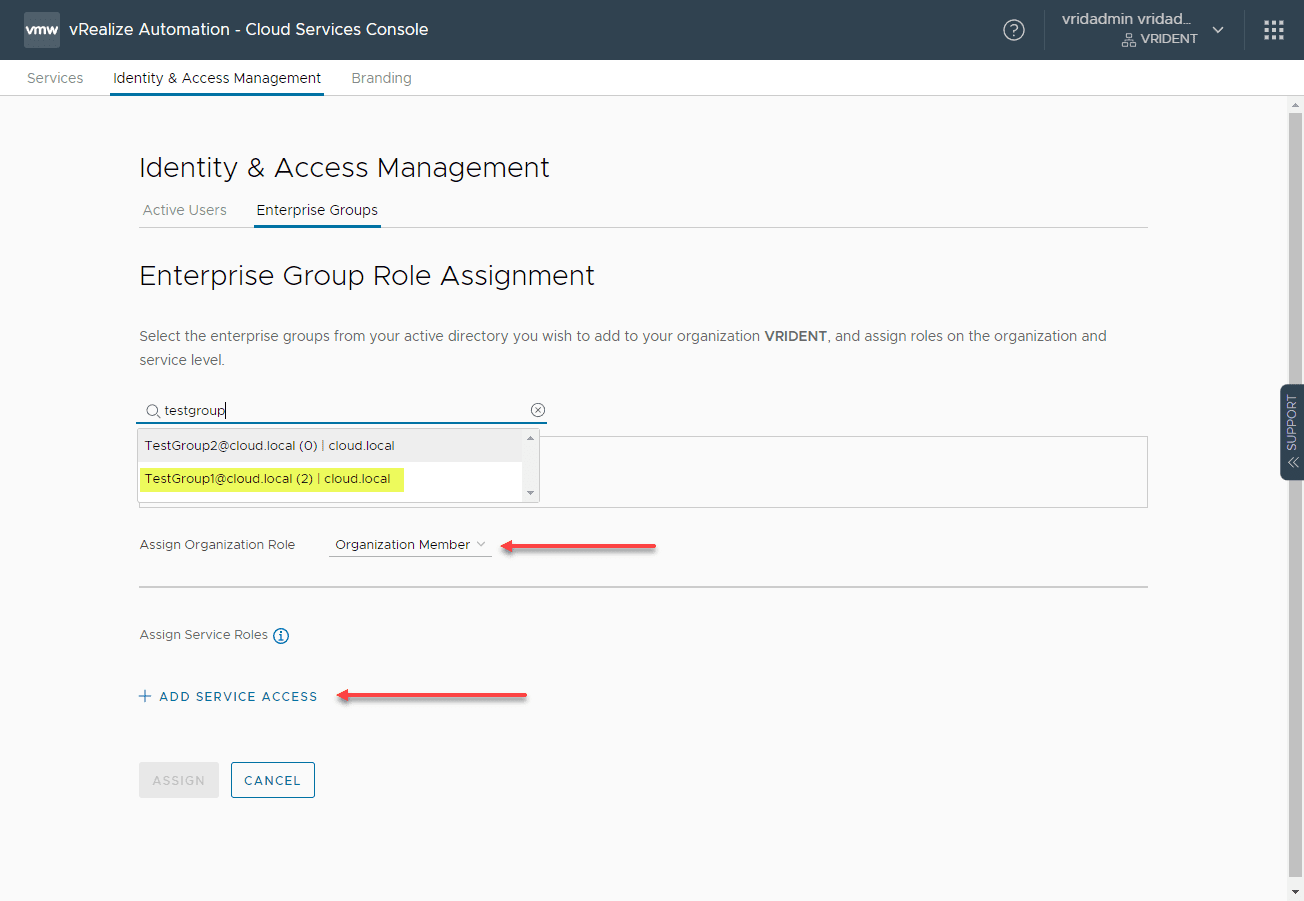
Go to Administration > Identity and Access Management Enterprise Groups to add a group from Active Directory to a vRealize Automation role. Click the Assign Roles link.
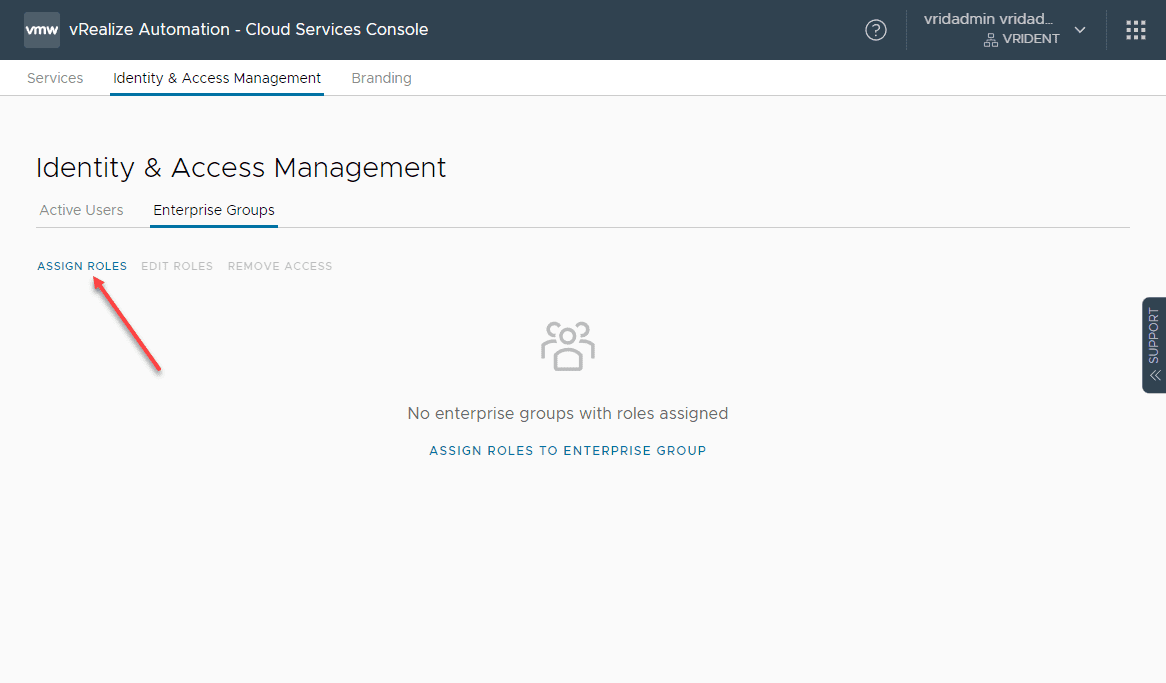
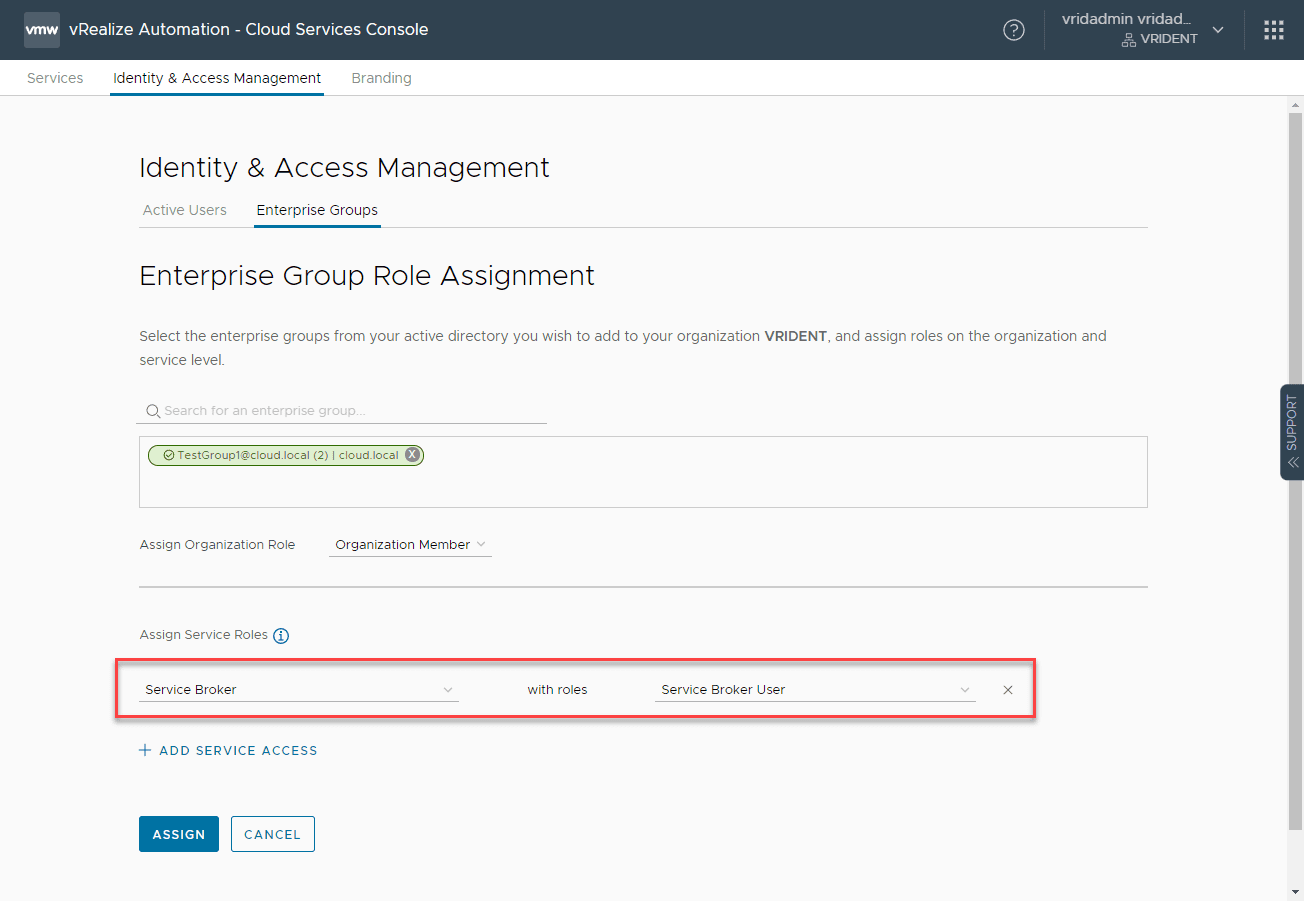
Search for the group you want to add. On the Assign Organization Role, click the role name you want to use. Then, click Add Service Access.
Here, I am adding the Service Broker with the Service Broker User role.
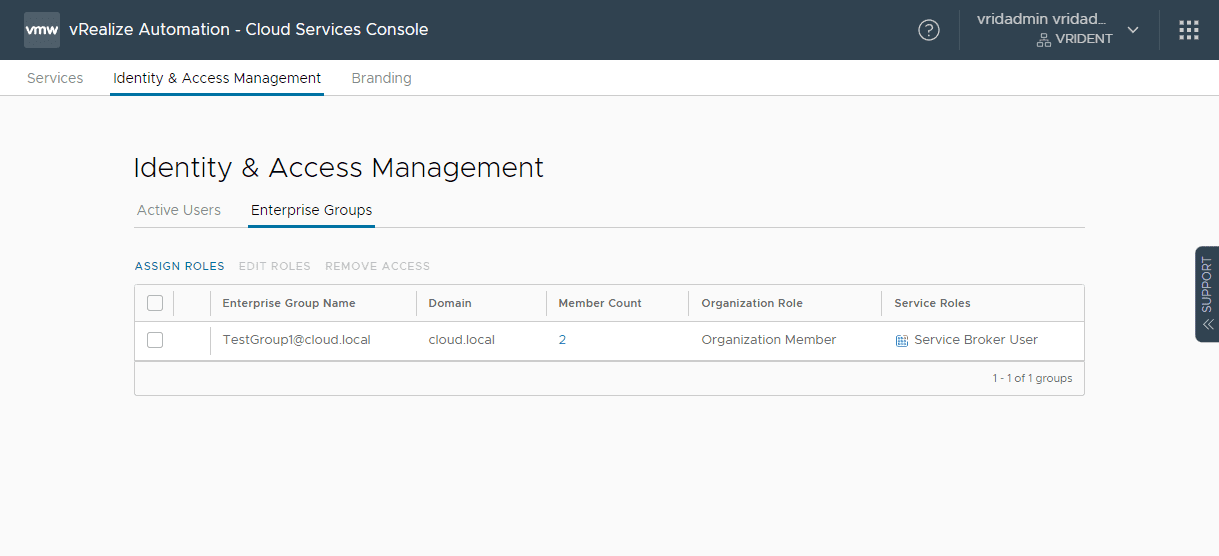
The Enterprise Groups now lists the Active Directory group added.
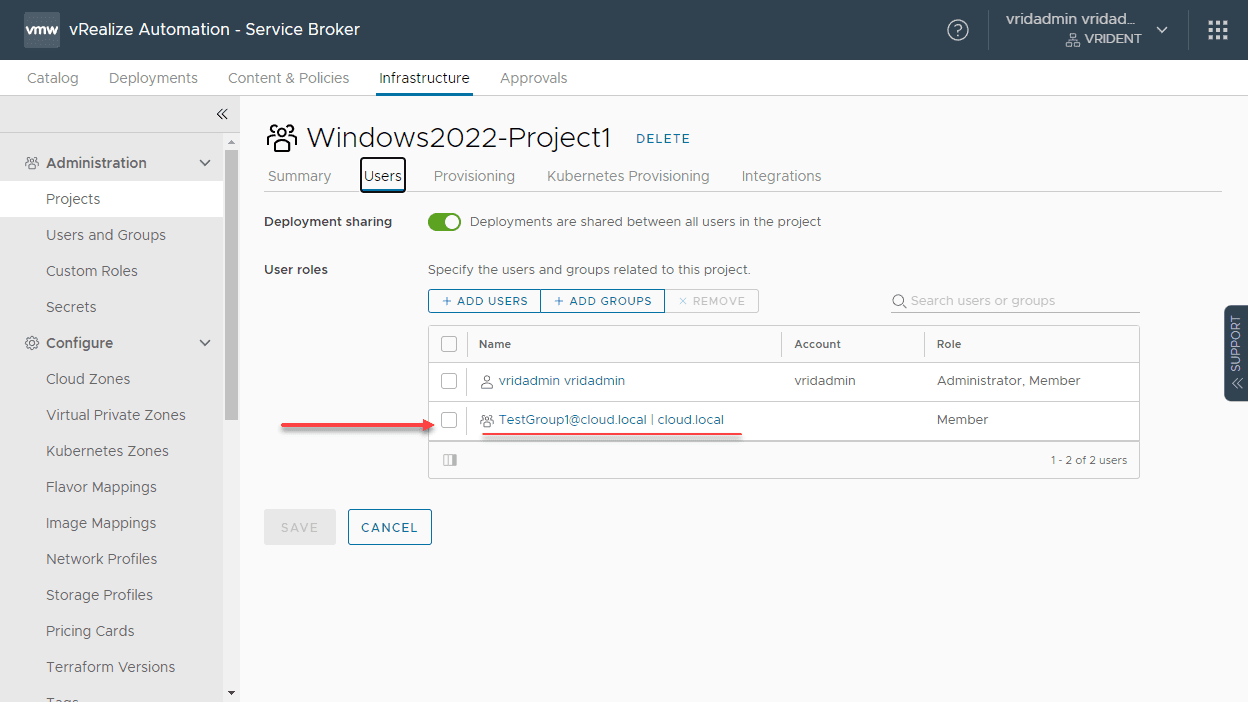
Note on our project, the group is added to the users of the project.
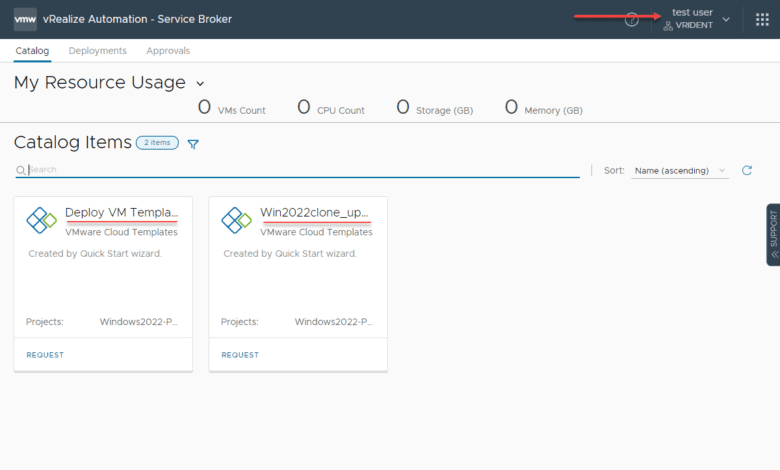
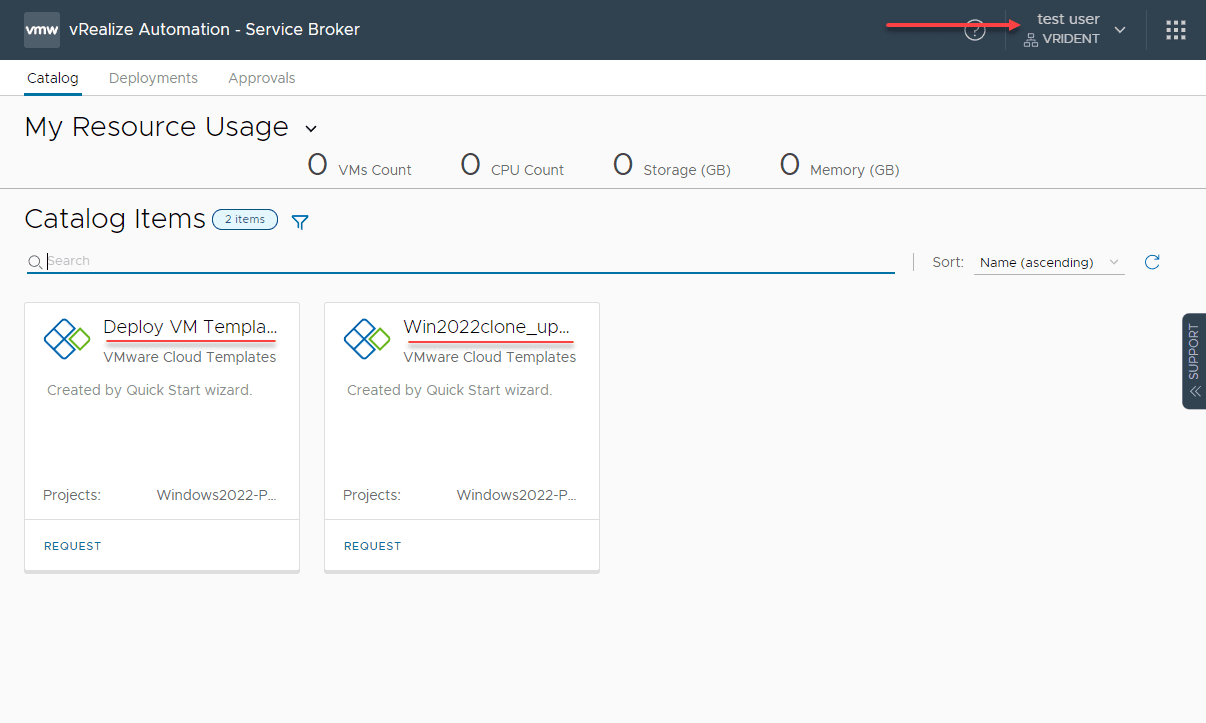
In an incognito browser, I logged into vRA now with the testuser account and the user can see the catalog items listed under the Service Broker.
Wrapping Up
Creating a VMware Self Service Provisioning Portal with vRealize Automation and VMware Identity Manager is fairly straightforward. There is work to do to get your Active Directory “directory” listed in VMware Identity Manager. This process is fairly easy but a little tedious in that you have to specify the DNs for groups and users. A handy tool you can use is your Active Directory Users and Computers management console. Turn on the “Advanced” view under your View settings. You can view the DN attribute and copy this from ADUC into the fields you need in VMware Identity Manager. It makes this a little easier.
After mapping the directory service to VMware Identity Manager, you can then add the groups to roles in vRA and assign these to various services. After logging in with my test user, as shown, the user has access to “request” the workflows they have been assigned.
Learn more about vRealize Automation here: