VMware Horizon UAG OKTA RADIUS configuration
When standing up a VMware Horizon production environment, you must think about securing the perimeter for end-users. We all know that passwords are one of the weakest links in your overall cybersecurity scheme. Multi-factor authentication with the very common two-factor authentication is a great way to bolster the security of any environment, including VMware Horizon. In a previous post, I walked through how to configure Duo two-factor authentication with VMware Horizon. This post will look at VMware Horizon UAG OKTA RADIUS configuration to show how to configure a box to host OKTA on-premise that serves as a RADIUS server, enabling two-factor authentication using OKTA.
VMware Horizon UAG OKTA RADIUS configuration
There are a couple of different ways you can configure VMware Horizon UAG boxes for two-factor authentication with OKTA. You can use either SAML or RADIUS. There is a really great VMware Techzone article that walks you through the steps to configure VMware Horizon with OKTA using a SAML config. The link to that article is here:
SAML is the more fully featured implementation with OKTA and provides benefits over RADIUS. However, many are comfortable and familiar with RADIUS configurations and this method works quite well with OKTA. Configuring the RADIUS application on the OKTA side is easier than SAML since the VMware Horizon RADIUS prebuilt application is already found in the OKTA apps “marketplace.”
The configuration for RADIUS on the VMware Horizon UAG side is straightforward and simply involves pointing the UAG to the RADIUS box and entering the shared secret key. There are two components that you need to install for the OKTA RADIUS configuration:
- OKTA AD Agent – This component syncs your on-premises Active Directory users to your OKTA environment. It provides the means to import users to OKTA
- OKTA RADIUS Agent – This component provides the RADIUS server listener that your VMware Horizon UAG boxes connect to for RADIUS. You will note the RADIUS configuration on the OKTA agent is very simplistic. You can basically configure the port and the shared secret. The RADIUS server talks to the OKTA API endpoint for your OKTA subdomain.
These can both be installed on the same Windows Server if you want to consolidate resources, however, it is best practice to have multiple OKTA AD Agent installs in your environment for high availability.
Installing the OKTA AD Agent
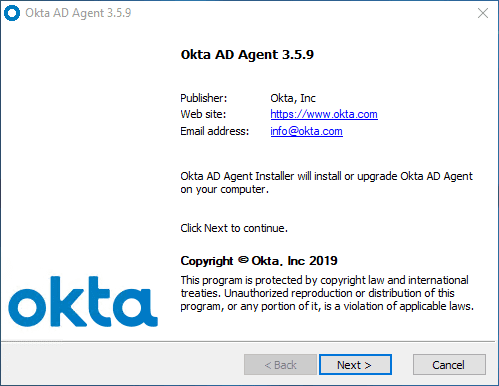
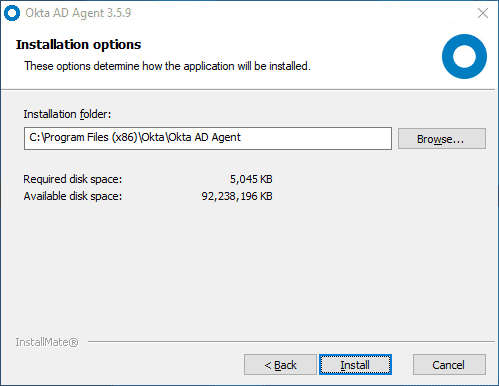
The OKTA AD Agent is a lightweight agent that you can install on a Windows Server. There are minimal things to configure during the install, however, you want to pay attention to the details.
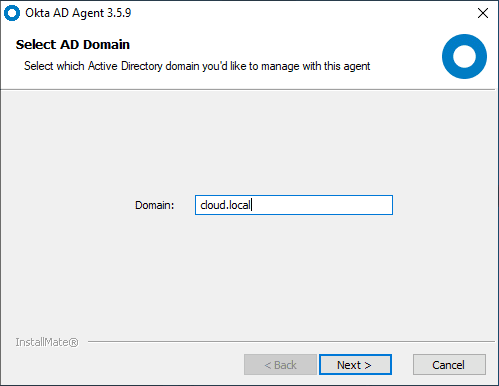
Select the on-premises domain that you want to manage with the OKTA AD Agent.
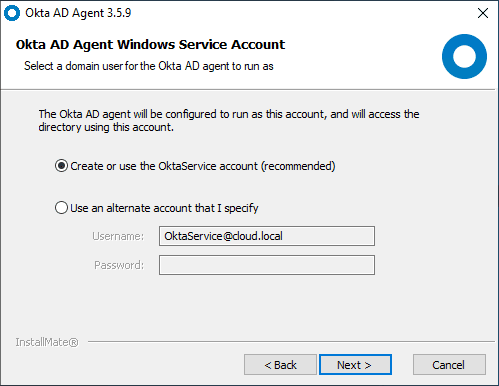
The next step involves configuring the OKTA Windows Service Account for use with the AD Agent.
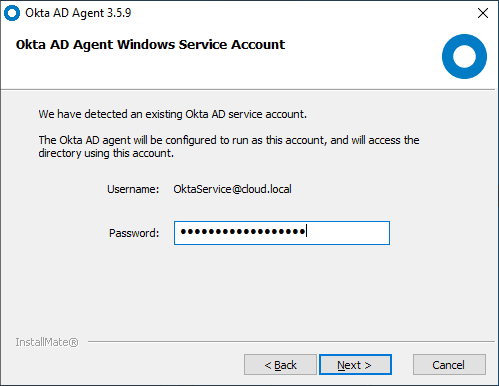
Set the password for the OKTA service account.
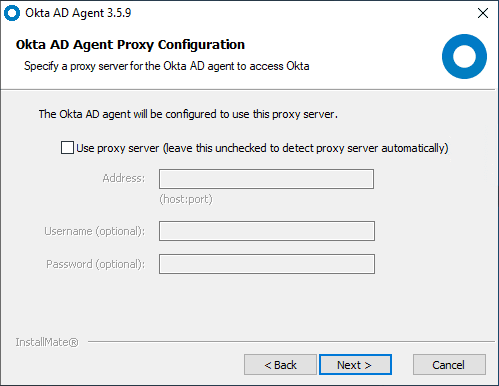
If you use a proxy server, you can configure this connection next.
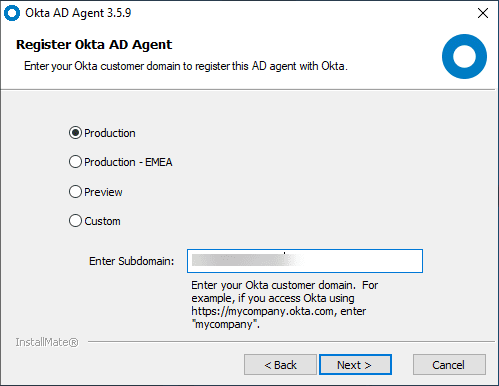
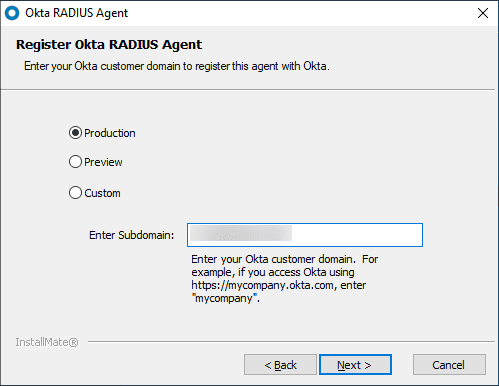
Select the environment you want to use for the OKTA AD Agent. Then, enter your subdomain. For most, this will be production.
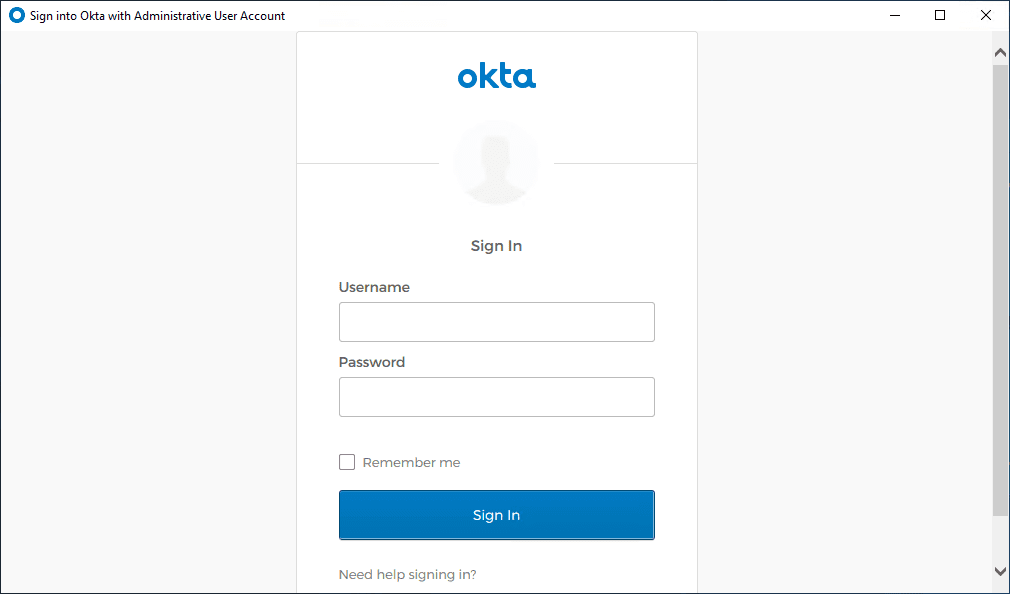
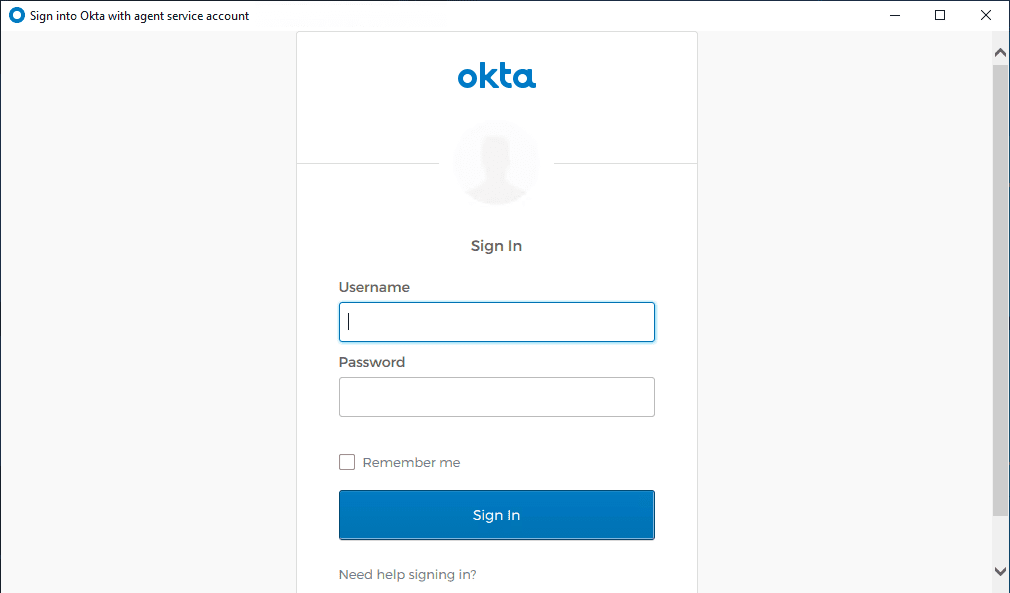
You will see a browser open and prompt you to sign in with your OKTA admin account.
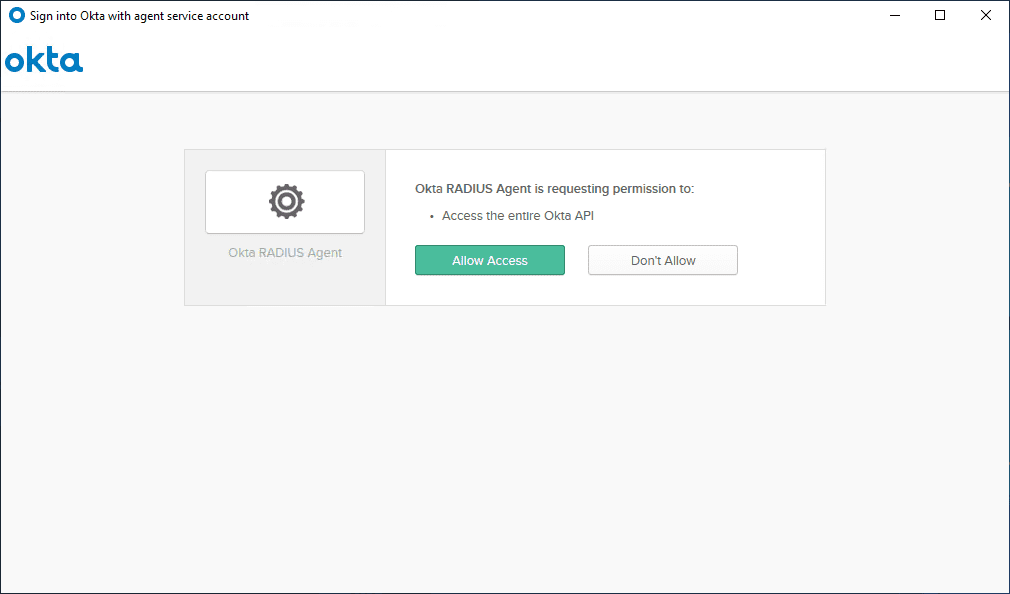
After signing in, you will need to grant permissions to the AD Agent for installation and integration with your OKTA universal directory.
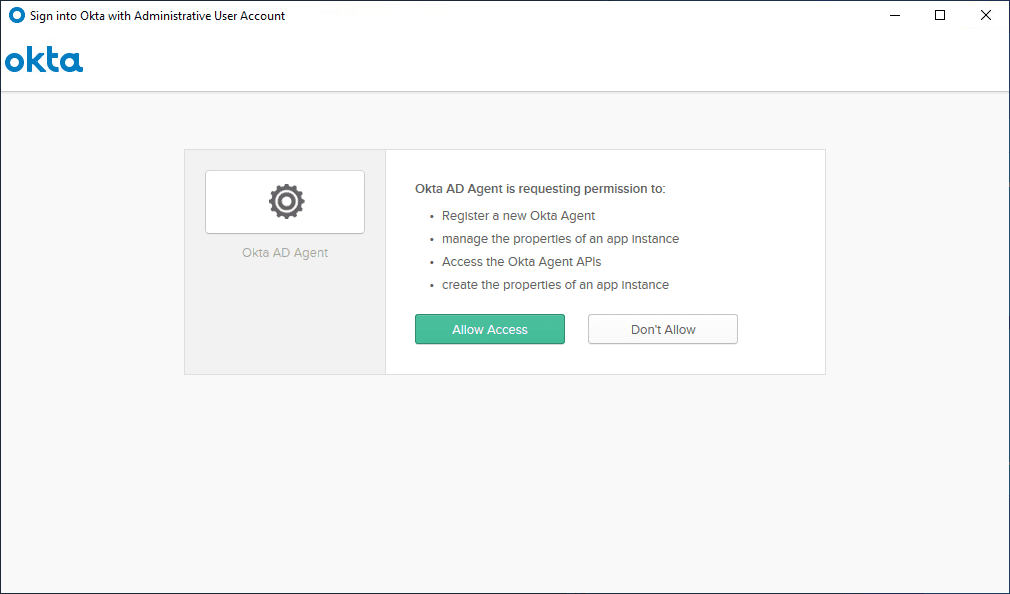
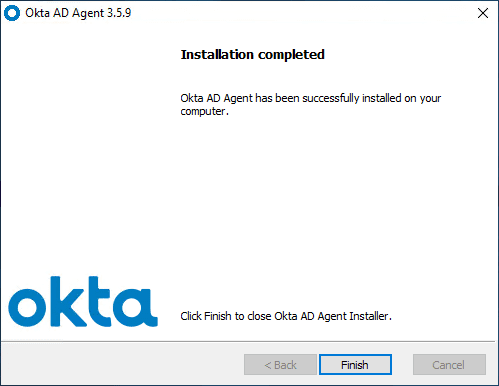
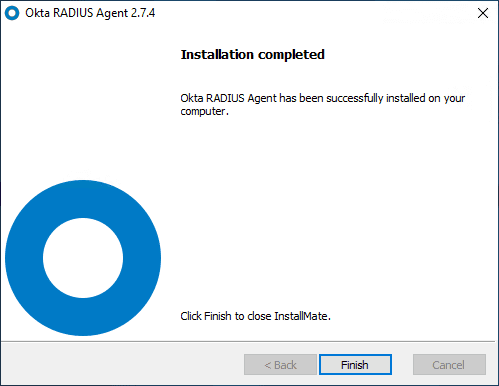
The installation of the AD Agent completes successfully.
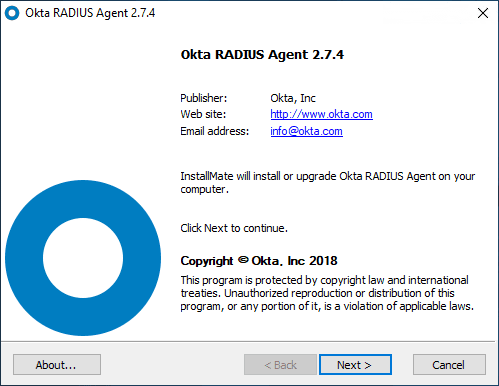
Installing the OKTA RADIUS Agent
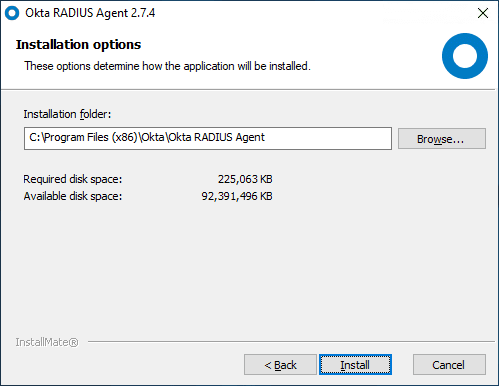
I am installing the OKTA RADIUS Agent on the same Windows Server 2019 server as I have the OKTA AD Agent installed. However, for production and traffic purposes, you will most likely want to split these roles between different servers.
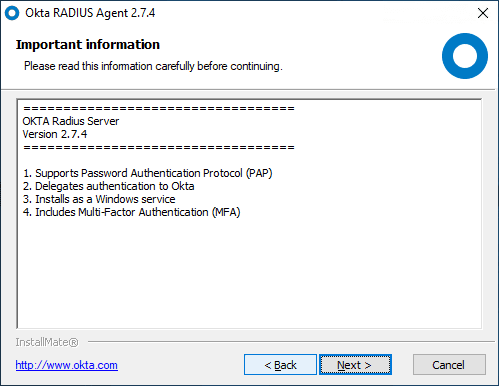
You will note some important details here:
- Supports password authentication protocol (PAP)
- Delegates authentication to Okta
- Installs as a Windows services
- Includes Multi-factor authentication (MFA)
Prompt for the EULA.
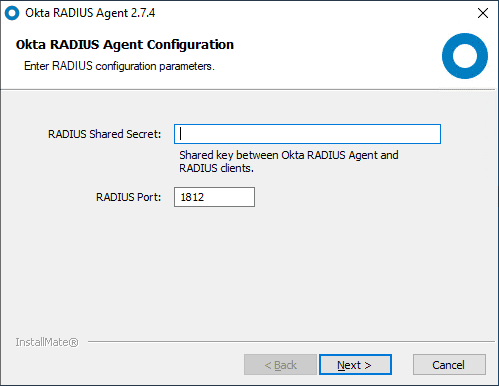
Enter your RADIUS Shared secret key and configure the port.
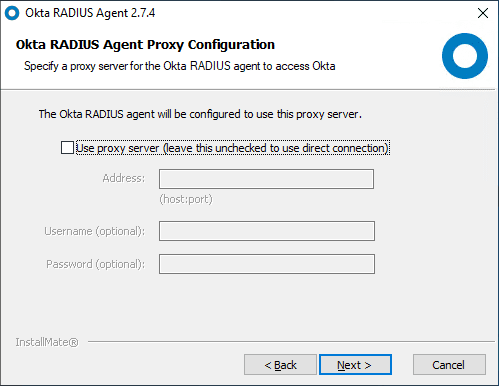
Configure a proxy server if needed for connectivity.
Choose which environment you want to integrate with OKTA and enter your subdomain.
Sign i”n to the OKTA service with your OKTA admin user.
Grant permissions to the RADIUS server agent.
OKTA RADIUS server agent completes successfully.
In case you are wondering what options you have with the OKTA RADIUS Server, they are extremely limited. It is basically a passthrough for authenticating against the VMware Horizon RADIUS application which we will configure next.

Adding the OKTA VMware Horizon RADIUS Application
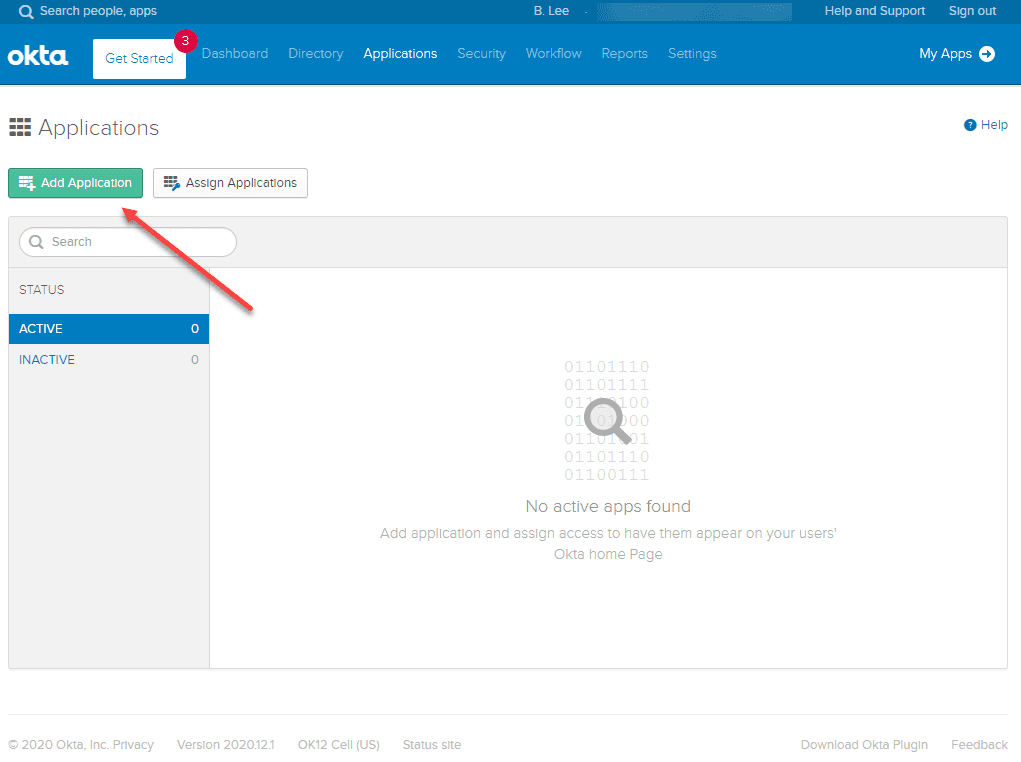
Next, we need to add the OKTA VMware Horizon RADIUS application to the OKTA account. The OKTA RADIUS application for VMware Horizon provides the target for the RADIUS Agent that exists on-premises and it is the means by which you can assign users to your VMware Horizon environment. Let’s walkthrough adding the application. Navigate to Applications > Add Application.
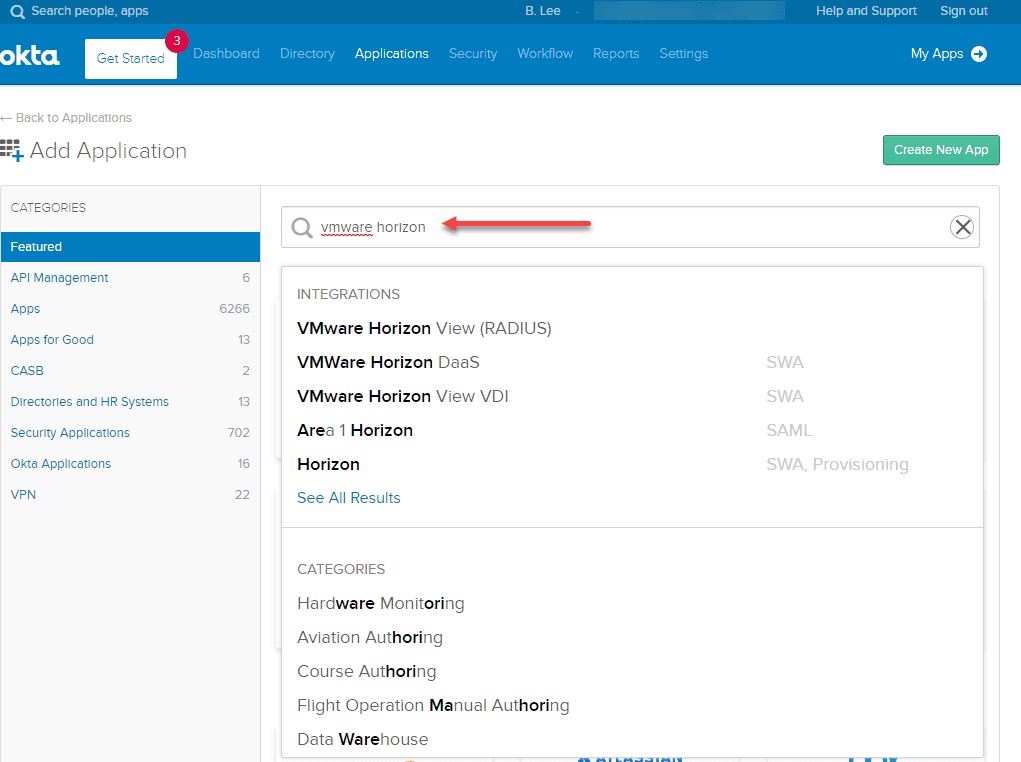
Search for VMware Horizon and you will see VMware Horizon View (RADIUS).
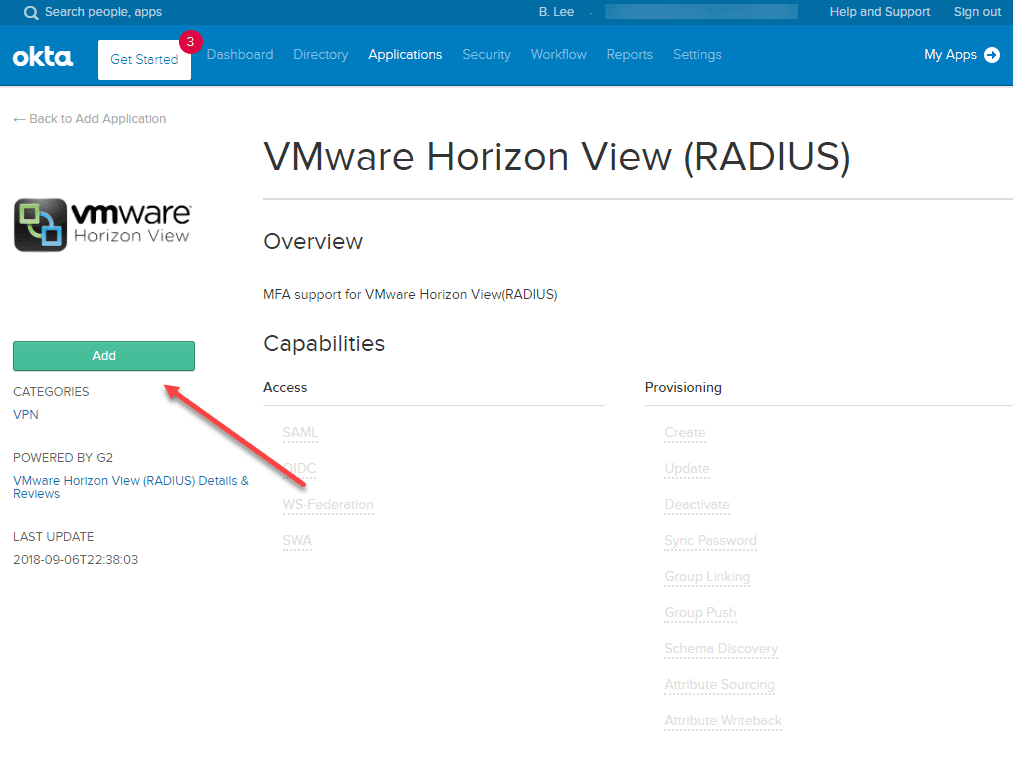
Click Add.
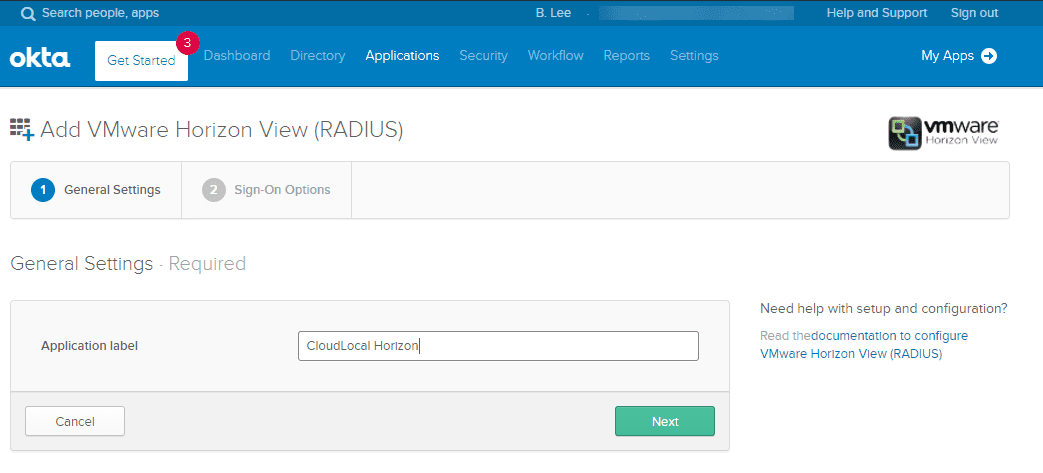
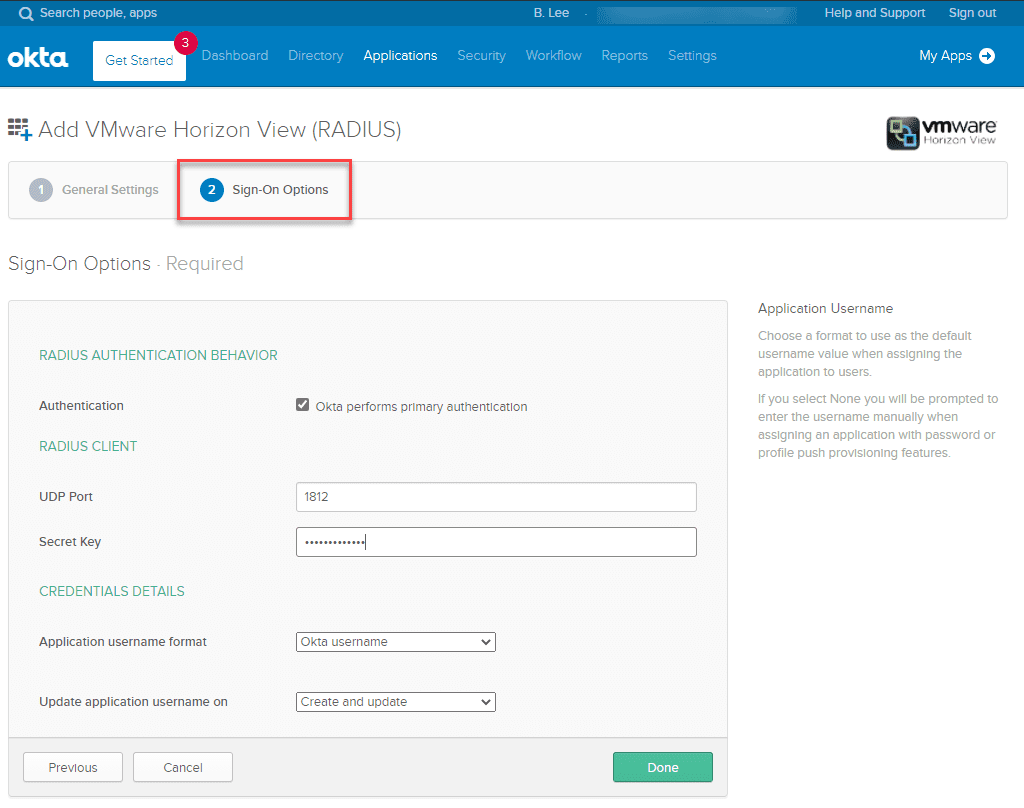
Name the application.
Under the Sign-On Options tab for the application, make sure to enter the same shared secret key as you did when configuring the RADIUS agent on-premises.
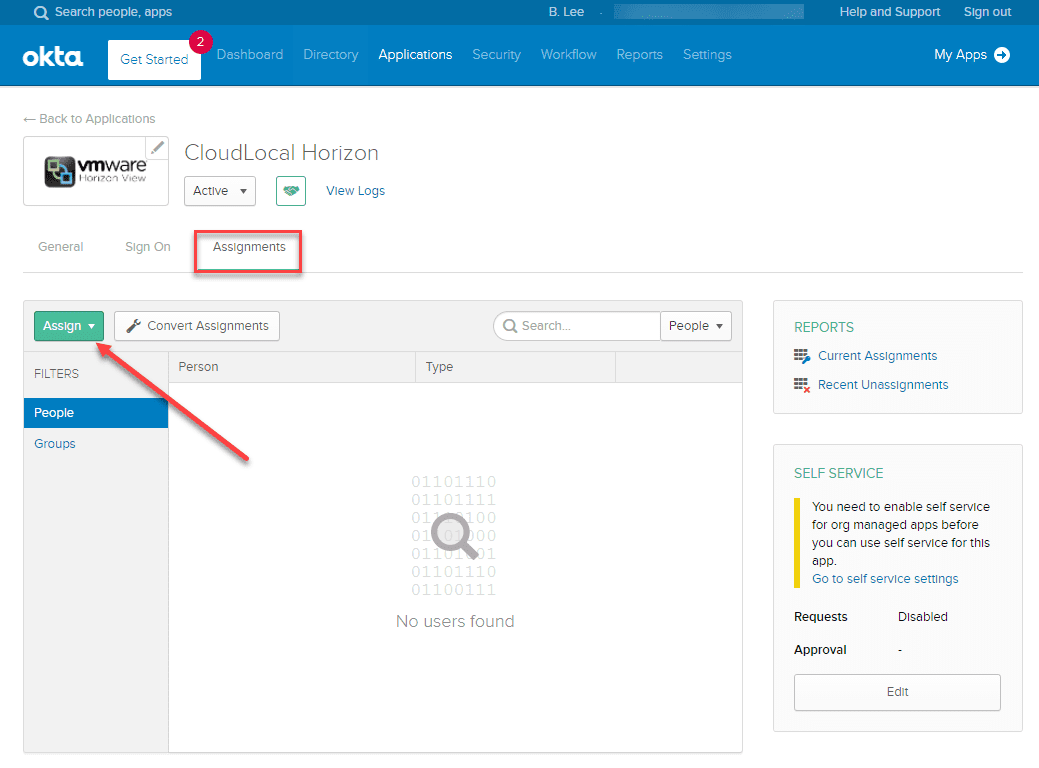
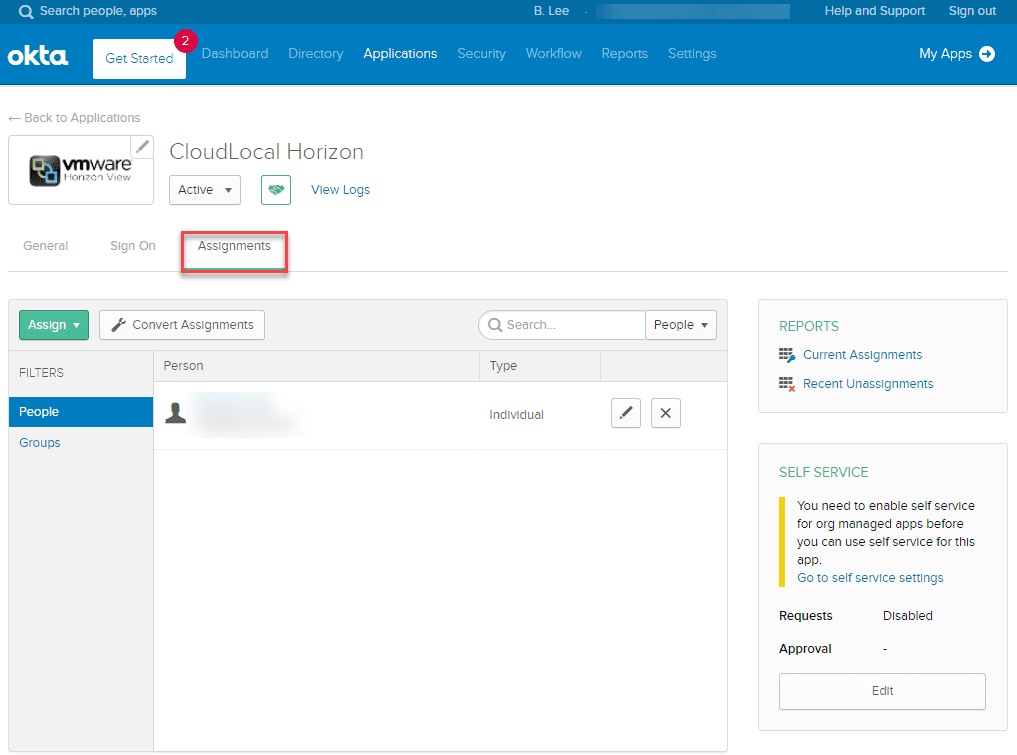
Now, you just need to assign users to your VMware Horizon RADIUS application. Click the Assign button. You will select to assign People or Groups.
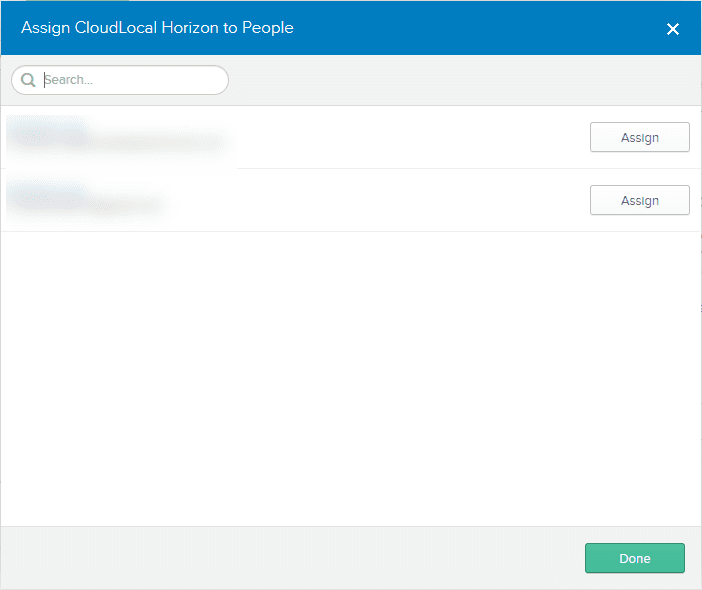
Select the users you want to assign to the application.
Click Save and Go Back.
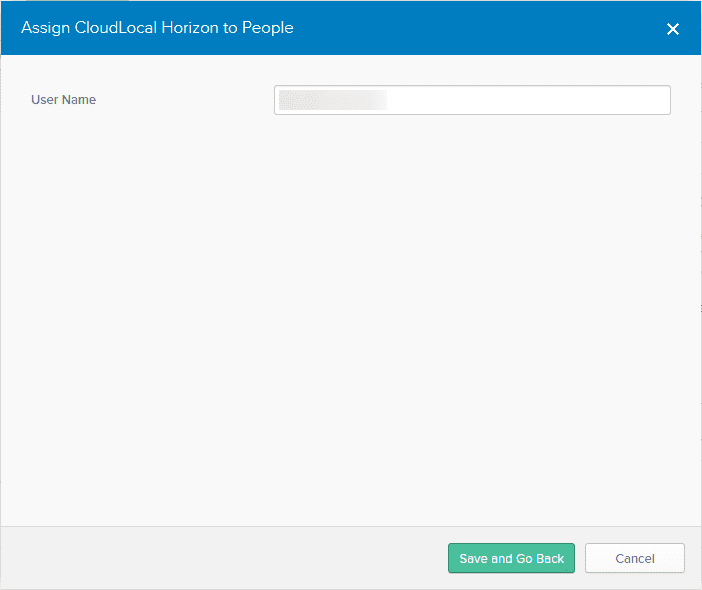
Under assignments, you should see the user listed.
Now, we just need to configure the VMware Horizon UAG RADIUS settings to point to the on-premises OKTA RADIUS Agent.
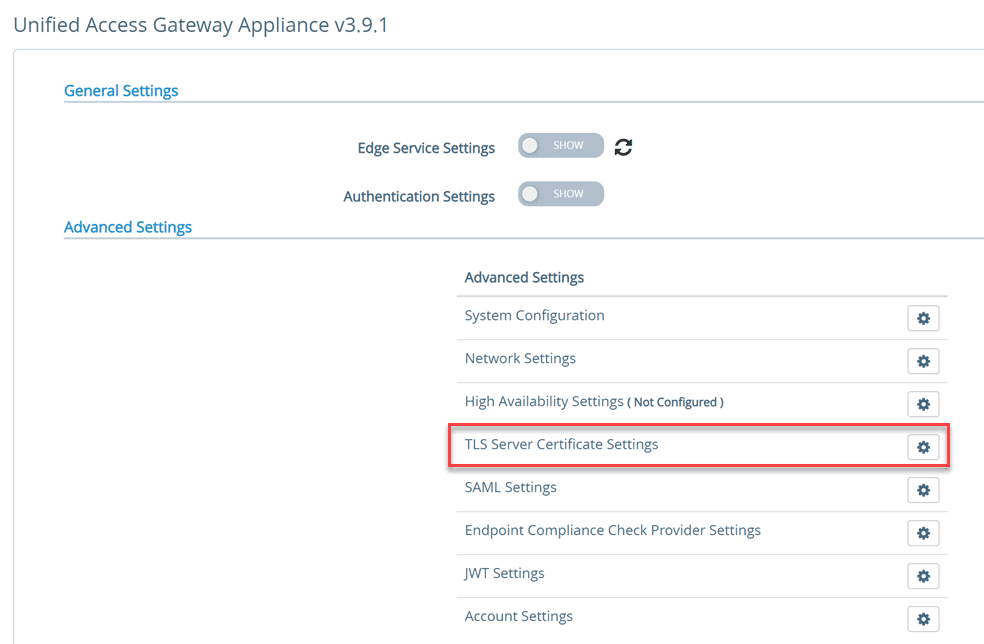
Configure VMware Horizon UAG RADIUS settings
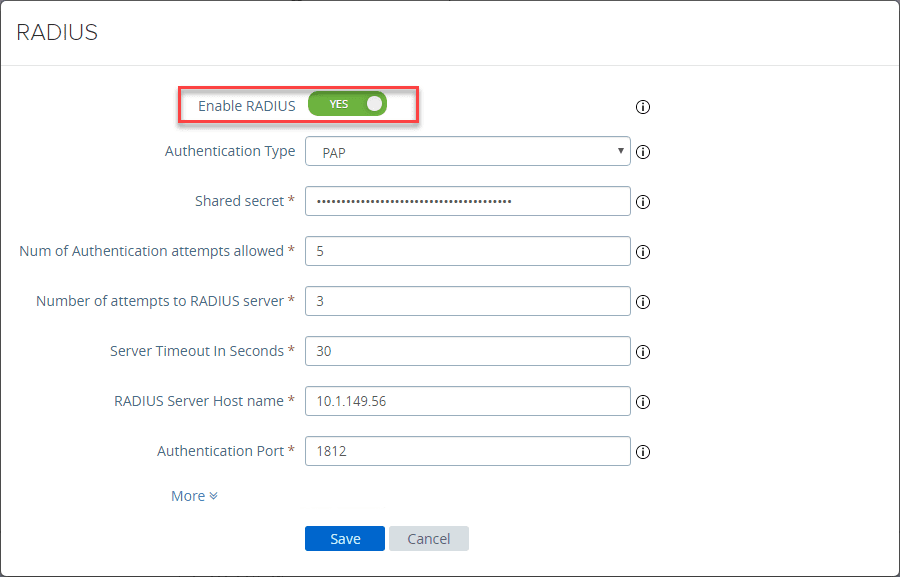
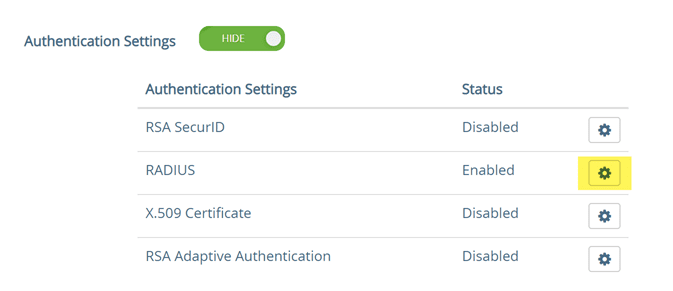
Under the Authentication Settings of the VMware Horizon UAG admin interface, edit your RADIUS settings.
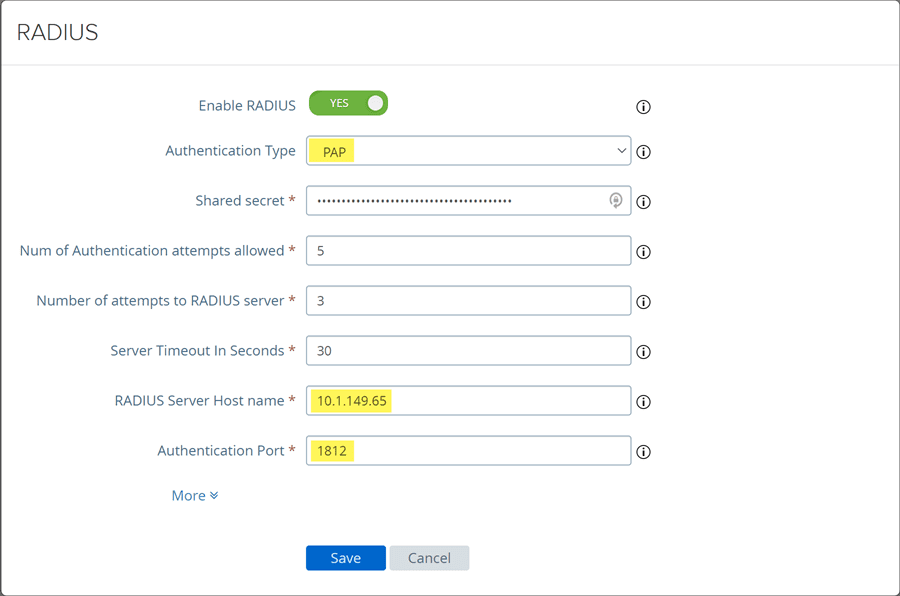
Under the RADIUS settings, choose PAP, set the shared secret, RADIUS Server Host name, and port.
After configuring the RADIUS settings, you then just need to set your Edge Services configuration for Horizon to use RADIUS in the Auth Methods.

Hopefully this walkthrough will help anyone who may be struggling to put the pieces and parts together with OKTA and RADIUS authentication for enabling two-factor authentication with VMware Horizon. Setting this up is fairly straightforward. Adding two-factor authentication to your VMware Horizon login process greatly bolsters the overall security of your Horizon environment.