Besides running production workloads inside of Hyper-V clusters, an important consideration for businesses utilizing Hyper-V is being able to properly protect Hyper-V workloads running inside of Hyper-V environments. For a backup solution to properly protect Hyper-V, it needs to be able to properly interact with Hyper-V at the cluster level. NAKIVO Backup & Replication has supported Hyper-V clusters since version 7.1 and has been improving on it with each release. In this post, let’s take a look at how to Protect Hyper-V Cluster VMs with NAKIVO Backups and see how NAKIVO provides great Hyper-V protection, simply and easily.
Hyper-V Cluster Level Backups – Why Important?
With every release of Windows Server, the Hyper-V features and functionality have been improving and getting stronger. Any organization that is utilizing Hyper-V to run production workloads will do so in the Hyper-V “cluster” configuration to allow for high-availability mechanisms to be utilized in the Hyper-V environment. With any production workload, you don’t want to have a single point of failure that could possibly take down the entire environment due to a failure. This is what the Hyper-V cluster prevents. By having multiple hosts running production workloads, the hosts are able to provide resiliency to the other hosts in the cluster. If a single host fails, the other hosts are able to pick up the workloads of the failed host and continue to run the workloads.
Interacting with Hyper-V at the “cluster” level extends the visibility out to include all of the Hyper-V hosts. It allows seeing all virtual machines running inside the Hyper-V cluster and interacting with various VMs despite the host they are running on.
This is critically important, as virtual machines move around the Hyper-V cluster from various hosts due to performance, host failures, etc, the data protection solutions needs to be able to continue protecting the virtual machines accordingly. Let’s take a look at the process to add a Hyper-V Cluster to Nakivo’s inventory to start protecting a Hyper-V Cluster environment.
Add Hyper-V Cluster to NAKIVO Backup & Replication 8.1
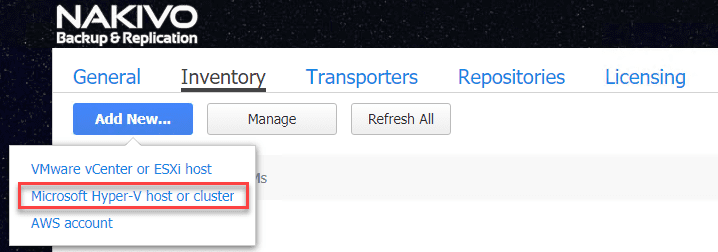
Getting started adding the Hyper-V Cluster to the NAKIVO Backup & Replication environment is fairly simple. Click the “Settings cog” at the upper right-hand corner of the web UI, select the Inventory menu, then click the Add New button to add a new Hyper-V environment to NAKIVO.

Next, click the Microsoft Hyper-V host or cluster link.
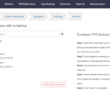
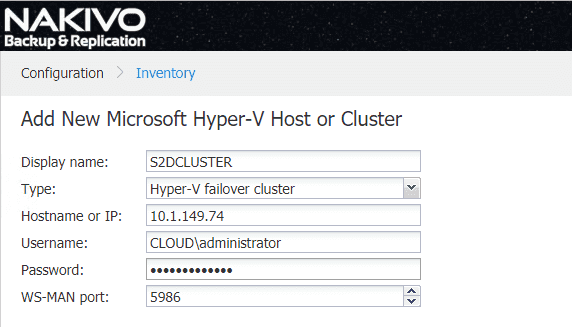
The Add New Microsoft Hyper-V Host or Cluster wizard launches. Here there are just a few pieces of information you need to pass through to NAKIVO to successfully connect to the Hyper-V cluster. The following configuration can/needs to be populated:
- Display Name
- Type – For Hyper-V Clusters, the Hyper-V failover cluster option needs to be selected.
- Hostname or IP
- Username
- Password
- WS-MAN port
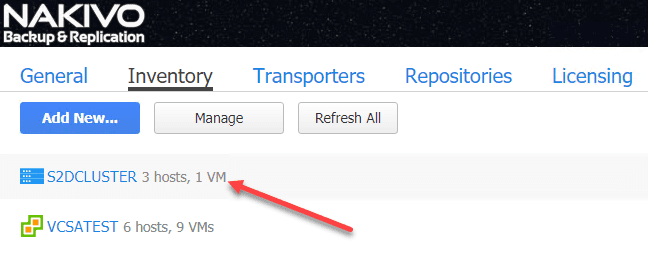
After entering the information, NAKIVO will query the cluster and the Hyper-V Cluster will be added to the NAKIVO inventory. It is great to see a versatile backup solution like NAKIVO here showing both the VMware vSphere environment as well as the Hyper-V Cluster, all in the same interface and backup environment.
Now that we have successfully added a Hyper-V Cluster to NAKIVO Backup & Replication, we can now create a job to cover a VM housed in the Hyper-V Cluster.
Protect Hyper-V Cluster VMs with NAKIVO Backups
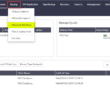
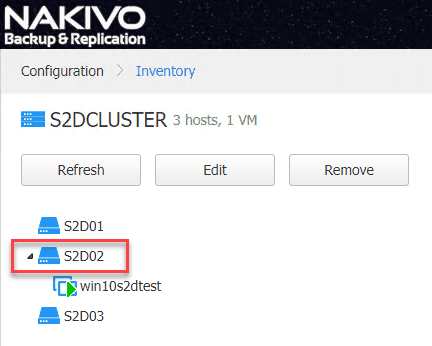
After adding the Hyper-V cluster to the environment, as you can see below, NAKIVO is able to pull the specific Hyper-V host that a virtual machine is actually running on in the Hyper-V cluster. Below, we have a Windows 10 workstation running on S2D02.
Now, let’s create a backup job for that particular Windows 10 virtual machine running on the Hyper-V cluster.
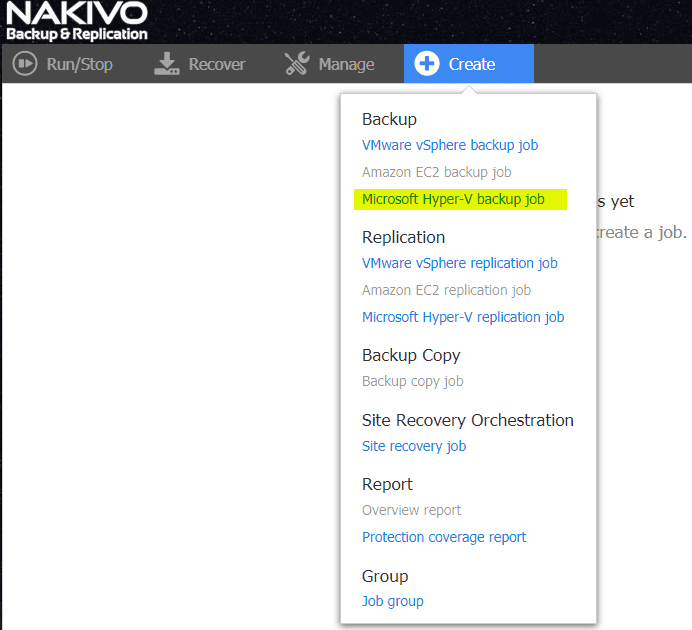
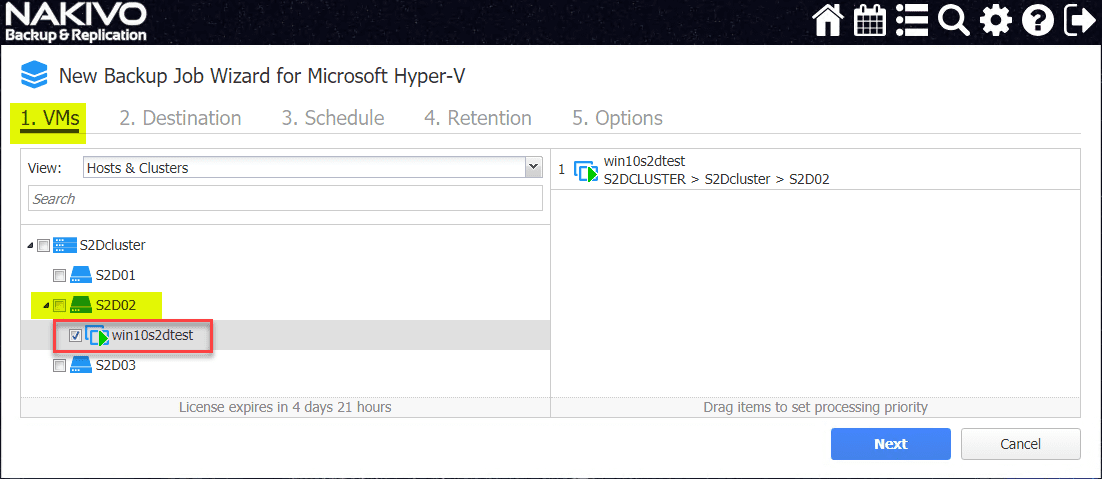
The New Backup Job Wizard for Microsoft Hyper-V is launched. The first screen is the VMs screen that has you select which VM(s) you want to include in the NAKIVO Backup & Replication Hyper-V backup job. I have selected the Windows 10 VM for inclusion in the Hyper-V backup job.
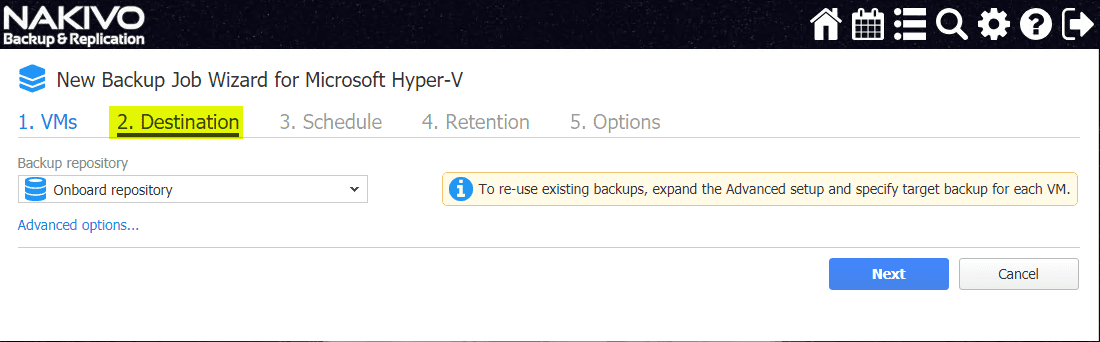
Next, select the backup destination for the backup of the Hyper-V Cluster virtual machine.
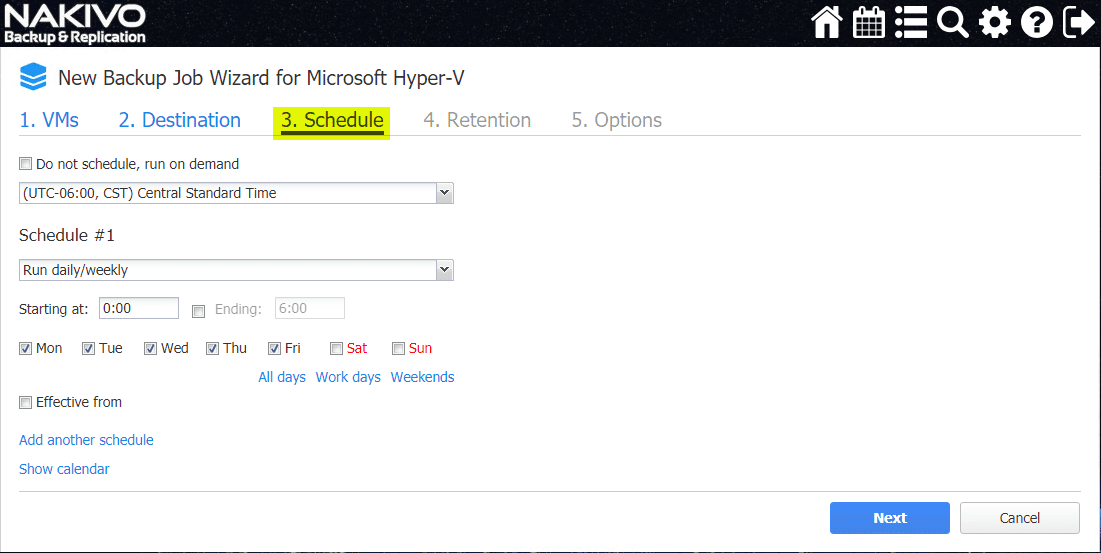
On the Schedule page, we can set the schedule that we want to use for the Hyper-V Cluster VM backup. This includes the ability to have multiple custom schedules.
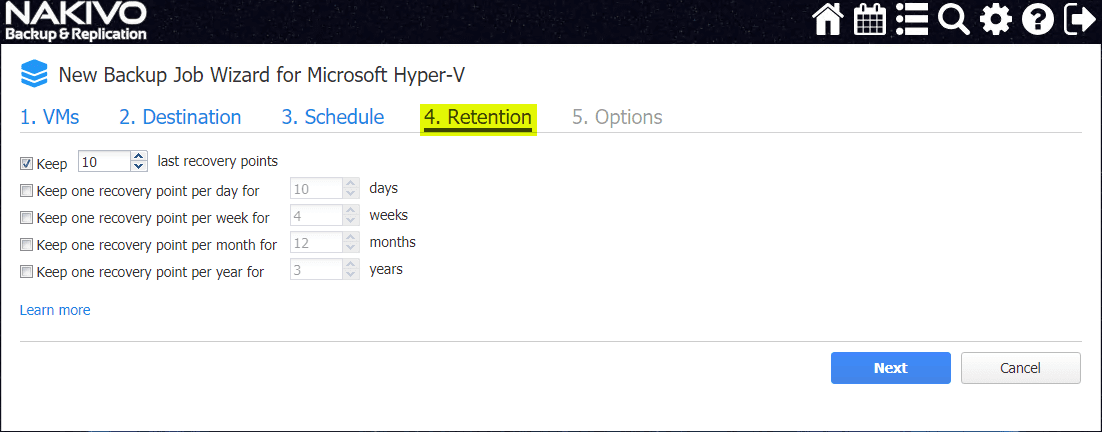
Step 4, Retention, includes the configuration for setting the retention policy for the Hyper-V Cluster VM backup.
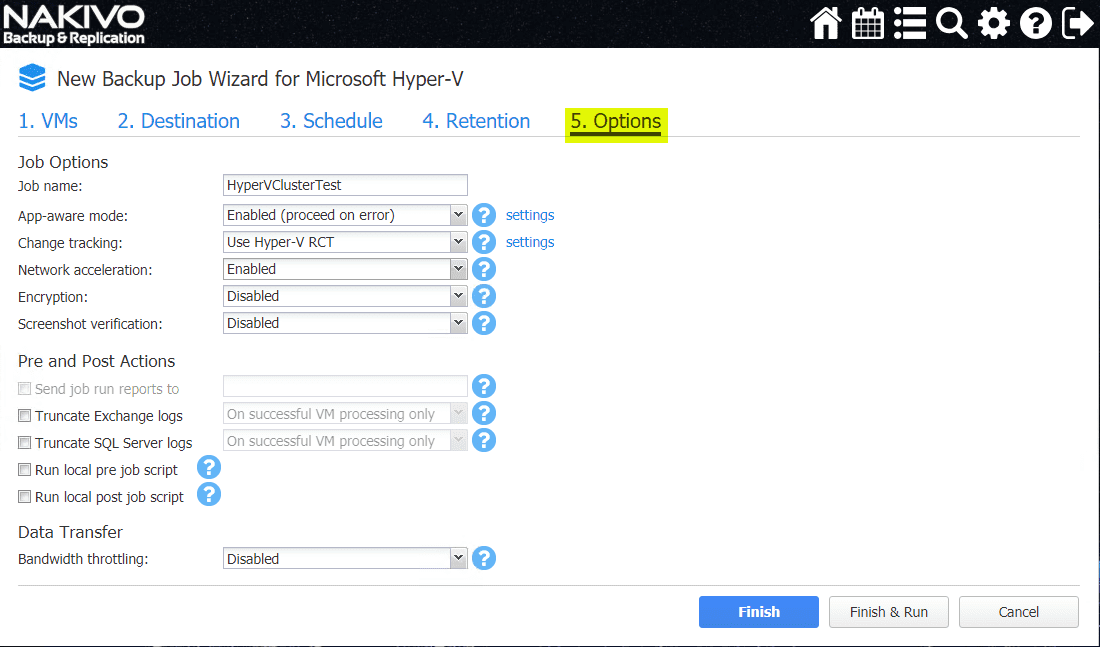
On the final Options screen, you can configure various job settings. These include the type of change tracking, network acceleration, screenshot verification, log truncation, and data transfer bandwidth throttling. After configuring the desired settings, you can choose to Finish or Finish & Run.
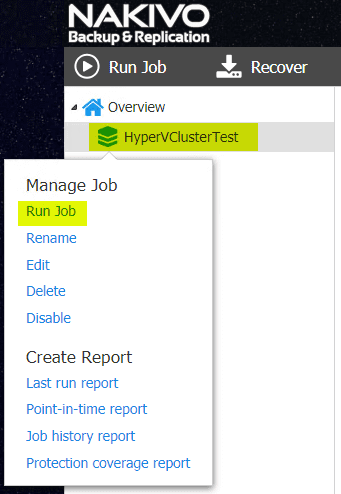
After choosing Finish & Run, select the VM job you want to run. Here, I am selecting the Hyper-V Cluster VM backup job that was just created.

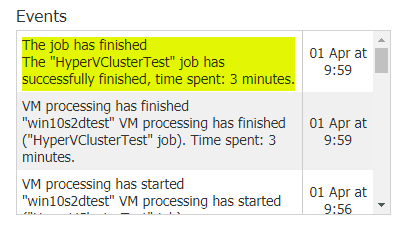
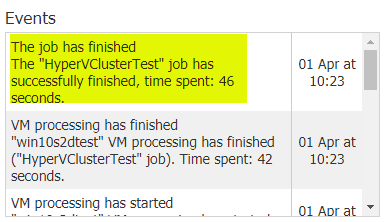
After just a few minutes, the Hyper-V Cluster VM backup job completes successfully.
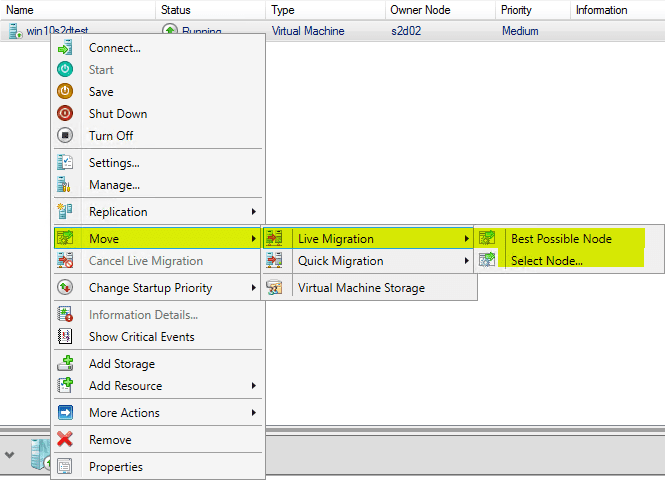
Now, let’s test the ability of NAKIVO to gracefully handle the shifting around of Hyper-V Cluster virtual machines as they are migrated between the various Hyper-V Cluster nodes. As you can see below, the current owner of the Windows 10 virtual machine that was included in the Hyper-V Cluster backup is S2D02.

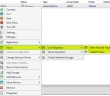
Let’s Live Migration the Hyper-V Cluster VM over to a different Hyper-V Cluster host.
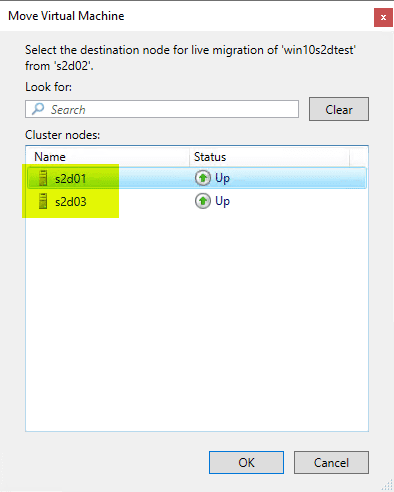
The Move Virtual Machine dialog box displays the possible destination hosts where the Hyper-V Cluster VM can be migrated.
After migrating the Hyper-V Cluster VM to a different Hyper-V Cluster host, we can see the Owner Node has properly changed.

Without rescanning inventory or any other NAKIVO processes to inform it the owner node has changed, let’s run another backup of the Hyper-V Cluster VM.
Without any issues or errors, NAKIVO is able to properly communicate with Hyper-V at the Hyper-V Cluster level which allows it to gracefully handle the backup of the Hyper-V Cluster VM, even though the owner of the VM in the Hyper-V Cluster has changed.
With the ability to properly protect Hyper-V at the Cluster level, NAKIVO allows organizations running Hyper-V for production workloads to properly protect VMs running at the Hyper-V Cluster role level.
Wrapping Up
Starting with NAKIVO Backup & Replication 7.1, NAKIVO has provide the ability to Protect Hyper-V Cluster VMs with NAKIVO Backups. As demonstrated in our post today, adding a Hyper-V Cluster to the NAKIVO console is extremely easy and also creating a new Hyper-V Cluster VM backup job is extremely easy as well. Be sure to check out NAKIVO Backup & Replication and download a free fully-featured trial edition to test out vSphere or Hyper-V Cluster backups in your lab or production environments.
Google is updating how articles are shown. Don’t miss our leading home lab and tech content, written by humans, by setting Virtualization Howto as a preferred source.
About The Author