Recently, I have been doing a lot of NSX labbing in the home lab environment, between NSX-V and starting to lab with NSX-T as well. NSX-T certainly seems to be the direction that VMware will be heading with the NSX product roadmap and certainly could be a merge of the two in the future. However, for now, they are separate products. NSX-T is a multi-hypervisor product that does not require vCenter Server, unlike NSX-V. NSX-V is the VMware only variant of the product. There are definitely similarities between the two, but also differences. In this post, we will take a look at the first core component of the VMware NSX-T installation – the NSX-T Manager. Let’s look at what is VMware NSX-T Manager Unified Appliance and installation to discuss the unified appliance, its purpose, and also installing the NSX-T Manager appliance.
What is VMware NSX-T Manager Unified Appliance?
Unlike downloading NSX-V, when you go to download NSX-T from VMware, you will see the NSX-T Data Center Unified Appliance available for download. What is this exactly?
The NSX-T Data Center Unified Appliance is an appliance included in the installation of NSX-T. It includes the ability to deploy the appliance in the roles of NSX Manager, Policy Manager, or Cloud Service Manager. At this time, it only supports one role at a time.
Installing VMware NSX-T Manager appliance
The NSX-T Manager is the first role that you stand up with the NSX-T environment. It provides the graphical user interface and access to REST APIs. This allows creating, configuring, and monitoring NSX-T Data Center. The NSX-T Manager is used to create such components as logical switches and routers as well as firewalls. A couple of things to note about the NSX-T Manager:
- It provides the management plane of the NSX-T solution
- You can only have one instance of NSX-T manager running.
- If in vSphere, you can use vSphere HA to ensure availability of the NSX-T Manager
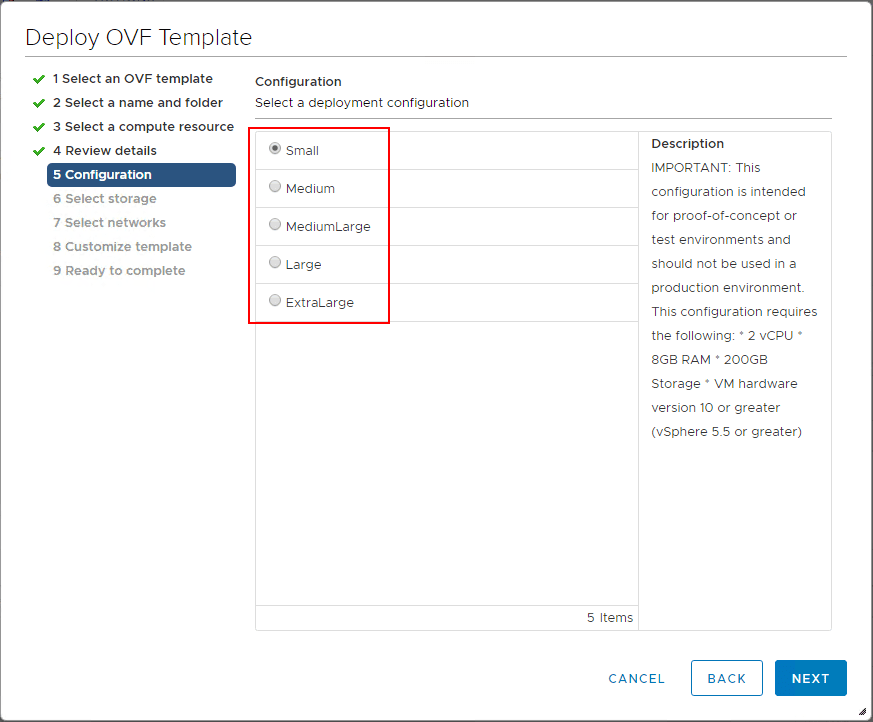
In this walk through, we will be installing the NSX-T Unified Appliance in the role of NSX Manager. The particular role you want the NSX-T Manager to fulfill is determined during the customization of the template during the OVA appliance deployment process. What are the requirements of the Unified appliance? ***Note*** The small VM should only be used in lab and proof-of-concept implementations. This is a great size for home lab and what I am using.
| Appliance | Memory | vCPU | Storage | VM Hardware Version |
| NSX Manager Small VM | 8 GB | 2 | 200 GB | 10 or later |
| NSX Manager Medium VM | 16 GB | 4 | 201 GB | 11 or later |
| NSX Manager Medium Large VM | 24 GB | 6 | 202 GB | 12 or later |
| NSX Manager Large VM | 32 GB | 8 | 203 GB | 13 or later |
| NSX Manager Extra Large VM | 48 GB | 12 | 204 GB | 14 or later |
The download file details and size that I am using at the time of this writing:
- nsx-unified-appliance-2.3.1.0.0.11294305.ova
- Size 6,252,160 KB
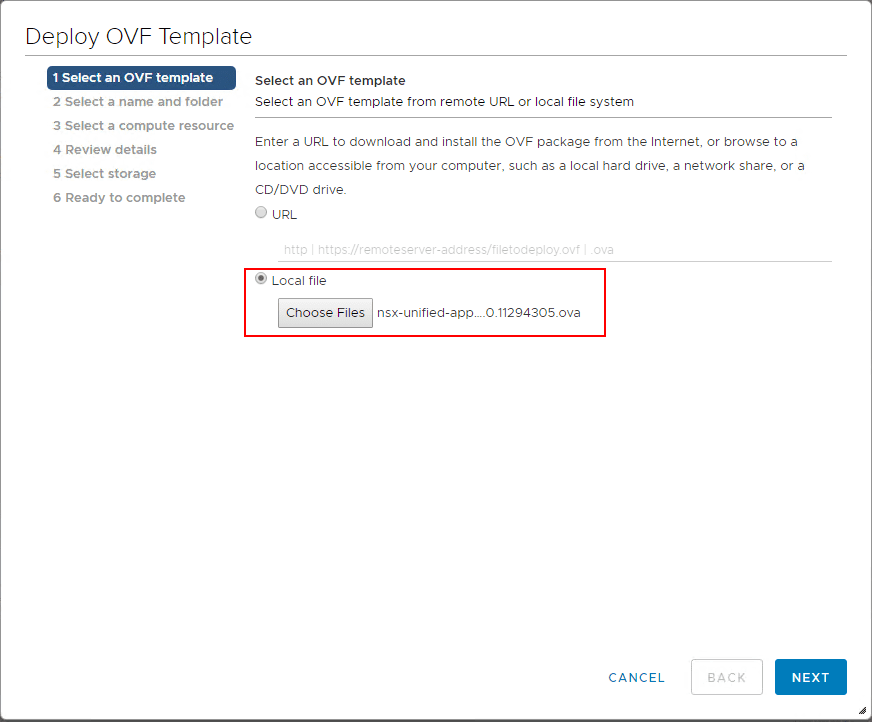
The NSX-T unified appliance deployment is a standard OVA appliance deployment with the usual screens. Here, we are simply selecting the appliance.
Choose the name and folder for the NSX-T unified appliance.

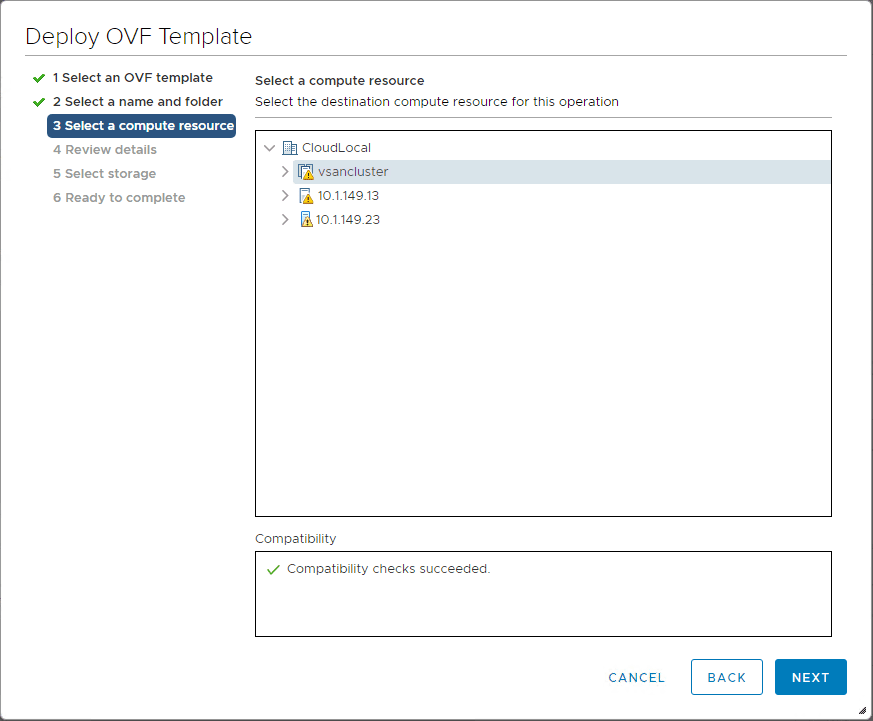
Choose the compute resource you want to use for the NSX-T unified appliance.
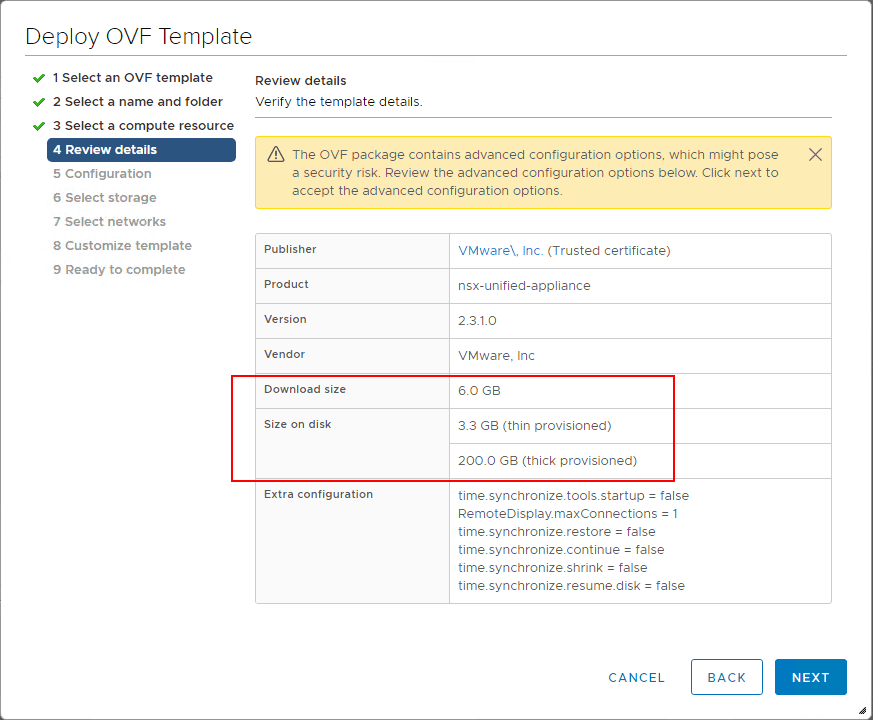
On the Review details screen, you can see the Size on disk if you thin or thick provision the appliance.
As mentioned and shown in the table above, the deployment configuration allows choosing the size of the appliance in regards to resources allocated to the resulting VM. Since I am running in a lab environment, I am choosing the Small deployment size for sake of resources in the home lab.
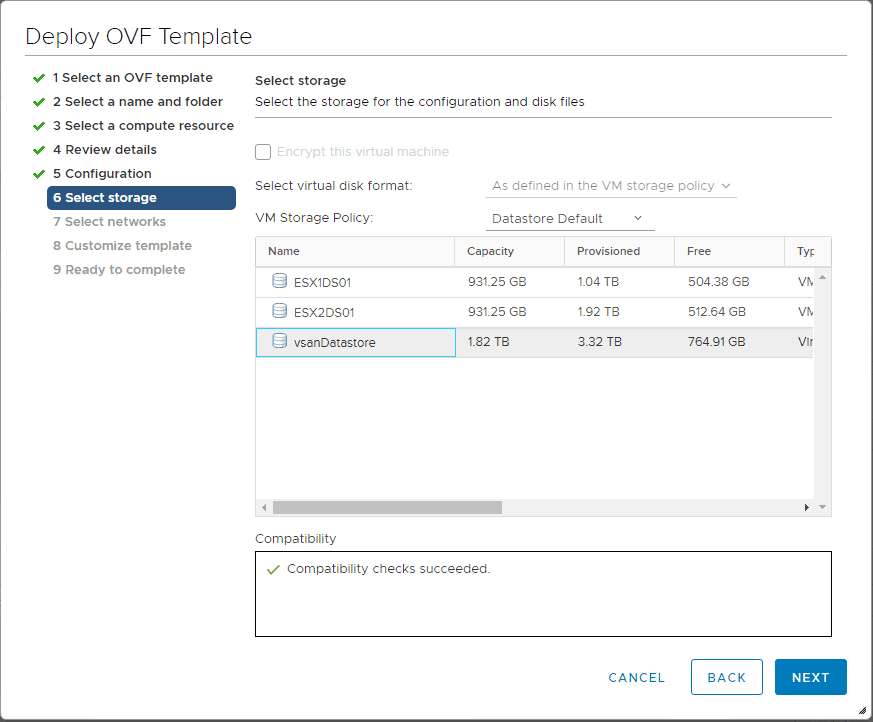
Choose the storage for the NSX-T unified appliance.
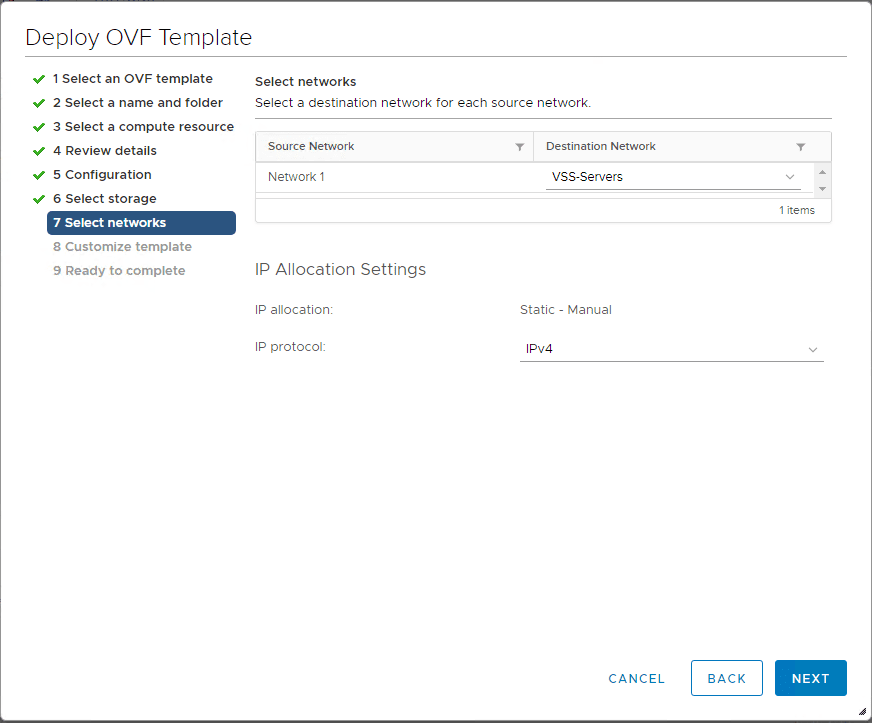
Configure the network port group it will connect to.
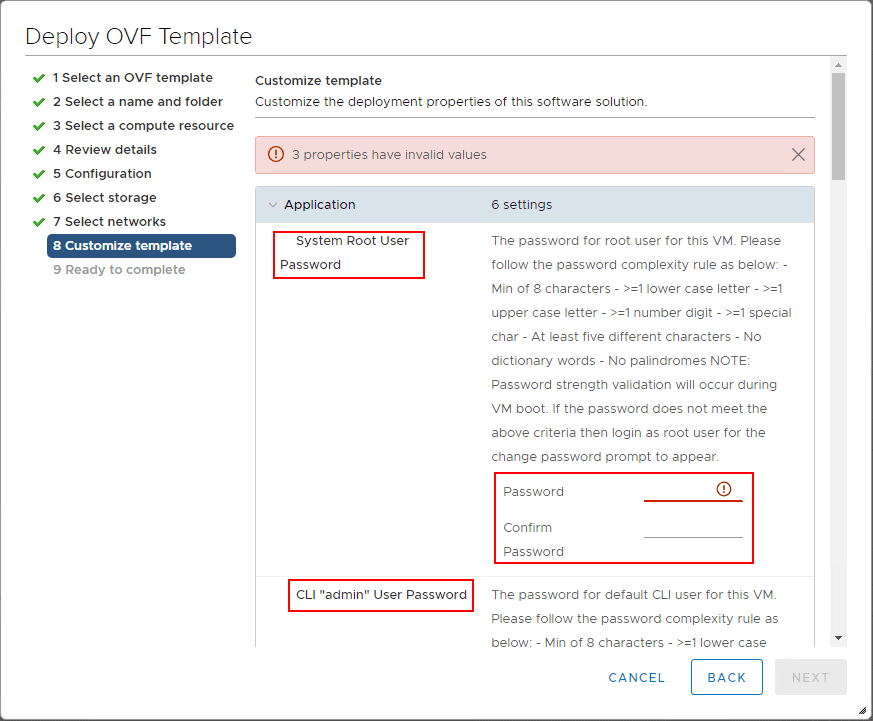
On the Customize template screen contains the configuration for setting passwords across the board. This include the root account and CLI admin credentials.
On step 8, Customize Template, one of the configuration options is Rolename. This is the important drop down where you actually choose the role of the unified appliance. At this point, I will refer to it as the NSX-T Manager, since that is what I am selecting.

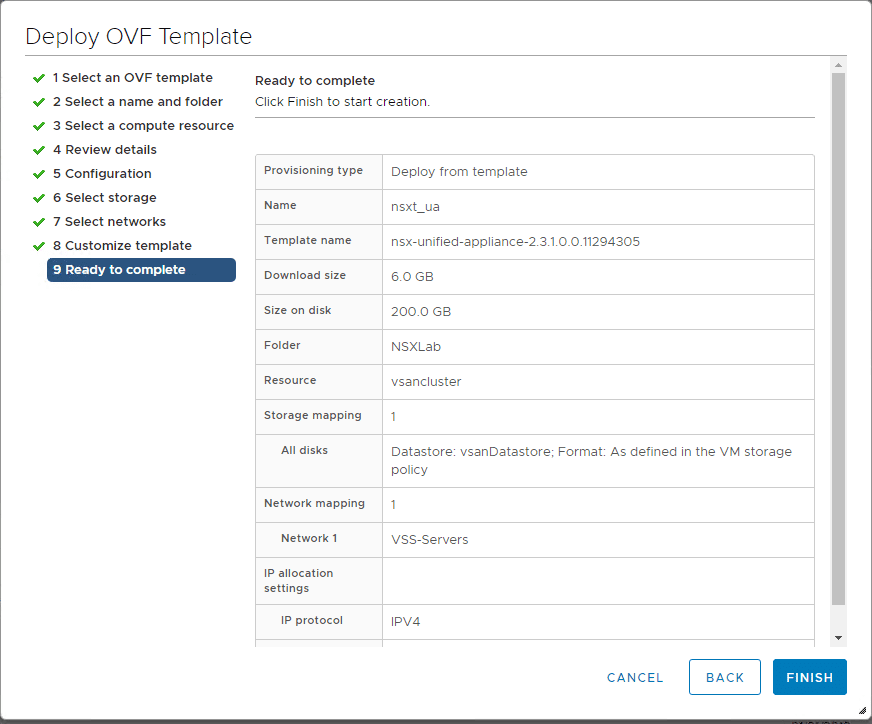
The NSX-T Manager is not ready to deploy with the configured settings.
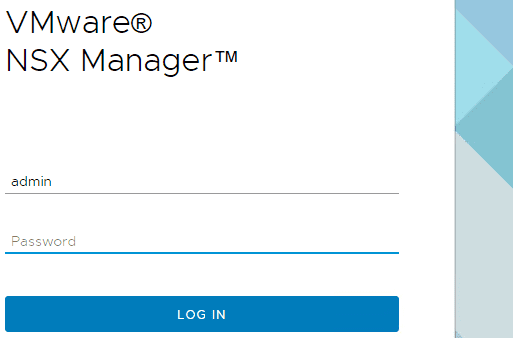
After the NSX-T Manager deployment is complete, you should eventually be able to hit the web interface and login with the password configured during the deployment process. ***Note*** You will have to accept the EULA and make a choice in joining the VMware CEIP program after logging in.
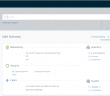
The NSX-T Manager interface is beautiful, running the HTML 5 interface through and through. I really like the layout of the appliance as well. you have all the menus on the left hand side that pop out from the side, so it is extremely un-cluttered.
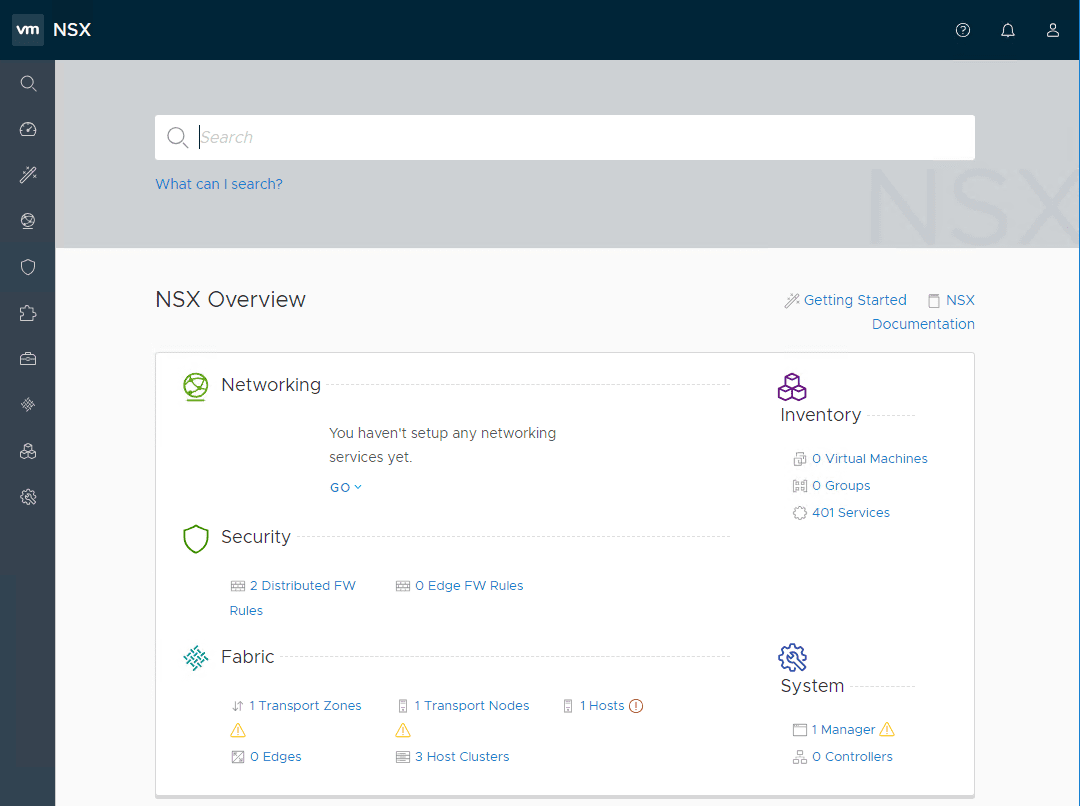
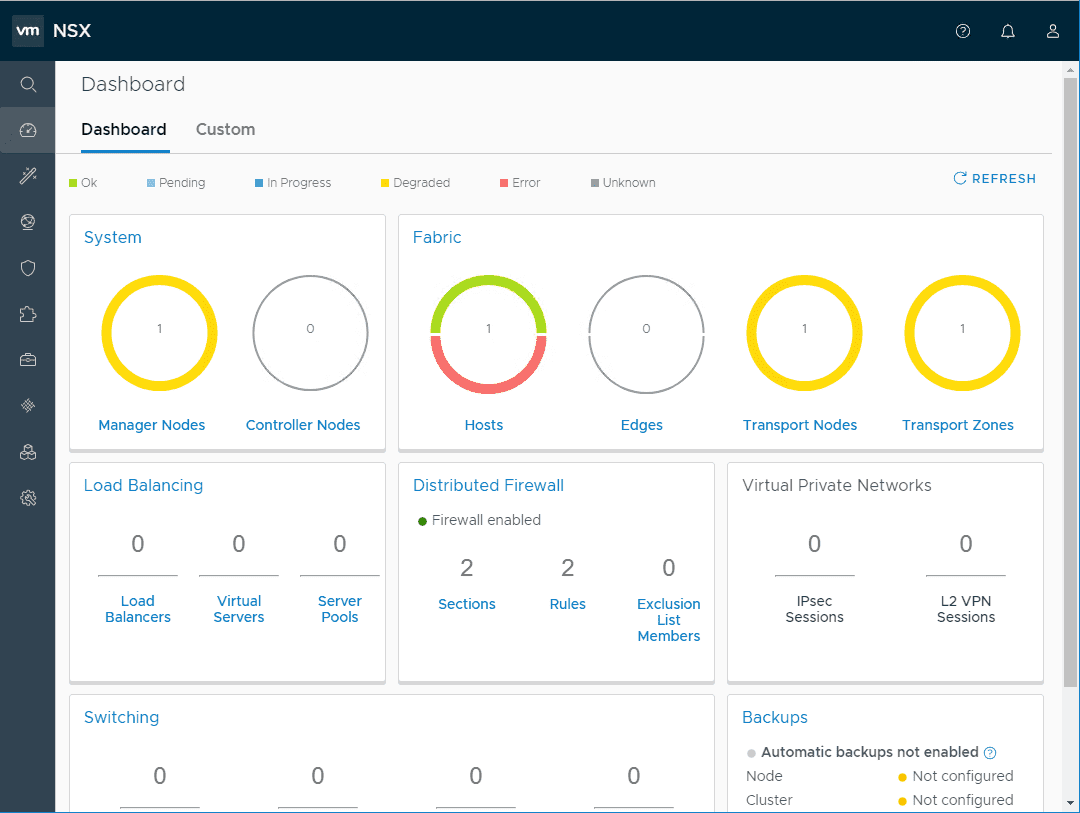
The Dashboard overview of the appliance displays all the pertinent information about the NSX-T environment.
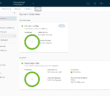
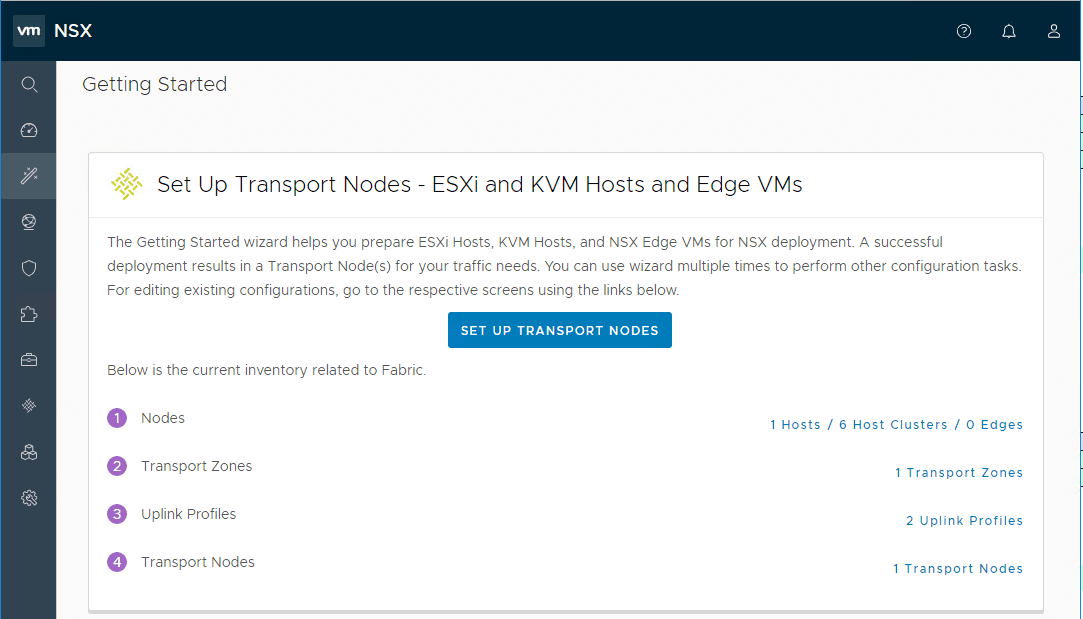
The Getting Started dashboard is a great place to start with NSX-T. This page basically steps you through next steps in deployment of the NSX-T solution.
Final Thoughts
The NSX-T unified appliance is the all-in-one appliance that allows the ability to deploy multiple NSX-T components from one OVA appliance. These include the NSX Manager, Policy Manager, and Cloud Service Manager. As show in the post What is VMware NSX-T Manager Unified Appliance and Installation, the installation process is very straightforward and easy to work your way through. Next, we will look at preparing ESXi hosts with NSX-T and NSX-T controller deployment.
Google is updating how articles are shown. Don’t miss our leading home lab and tech content, written by humans, by setting Virtualization Howto as a preferred source.
About The Author