In the last post, we took a look at Installing and Configuring Microsoft Azure Backup Server. The latest version of the product allows backing up VMware virtual machines and also replicating these backups to the Azure Cloud. Pretty cool indeed! As shown, installing and configuring the MABS product is a fairly straightforward process that involves a bit of configuration from the Microsoft Azure side, configuring a Recovery Services Vault, then on-premise with installing the Microsoft Azure Backup Server. In this next post, we want to take a look at how to Connect VMware vCenter to Microsoft Azure Backup Server. In other words, what does the process look like to actually get VMware vCenter Server connected with Microsoft Azure Backup Server where we can then create a Protection Group that includes VMware vSphere virtual machines. Let’s see what this looks like and the steps involved.
Connect VMware vCenter to Microsoft Azure Backup Server
There are essentially four steps involved according to the Microsoft documentation. The following steps are documented as those we need to accomplish to get our VMware vCenter Server connected to Microsoft Azure Backup Server.
- Download the vCenter Server certificate to import into Microsoft Azure Backup Server
- Create a vSphere user and role to use in making the connection from MABS to vCenter for backups
- Add the vSphere user to MABS
- Create the actual vCenter Server connection in MABS
For the purposes of this post, I will be skipping step number two in the process as I am carrying out the setup in a home lab environment, so I am simply going to use my vCenter Server SSO administrator. You don’t want to do this in production however, so make sure to create the vSphere user/role with the needed permissions as documented.
Download and Import the vCenter Server Certificate for MABS
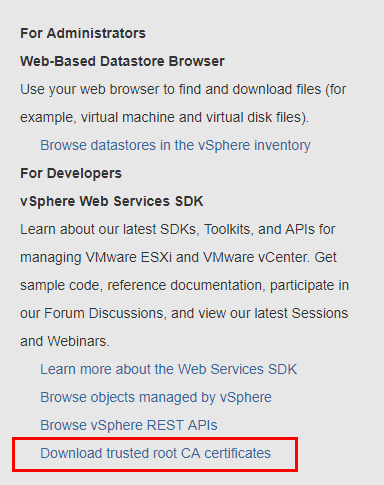
Below, I have navigated to the HTTPS web frontend for my VCSA 6.5 appliance – https://<your vcenter server IP or FQDN>. Over on the right-hand side of the web page, you will see the menu listed under the For Administrators section. Down at the bottom, notice the Download trusted root CA certificates.
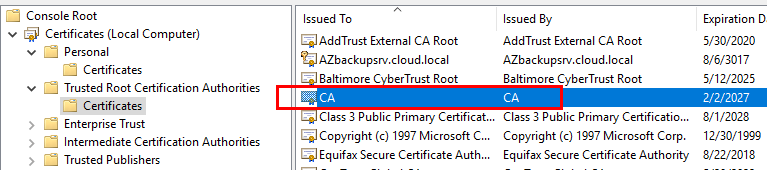
I am fast forwarding here a bit, but after you download the certificate, you will want to import the certificate into the Trusted Root Certification Authorities. I had to look at it a bit after importing, as I didn’t see my FQDN listed for my VCSA 6.5 appliance as you normally see when you import a self-signed certificate. You look for the hostname generally. However, it was listed as CA and CA in my environment.
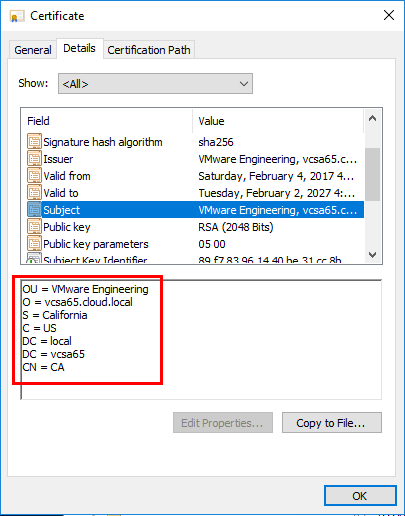
Just a quick double check on this and the certificate is definitely the VCSA 6.5 appliance.
Add vCenter Server User to Microsoft Azure Backup Server
Getting your MABS server connected to vCenter Server is a two-step process. You first, add the user you want to utilize to make the connection, and then you configure the actual vCenter Server connection. Let’s see how to add the user credentials first as this is step one.
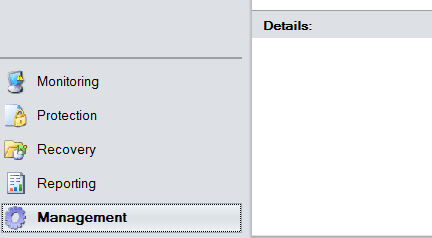
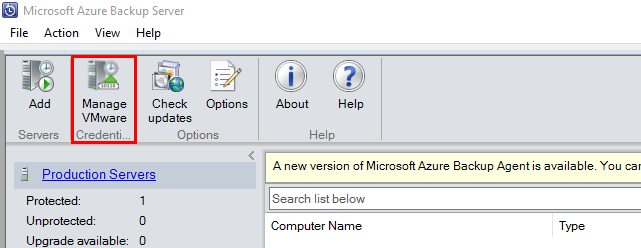
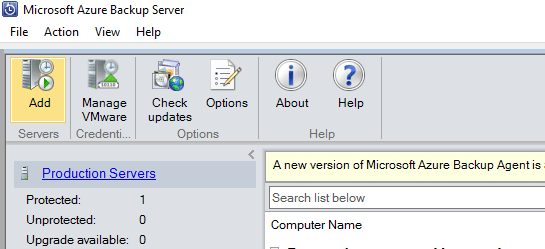
Down at the lower left hand corner of the MABS console, click the Management menu.
At the top of the screen click the Manage VMware Credentials button.
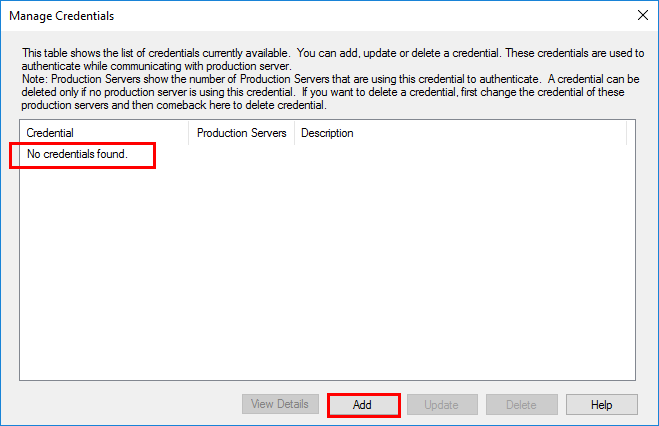
As expected, the No credentials found message is displayed as we haven’t added vCenter credentials as of yet. Click the Add button.
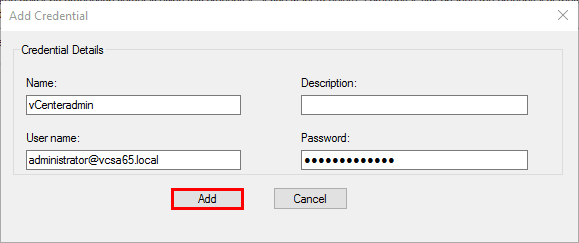
A simple dialog box allows adding your vCenter Server user. Again, here I am simply using my SSO administrator user for making the connection. In production, don’t do this. Click Add.
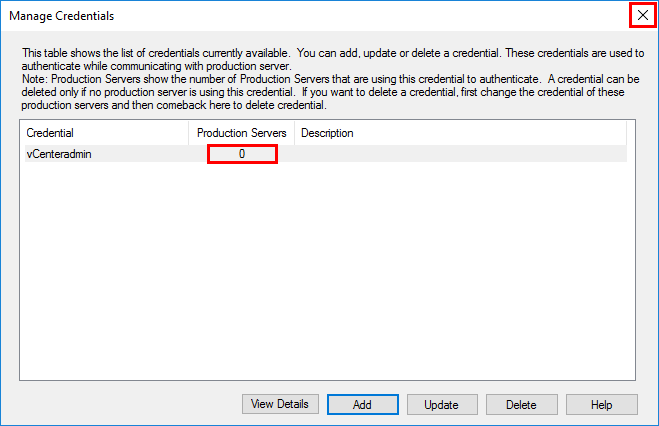
Now, on the Manage Credentials dialog, we see our new user added. Notice the Production Servers column is showing 0 since we are not using this credential in any protection groups as of yet. Simply hit the “X” to close the manage credentials dialog.
Create the VMware vCenter Connection in Microsoft Azure Backup Server
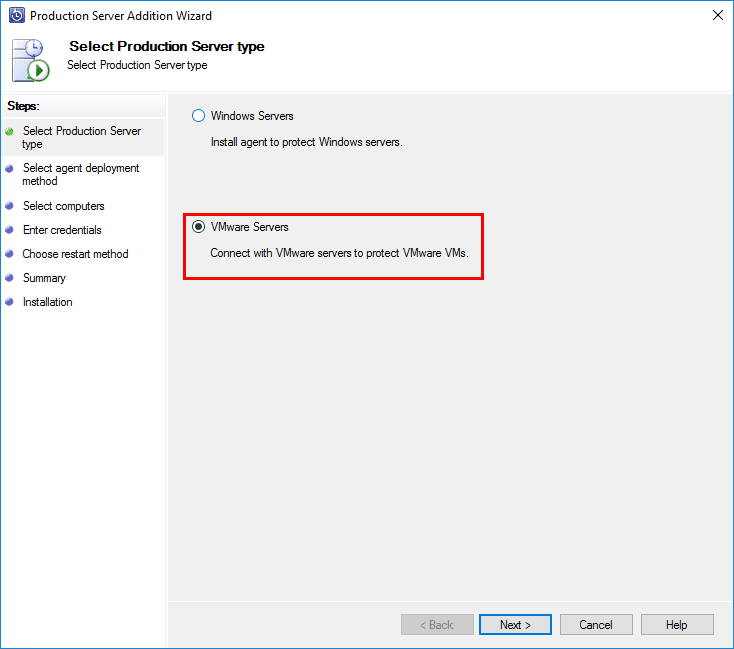
On the management menu, we simply click the Add button at the top left to initiate the Production Server Addition Wizard.
On the Production Server type select the VMware Servers option.
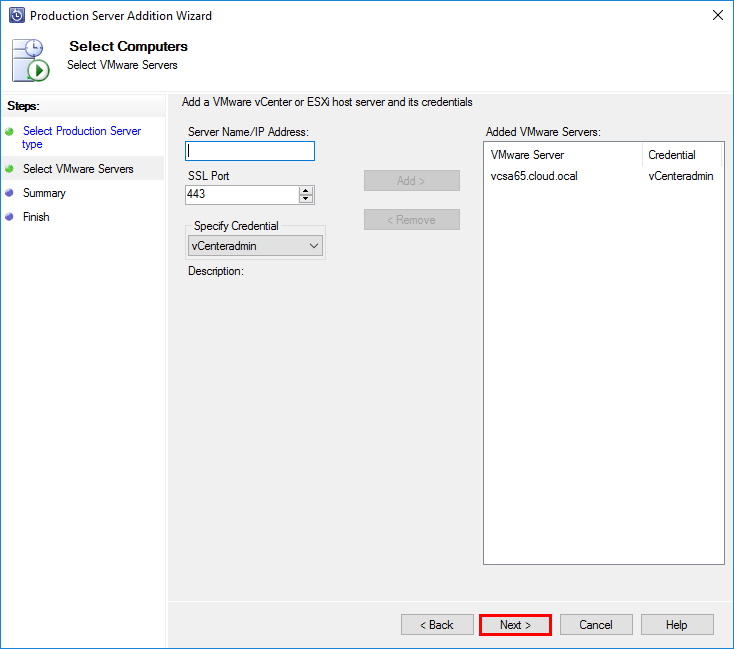
On the Select VMware Servers page, enter the name of the Server Name/IP Address as well as on the Specify Credential on the dropdown menu, select the entry that was created in the Manage VMware Credentials page. Click the Add button. Also, for those with an attention to detail, you will see in the walkthrough, I misspelled my FQDN.
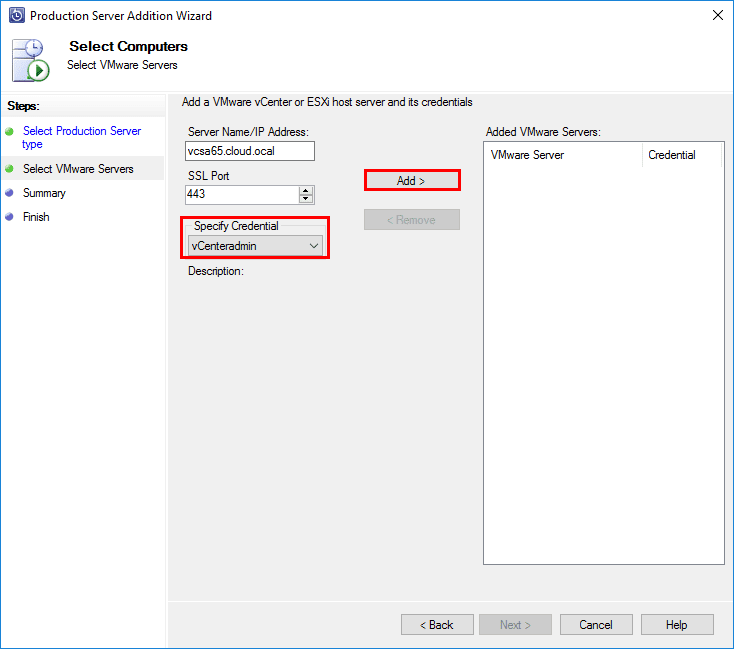
The serveris added to the Added VMware Servers menu.
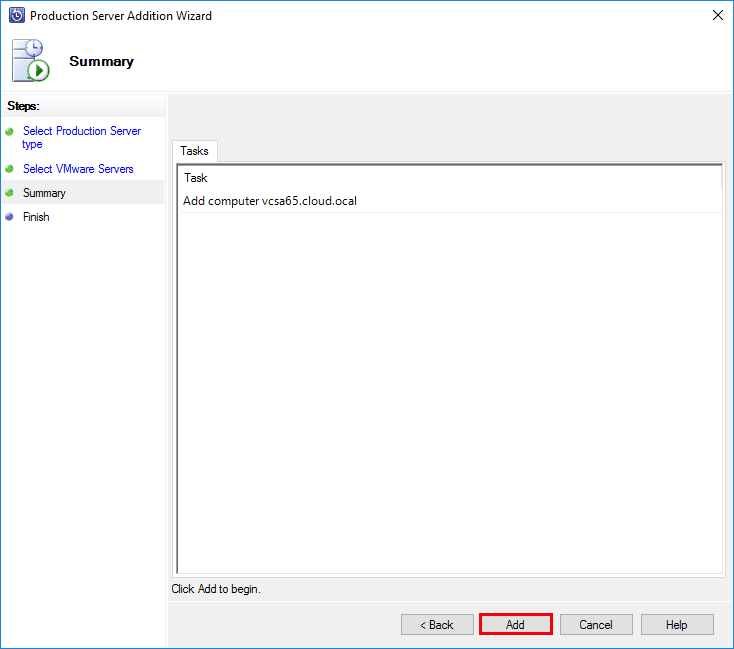
On the summary screen, you will see the vCenter server listed, ready to be added.
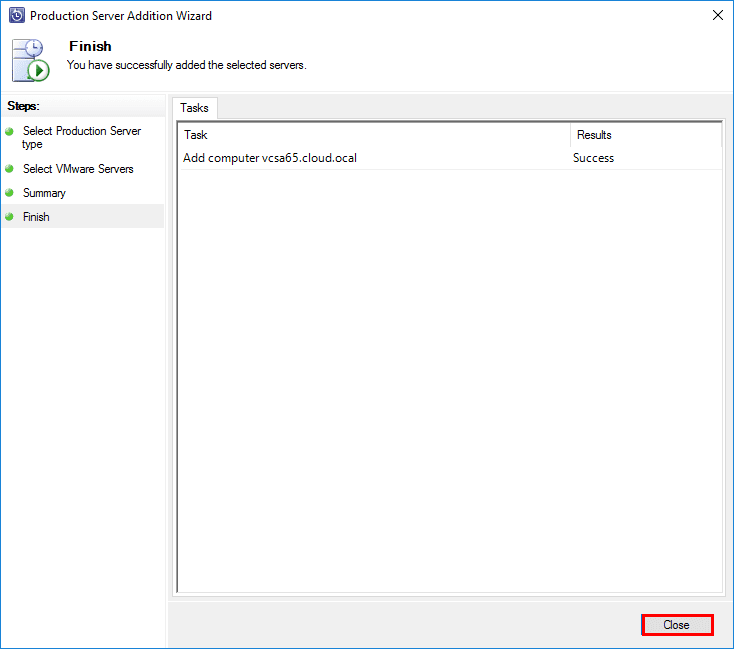
The vCenter Server has been added successfully.
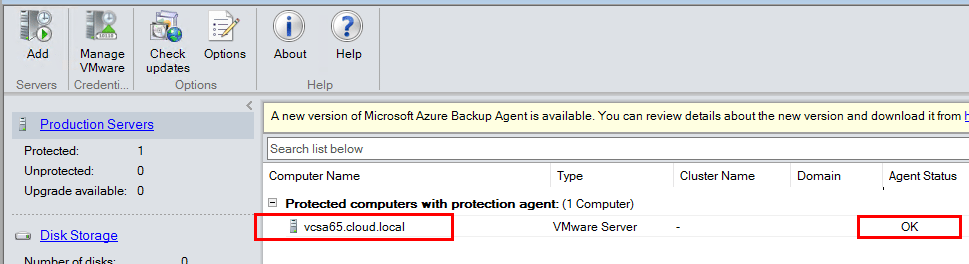
If you navigate back out to the Management screen, you will see the Protected computers with protection agent listed and you will see the vCenter Server connection with an Agent Status of OK.
Takeaways
I found the process to Connect VMware vCenter to Microsoft Azure Backup Server fairly straightforward. Adding credentials first before adding the connection seems a bit awkward, but didn’t present any real challenges. In my lab environment, the vCenter Server connection was added successfully and was quickly ready to start adding a protection group. In the next part, we will look at adding a VMware protection group to Microsoft Azure Backup Server.
Google is updating how articles are shown. Don’t miss our leading home lab and tech content, written by humans, by setting Virtualization Howto as a preferred source.
About The Author