Upgrade to VMware ESXi 6.5 Update 1 using VUM

With the release of vSphere 6.5 Update 1, we now have for many what is the release of 6.5 they were looking for as a valid upgrade candidate to their ESXi environments. Previously, we looked at upgrading our VCSA 6.5 appliance to 6.5 Update 1 via the VAMI interface which is super easy. Let’s take a look at how to Upgrade to VMware ESXi 6.5 Update 1 using VUM with the vSphere 6.5 Update 1 VCSA appliance.
Upgrade to VMware ESXi 6.5 Update 1 using VUM
The process using VUM is the same as previous updates using VUM and requires us to attach the default baselines to a server, scan for updates, place in maintenance mode, and then remediate the ESXi host with the 6.5 Update 1 update and other patches.
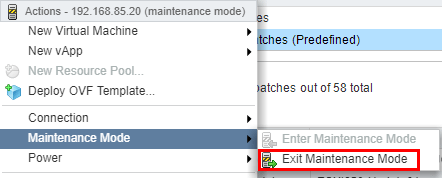
The first thing we want to do to get ready for the Upgrade to VMware ESX 6.5 Update 1 using VUM is place our host in maintenance mode.
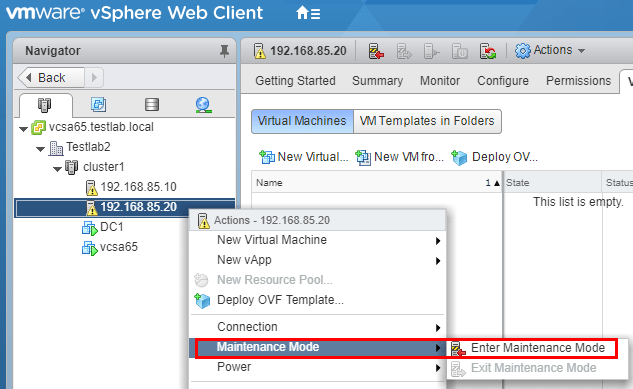
We will confirm moving powered-off and suspended virtual machines over to other hosts in the cluster.
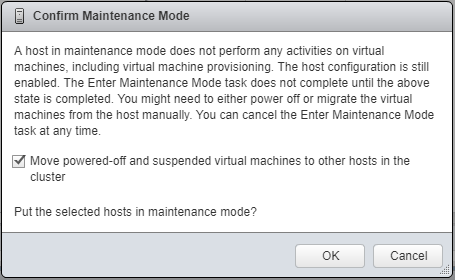
Now, we see our host successfully placed in maintenance mode.

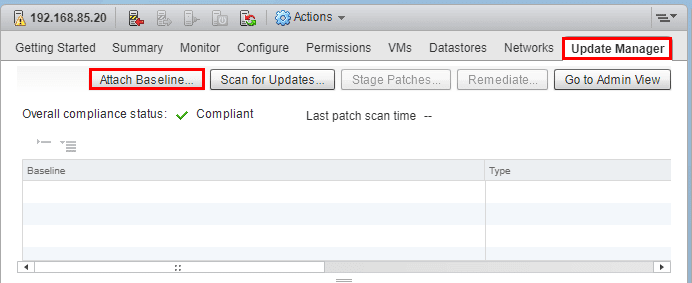
While the host is highlighted in the VCSA web client, navigate to the Update Manager tab and click the Attach Baseline button.
Here, we select the Default patch baselines which will see the available ESXi 6.5 Update 1 update available along with the latest drivers.
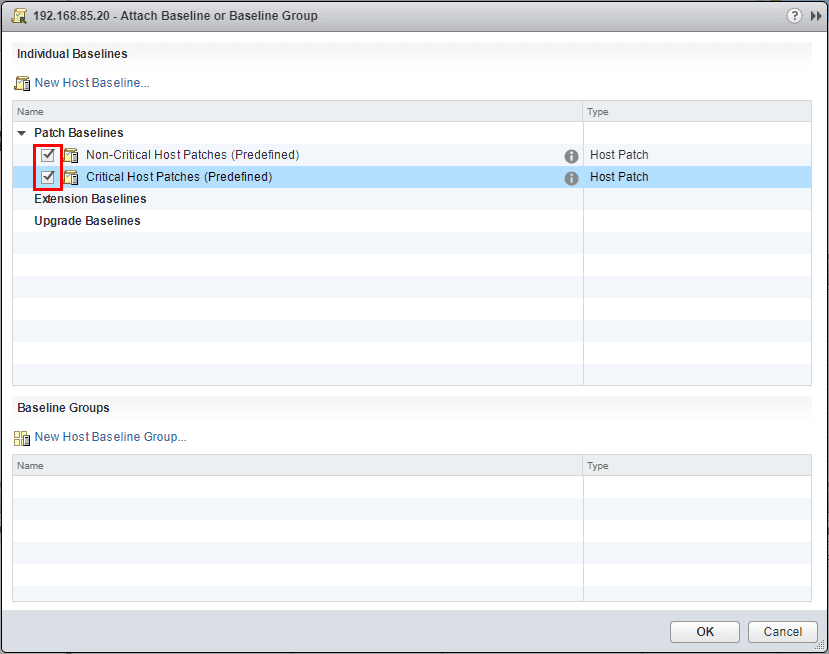
Notice below we have the baselines applied now so we can Scan for Updates.
We will be prompted to choose which updates to scan for. Both are selected by default.
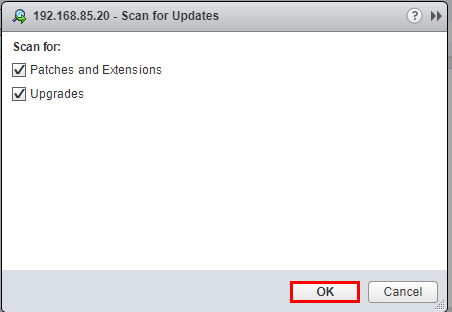
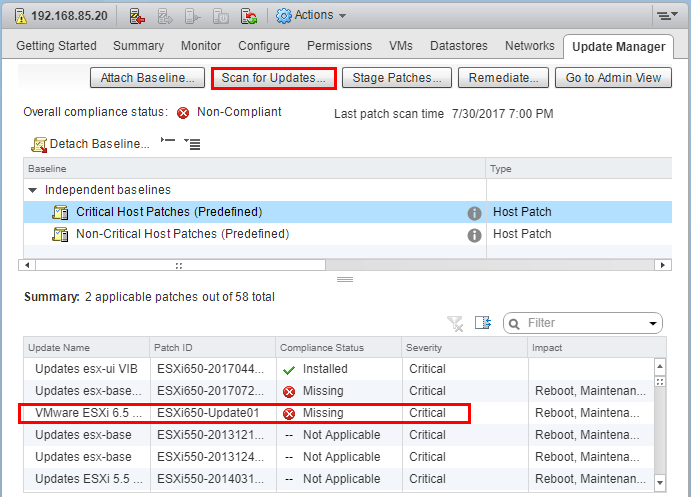
As we can see below, the Scan for Updates yields the ESX 6.5 Update 1 update available. We see it show up as Missing.
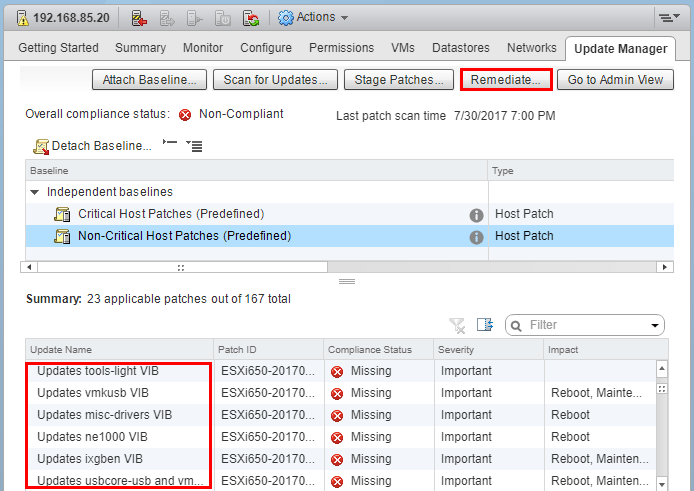
Now, we can Remediate our host. Click the Remediate button to start the Remediation wizard.
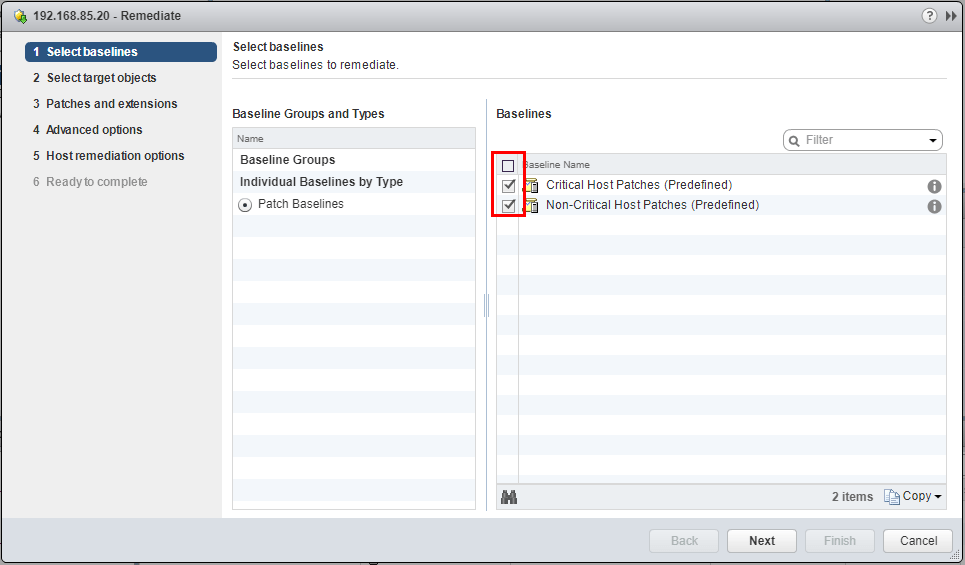
The Remediate wizard begins. First, we select our baselines.
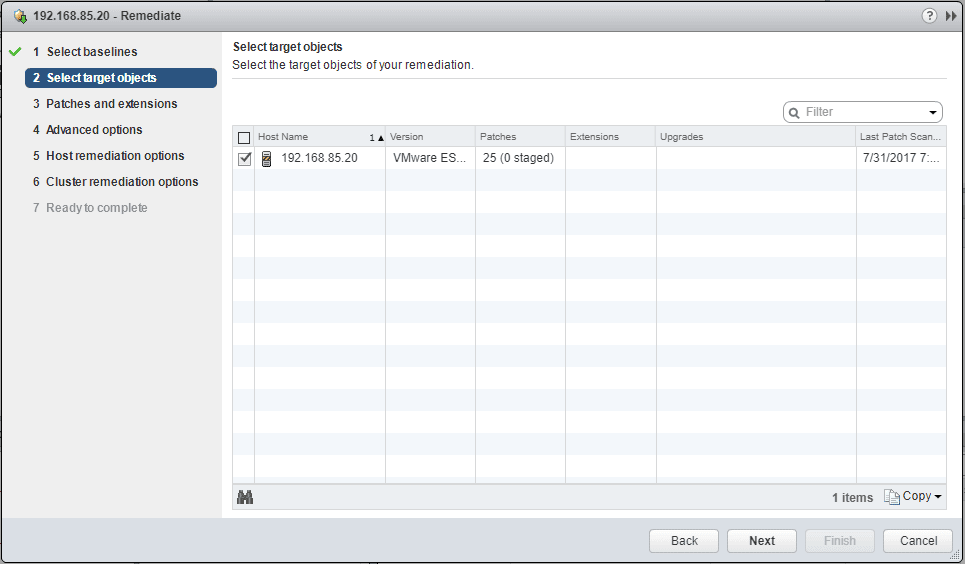
We can select our host(s) on the target objects screen.
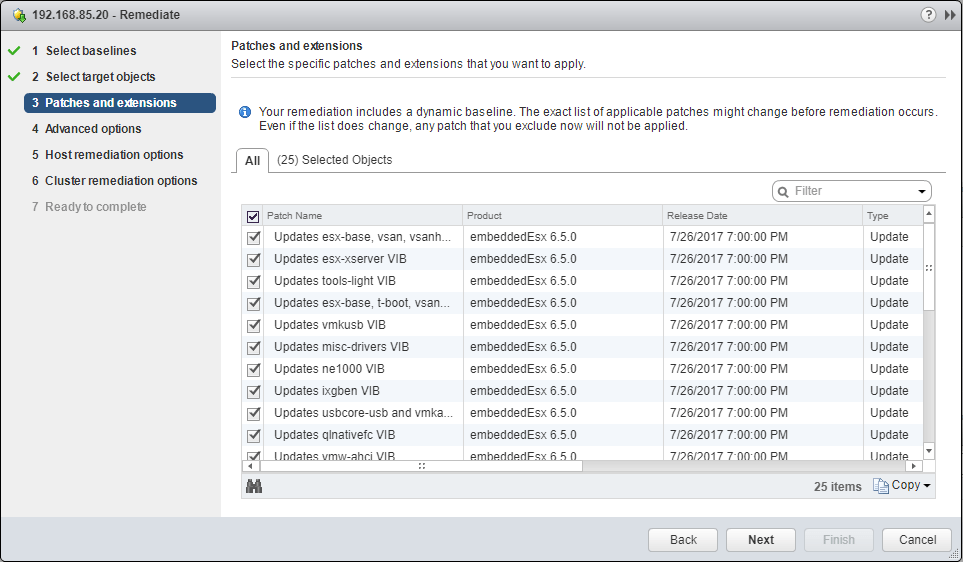
We can choose to exclude patches if we want on the Patches and extensions screen.
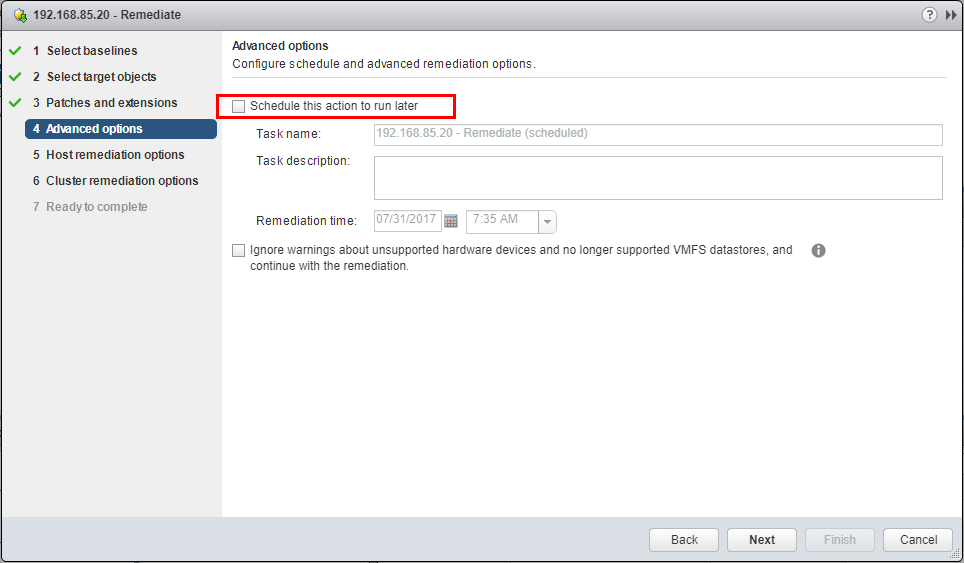
A cool feature with VUM as well is that we can also Schedule the update(s) to happen later, i.e. maintenance window, etc.
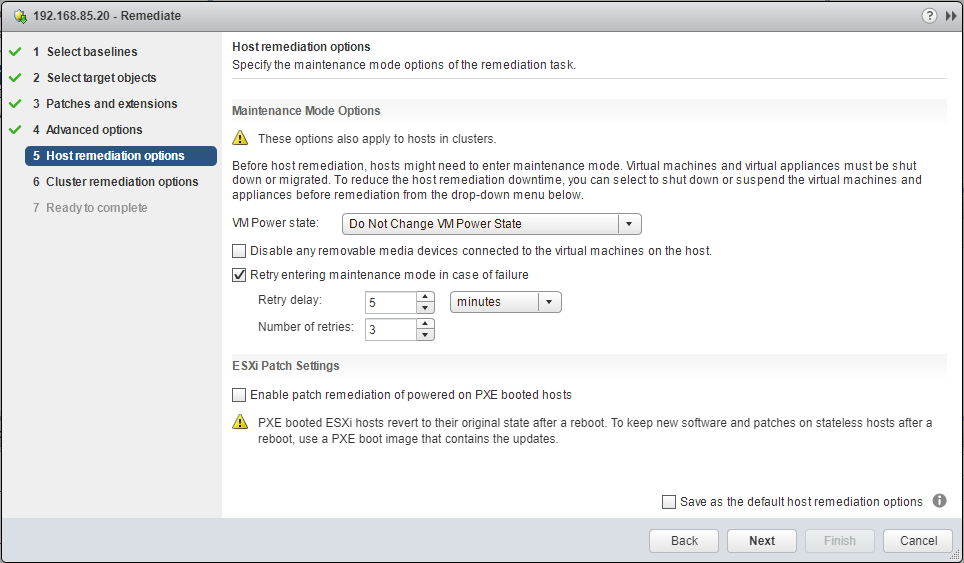
We have a number of Host remediation options we can configure. Below, defaults were left selected.
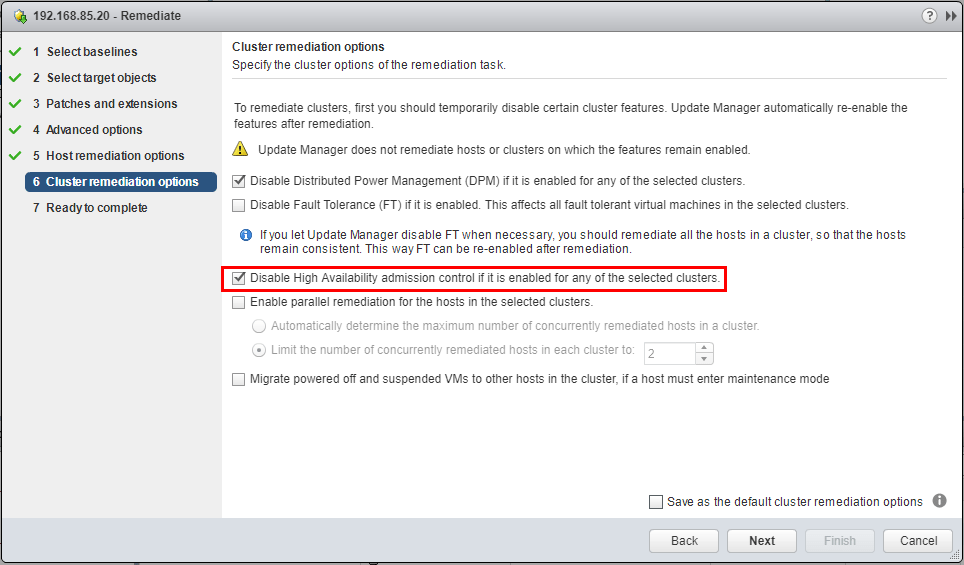
It is a good idea to Disable High Availability admission control if it is enabled for any of the selected clusters setting as it can cause issues in automated processes such as the VMware Update Manager.
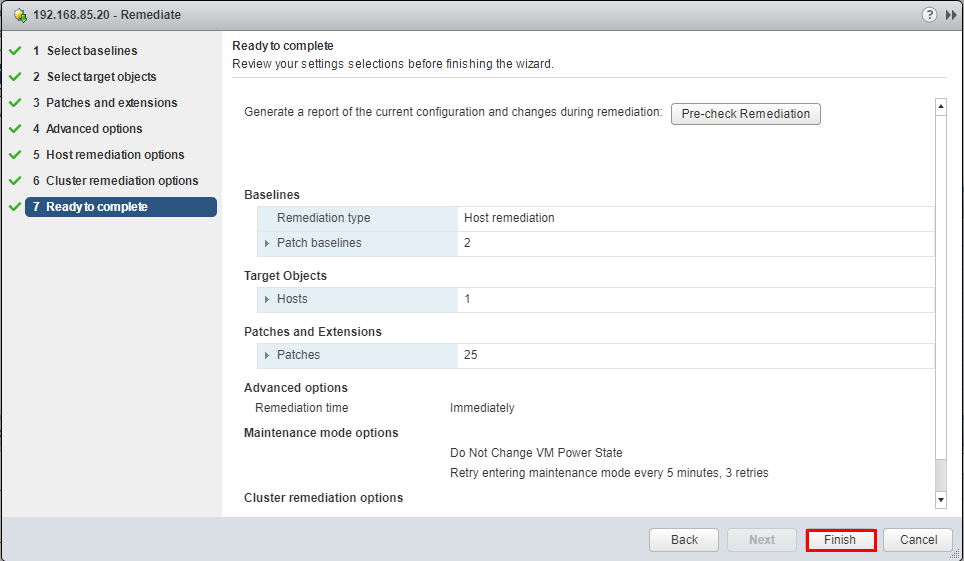
Finally, we can complete the Remediate wizard and begin the remediation/installation of ESXi 6.5 Update 1.
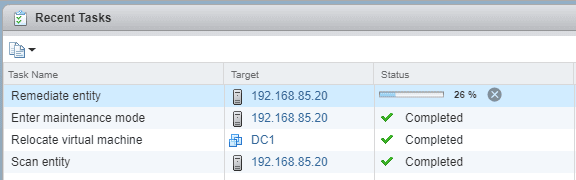
We can monitor the process of the Upgrade to VMware ESXi 6.5 Update 1 using VUM in the vCenter VCSA recent tasks window. We see the Remediate entity operation start.
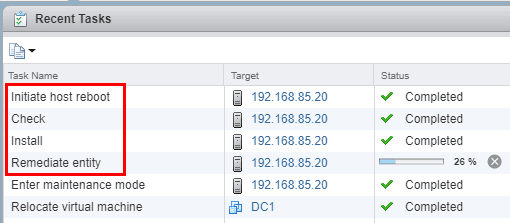
Eventually, we should see the Initiate host reboot operation initiated which signifies the updates have been installed and the host is being rebooted.
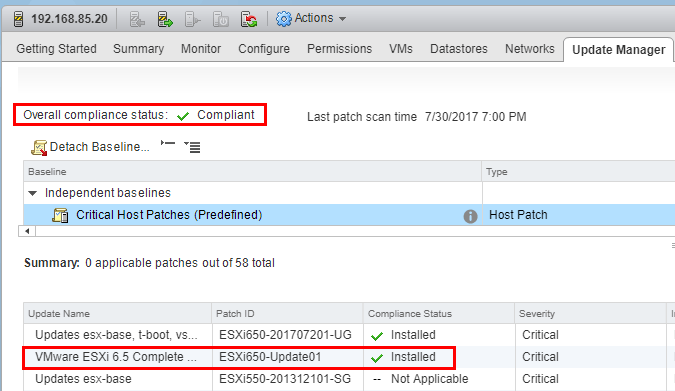
After the host finishes the reboot and comes back online from the Upgrade to VMware ESXi 6.5 Update 1 using VUM, we can scan the host again and we should see the Overall compliance status as Compiant. Note also we see the ESXi 6.5 Update 1 patch has been Installed.
Finally, we can Exit Maintenance Mode.
Concluding Thoughts
As shown the process to Upgrade to VMware ESXi 6.5 Update 1 using VUM is easy and rock solid. The update for me didn’t take long at all and the new features provided by vSphere 6.5 Update 1 are well worth the time it takes to get it applied to your vSphere environment. Next, we will look at how to upgrade VMware ESXi 6.5 Update 1 using command line.