Install VMware Pester PowerCLI Configuration Management
PowerShell can do so many cool things for us not just from an automation standpoint but also from a configuration management standpoint. I wanted to help give some visibility to a great bit of PowerShell PowerCLI code called Vester that was authored by Chris Wahl (open source with many contributors as of today). Many know of Chris in the VMware and PowerShell world as he has contributed greatly to many different projects aside from Vester. Vester uses PowerCLI and the PowerShell Pester module for configuration management in VMware vSphere environments. However, how do we install VMware Pester PowerCLI configuration management? Consider our run through below as a summary of sorts.
Install VMware Pester PowerCLI Configuration Management
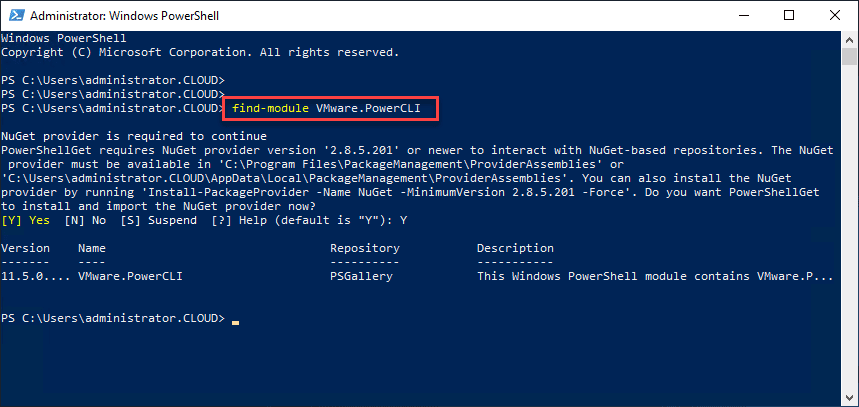
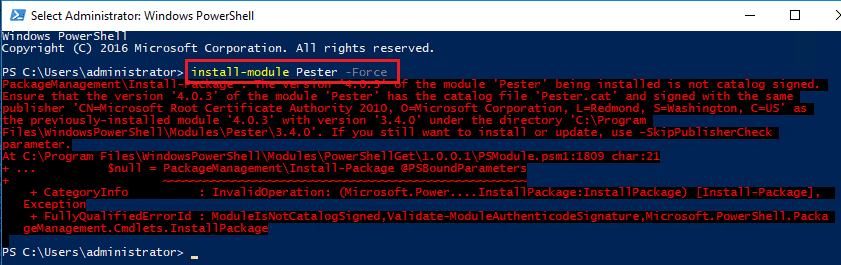
To get started, let me mention prerequisites. You need to have PowerCLI installed of course, and need to be running the latest and greatest – 6.5.1. There is a new way to install PowerCLI, so if you haven’t heard about that, you can read our post here on the new process. Also, make sure you are running Windows Management Framework 5.1 for the latest PowerShell environment. Finally, we need Pester installed. To get Pester installed, you can simply run the install-module commandlet to pull down the module. As you can see below, I am using the -Force parameter as I already had an older version installed, so to allow multiple versions to be installed, you can use the additional -Force parameter.
install-module Pester
install-module Pester -Force (if older version is installed)
install-module Pester -Force -SkipPublisherCheck (skips publisher cert check)
Additionally, I had a catalog publisher error below which was resolved with the SkipPublisherCheck. This may have had to do with the older version I had installed, but I didn’t test this on a clean system so your results may vary.
After I installed the Pester module, it was on to installing Vester. To install Vester, the process is the same. Simply use the install-module commandlet.
install-module Vester

Connect vCenter and Create your JSON file
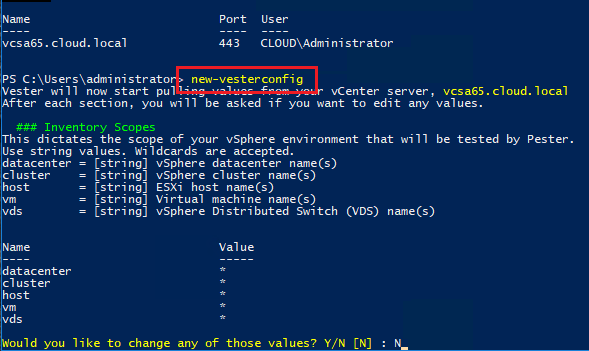
The first commandlet to run after you have established connectivity to your vCenter server is the new-vesterconfig commandlet. This is the commandlet that creates your JSON file that acts as your baseline configuration template. You can also choose to change the scope of any of the default values in your Datacenter as well. Here I am simply accepting the defaults.
After the new-vesterconfig commandlet runs, we get the notice that our config.json file is created in the C:Program FilesWindowsPowerShellModulesVester1.0.1Configs folder.
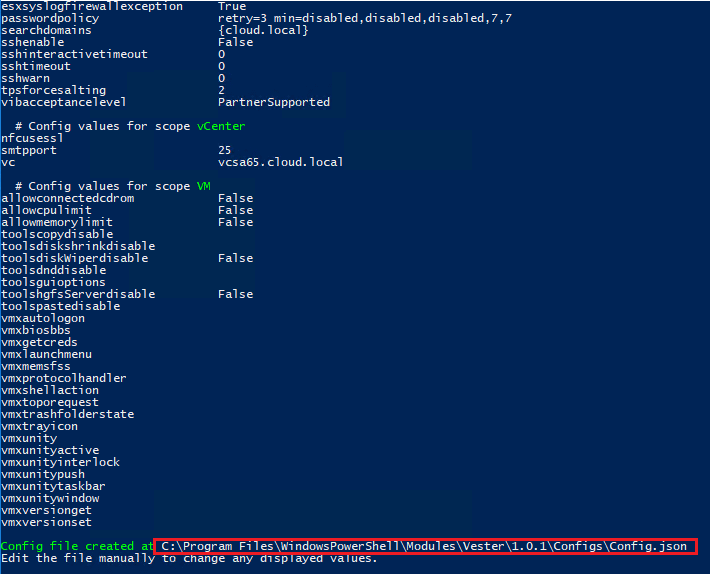
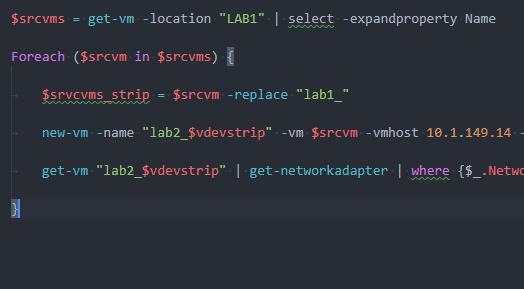
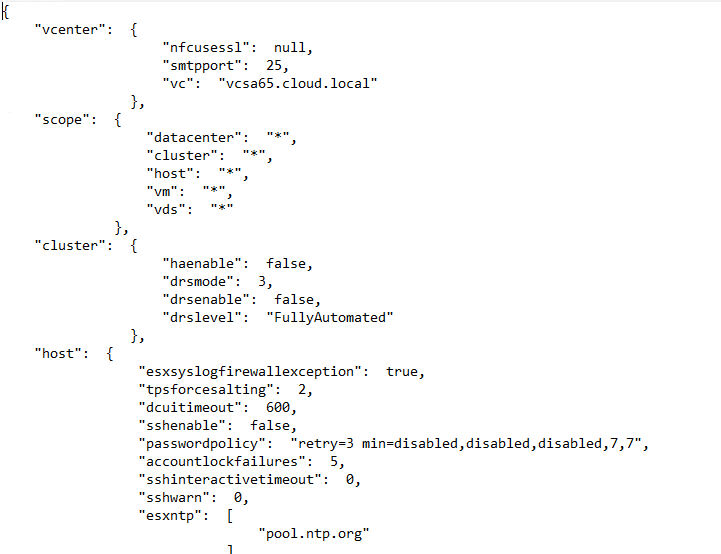
We can take a look at the json file if we wish. Below is a snippet of the file that was created for my environment.
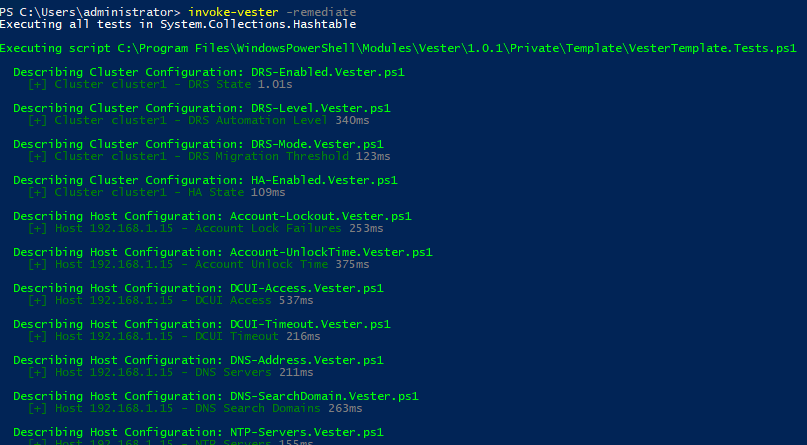
If you want to remediate any changes in the environment, you can use the invoke-vest -remediate commandlet. It is wise here as well to use the -whatif commandlet to see what changes will be made if we remediate.
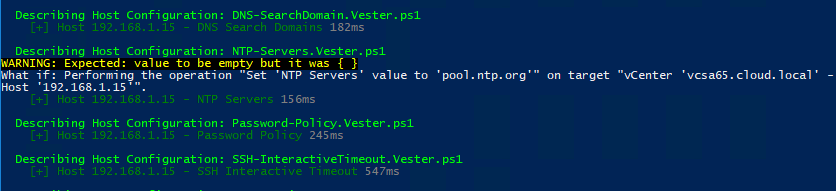
To test changes being picked up, I changed the NTP settings for my host. When I ran the invoke-vester -remediate -whatif commandlet, the changes were picked up and as you can see the -whatif operation was performing the Set NTP Servers operation.
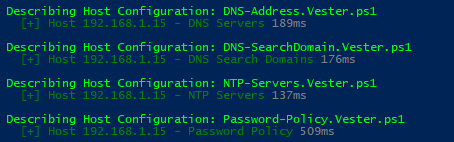
After I ran the -remediate without the -whatif parameter, the changes were made, and another run of Vester indeed showed the NTP settings to be in line with the config.json.
You can also create your own Vester tests as well. So the sky is the limit with the configuration management possibilities with this module.PowerPo
Thoughts
Hopefully this short run through of how to install VMware Pester PowerCLI configuration management will shed light on this great FREE tool for configuration management in your vSphere environment. This project is constantly changing and being improved upon by those in the community. Take a look at Chris Wahl’s post here on Vester for more background on the project. Also, you can check out the project on Github.