Veeam Windows Agent Bare Metal Restore to VM
A few days ago I wrote a post about the Veeam Windows Agent Beta Install and Configuration which showed the installation and config of the new Beta 2 of the Windows agent. Let’s take a look at a common scenario of taking a physical box and P2V’ing that box to a VM by using the Veeam Windows agent. I wanted to see the process of dumping a backup of a physical server into a shell VM and any hiccups that one might experience doing that. Let’s look at the Veeam Windows Agent Bare Metal Restore to VM process.
Veeam Windows Agent Bare Metal Restore to VM
To setup my lab test here, what I did was create a backup of a physical SQL server that had multiple volumes for data, logs, and backups on top of the operating system volume. The server is Dell hardware with Windows Server 2012 loaded, running SQL 2014.
So far as I can see in the Windows agent interface from your Veeam Backup and Replication 9.5 update 1 interface, there is not a slick way to export if you will the physical backup to a VM in one fell swoop. This would be desirable and make this process much easier. You CAN run the “export disk contents as virtual disks but you only have the raw VMDK files exported, no VMX file created, etc.
Also, if you only have 20 gigs worth of data in the backup of the server and the disk size is 1 TB, Veeam will export the raw VMDK files as thick provisioned disks so you will have to wait on entire size of the disk to export instead of just data.
With the above being said, the most desirable option here is to boot from the VeeamRecoveryMedia.iso file that is created when you create your recovery ISO for the physical server. Veeam prompts you to do this when you first run the backup configuration.
What I did was copy this ISO to my VMware lab environment and then create a shell VM with blank hard disks to match the size of the backed up server. By booting from the ISO we have the option to run the bare metal recovery. Let’s see what that process looks like.
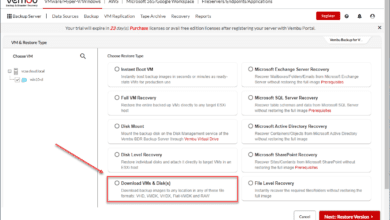
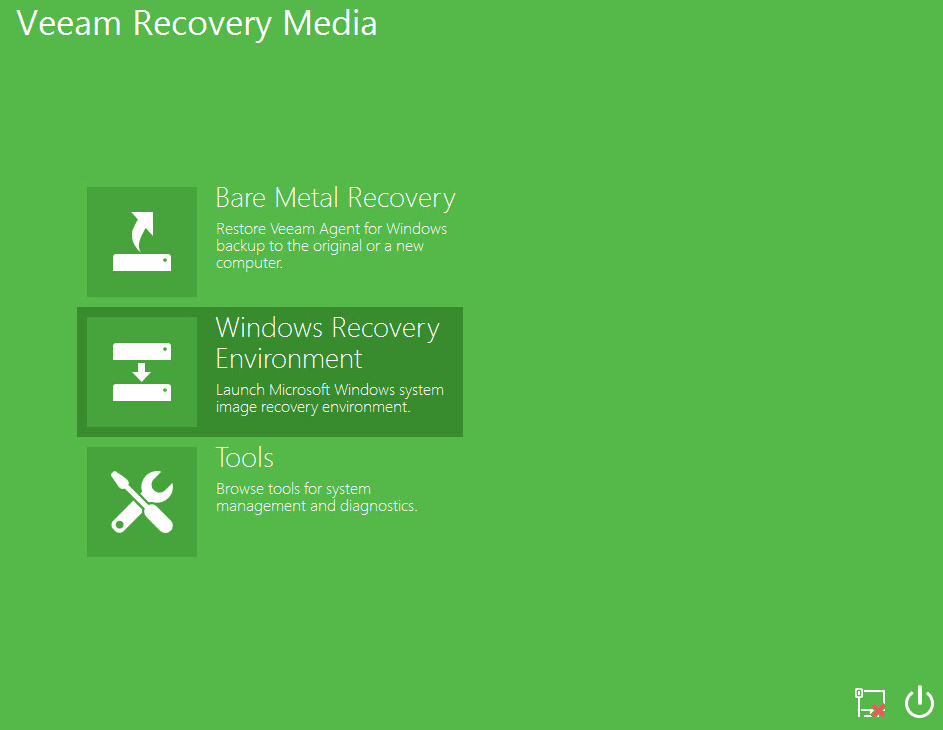
When you boot from the Veeam Recovery Media you boot to a spash screen with a few options. Here we want to choose the Bare Metal Recovery option.
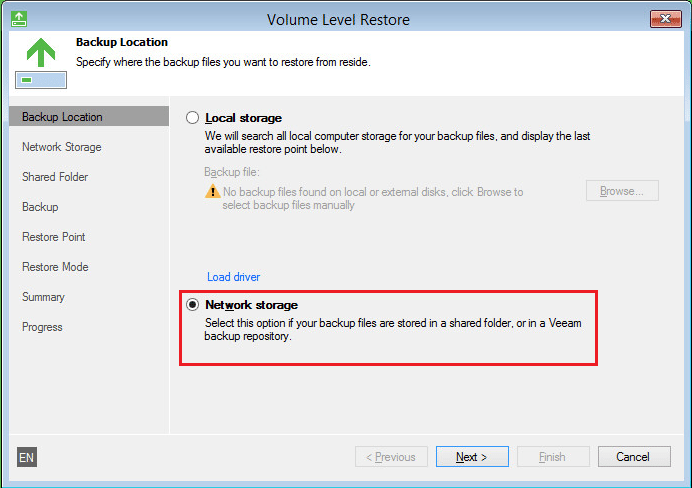
We next choose Network storage.
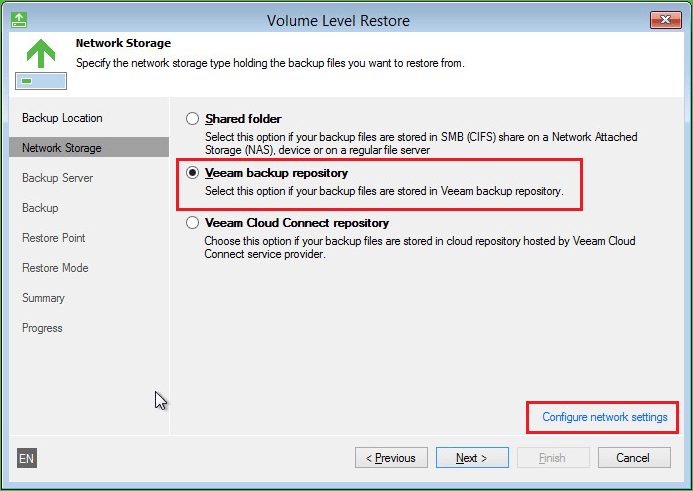
Select Veeam backup repository. Also, we can click the configure network settings if you have no DHCP server running or need to make other network configuration changes for connectivity.
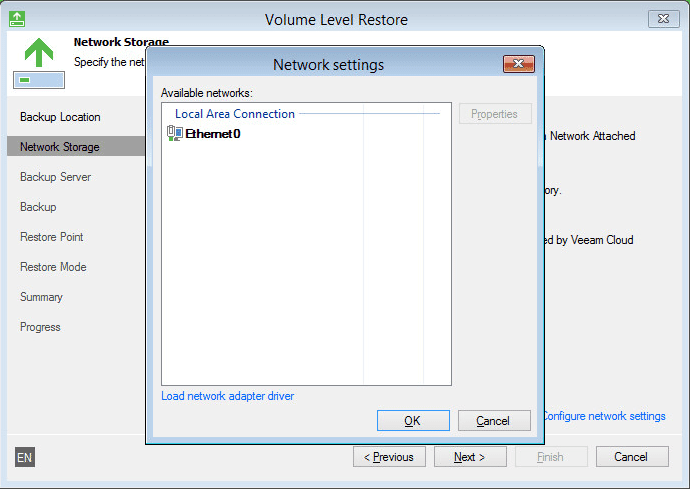
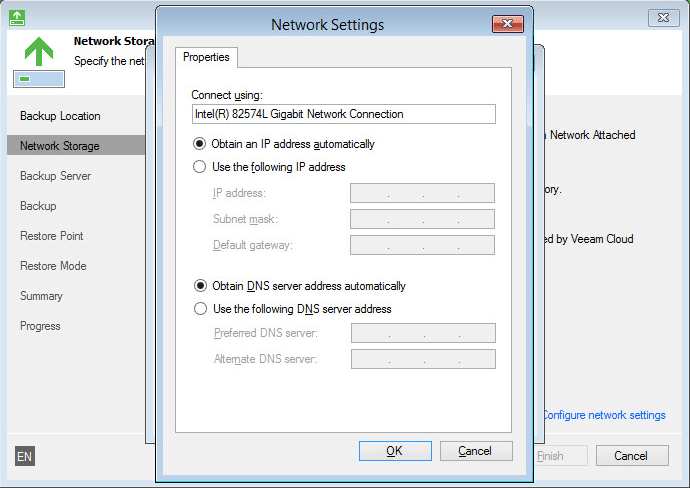
To show what this looks like, after clicking the configure network settings we get a screen that shows our available network adapters or if we need to load network drivers, we can do that here.
If we look at the properties, we set an IP address here.
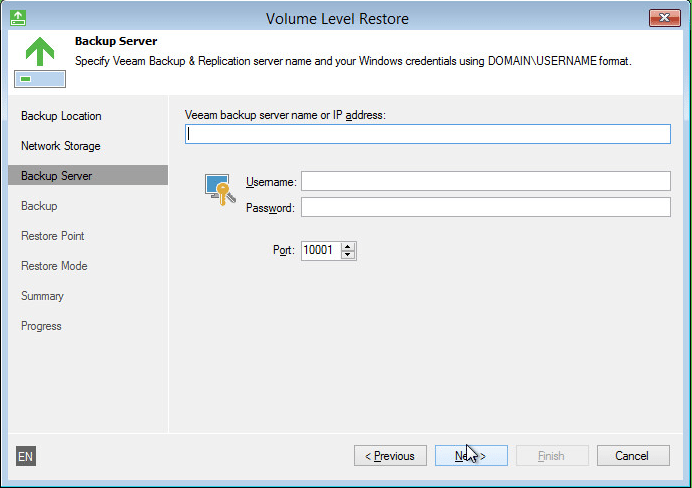
Next we need to populate our backup server and then enter credentials with permissions to connect.
Next, we select the particular backup job we want to pick a restore point from.

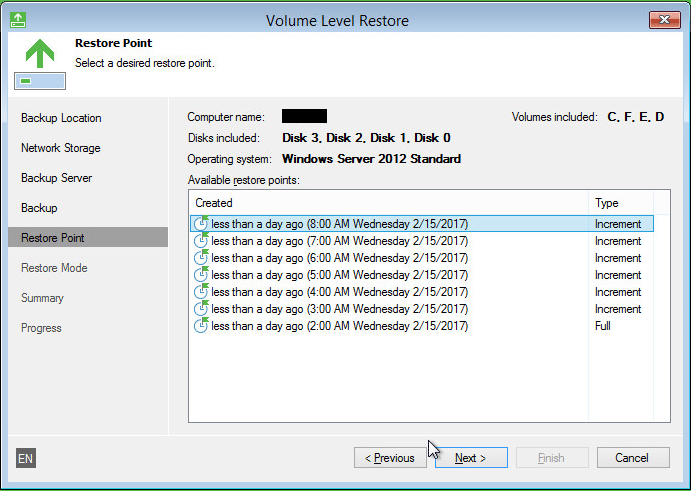
Next, we choose a restore point.
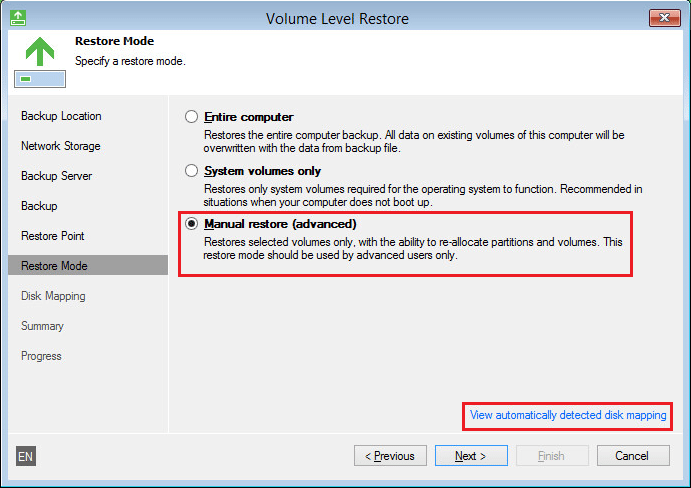
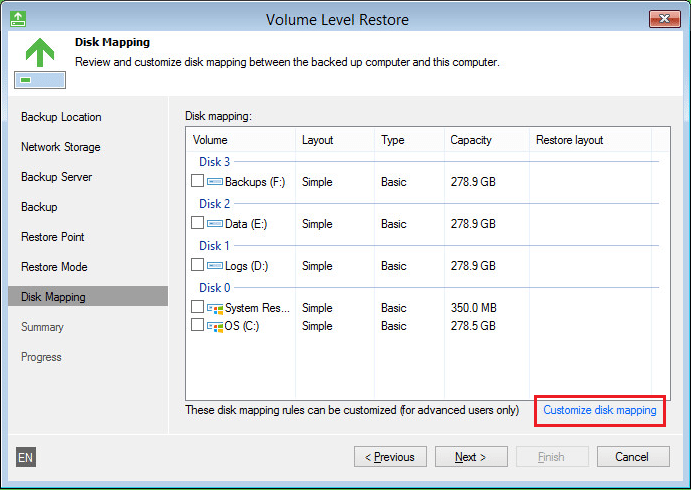
Here we can choose to restore entire computer, system volumes only, or manual restore (advanced). I chose the manual restore. You can also select to view automatically detected disk mapping if we want to see what Veeam is recognizing as our disk layout and how it will automatically restore.
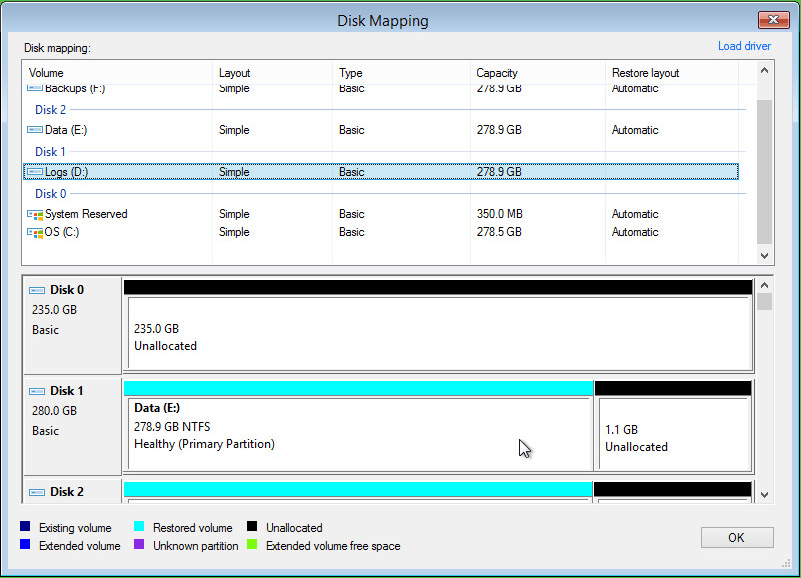
It brings up what looks like disk management console to show us the mapping.
I chose to customize disk mapping which lets you manually map the disk to the particular volume backup that Veeam has with the backup point.
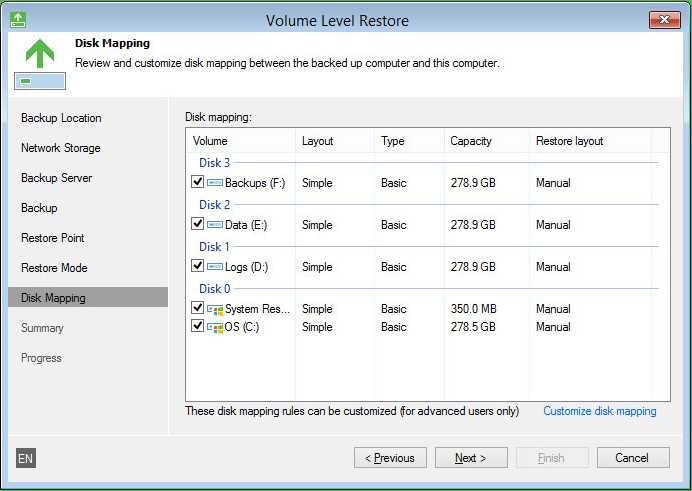
Notice now the restore layout shows Manual since I have manually mapped them.
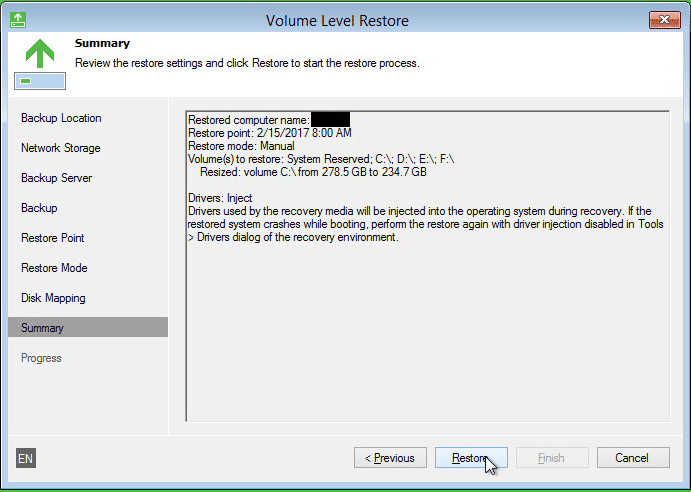
Finally, we get to the Summary screen showing us our chosen options.
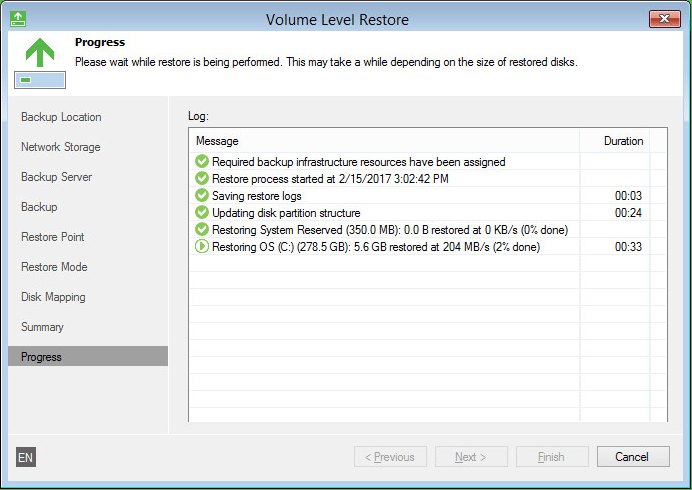
The restore begins.
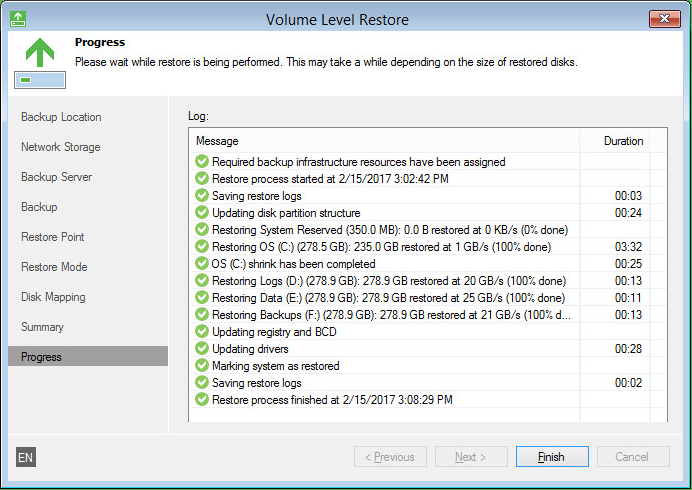
After the data is restored, the process finishes.
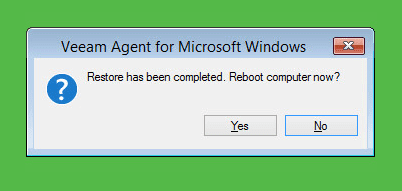
When we click Finish we are prompted to Reboot computer now.
On the first boot, Windows recognizes hardware has changed and of course starts the “getting devices ready” process.
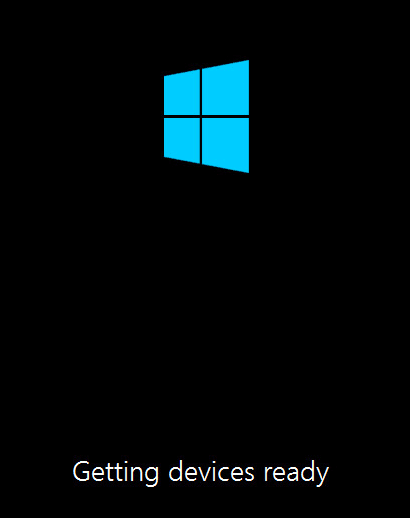
After a short wait the server boots sucessfully.
Thoughts
The Veeam Windows Agent Bare Metal Restore to VM process is not too bad. In my case with a Windows Server 2012 server from Dell physical hardware, the process was fairly painless. My hope here as the product matures is that we might see a better process to go from a physical server install and export that over to a VM without having to manually create a VM, etc.