Nakivo Backup & Replication Backup to Azure
Nakivo Backup & Replication has shown itself to very much be a mature cloud aware and cloud integrated product. This allows Nakivo Backup & Replication to scale and be agile to accommodate the variety of infrastructure designs and layouts of today’s modern hybrid cloud infrastructures. Nakivo Backup & Replication integrates very well with Microsoft’s Azure platform allowing administrators to leverage Azure for both housing transporter infrastructure as well as backup repositories. Let’s take a look at how we can leverage an Azure storage account file share to serve as a backup repository for our on premise Nakivo Backup & Replication appliance.
Nakivo Backup & Replication Backup to Azure
Configuration Considerations
In order to leverage a file share that will serve as a backup repository in Azure, we must have at least one transporter that is configured on a Windows server. This is due to technical limitations of Linux-based or NAS-based Transporters. The transporter service can simply be installed on any Windows Server that is capable of housing the transporter service. Download the install of the Nakivo Backup & Replication Windows installer and run the setup.
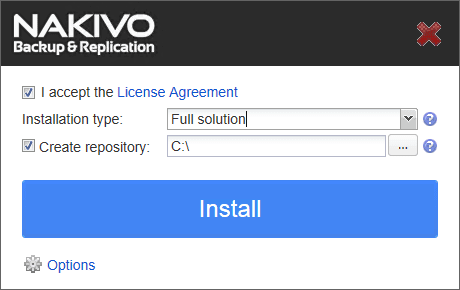
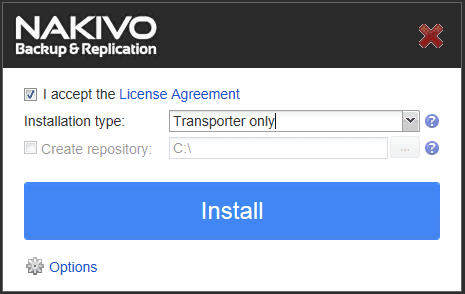
By default the setup will set the installation type to Full Solution. We need to change this to Transporter only.
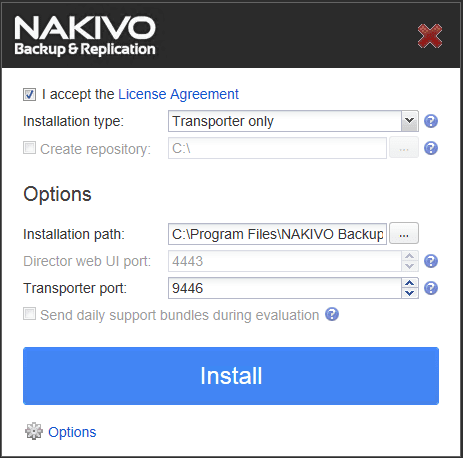
If you drill down into the Options configuration, you can control the location of the installation path as well as the transporter port if these parameters need to be changed.
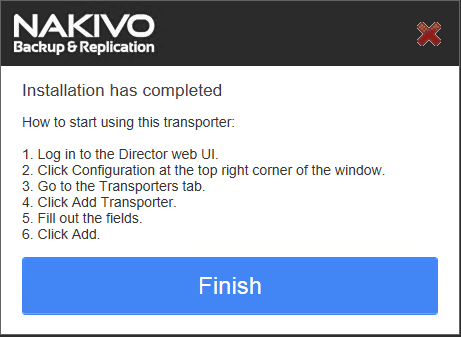
The installer finishes and we can click Finish.
You can also verify the service was installed by checking the Windows services (services.msc) after the install finishes.

Add the Windows Transporter to Nakivo Backup & Replication Configuration
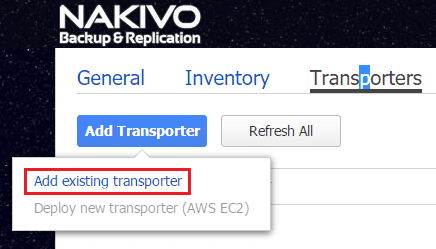
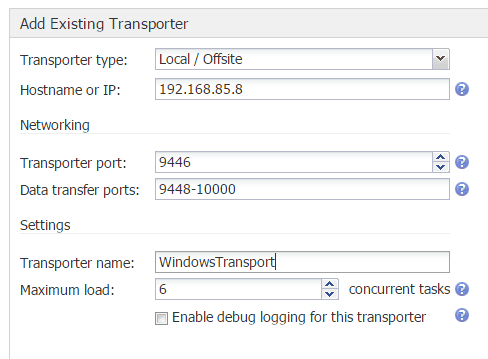
Now we can add the Windows Transporter that we just installed to our Nakivo Backup & Replication configuration, by using the Add existing transporter wizard.
Set the transporter type to Local / Offsite and configure the hostname or IP address. Ports can be configured here as well as the name of the transporter.
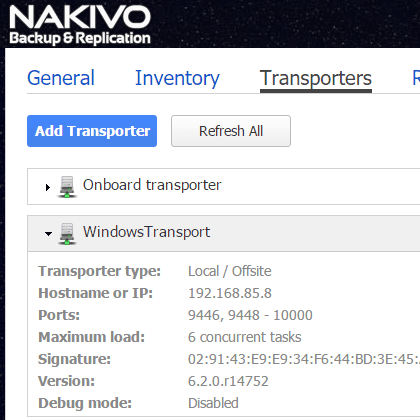
Once we finish adding the transporter, it will be listed in the Transporters configuration.
Configuring an Azure File Share
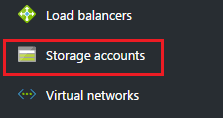
To configure the Azure File Share, we need to login to the Azure portal and navigate to the Storage accounts configuration.
Under the storage accounts, under services you will see the Files configuration button.

Under the files configuration, click the + File Share button to add a file share.
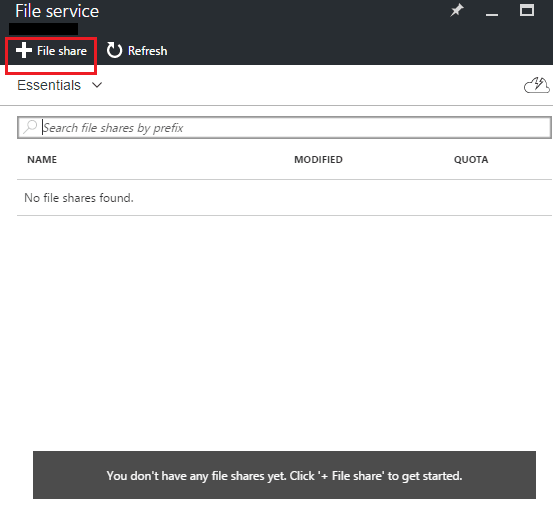
Now we simply need to give the file share a name and assign any quotas that we would like to assign.

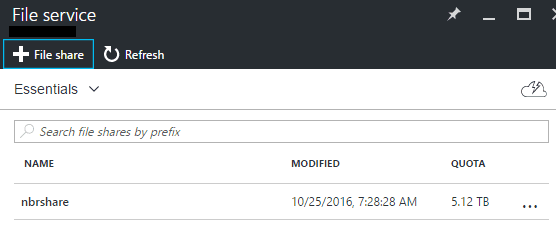
After creating, we can see the new share under the File Service.
Credentials
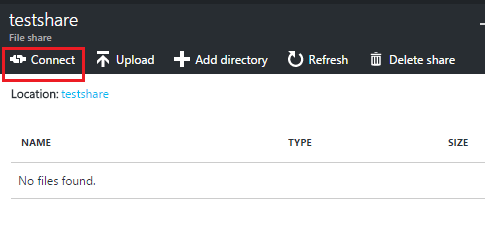
Before we add the backup repository, we need a couple of pieces of information from Azure so that we can authenticate to the new File share. We need to know the user and the access key which serves as a password. An easy way to find the username is to go to click on your File Share name in the Files view and then click the Connect button.
This will show the credentials in a standard net use format where the username is after the /u:
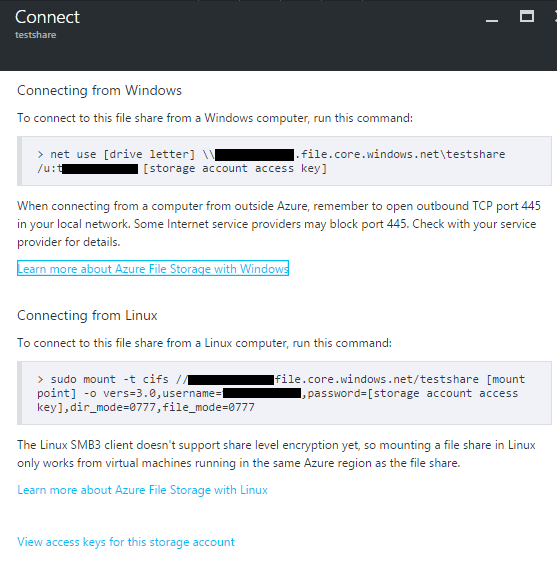
Now for the access key that is used as the password. Simply click the Access Keys button under Settings and you will see two keys listed for authentication. Now with both of these pieces of information we can now add the Repository in the Nakivo Backup & Replication configuration with a minimal amount of configuring. To add the Azure repository we want to Create Backup Repository as the NBR appliance will create a NakivoBackup folder containing the backup location as well as metadata that allows NBR to recognize it as a backup repository.
- Assigned transporter – here we need to make sure the assigned transporter is the Windows transporter to be used to connect to Azure.
- Type – For the Azure File Share, this needs to be set to Remote CIFS share
- To find the username and password, we use the steps listed above.
- We can set any compression or deduplication options we want here as well.
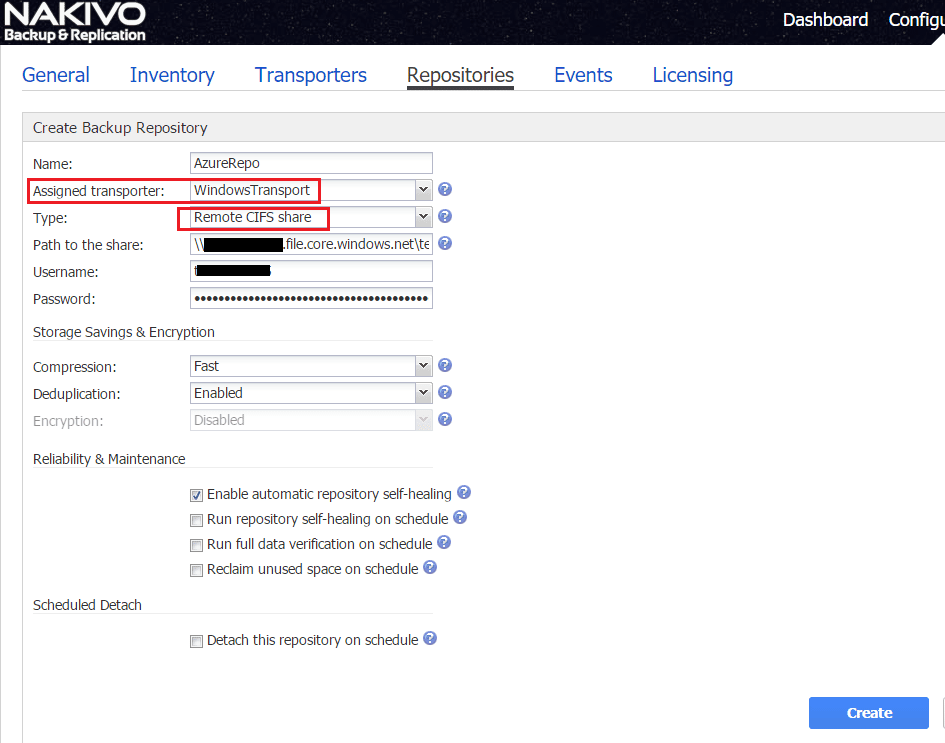
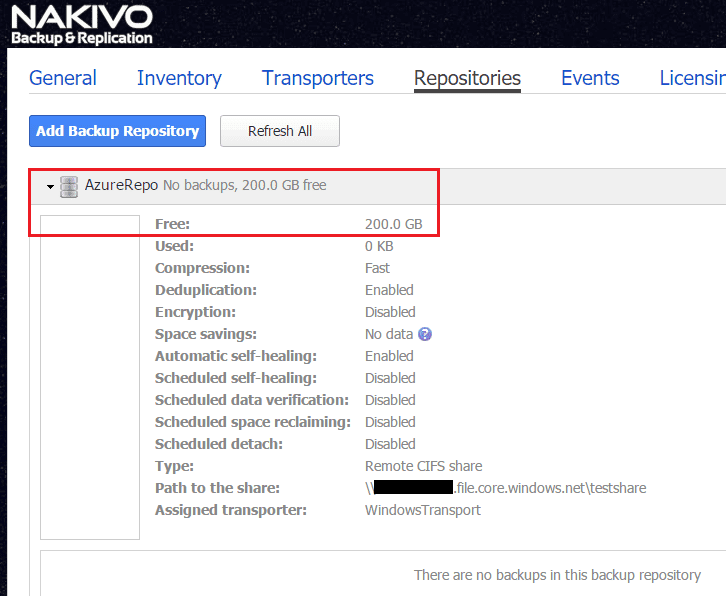
After we click the Create button, the repository should be successfully added as a Backup Repository
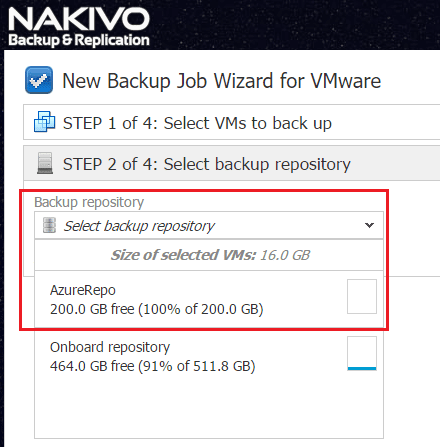
We will now see the new Azure backed Backup Repository available to us when we create a new Backup Job.
We will now see the new Azure backed Backup Repository available to us when we create a new Backup Job.
Thoughts
Nakivo Backup & Replication shows that it is capable of being a swiss army knife of sorts with cloud providers as you can build your Nakivo Backup & Replication infrastructure around your existing hybrid cloud infrastructure. This allows a wide variety of possibilities between on premises configurations interacting with Amazon EC2 as well as Microsoft Azure configurations and resource scaling. Nakivo means business when it comes to providing cloud integration and this gives administrators real agility and efficiency when it comes to disaster recovery in today’s hybrid cloud environments.