Supermicro IPMI management walkthrough
If you are utilizing Supermicro in your lab environment, there is a great feature that comes with Supermicro boards that allows BMC IPMI management of the server. It is basically an out of band management of the server much like a switch OOB management interface. I wanted to post some screenshots of most of the various areas of control you have with the IPMI console of a Supermicro box. It is fairly comprehensive. Let’s take a look at Supermicro IPMI management walkthrough.
Supermicro IPMI management walkthrough
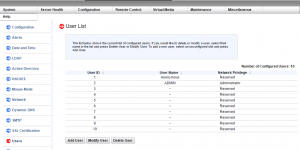
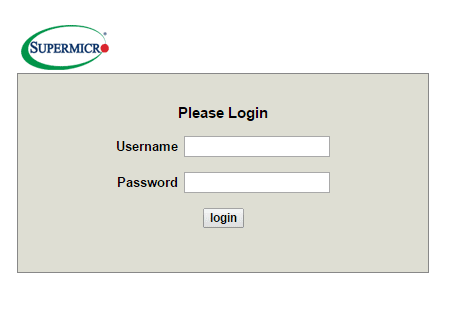
The default login to the IPMI interface is ADMIN and a password of ADMIN.
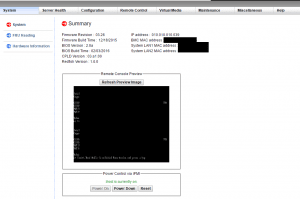
The System summary page as you can imagine gives you an overview of the system, ip address, firmware revision number, BIOS Version, as well as a Remote Console Preview.
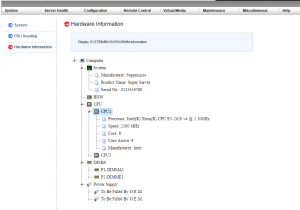
In the Hardware information screen, you can drill down on various hardware components to see specs, etc.
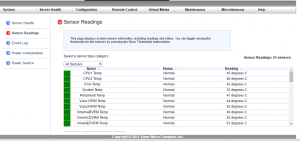
In the sensor readings section, you can see CPU and various other temperatures.
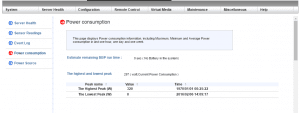
You can even see current Power consumption.
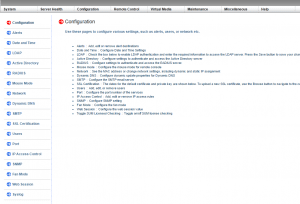
With the configuration section, you can perform a whole array of tasks here including Alerts, RADIUS auth, network config (for IPMI itself), SMTP configuration for alerts, IP Access Control, Syslogs, etc.
The remote control section is one of the more interesting things as most likely you will be interested to have remote access to the server if you are logging into IPMI in the first place.
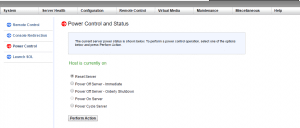
Under the remote control section, the power control menu allows you to Reset, Power Off Immediate, Power Off gracefully, Power On, or Power cycle, all which are very handy if you are remotely trying to troubleshoot or power a server off or back on.
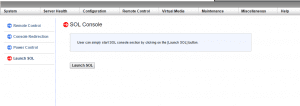
The Launch SOL menu allows you to launch the SOL console.
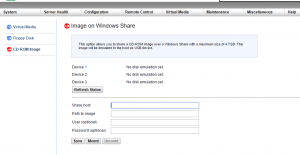
Virtual Media is also a really awesome feature. You can mount virtual media via a Windows share and present it as though it is a thumb drive. The only downside of this I can see if that it is limited to 4.7GB which for some of the newer server OS’es may not be enough. A VL copy of Windows Server 2012 R2 is around 5.1 GB.
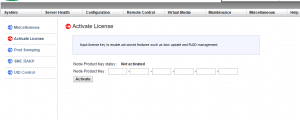
I am skipping around a bit here with the screenclips, but one of the limitations without a licensed copy of the IPMI interface is that you are limited in being able to update the BIOS, and RAID management.
Back to the Virtual media – here we can mount a CD-ROM image which is counter intuitive as you can mount an image up to 4.7 GB. Again this is limited to single layer size and not anything larger.
A recommendation here – be sure to change the default password to the IPMI interface from the ADMIN/ADMIN credentials.
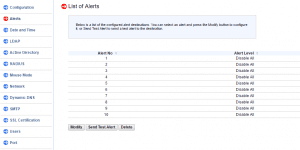
A quick shot of the List of Alerts which are basically slots that can be configured.
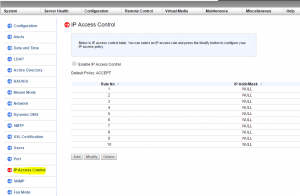
IP Access Control where you can set various IP access rule restrictions.
Final Thoughts
Hopefully the Supermicro IPMI management walkthrough helps to showcase the various control one has available which is rather powerful even in the unlicensed state. If you have a home lab, using the Supermicro as a base for building a lab server allows leveraging great features such as the IPMI interface. If you are working on your lab remotely and something happens to the server or you have some sort of power event that leaves the server in a bad state, it is awesome to be able to remotely power cycle or reset the server as needed. Thumbs up!


