With the recent release of SP2 for Office 2010, it is wise to update Office 2010 installations to include the updated service packs. Admins may want to slipstream in this latest service pack into their Office 2010 installations so that when they roll out Office 2010 on a workstation, it will already have the latest service pack and you won’t have to go back and install the service pack as a standalone install. The installation after the fact method takes way longer than simply including this in the initial install as a slipstreamed process.
The steps for slipstreaming SP2 into your Office 2010 installation are not difficult at all. The first thing that you will need to do is get your copy of SP2 from Microsoft for either the 32 bit or 64 bit versions of the product you are slipstreaming it into.
- Download the 32-bit Version here: https://www.microsoft.com/en-us/download/confirmation.aspx?id=39667
- Download the 64-bit Version here: https://www.microsoft.com/en-us/download/details.aspx?id=39647
Slipstream Process
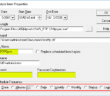
Once you have the installation file downloaded from one of the links above, you will extract the Service Pack files to a temporary directory so that we can copy those to the Office installation folder later. The syntax to do that as an example for the 32-bit version are as follows:
- C:Yourdownloaddirectoryofficesp2010-kb268745-fullfile-x86-en-us.exe /extract:c:yourtempSP2directory
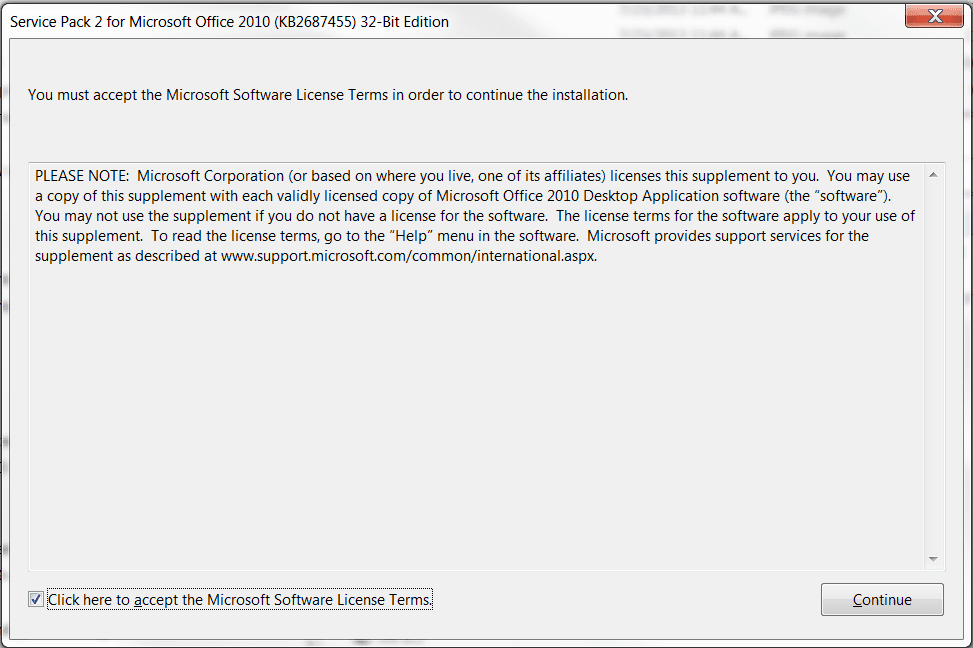
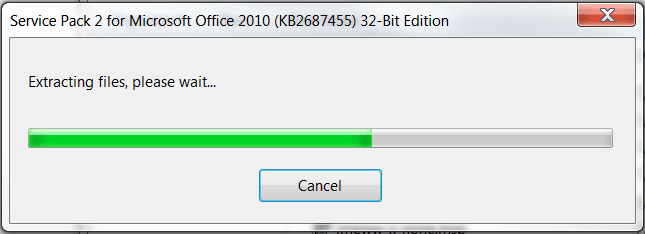
You will be prompted with standard Microsoft installation wizard with license agreement prompt:
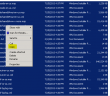
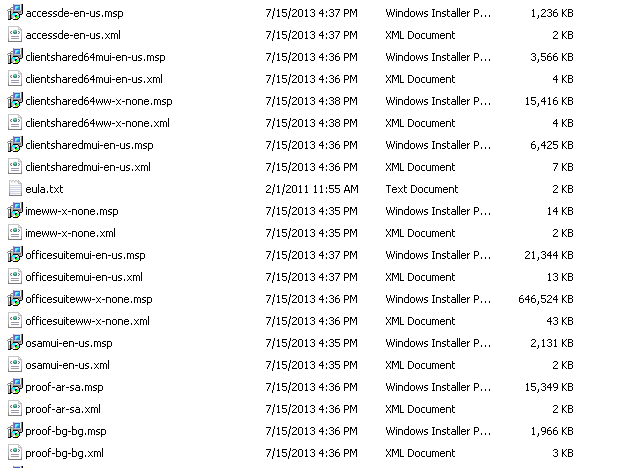
Once you extract the files, you will see your directory full of installation update files for the various components of Office 2010:
If you don’t already have a regular Office 2010 installation directory, simply copy all the contents of your Installation DVD to a folder. After doing this, you will have the installation contents in this directory which includes an Updates directory.
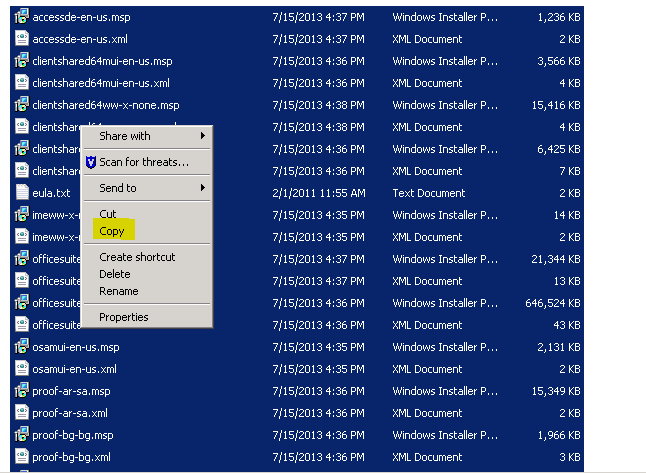
Copy all the contents within your SP2 extraction directory over to the Updates directory within your installation folder that you created by copying the DVD contents.
Once this step is completed, you now have a functioning Office 2010 with SP2 installation that you can either simply install from over the network, or you can copy back to an installation DVD for installation.
Google is updating how articles are shown. Don’t miss our leading home lab and tech content, written by humans, by setting Virtualization Howto as a preferred source.
About The Author