One of the benefits of a Docker container is it allows you to have quick and easy test/dev environments on your local machine that are easy to set up. Let’s see how we can set up a Docker development environment with Docker Desktop.
Table of contents
Quick overview of Docker Development Environment
Dev Environments allow you to set up a configurable development environment with all the necessary code and tools, enabling a quick start to your projects.
It uses tools integrated into code editors, like VS Code, which allows Docker to access code mounted in a container instead of on your local host. This setup separates the tools, files, and running services on your machine, allowing multiple versions to exist with each other.
Docker dev environments work the GUI in Docker Dashboard in Docker Desktop or directly from your terminal with the new docker dev CLI plugin, allowing it to work with different preferences and workflows.
Note the following high-level view of features:
| Feature | Description |
|---|---|
| Configurable Environments | Set up development environments tailored to project requirements. |
| Integrated Code Editors | Work with popular code editors like Visual Studio Code for a streamlined workflow. |
compose-dev.yaml File | Define environment configurations including services, networks, and volumes. |
| Docker Desktop GUI | Manage containers, images, and environments through an intuitive graphical interface. |
| docker dev CLI Plugin | Terminal-based interaction with environments for command-line enthusiasts. |
| Git Integration | Seamless interaction with existing Git repositories for version control. |
| Docker Desktop Extensions | Extend capabilities by integrating additional tools and services. |
| Multi-Project Support | Work on multiple projects simultaneously with isolated environments for each. |
| Dependency Management | Define and manage project dependencies systematically. |
| Container Interaction | Start, stop, and manage containers, access terminal of running containers. |
Setting Up Your Docker Development Environment with Docker Desktop
Docker Desktop is a great tool that you can use to have a GUI tool to interact with Docker, especially on Windows machines. One of the features of the Docker Desktop tool is the Dev Environment.
At the heart of this setup lies a special file named compose-dev.yaml, residing at the root of your project2. This file is the cornerstone for instructing Docker Desktop on how to build, start, and utilize the correct image for your services.
Here’s a simplified breakdown of the setup process:
Install Docker Desktop: Ensure you have the latest version installed on your machine.
Create or Clone Your Project: Either initiate a new project or clone an existing Git repo to your local machine.
Compose Your Environment: Craft your compose-dev.yaml file with the necessary configurations to define your services, networks, and volumes.
Launch Docker Dev Environment with CLI: With a simple command, bring up your Docker Dev Environment
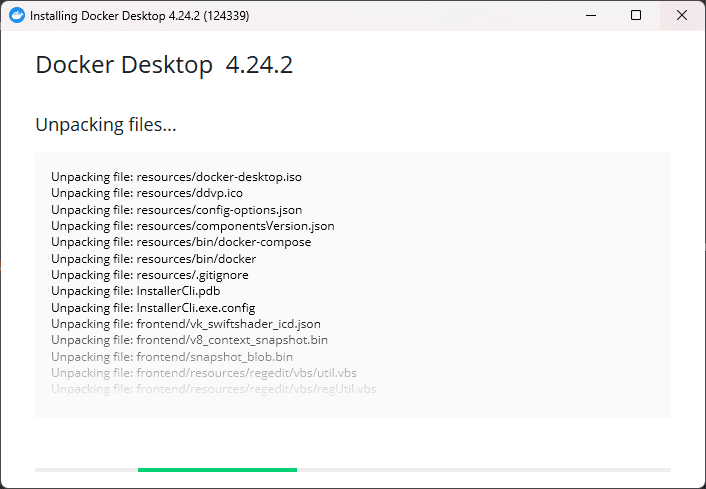
1. Install Docker Desktop
Download Docker Desktop here: Docker Desktop. Run the installer.
2. Create or clone your project
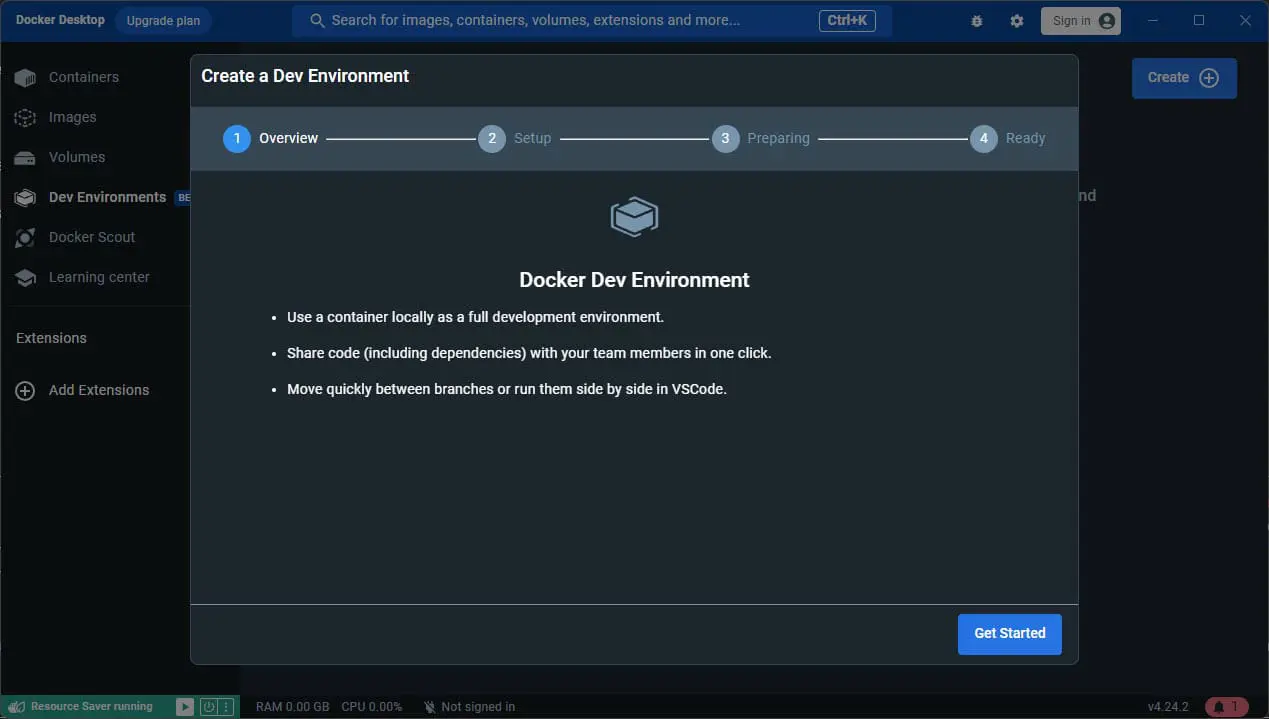
Click the Dev Environments (Beta) menu. Then Create a new enviroment.
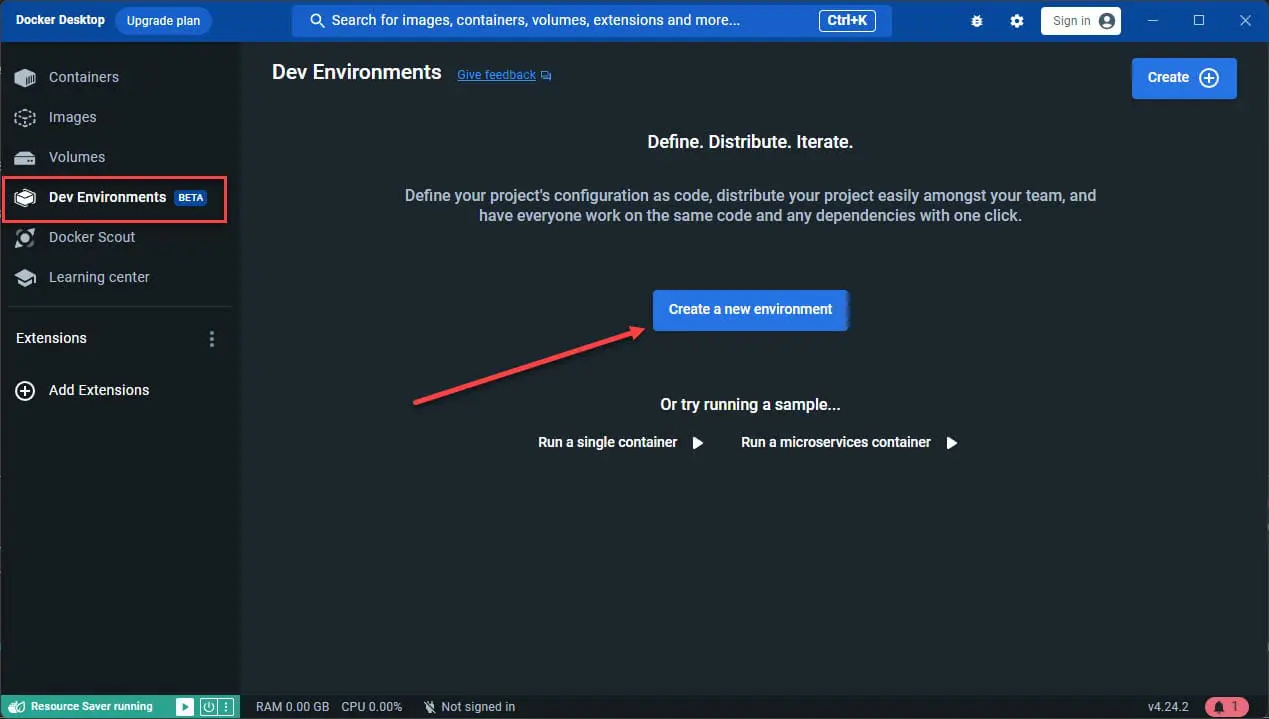
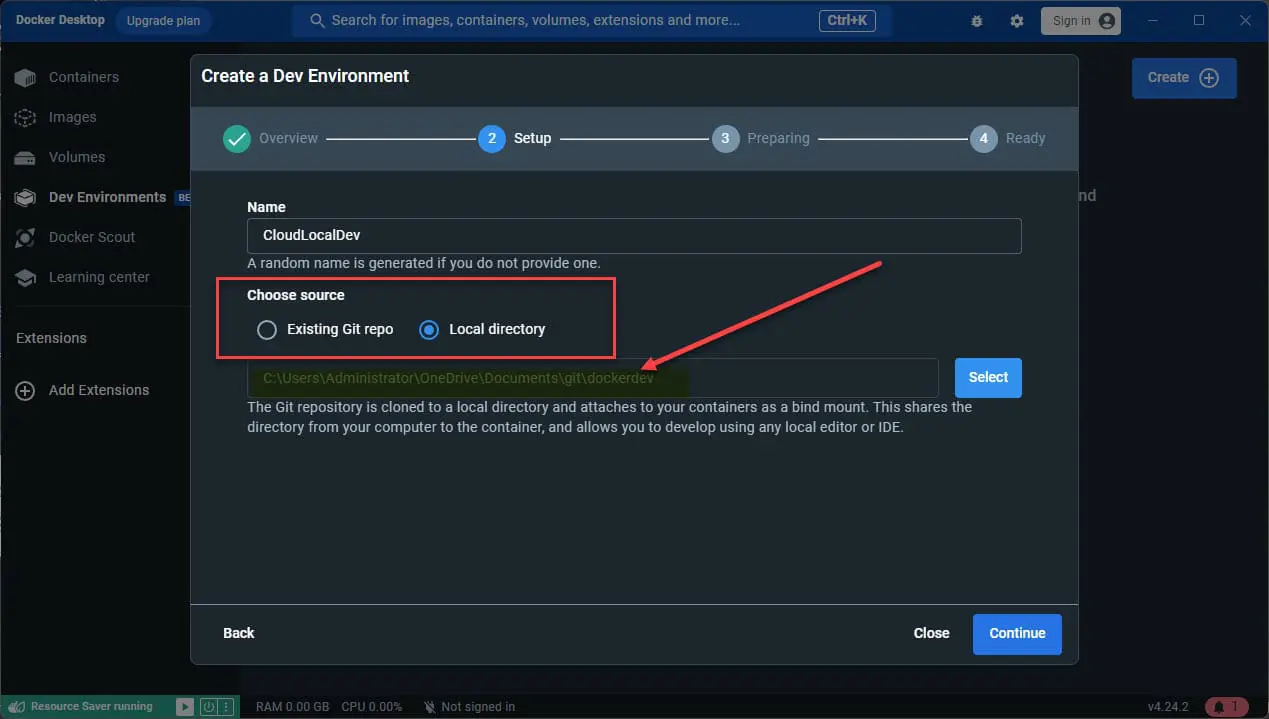
Docker Desktop allows you to either source your code from a folder or use a Git repository.
On the Setup screen > Choose source, you can select between Existing Git repo or Local directory. Here I am choosing local directory.
Do you have to have an existing Docker Compose file for it to work with for your Docker Development Environment? No, you actually don’t. If there is no docker-compose file in the directory, a generic one will be created for you.
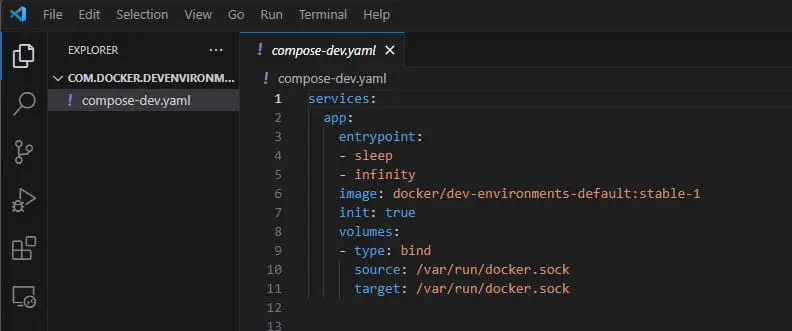
Below is the contents of the default compose-dev.yaml file:
services:
  app:
    entrypoint:
    - sleep
    - infinity
    image: docker/dev-environments-default:stable-1
    init: true
    volumes:
    - type: bind
      source: /var/run/docker.sock
      target: /var/run/docker.sock
The default Docker image configurations will start pulling.
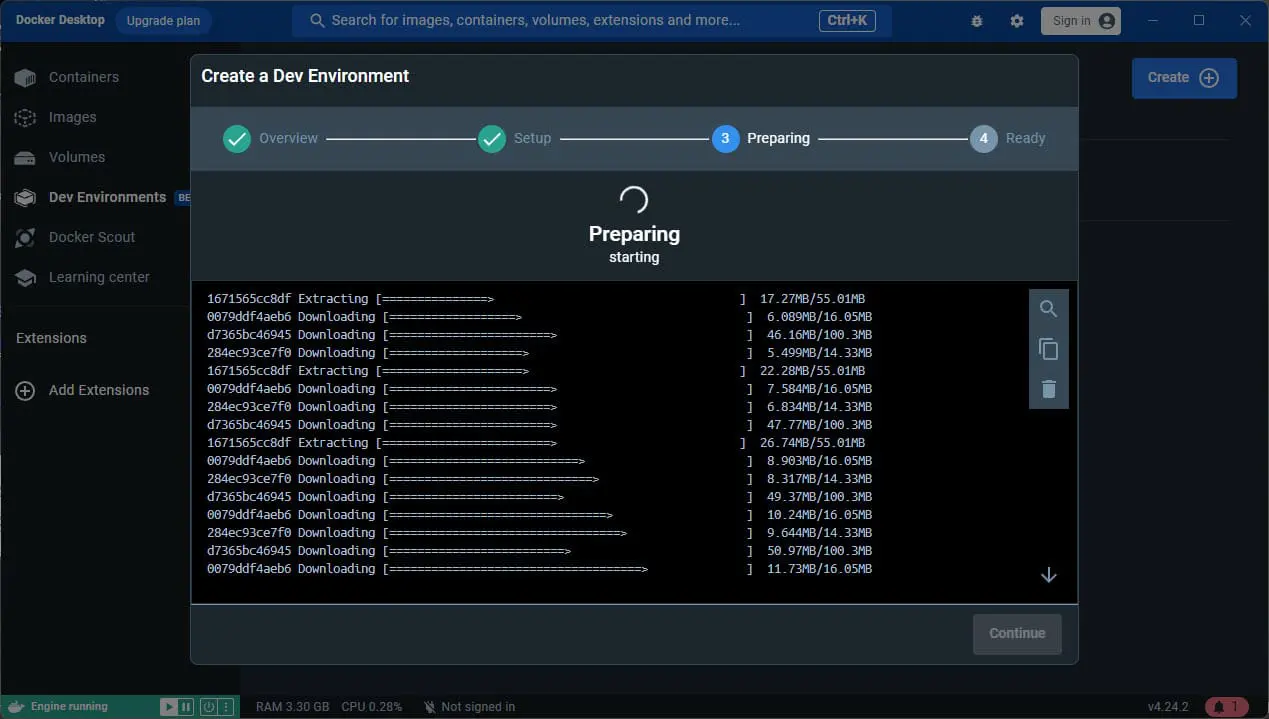
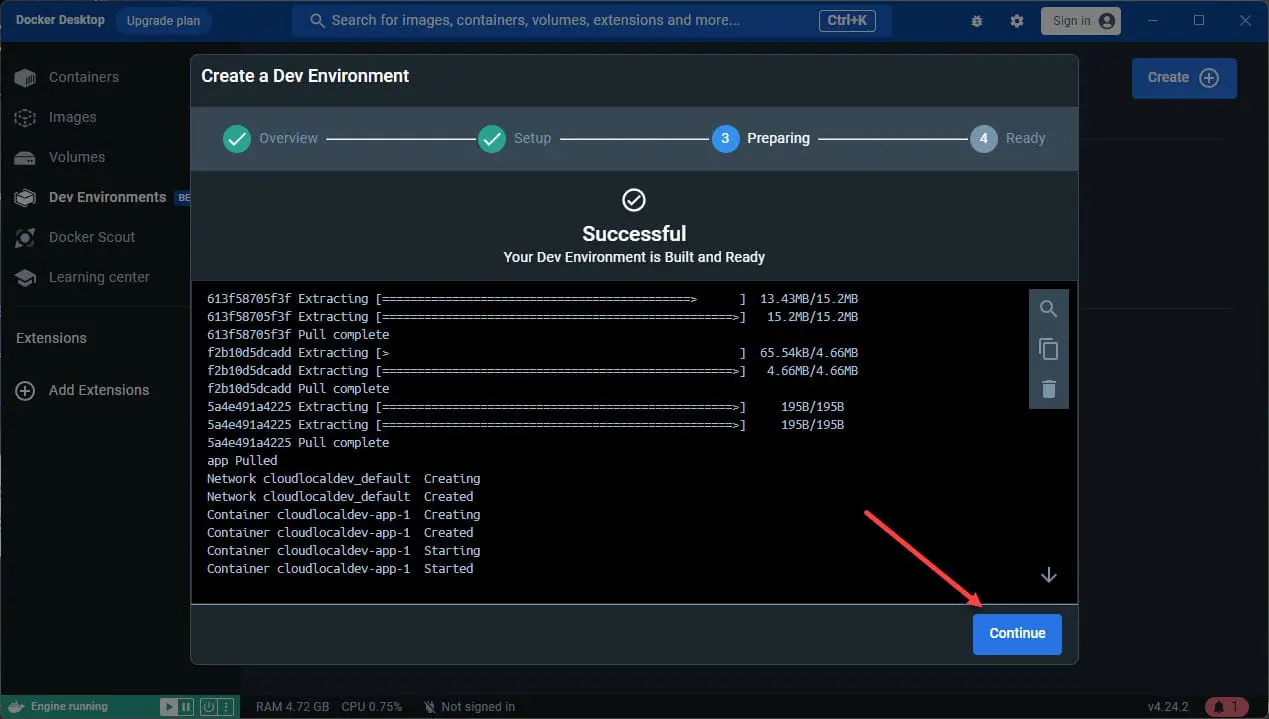
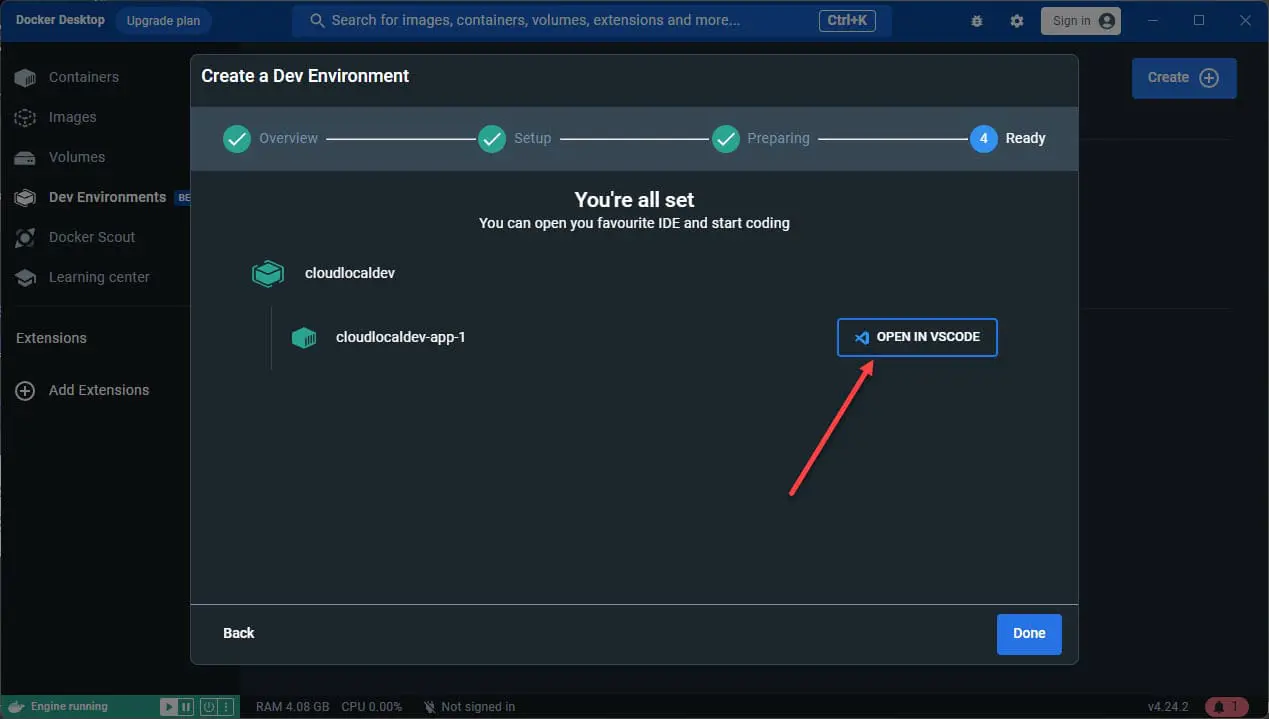
You will see the default environment successfully built and ready.
You can choose to open in Visual studio code editor by default.
Below, the default compose-dev.yaml file is opened in VS code.
3. Compose your Docker Development Environment
If you want to compose a new dev environment container, you can do that with your own code. You can use a normal docker-compose.yml file with your own custom configurations as you would spinning up containers per normal with Docker Compose.
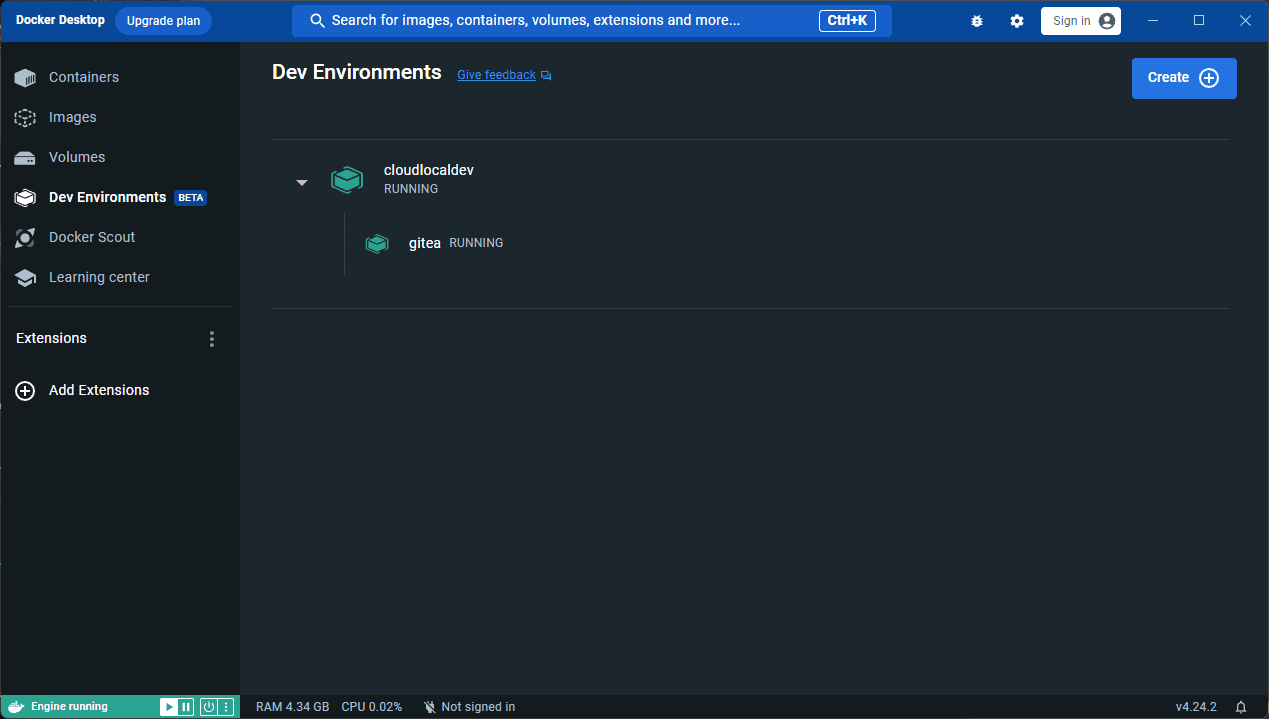
Below, I am using a custom Docker Compose file to spin up Gitea.
version: "3"

networks:
  gitea:
    external: false

services:
  server:
    image: gitea/gitea:1.20.5
    container_name: gitea
    environment:
      - USER_UID=1000
      - USER_GID=1000
    restart: always
    networks:
      - gitea
    volumes:
      - ./gitea:/data
      - /etc/timezone:/etc/timezone:ro
      - /etc/localtime:/etc/localtime:ro
    ports:
      - "3000:3000"
      - "222:22"
After the Docker container image is pulled and configured, we see our Gitea container up and running.
4. Launch Docker Dev environment with CLI
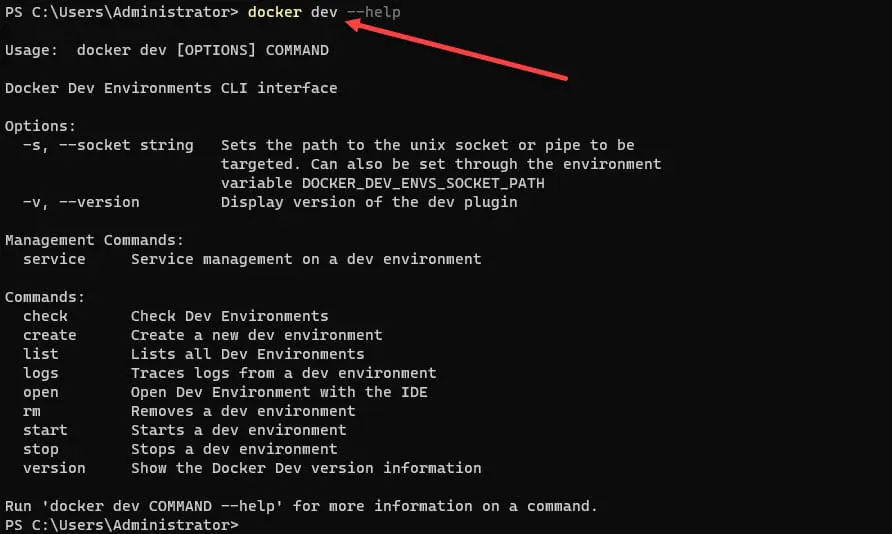
You can also launch Docker Dev environments with the docker dev CLI tool. You can see the output of the Docker Dev CLI tool with the following:
docker dev --helpThe docker dev command line tool has the following parameters:
check – Check dev environments
create – Create a new dev environment
list – lists all dev environments
logs – traces logs from a dev environment
open – open dev environment with the IDE
rm – removes a dev environments
start – starts a dev environment
stop – stops a dev environment
version – show the Docker Dev version information
Docker dev environment extensions
You can also use Docker Desktop Extensions. These extend what you can achieve with your setup. Extensions enable integrating tools with your docker development environment.
If your project requires a specific set of development tools or services, Docker Desktop Extensions can help incorporate these into your environment.

Working with Docker and Visual Studio Code
As seen above, Visual Studio Code, works really well with Docker Desktop. You can use VS Code to write Dockerfiles, manage containers, or even interact with Docker CLI.
Here’s how you can use Visual Studio Code in tandem with Docker:
Install Docker Extension: Get the Docker extension for Visual Studio Code
Access Docker Dev Environment: With the extension installed, access and manage your Docker Dev Environment from the IDE.
When you choose to open in Visual Studio Code, you will see it starting the Dev container in the VS Code interface:
Wrapping up
Using Docker Desktop as a Docker development environment is a great way to test and develop with Docker containers. Developers and DevOps engineers will benefit from using the tool in the environment to work with their code and other aspects of running containers.
Google is updating how articles are shown. Don’t miss our leading home lab and tech content, written by humans, by setting Virtualization Howto as a preferred source.
About The Author