In running a home lab, you will spin up numerous resources, including containers, virtual machines, networks, and many other types of components that comprise self-hosting your services. Certain tools make managing all of these different components and resources much easier. There are certain tools that are a given for me in my home lab environment as of 2025. Let’s dive into the top 5 tools home lab management tools I use to manage my home lab in 2025, along with a bonus section covering some powerful AI-enhanced utilities.
1. Portainer
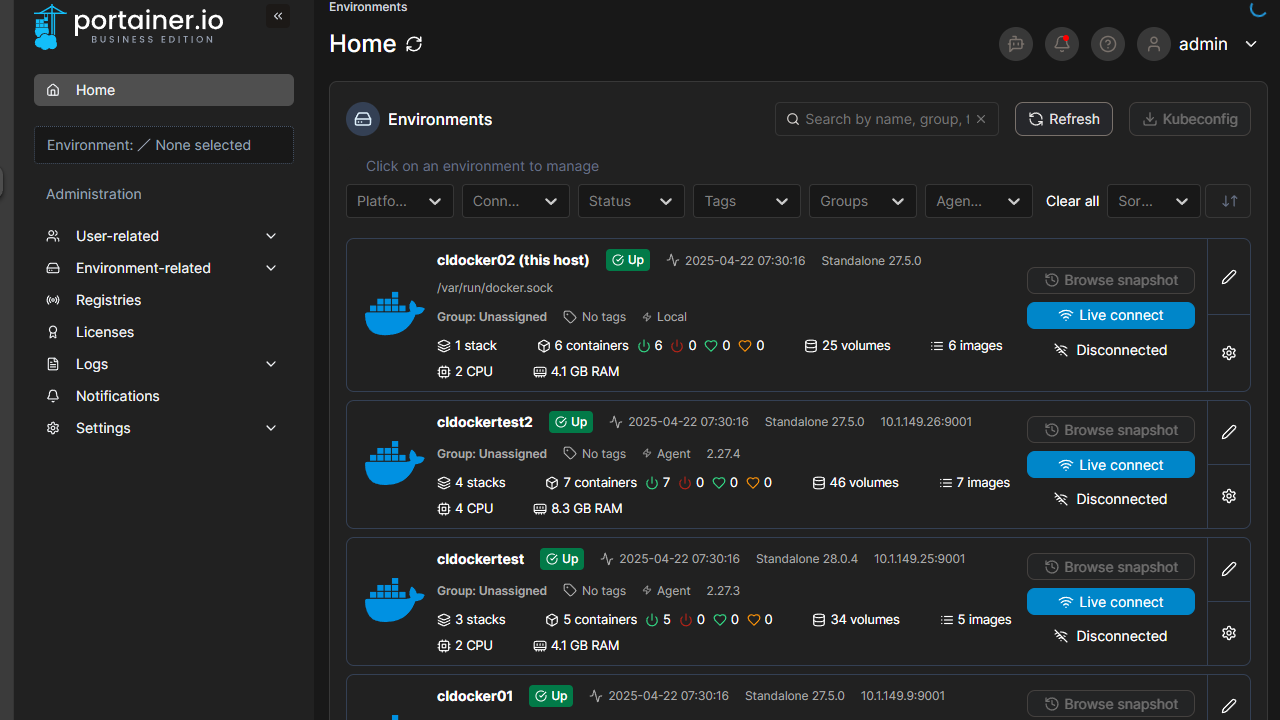
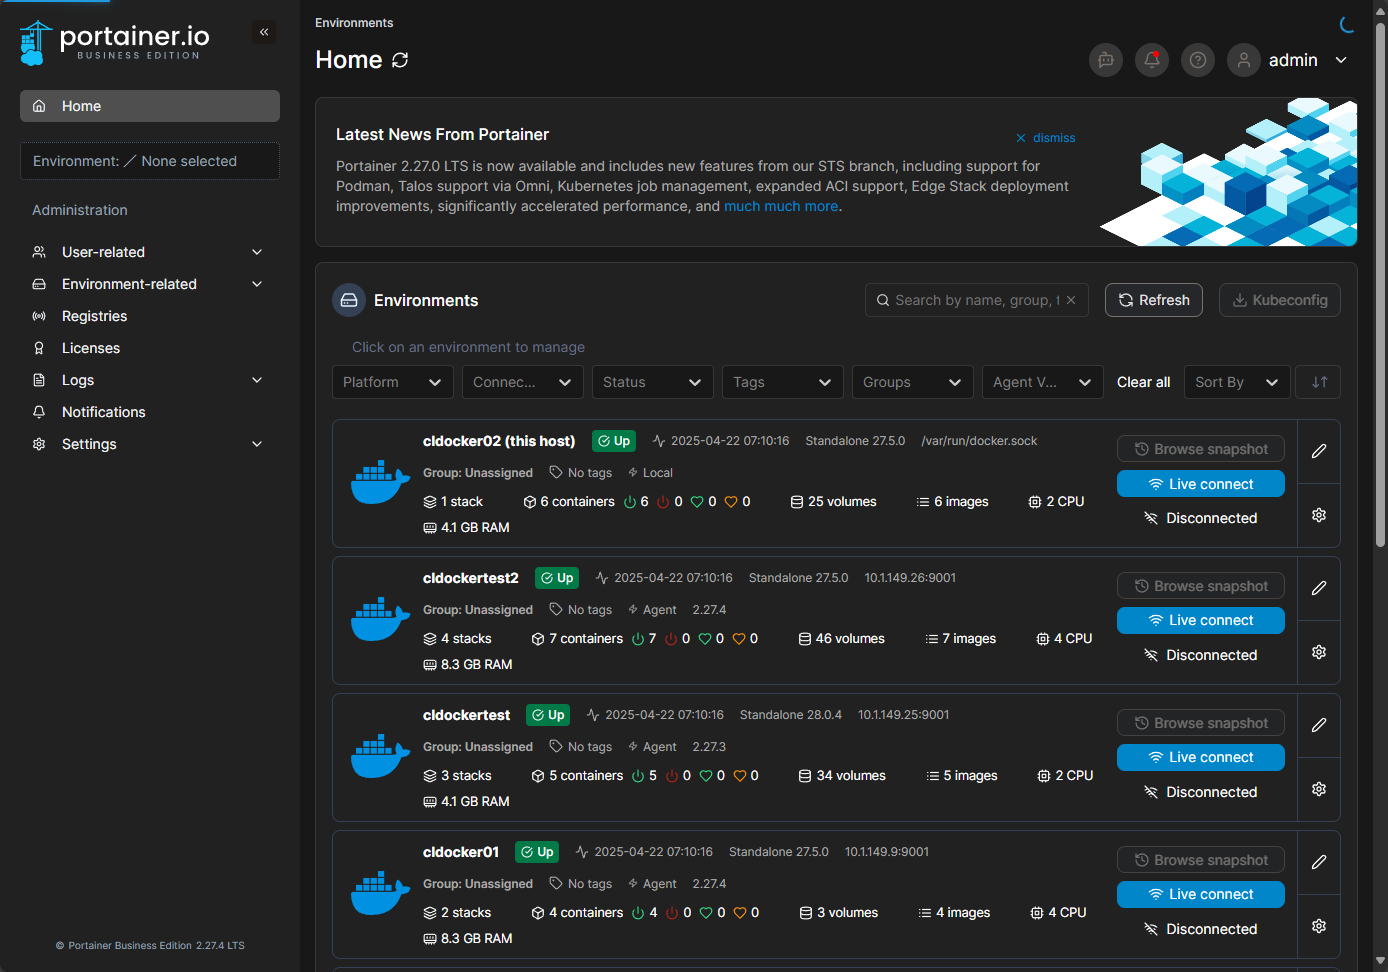
Portainer is a tool that I can’t say enough good about as a home lab management tool. It is what I would consider the defacto tool to manage your Docker containers in your home lab and production environments. No other tool makes it quite as easy as Portainer does.
It not only gives you visibility into Docker, but also Kubernetes clusters. I love the fact that you can have a single tool that can manage your containers and pods all in the same interface. I think its strong suit is still Docker containers though, whether standalone Docker hosts, or Docker Swarm clusters.
Also, Portainer has powerful CI/CD tools that are baked into the Business Edition of the solution where you can have Portainer poll your repo for new files at set intervals and redeploy based on that.
Why I Use It:
- Visual stack management: Honestly, I haven’t found anything better. It truly makes Docker Swarm 10x better in my opinion managing things with Portainer. And the Cluster viewer that it has built-in by default is great!
- Multi-cluster support: You can manage multiple hosts, clusters, and even Kubernetes clusters from the same interface.
- User access control: Maybe not so important for a home lab, but in shared administration environments, you can setup RBAC for different admins and what they need access to.
Home Lab Tips
There are a few tips about Portainer I will pass along:
- I think Portainer Business Edition is worth it. If you only need 3 or less hosts, you can get Business Edition for managing 3 nodes for free. However, there is also a home lab type license for around $110 a year and allows 15 nodes. I think it is totally worth it.
- If you want auto-update capabilities, registry management, and webhook-based deployment integrations BE is the version to have. The free Community Edition is great, but the Business Edition unlocks features that simplify container lifecycle management in your home lab or production environments
- Let’s face it, it is great software and I don’t mind paying the company for developing a great tool that saves me tons of time and effort
2. Netdata
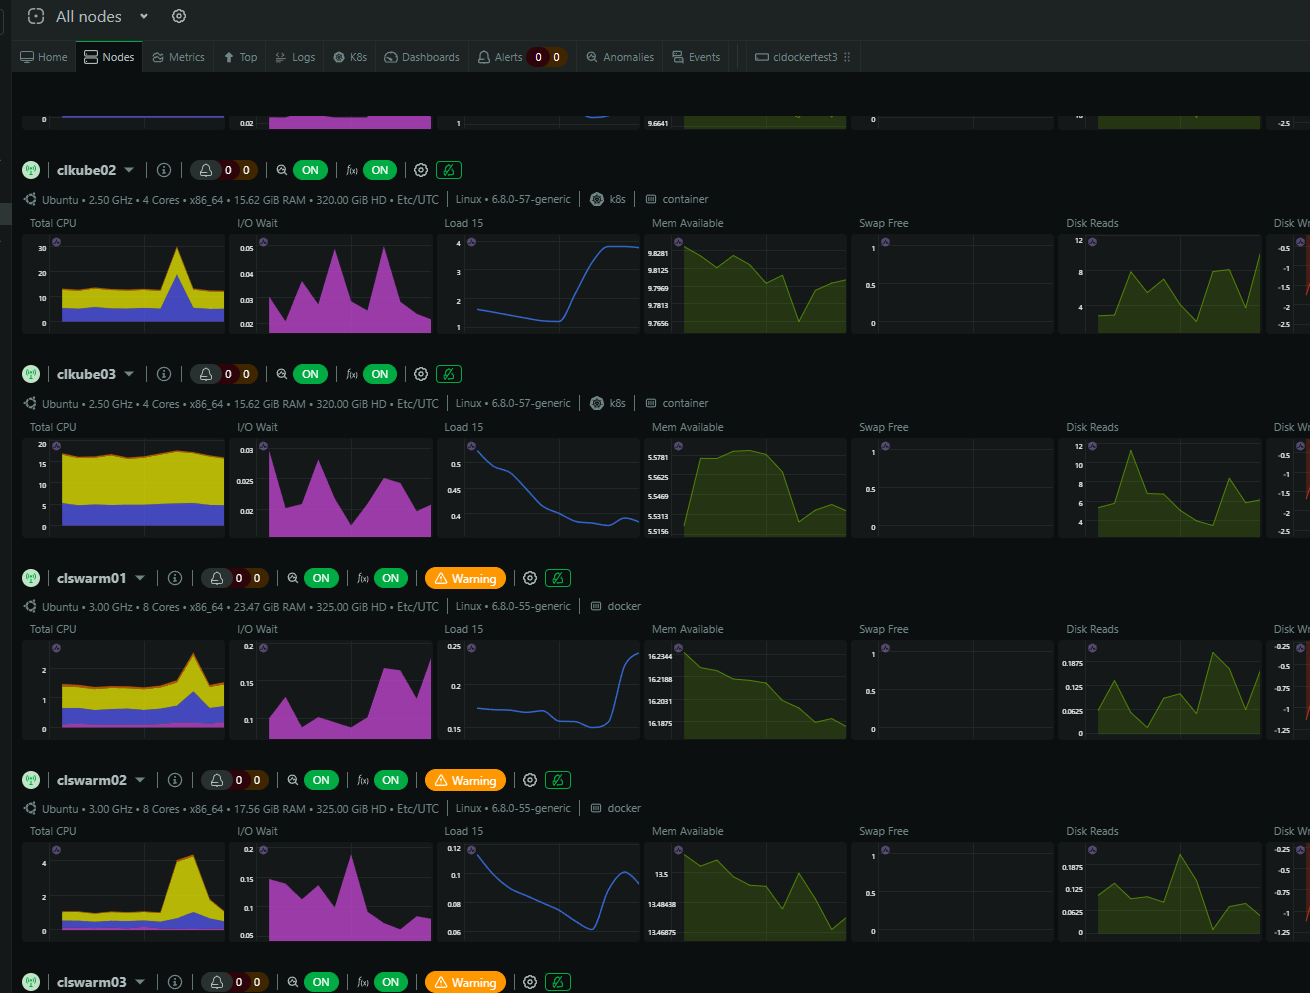
Netdata is another solution that I really really like. When it comes to monitoring, getting critical metrics monitored using your own piece meal solution of stitching components together is a great project, fun, and you will learn a lot. However, Netdata makes this frictionless. You install the agent on the node you want to monitor, and it does the rest. I also like that they have a “home lab” license for us home labbers for $90 a year. This gives you unlimited monitoring which is cool!
Why I Use It:
- Easy access to monitoring and visibility: As soon as you spin it up for your environment, you get metrics for Proxmox, Docker, Ceph, Kubernetes, and even bare metal workloads. These are instantly available with no Grafana dashboards to build
- Low resource footprint: Netdata is fairly lightweight and works well for smaller environments like labs
- Cloud view with alerting: You can setup alerts to Pushover, Slack, and many other popular tools out there
- Containers and Kubernetesd: Traditional on-premises monitoring tools don’t really give you that great of a view of your container metrics or Kubernetes pods. Netdata though gives complete visibility to these types of metrics and allows you to see things like container CPU, memory, network, and if a container is unhealthy, etc.
Home Lab Tip:
Use Netdata’s parent-child streaming mode to combine metrics from all your lab nodes into a single master node.
3. Ansible
If you are looking for a tool for configuration management, Ansible IS that tool. It can do it all and does things in an infrastructure as code approach so you can capture your changes in code that you need. Ansible is my go-to tool for configuration management and repeatable deployments in the home lab.
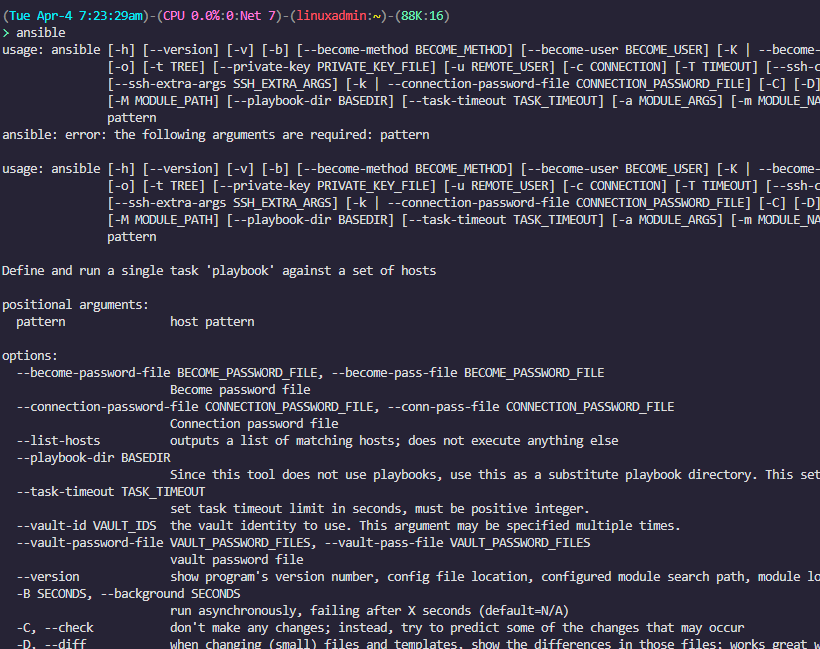
It allows setting up SSH keys to installing Docker, configuring firewalls, or doing patching of systems. Ansible lets me automate everything with simple YAML playbooks.
Why I Use It:
- Agentless: There is no agent to install on the target of your automation with Ansible, it is agentless!
- Idempotent: I can run the same playbook multiple times and get the same result
- Composable: Playbooks can be grouped into roles which makes it easy to roll out your configuration in larger environments or with many different types of configuration needs.
Home lab tip:
Commit your Ansible code to a Git repository. This will allow you to have a tracked and version source for all your playbooks and even revert changes, etc.
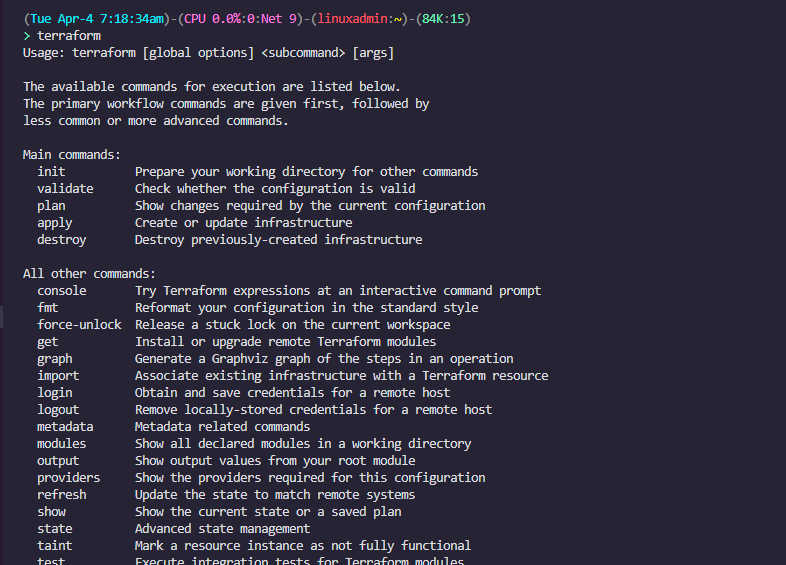
4. Terraform and Packer
While Ansible is great for configuration management, Terraform is the tool that I use for actually building my infrastructure. I use it to build things in VMware vSphere, Proxmox, and the cloud. The great thing is that Terraform is very human-like in its syntax and with AI assistance these days, the barrier to entry with IaC has never been lower.
Packer, on the other hand, is for creating templates at scale using automation. With Packer, you can easily spin up a VMware virtual machine template or a Proxmox VM template. Packer is great if you want to have an automated way to refresh your images on a weekly basis as an example. You can easily combine it with GitLab CI/CD for total automation of this process.
If you want to take a look at a few of the projects I use Terraform with, check out my blog posts here:
Why I Use It:
- Declarative approach: Define the desired state, and Terraform handles the rest.
- Supports everything: Proxmox, VMware, AWS, Azure, and even DNS providers.
- Version-controlled infrastructure: All provisioning code lives in Git, making changes trackable.
Pro Tip:
Use Terraform with the Proxmox provider to create Linux VMs with cloud-init in seconds. It’s an easy way to replicate environments when testing tools like Vault, Ceph, or Kubernetes without manually clicking through the UI.
GitLab
GitLab is my home lab management tool of choice for my Git repository. Gitlab has everything I need and it is a self-contained solution that you don’t have to have other bolt-on solutions for if you want to have a container registry, CI/CD, and Git repo all rolled into one.
At first glance, GitLab may seem like overkill for a home lab, but once you start treating your infrastructure like code, GitLab is awesome and quickly will become a favorite if you try it out. I host all my Ansible playbooks, Docker Compose files, Terraform configurations, and cron jobs in GitLab and let pipelines do the heavy lifting. I encourage ones to try other solutions too like Gitea as well that I think are great. I settled on Gitlab and you might settle on something else. The key is getting started with Git and CI/CD in your home lab.
Why I Use It:
- Self-hosted pipelines: GitLab Runners process CI/CD jobs in my Swarm or Kubernetes cluster.
- Scheduled jobs: I use GitLab cron schedules to kick off things like Packer builds of new virtual machine templates and do things like clean up my Docker container images.
- Code organization: Everything is versioned and shared between my devices
Home lab tip:
Use the Gitlab Omnibus deployment as this rolls everything you need into a single self-contained container that you can easily spin up using Portainer, or just using Docker Compose code.
Bonus
Traditional tools are still the cornerstone of my lab, but AI-enhanced utilities have begun to make their way into my home lab and have accelerated how quickly I can come up with solutions.
Warp Terminal
Warp is a new AI-enhanced terminal that brings AI-powered autocompletion, inline documentation, and a modern interface to the command line. It’s made for people who spend their days in terminals and want to cut down on context switching.
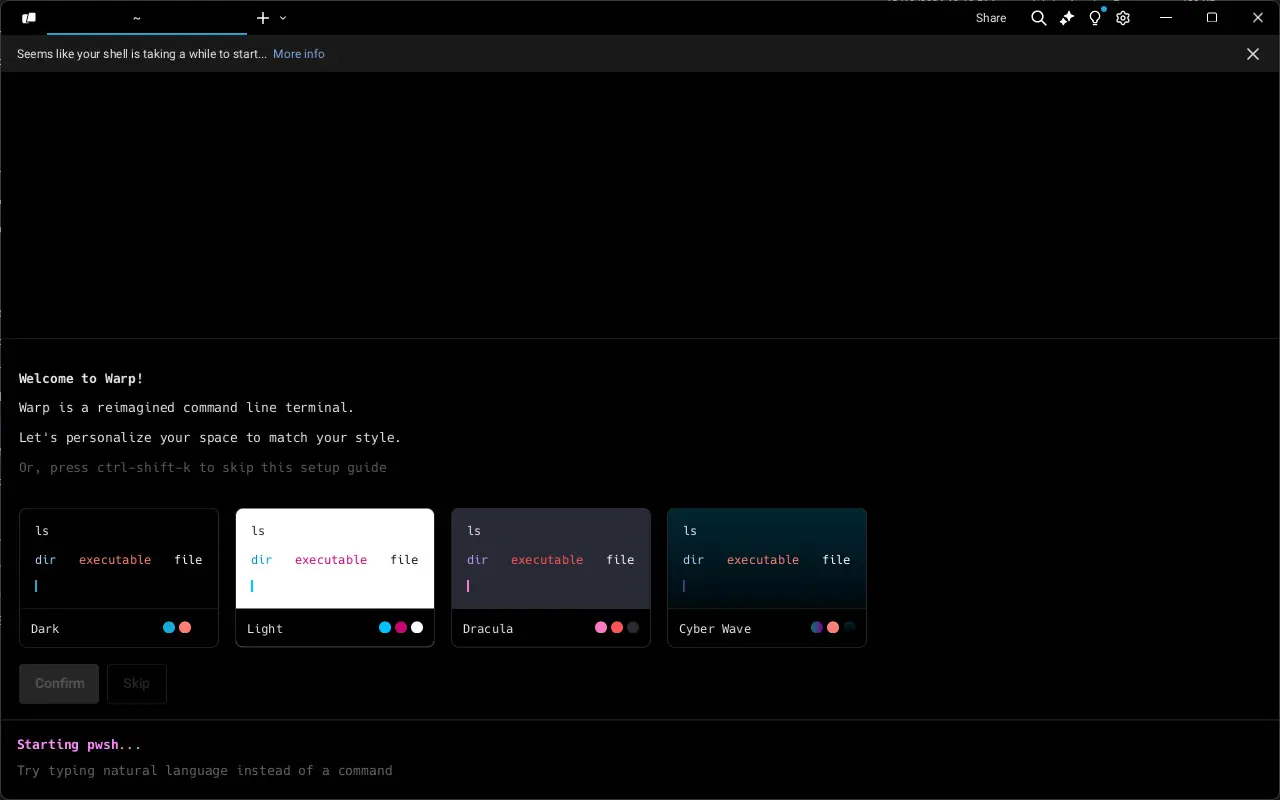
- Autocomplete CLI commands: Warp can complete kubectl, docker, or terraform commands intelligently.
- Block-based UI: You can see your previous commands as blocks you can edit and rerun.
- Collaboration: Share command sessions via Warp Drive (useful for documenting lab procedures).
Windsurf
Windsurf AI assistant for your infrastructure is a very powerful tool. It is basically like an overlay over VS Code that easily integrates AI tools into VS Code, but not just command completion. It will actually create files as part of the AI solution in your working directories, etc.
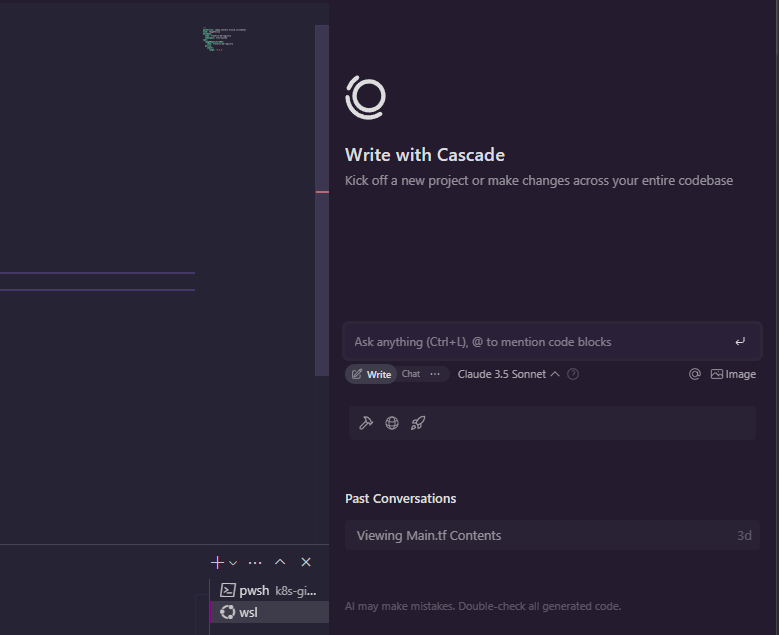
- Analysis: Highlight your code and chat with Windsurf and have its Cascade agent work with you on solutions.
- Natural language queries: You can ask it questions and get relevant answers
- Forecasting: Predict resource saturation or potential failures.
Wrapping up
Are these the only home lab management tools I use? No, there are others, but these are some of the tools that I evangelize on a daily basis with those I talk to about tools I use in my home lab and production environments that make my life easier.
- Portainer gives you the best Docker visual tool out there
- Netdata brings easy monitoring and a great, low-friction cloud dashboard
- Ansible automates your configuration management
- Terraform and Packer handle your provisioning and automated templates
- GitLab ties it all together with pipelines and source control
- And tools like Warp and Windsurf give you AI power for learning and DevOps
Home labs are so much fun and provide the best tool for learning. However, home labs need the right tools too. With the right tools, they become even better for learning, experimentation, self-hosting, and building your skills. Let me know what tools you are using to learn and manage your home lab even better.
Google is updating how articles are shown. Don’t miss our leading home lab and tech content, written by humans, by setting Virtualization Howto as a preferred source.
About The Author


Love your channel, would love to see you do a first impression setup and use of containerLab for virtualized networking homelabs.
John,
Thank you for the kind words. Also, I didn’t know about containerLab. Will definitely add this one to the list of great topics to cover. Thank you again.
Brandon