Most organizations have the need to have an automated way to deploy Windows images to clients. Instead of walking around with a USB key that clients must be booted from, using Preboot Execution Environment (PXE) is a great way to boot Windows clients from the network, pull down an image, and apply an image, all from the network. Windows Deployment Services (WDS) provides a way to answer PXE requests and provide Windows images to clients for provisioning. Let’s take a look at Windows Deployment Services PXE boot configuration and see how you configure your Windows Deployment Services server to properly answer PXE boot requests.
What is Windows Deployment Services?
Windows Deployment Services (WDS) alows you to deploy Windows operating systems over the network, without needing to pull the OS from a CD, DVD, or USB key. This provides many benefits to IT admins, including:
- Network-based installation of Windows
- Images can be deployed for many different versions of Windows, from Windows 7 to Windows 10 and also Windows Server operating systems
- It makes use of standard Windows technologies such as the Windows Preinstallation Environment (WinPE).
- Allows creating images of a reference computer using the Image Capture Wizard
- Allows adding customized drivers
Windows Deployment Services PXE Boot Configuration
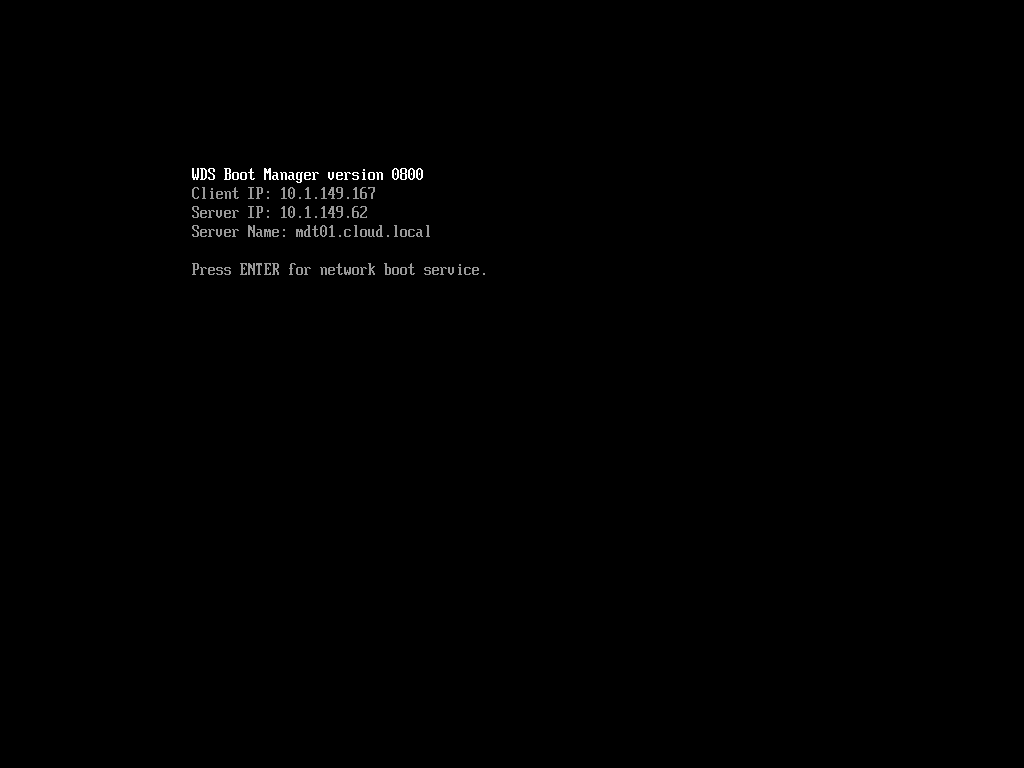
Now, let’s get to the topic at hand – Windows Deployment Services PXE boot configuration. What is involved in configuring your WDS server to answer a PXE boot request? It is actually fairly straightforward to get up and running with WDS and PXE boot. However, I wanted to detail a couple of issues I have seen in the lab and elsewhere.
First let’s consider a few screenshots of the following processes:
- Installing Windows Deployment Services
- Configuring Windows Deployment Service
- PXE considerations for BIOS and UEFI
- Creating a capture image
Installing and Configuring Windows Deployment Services (WDS)
You can easily install the role service for Windows Deployment Services by using the following PowerShell command:
Install-WindowsFeature –Name WDS -ComputerName <computer_name> -IncludeManagementToolsYou may see what looks to be an error at the end of running this script. However, it simply indicates you need to run the configuration of WDS to configure the role.

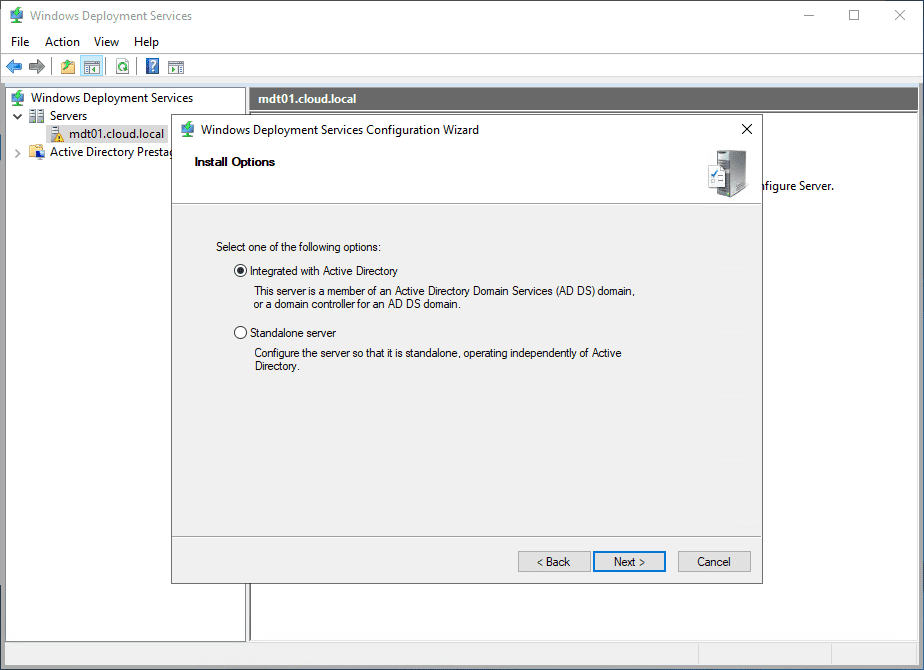
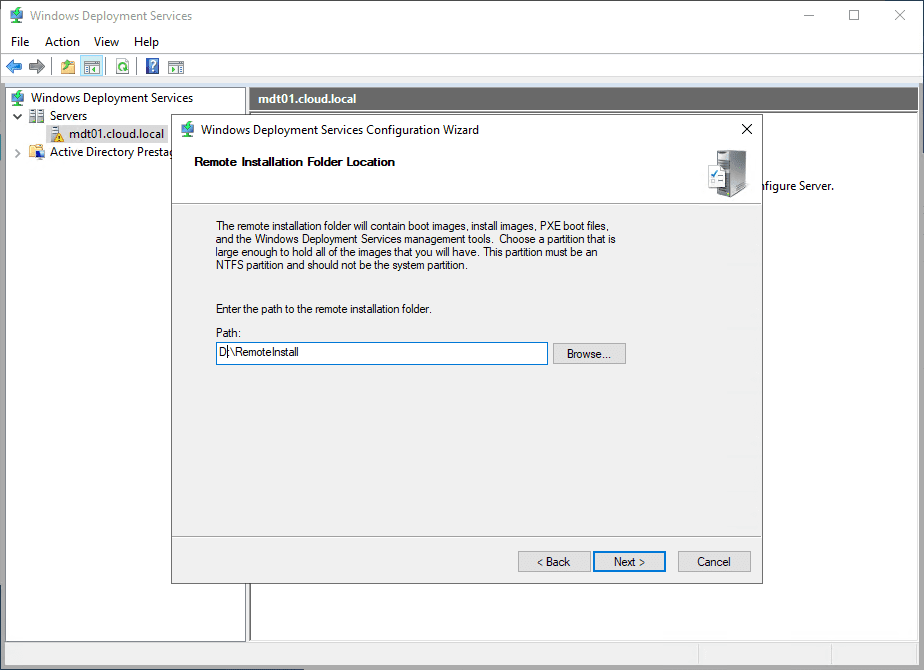
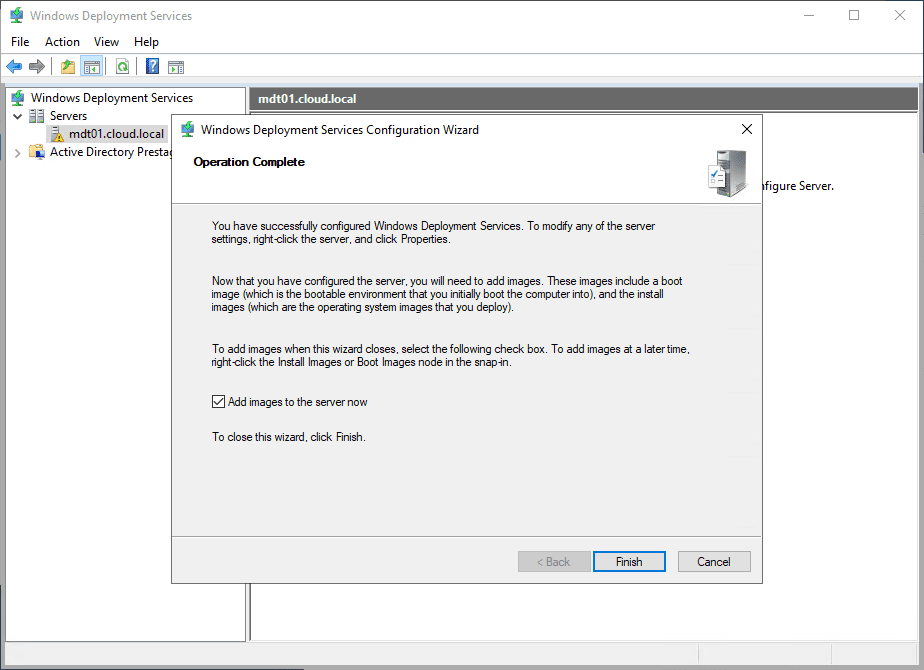
Once you have installed the WDS role, you need to configure it. Open the WDS management console, wdsmgmt.msc.
Launch the Windows Deployment Services Configuration Wizard by right-clicking on the server and selecting to configure it. The first screen has you select how you want tto have WDS integrated with Active Directory or if you want it to be a standalone box.
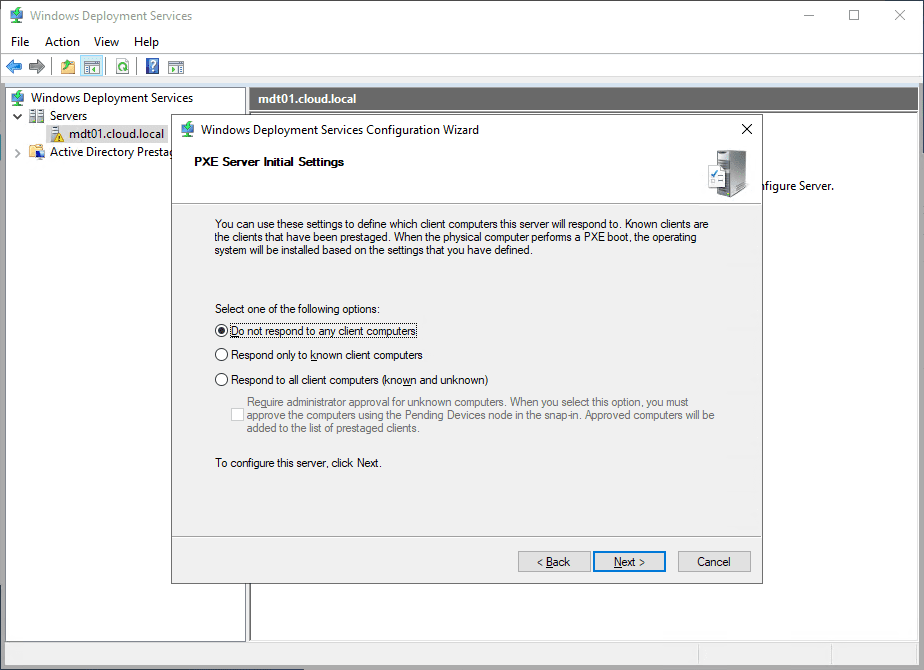

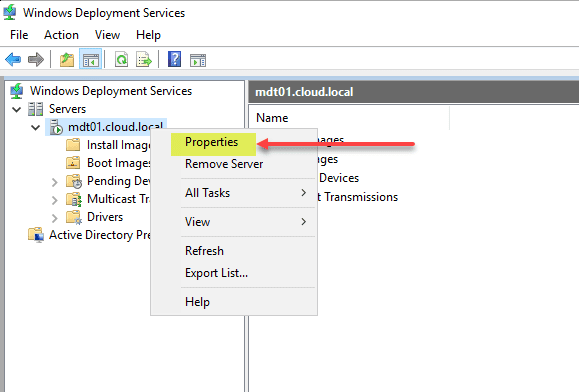
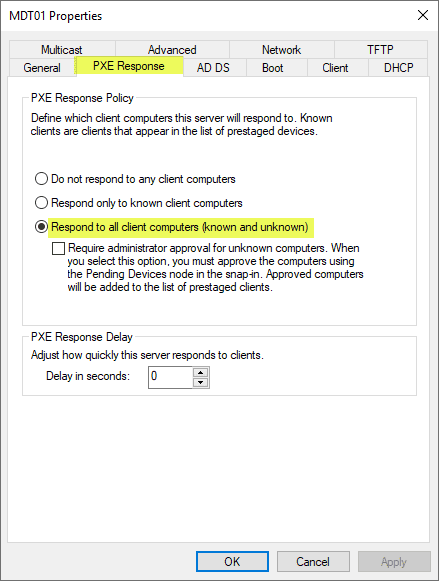
There are many configuration items under the WDS properties. You can tweak and configure most aspects of the service. If you selected to not respond to clients during the initial setup, the PXE Response tab is where you can configure your PXE options.
Adding Install and Boot Images
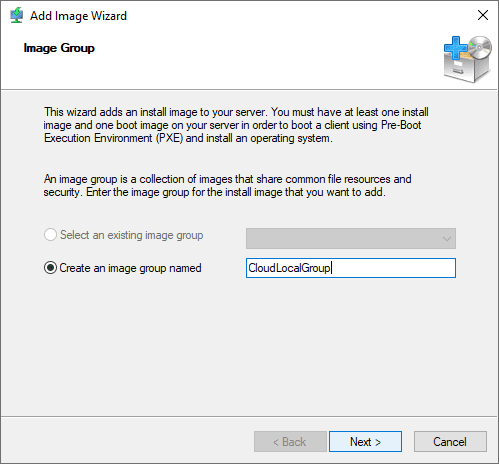
The next step in Windows Deployment Services PXE boot configuration is adding your images. The images consist of an install and boot image. Right-click on the install images node and select to Add Install Image. You will first be asked to create an image group.
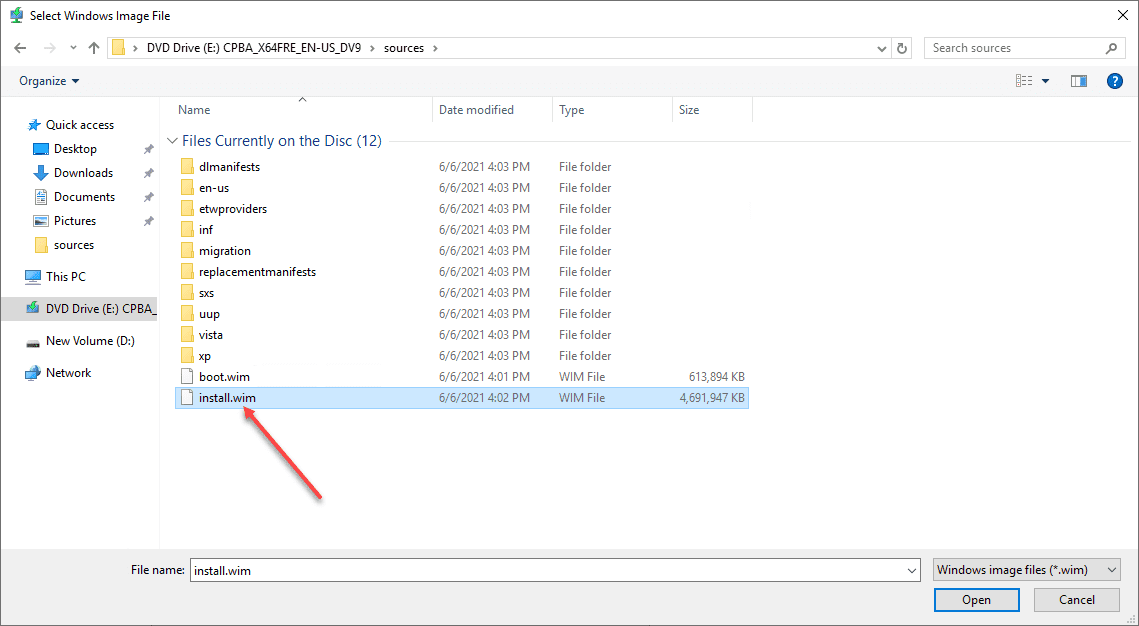
Select your install.wim file from the Windows 10 media or a custom image file you want to use.
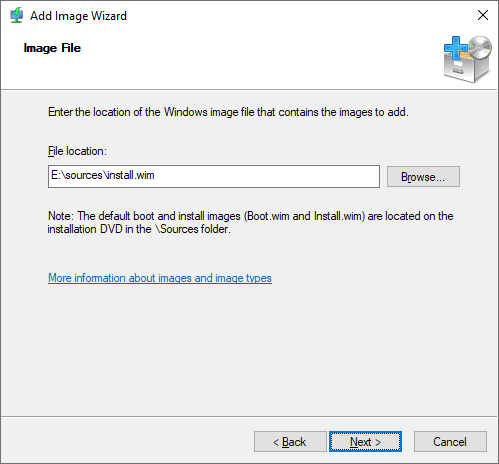
Verify the source of the image.
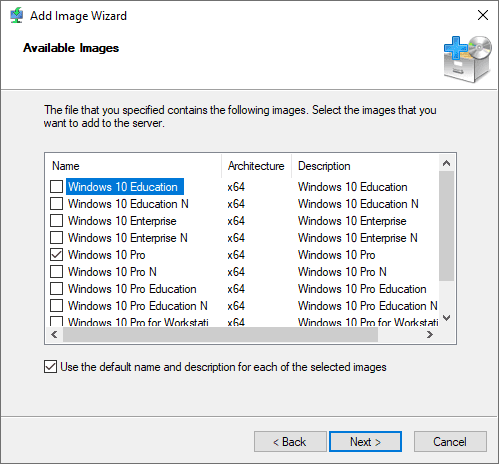
In the case of a DVD ISO, you may have several Windows 10 images as part of the ISO. Select the one you want to add to the server.
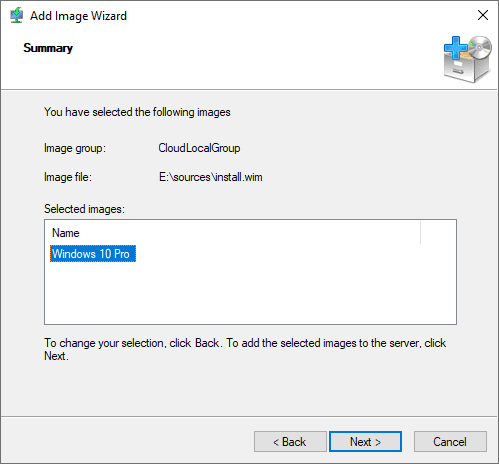
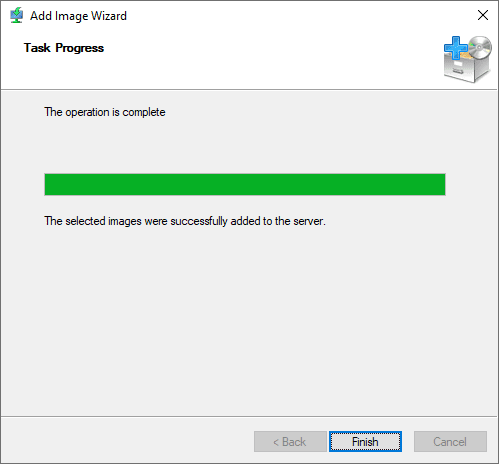
Verify the images in the Summary screen.
The image is added successfully.
Do the same process for the boot image. The boot image is the listing you will see and boot from when you boot using PXE on a client workstation.
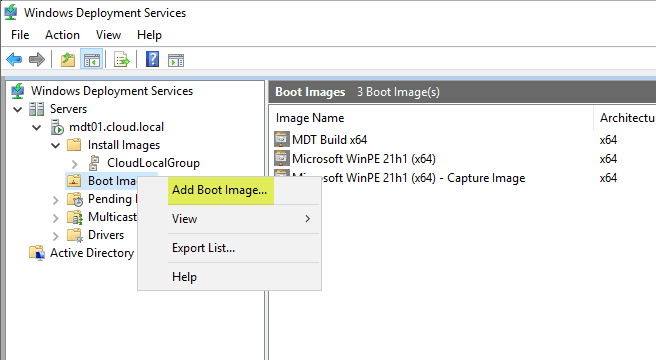
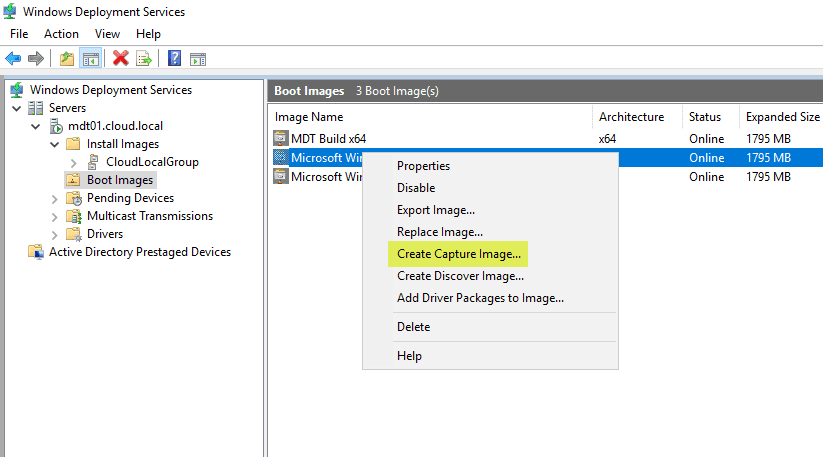
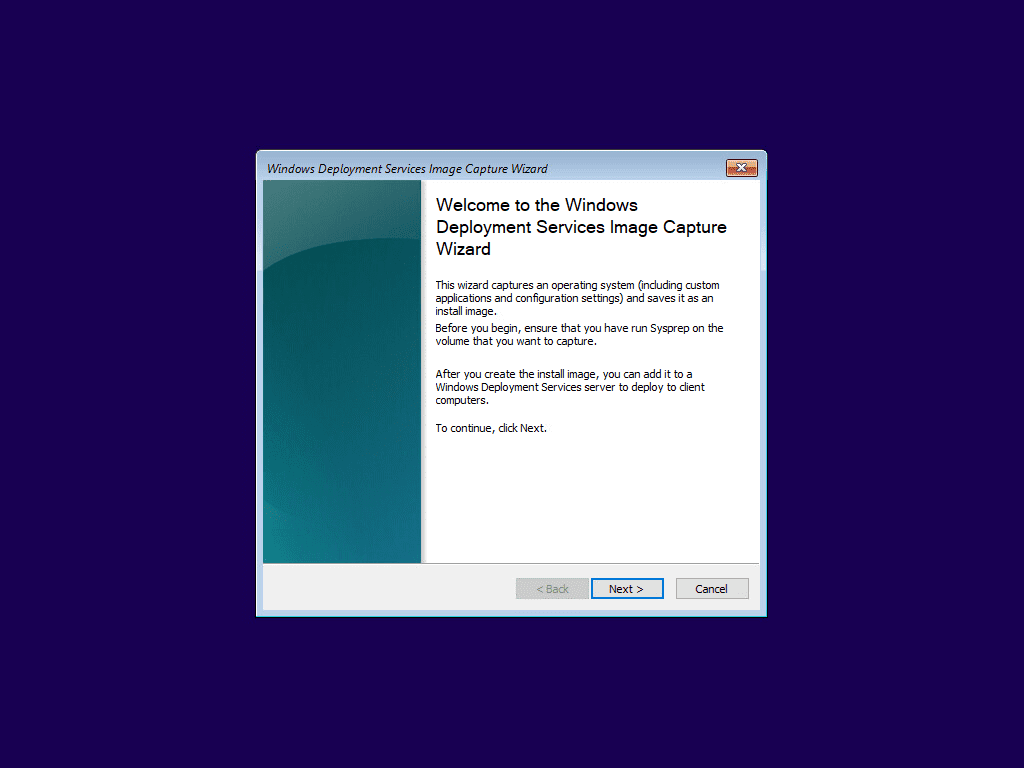
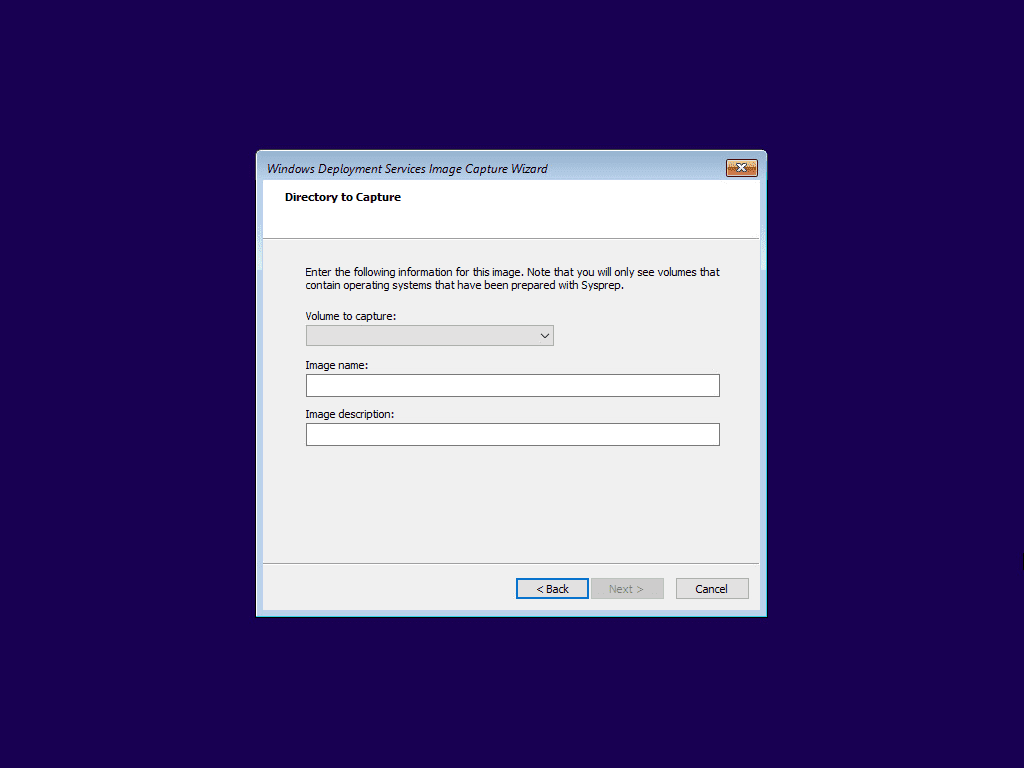
Once you have a boot image uploaded, you can create a capture image as well. The capture image is an image that allows you to capture the present state of a machine – known as “build and capture.”
Below is an example of booting from a Windows Deployment Services capture image.
PXE configuration for BIOS and UEFI
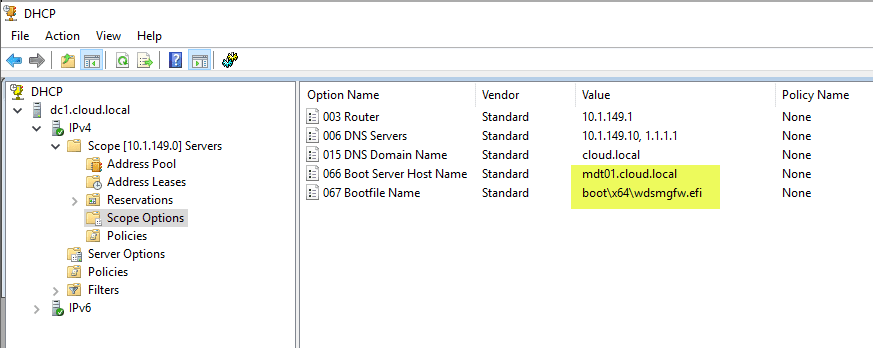
For the most part, it is pretty easy to configure WDS for PXE. Most of the default settings will work fine in most environments. There are some caveats when you have WDS loaded on the same server as DHCP.
There are differences between the configuration for BIOS and UEFI PXE boot. Some have noted more problems with UEFI boot. In my lab environment, I found a few settings that worked for me. These included adding options 66 and 67 to DHCP scope options. There are many posts that point to this no longer being recommended. Each environment may be different and your mileage may vary.
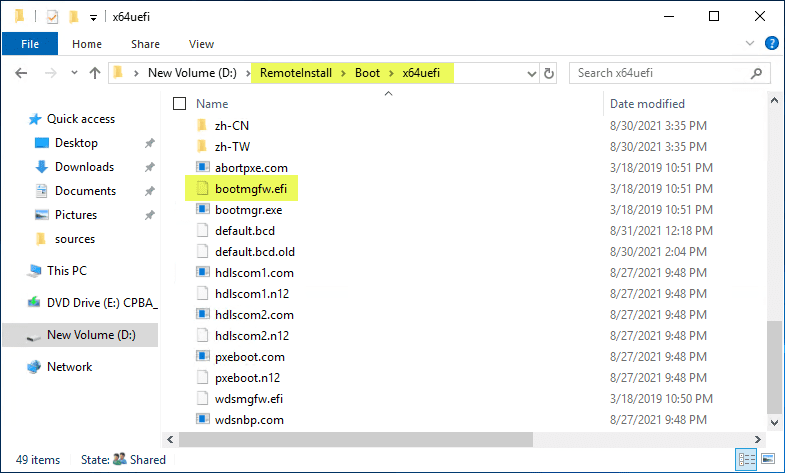
I also found on my WDS server, the x64uefi folder under the Boot folder was missing the other files found in the x64 folder. I copied these from there into the x64uefi folder and this resolved an issue I had where the machine would not boot over UEFI.
Integration with Microsoft Deployment Toolkit
The Microsoft Deployment Toolkit (MDT) is often used in conjunction with WDS. In fact, you will notice most of the above screenshots from my lab are pointing to MDT as the server name. I have WDS and MDT dual-homed on a single server and this works fine. It some respects it makes things easier as the directories are local, etc.
MDT is a great way to extend your WDS server capabilities as MDT provides more robust imaging and “task sequence” based image installs that provide additional features and capabilities in the enterprise that most organizations can benefit from.
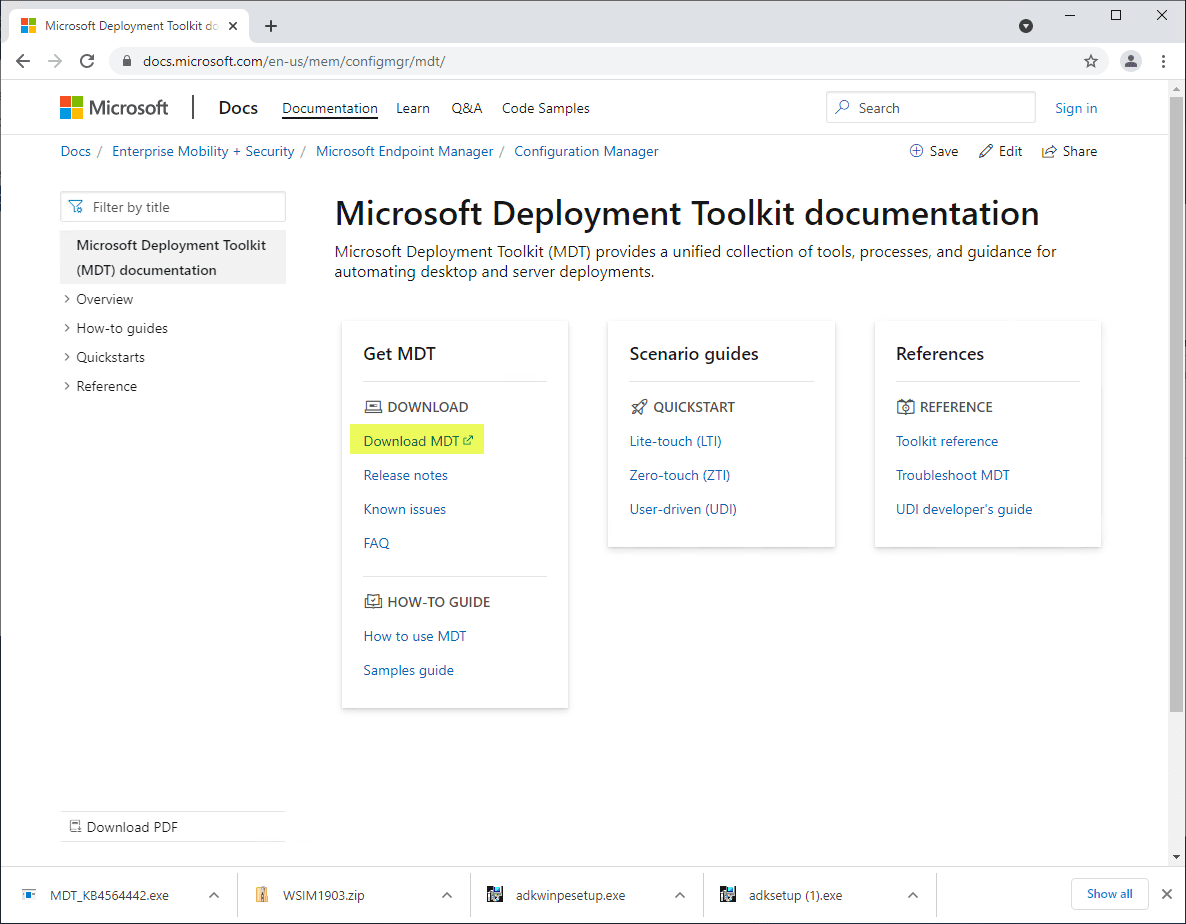
MDT is freely available from Microsoft as well and is a simple package that you install along with the Windows Assessment and Deployment toolkit.
MDT comes with what is referred to as Lite touch PE boot images that provide many capabilities out of the box. The single Lite Touch image provided by MDT can serve to both deploy and capture images.
Final Thoughts
Hopefully this Windows Deployment Services PXE Boot Configuration overview and guide of various technologies will help give an overall picture of the solutions provided by Microsoft for imaging and some of the considerations for PXE boot.
Discuss this in the Community
Google is updating how articles are shown. Don’t miss our leading home lab and tech content, written by humans, by setting Virtualization Howto as a preferred source.
About The Author
