Deploying VMware solutions via virtual appliances is a great way to quickly get up and running with a preconfigured environment from vendors. To coincide with the recent release of Vembu BDR Suite v3.9, Vembu has released preconfigured virtual appliances. This is a great move from Vembu that allows effectively deploying the Vembu BDR Suite environment quickly, efficiently, and correctly. Additionally, it allows being able to get up and running with VMware and Hyper-V backups within just a few minutes. Let’s take a look at the new Vembu virtual appliance installation and configuration to see what the provisioning process looks like. We will also see how quickly we can get a VMware Backup with Vembu BDR Suite v3.9 Virtual Appliance.
Vembu BDR Suite v3.9 Virtual Appliance Requirements
The Vembu BDR Suite v3.9 Virtual Appliance is a simple and intuitive OVF template deployment that happens via the normal means of template deployment in vCenter. The following is a bit of general information regarding the virtual appliance:
Virtual Hardware
The deployed virtual appliance will be deployed with the following virtual hardware configured:
- 1 CPU with 8 cores assigned
- 16 GB of memory
- 500 GB disk
Support vSphere versions
- Supported in VMware vSphere versions – 5.5, 6.0, and 6.5
Limitations to note:
- KVM installation has some permissions issues
- Instant Boot is not supported
- Virtual appliance network configuration requires a few manual steps
Vembu BDR Suite v3.9 Virtual Appliance Installation
The first step is to obtain the virtual appliance files from Vembu. The files will be bundled in a .zip file that contains the OVF, user guide, and readme file.
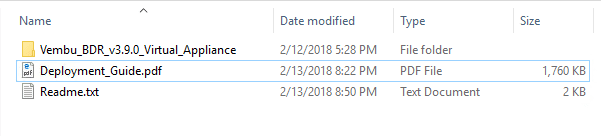
The Vembu BDR Suite v3.9 Virtual appliance contains the following (4) files that are required for deployment:
- Vembu_BDR_v3.9.0_Virtual_Appliance.mf
- Vembu_BDR_v3.9.0_Virtual_Appliance.ovf
- Vembu_BDR_v3.9.0_Virtual_Appliance.vmdk
- Vembu_BDR_v3.9.0_Virtual_Appliance.iso

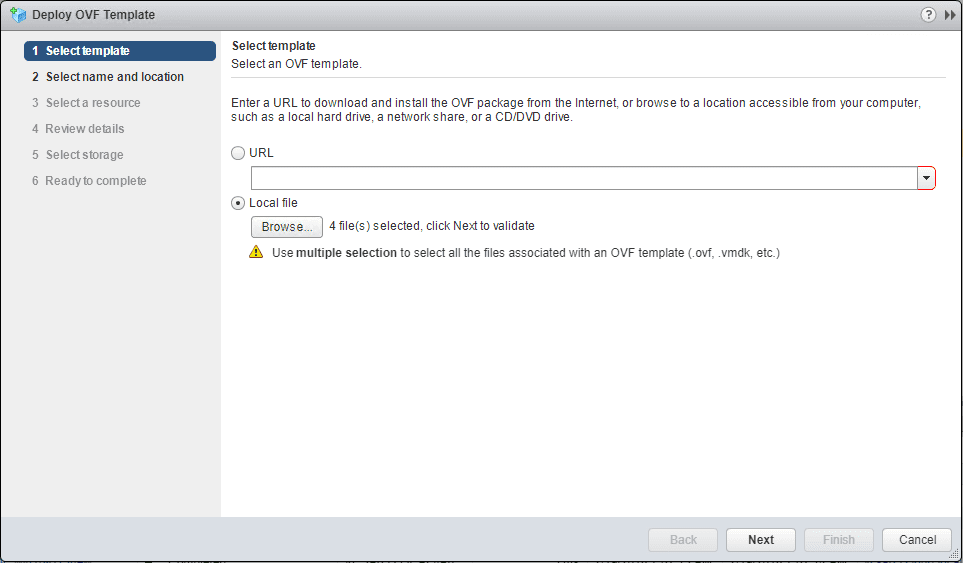
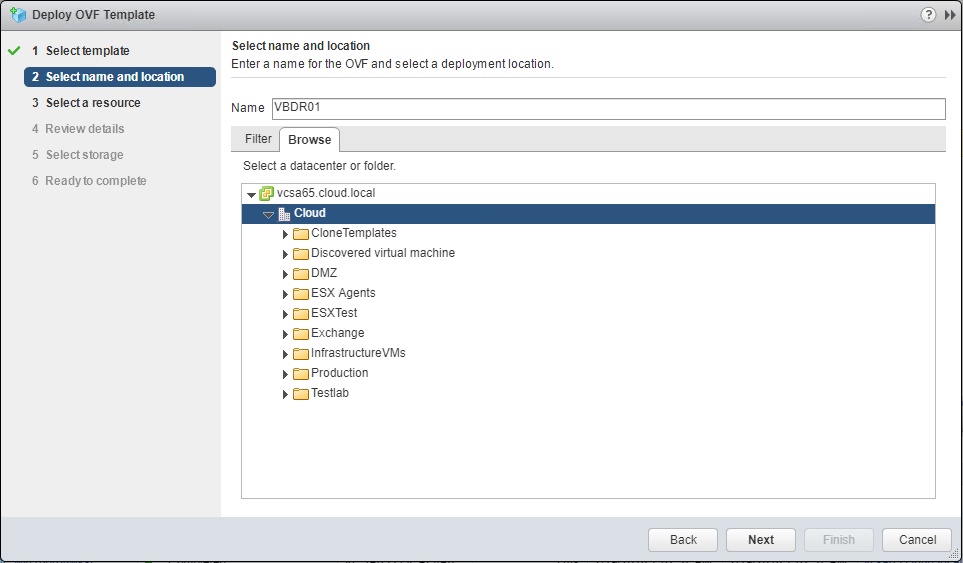
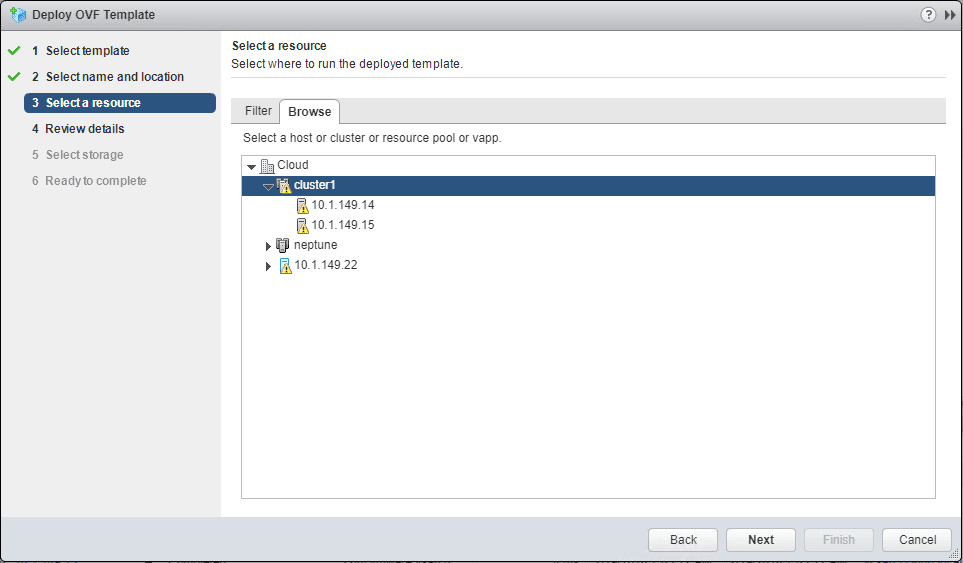
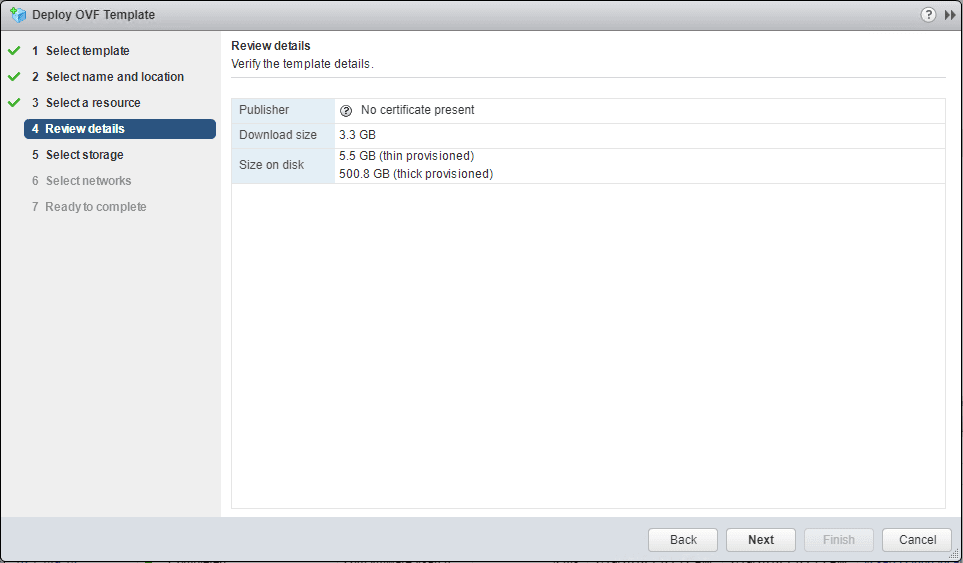
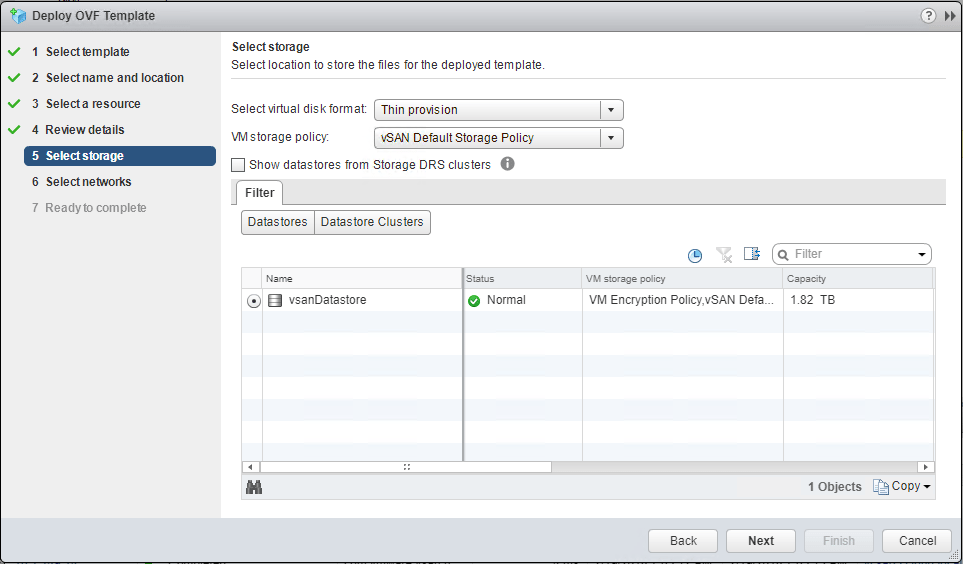
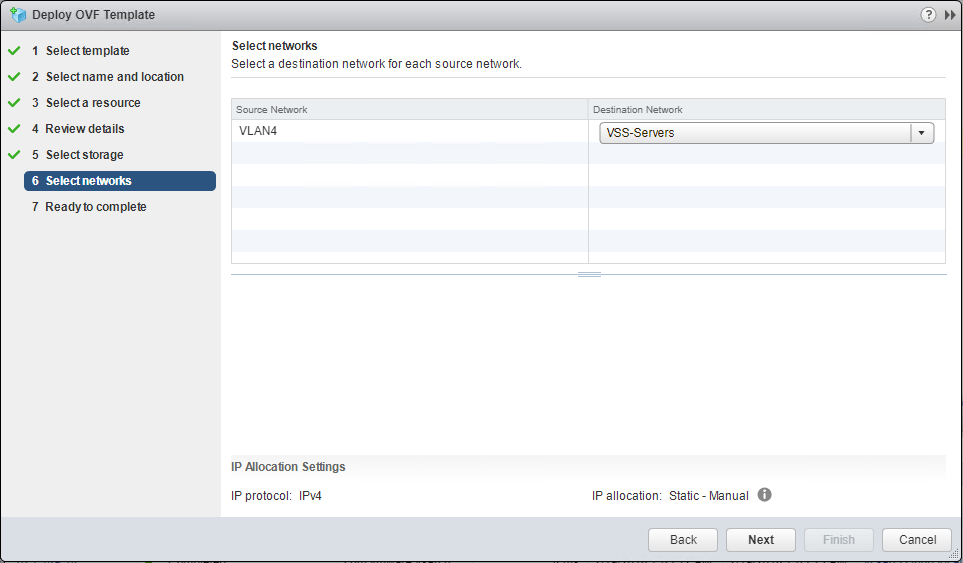
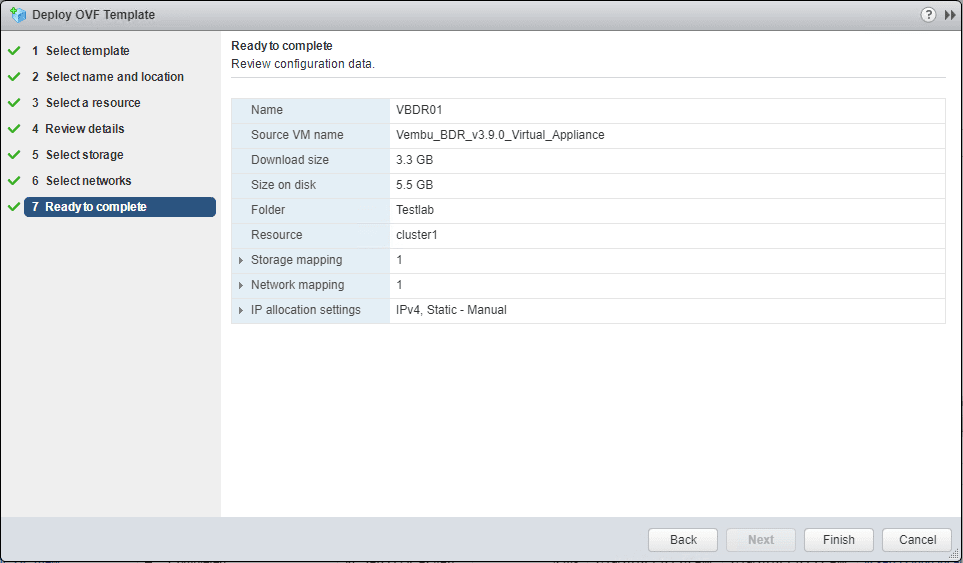
Once the files have been extracted, you can deploy the OVF template via the normal OVF/OVA deployment process in vCenter.
Vembu BDR Suite v3.9 Virtual Appliance Configuration
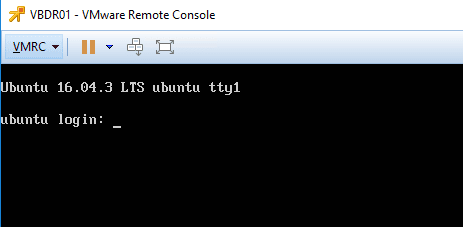
After deploying the Vembu BDR Suite v3.9 Virtual Appliance, boot up the VM. As you can see, is based on an Ubuntu 16.04 LTS installation.
The default username and password are the following:
username: vembu
password: password
Once the virtual machine is booted and you are able to login, make sure the PostGreSQL and Vembu BDR services are started. This is accomplished by running the following commands:
service postgresql status
netstat -anp | grep 32005
netstat -anp | grep 32004
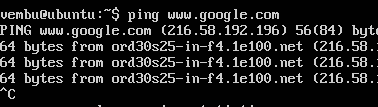
As mentioned in the outset, we need to perform some basic network configuration to get the virtual appliance connected to the network. The Vembu documentation mentions adding a network card, however the OVF already contained a VMXNET3 adapter that sufficed for network connectivity. I did have to follow the steps to get the network configured however.
At the console, we need to edit the network configuration using the following:
sudo vim /etc/network/interfaces
Remember to add the sudo in editing the network configuration. As shown below, simply edit the interfaces file to reflect your IP address configuration, DNS, etc. Save the file.
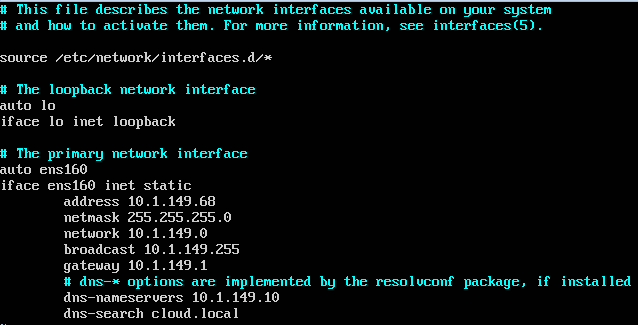
Once the IP address information has been set, you need to restart networking services:
sudo /etc/init.d/networking restart
To bring up the interface (I did not have to perform this step)
ifconfig <interfacename> up
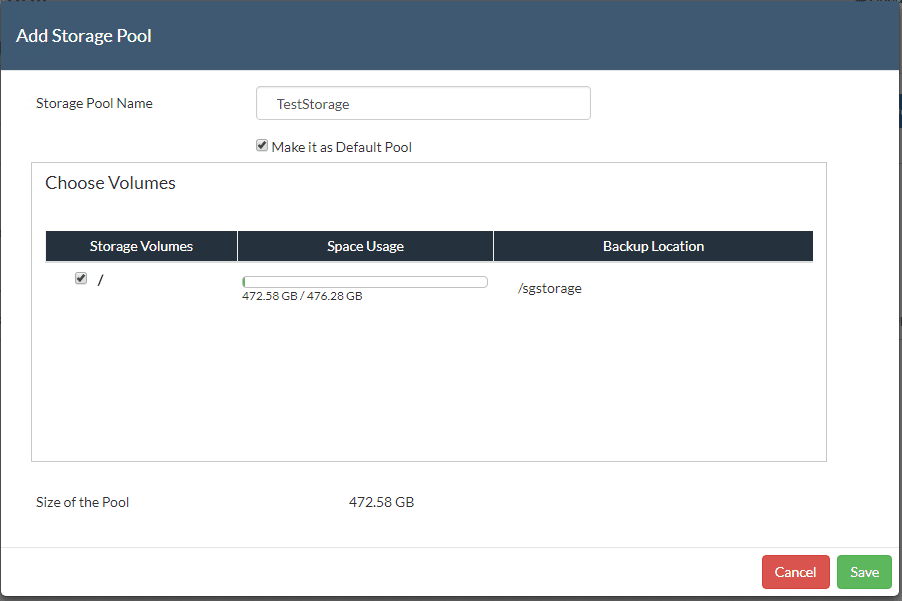
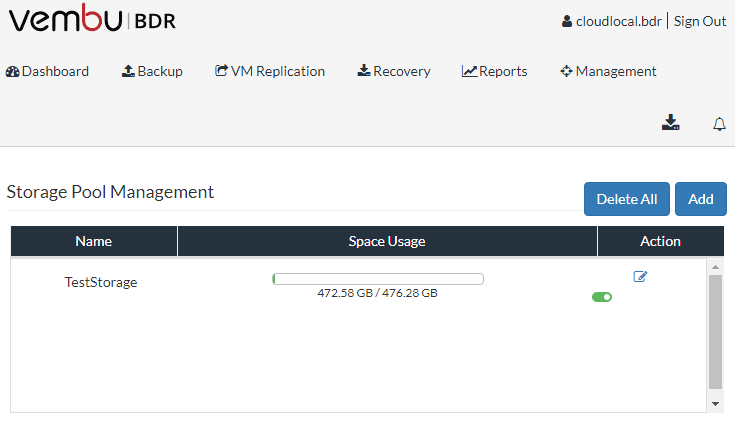
After logging into the Vembu appliance, we need to take the additional step to configure the included storage. To do this click Management >> Storage Management >> Add to add the preconfigured disk space as storage. Name the Storage, and click the Make it as Default Pool
VMware Backup with Vembu BDR Suite v3.9 Virtual Appliance
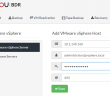
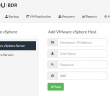
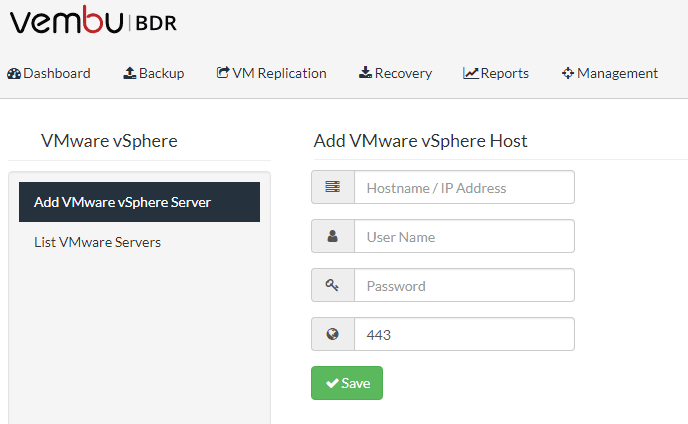
After setting the network configuration, and adding our storage, you are literally, within minutes, up and running in a configured state ready to add your VMware vCenter environment. Below, I am ready to add vCenter server and start creating backups.
Thoughts
I found deploying and configuring the Vembu BDR Suite v3.9 virtual appliance extremely easy and intuitive. As mentioned, it only took a few minutes to get to a point of being able to add a VMware vCenter server and start configuring backup jobs. This is a great step forward for Vembu in providing an easy way to get up and running with Vembu BDR Suite v3.9. This allows customers and those trying the product to easily spin up a POC environment or production environment in just a few minutes. Check out the official Vembu page covering the virtual appliance as well as information concerning the appliance download.
Google is updating how articles are shown. Don’t miss our leading home lab and tech content, written by humans, by setting Virtualization Howto as a preferred source.
About The Author