Use Git with Visual Studio Code
Visual Studio Code is a great PowerShell development platform and since moving off of PowerShell ISE, I can say that I haven’t really looked back since making the move. Visual Studio Code provides tight integration with Git so it is an excellent way to start using version control if you haven’t already with you PowerShell code. Let’s run through just a quick basic tutorial on how to use Git with Visual Studio Code. We will walk through a basic clone of a repository and synchronizing of files in Visual Studio Code using the integrated GUI Git tools that are installed by default. Let’s dive in and take a look at a couple of basic tasks most will want to accomplish – cloning and synchronizing files.
Use Git with Visual Studio Code
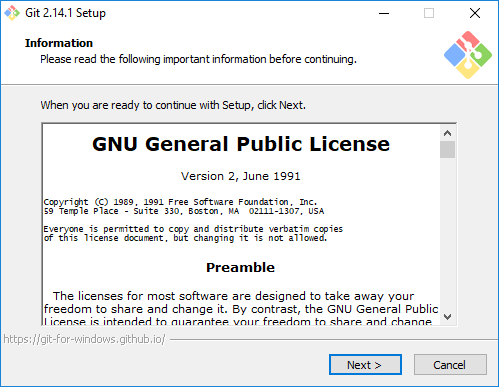
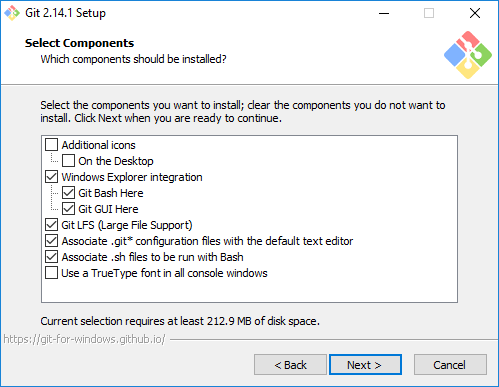
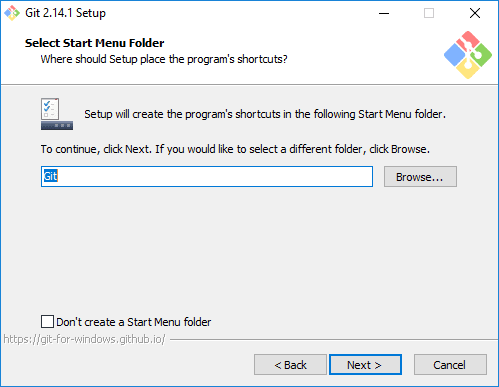
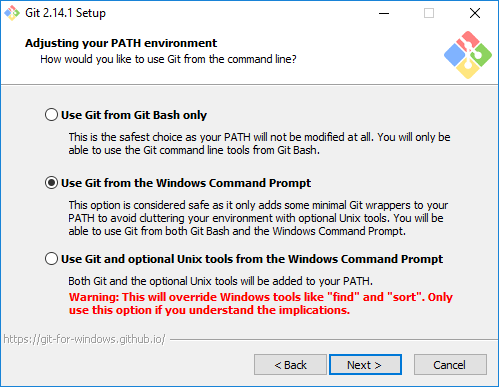
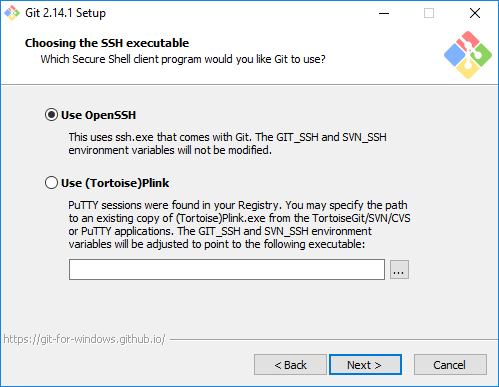
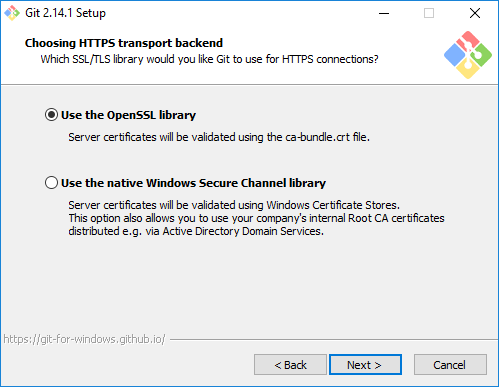
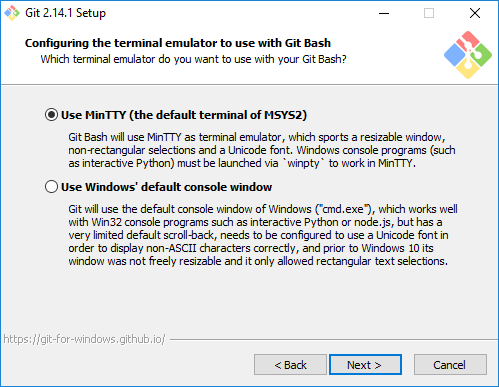
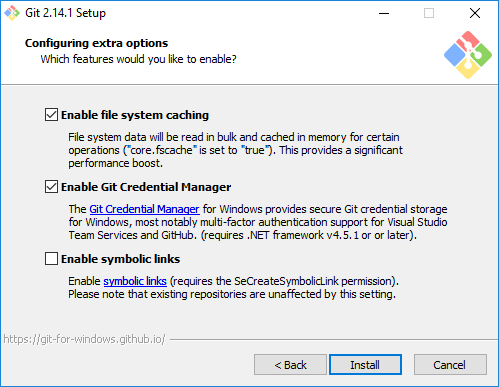
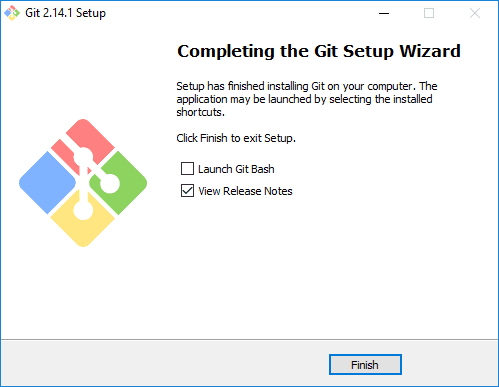
The first thing I like to do is install the Git for Windows installation that allows us to work with Git from the command line. Below are screenshots of the installation, although I left everything at defaults. The screenshots will show what those default are during the installation.


Cloning Git Repository Visual Studio Code
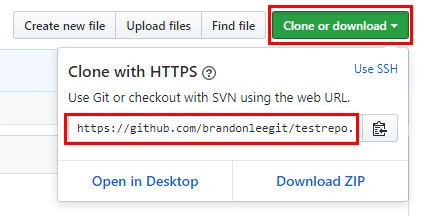
For the purposes of the Git Hub Visual Studio Code walkthrough, I simply created a Test repository. Here we are logged into Git Hub and are getting the repository URL. We use this URL to clone the repository on our Visual Studio Code workstation.
Now that we have our repo URL, we can clone the repository on our Visual Studio Code workstation to work with the code locally. To do this we launch the Git CMD utility. Note the directory you are currently inside of in the Git CMD Window is where the repository will be created.
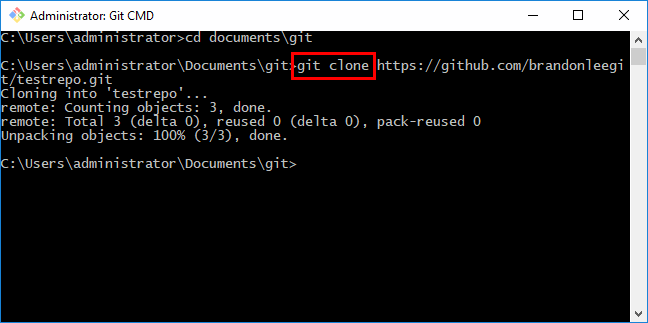
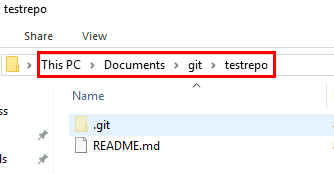
As we can see our files that exist on the remote repository now exist in our local repository folder.
Open Local Git Repository Visual Studio Code
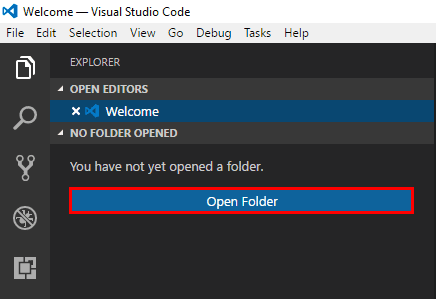
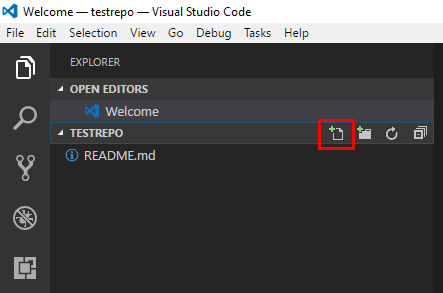
Now, to Visual Studio Code. We click to Open Folder. Point Visual Studio Code to the folder of your repository which for me was c:users%username%documentsgittestrepo.
As we see below, we have our repository folder open and we see the correct files as they exist on GitHub. I want to create a new Powershell file. Click the new file with the + symbol to create a new file to work with.
Stage and Commit changes from Visual Studio Code to Git
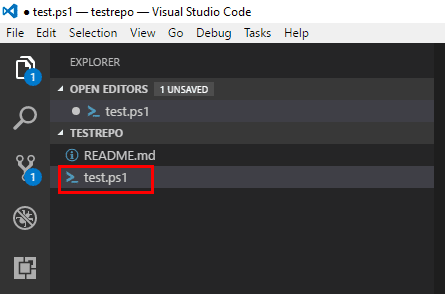
After creating a new file called test.ps1 and entering a few PowerShell lines, we want to stage our changes.
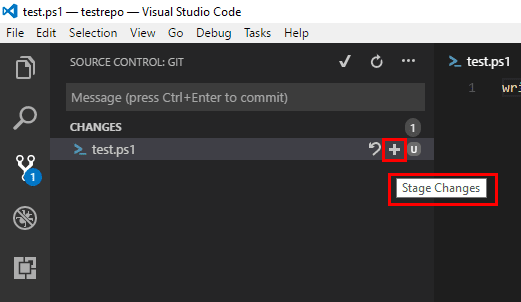
Hovering over the + sign next to our test.ps1 file we see the Stage Changes button. Click it. If you don’t choose to stage changes, you can still commit. You will see a “warning-ish” message that you have no changes staged to commit, “would you like to automatically stage all your changes and commit them directly?”. Staging first is the best practice for GitHub workflow.
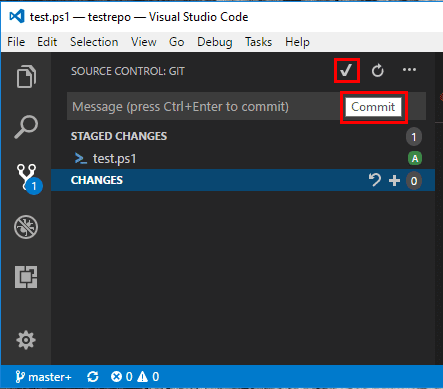
Now, our changes are staged and ready to commit. Next to the Source Control: GIT area at the top, we should see a “check mark” we can click. If we hover over it, we will see the Commit button popup.
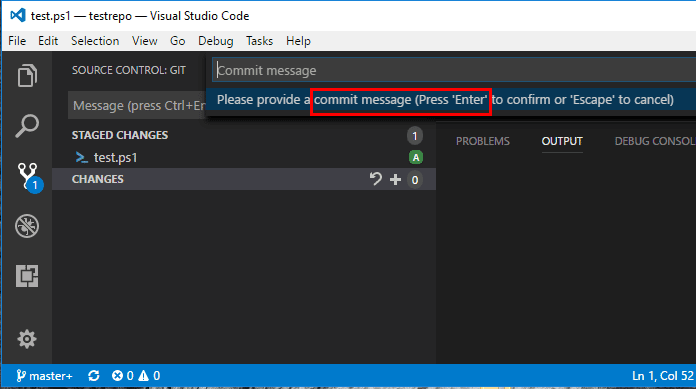
To commit our changes, type commit in the box that pops up and hit Enter as the directive mentions.
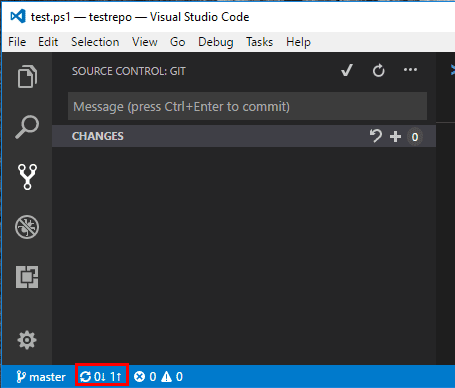
After doing that, we will notice at the bottom left hand corner, we will see the “1” show up in the up arrow or changes to be synchronized to our remote repository. Click the little synchronize changes arrow to sync the changes.
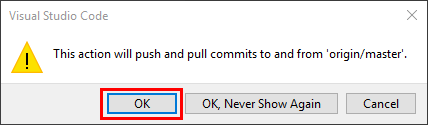
A Visual Studio Code warning will pop up alerting this action will push and pull commits to and from ‘origin/master’.
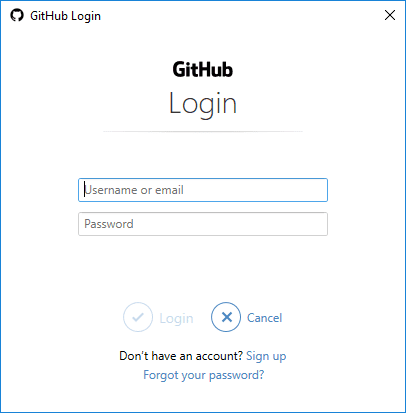
We will be prompted to login to our GitHub account.
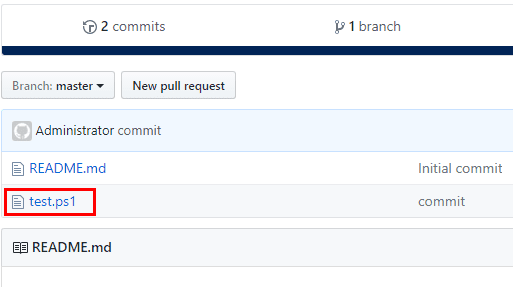
After providing credentials and waiting just for a moment, we can refresh our GitHub repository and we should be able to see our new file that was synchronized.
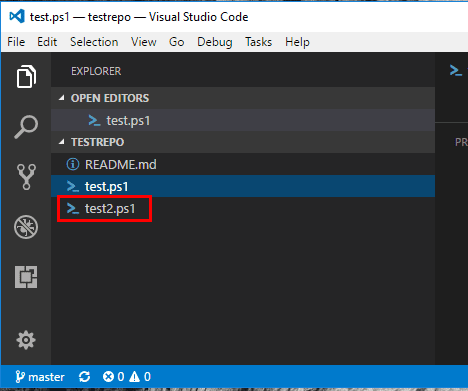
This works in reverse as well. I created a test2.ps1 file on the remote GitHub repository and synchronized changes. After synchronizing, I saw the test2.ps1 file locally in Visual Studio Code.
Thoughts
Visual Studio Code is now my preferred PowerShell code editor of choice. Features such as the tight integration with Git, make it an excellent choice for version control. There are a lot of PowerShell features and functionality built in and it is sure to only get better. New versions of Visual Studio Code are being released quite regularly. I love the look and feel of the interface as well. Do yourself a favor if you haven’t checked Visual Studio Code out yet to grab a copy and start playing around with the features/functionality, especially with Git integration.