Install and Configure Windows Server 2016 WSUS
Windows Server Update Services or WSUS is a Microsoft product that allows us to centrally manage patches for Microsoft operating systems and other Microsoft products. With Windows Server 2016, the process is basically the same as previous server operating systems to install and configure the product and generally get up and running with WSUS managing our patches in a particular environment. Let’s look at how to install and configure Windows Server 2016 WSUS.
Install and Configure Windows Server 2016 WSUS
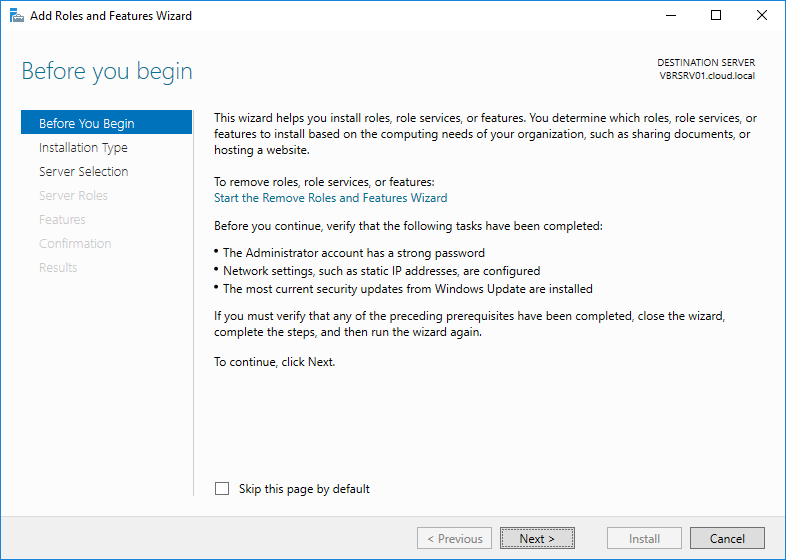
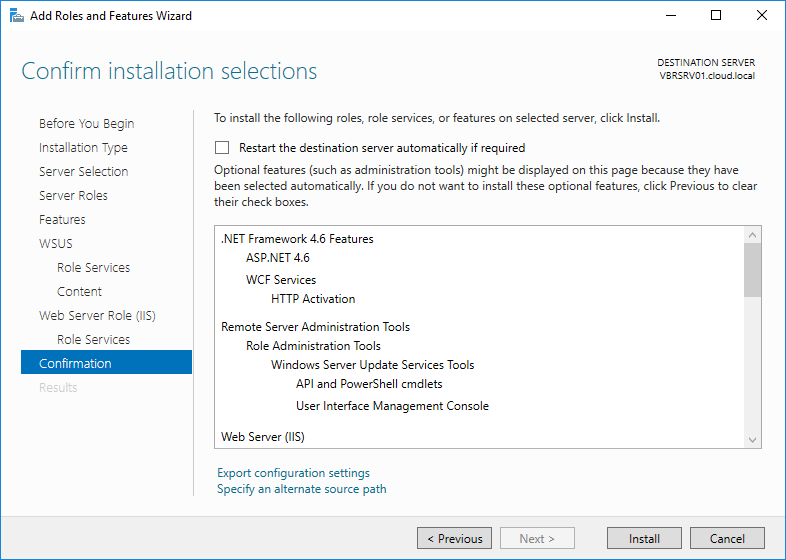
Installing the Windows Server Update Services role is very straightforward and is basically what we would expect with installing any role or feature. This is done through Server Manager. The process is fairly next, next, finish in nature.
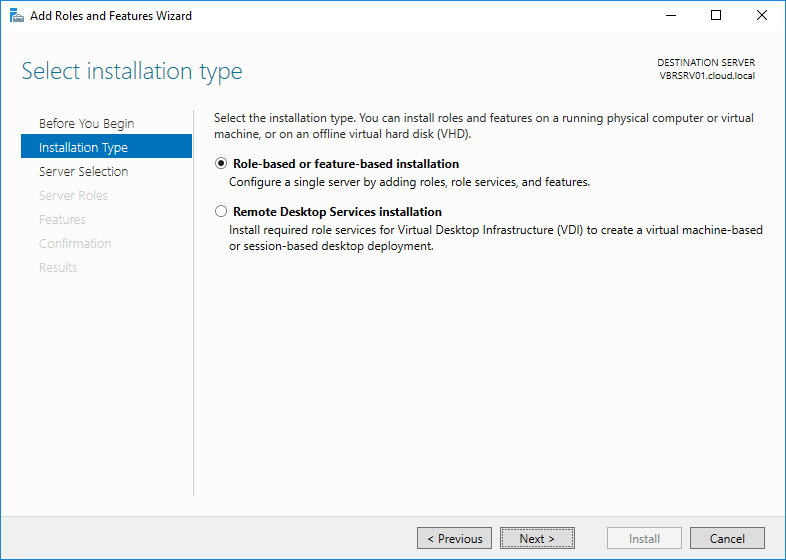
Here we select a role based installation.
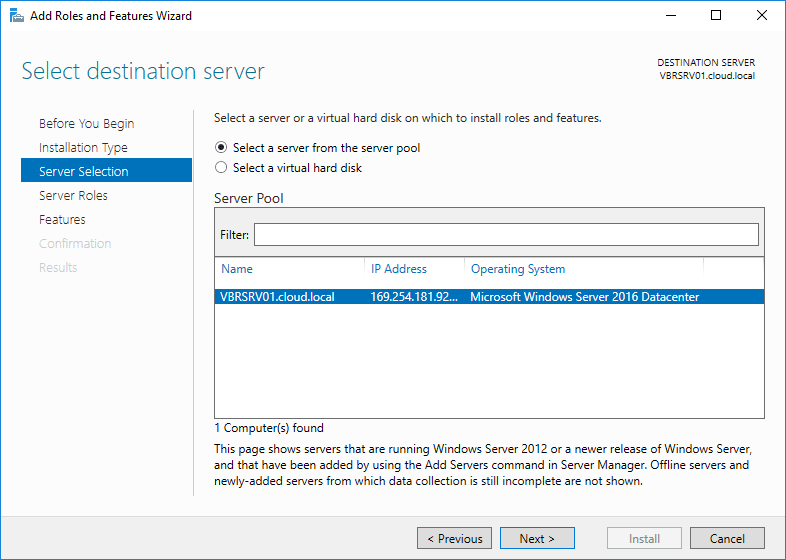
Select our server.
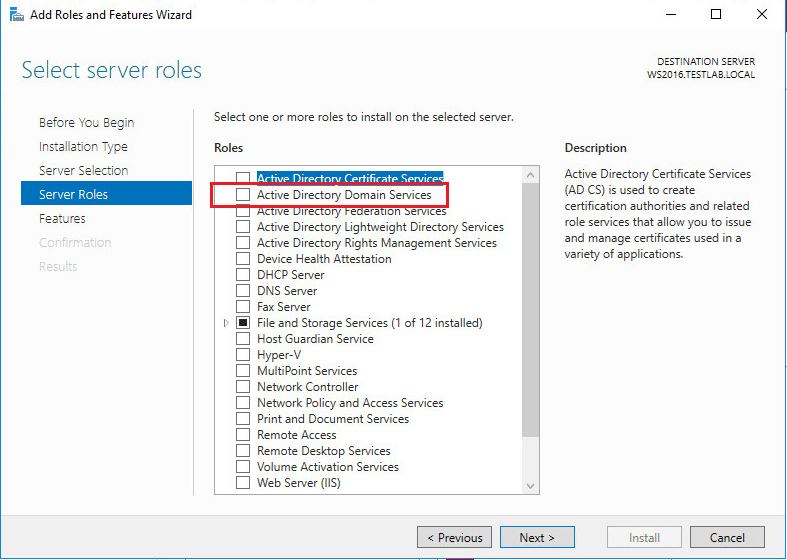
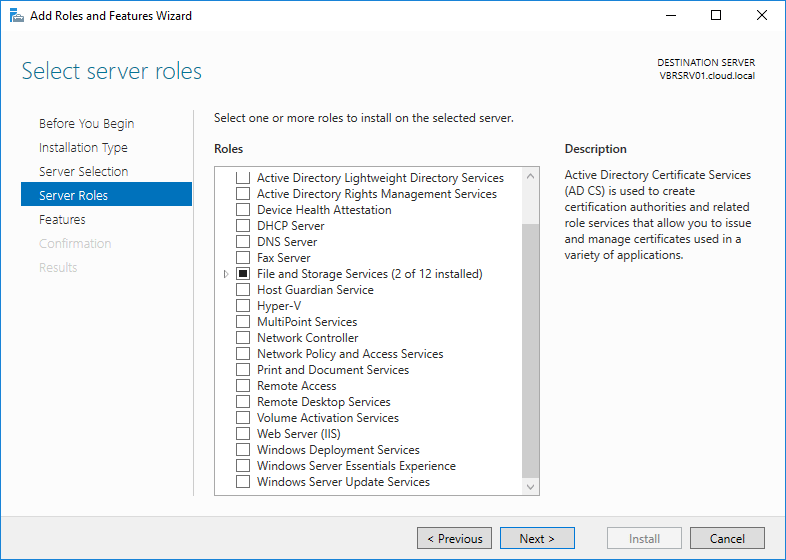
Choose Windows Server Update Services all the way at the bottom of the Server Roles.
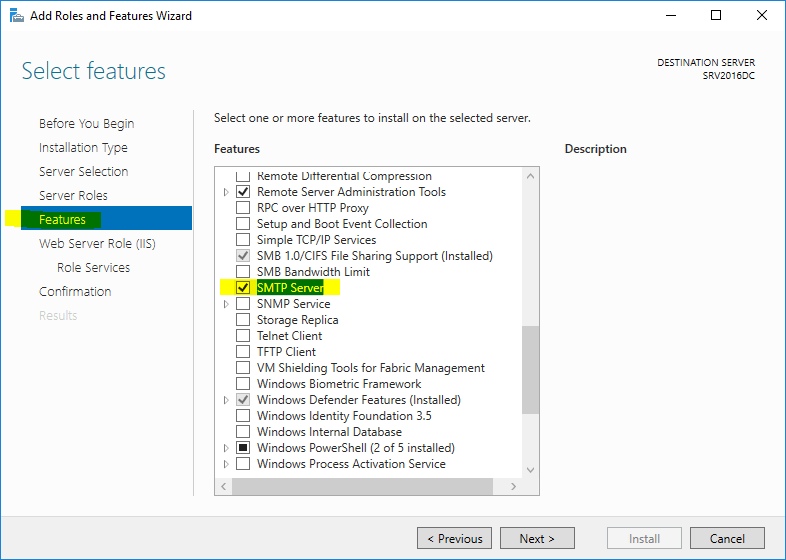
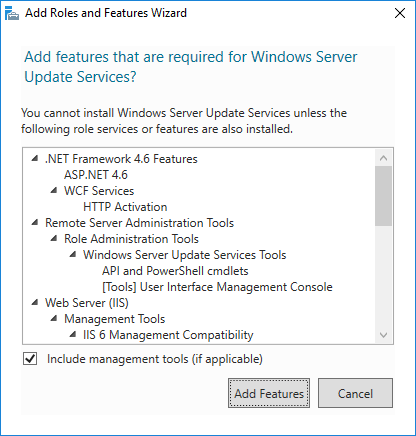
We will get prompted for additional features that need to be installed.
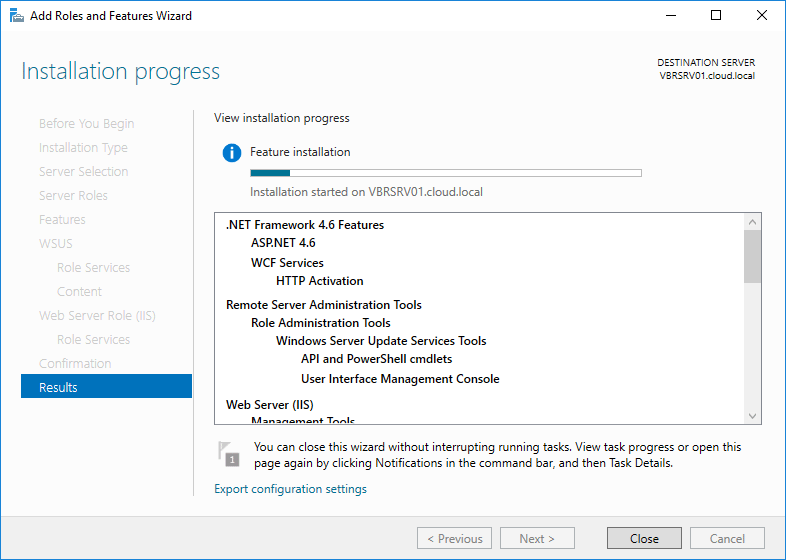
Next, Next finish process underway…
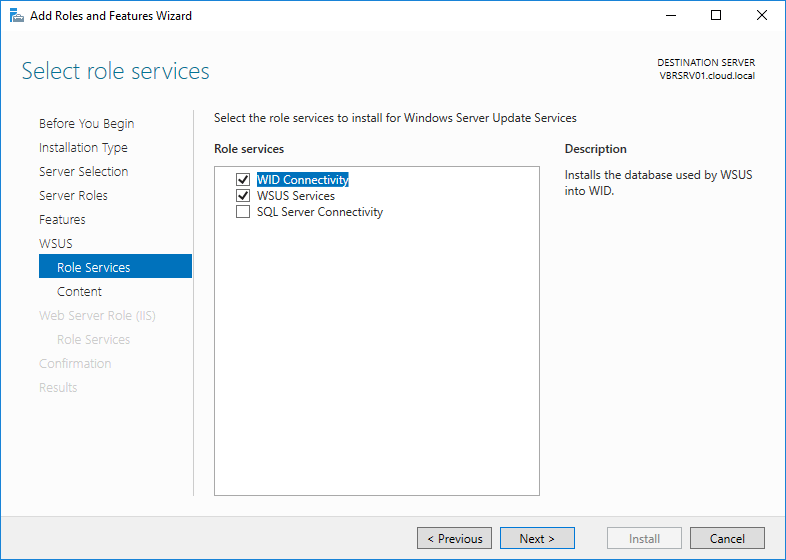
Finally, we get to the Role Services and should see WID Connectivity and WSUS Services.
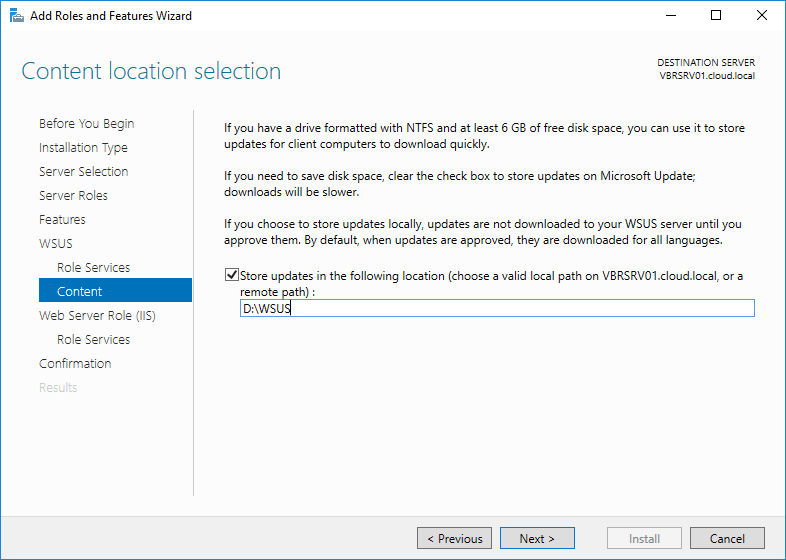
Here we select a file path to use for storing updates.
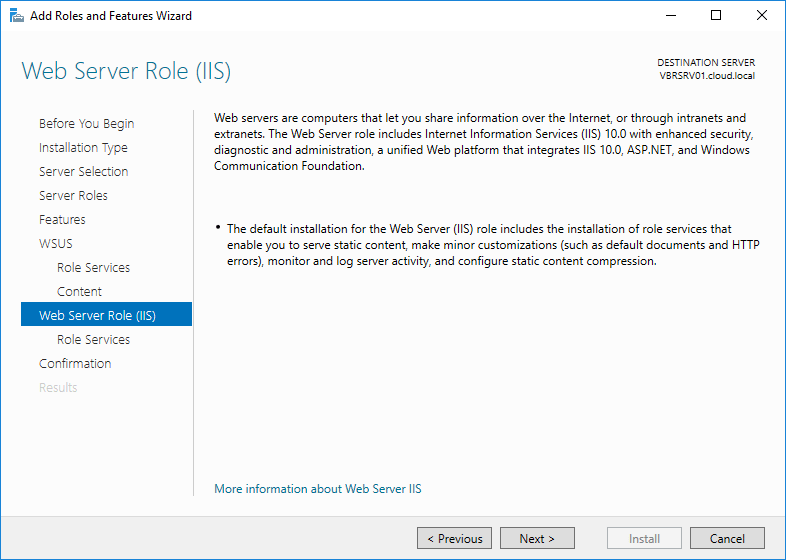
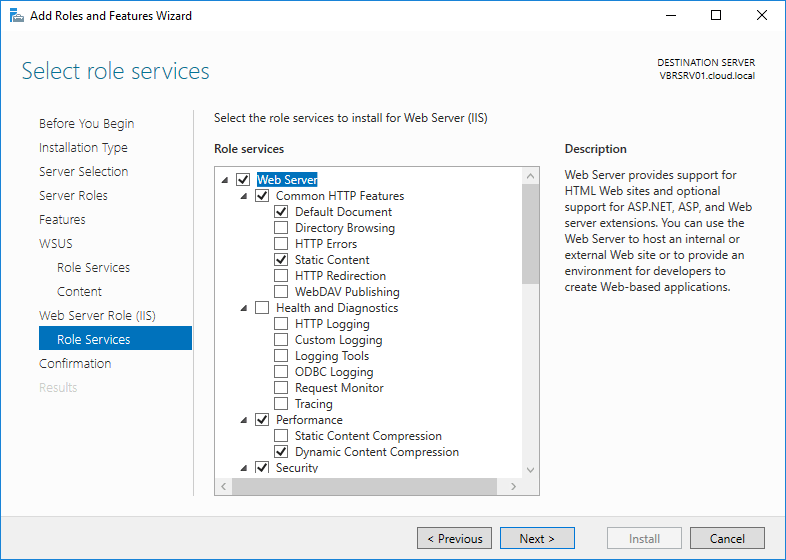
We will have Web Server Role services installed with WSUS.

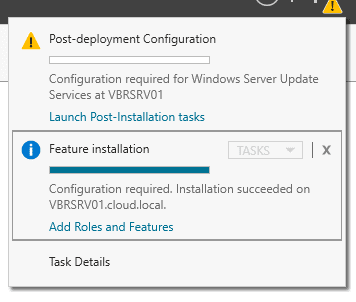
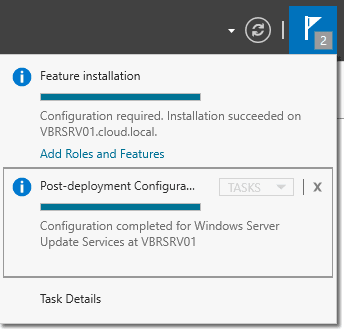
After the role service is installed, we will see a exclamation bang in the upper right hand corner of our Server Manager. It will show Post-deployment Configuration that will need to be done. Click this and it will finish things out.
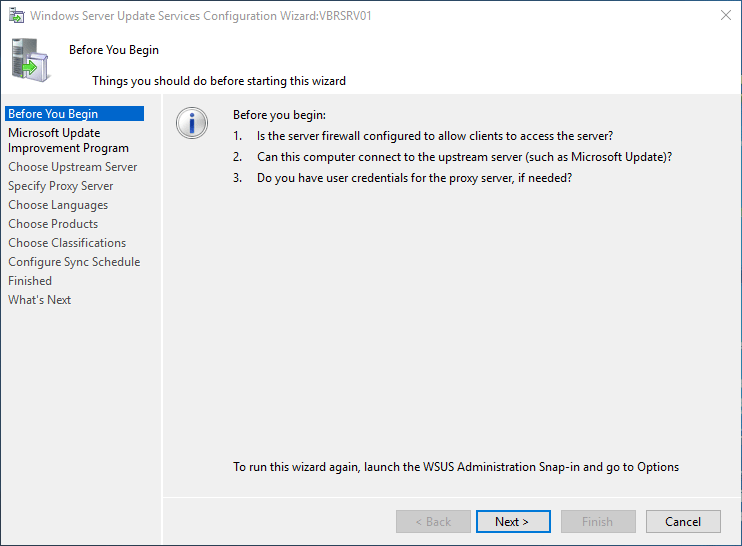
WSUS Specific Configuration
Now we begin the WSUS configuration itself where we actually setup our configuration for the WSUS server portion.
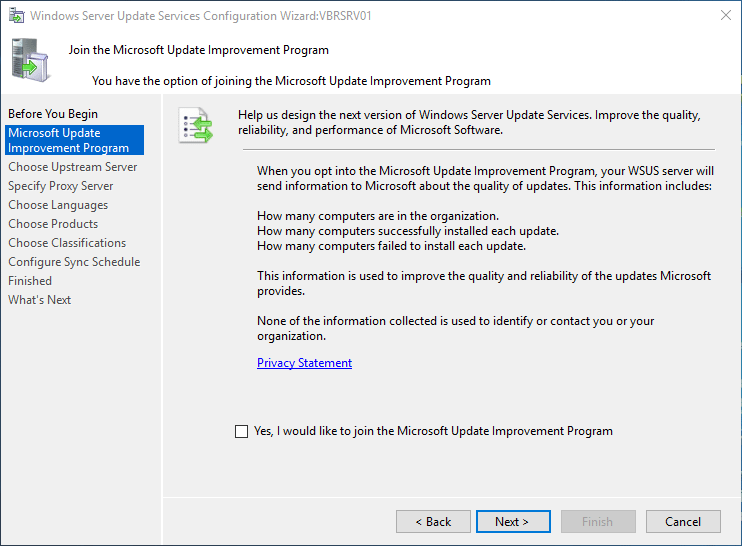
Since I don’t have another WSUS server I am wanting to synchronize from, I choose to Synchronize from Microsoft Update which pulls directly from Microsoft.
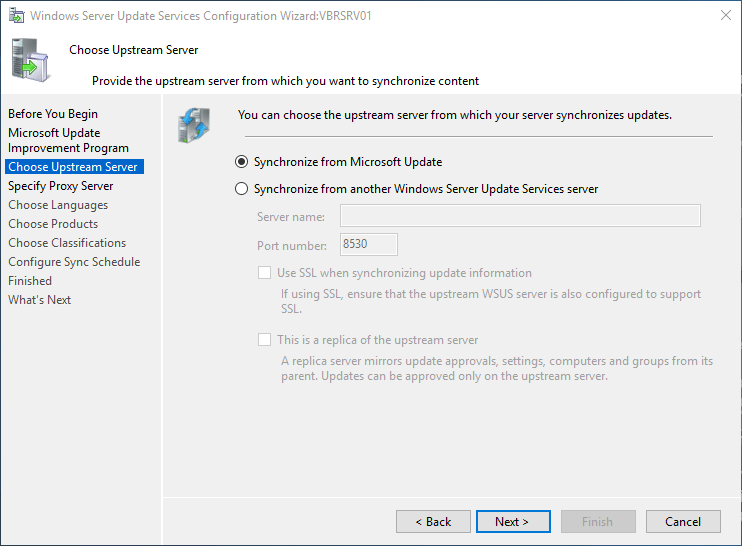
Choose your connectivity options here. If you use a proxy, you need to configure it.

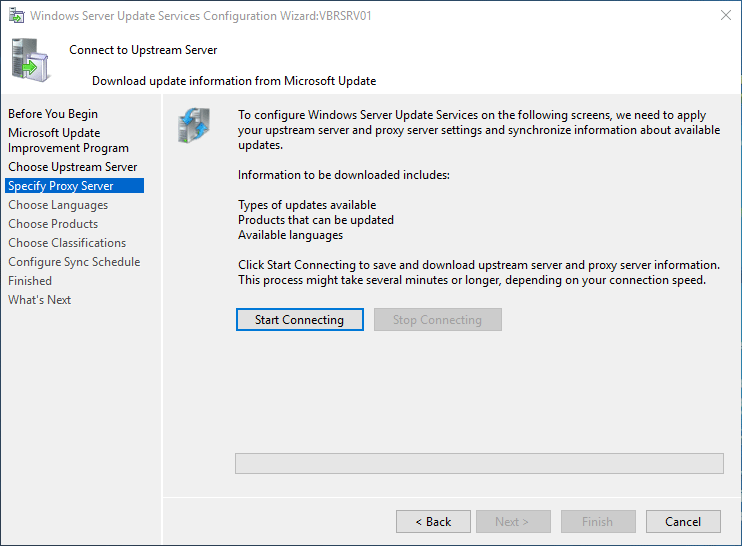
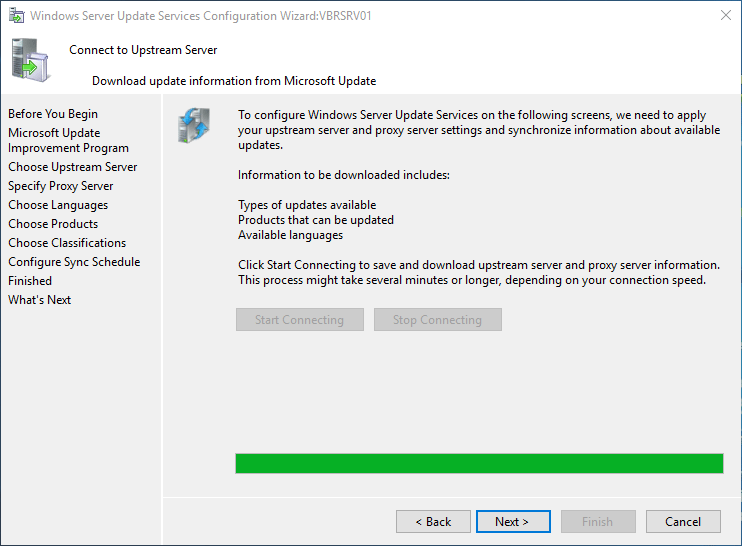
Now, click the Start Connecting button. This process will take a long time depending on your connection.
Click Next.
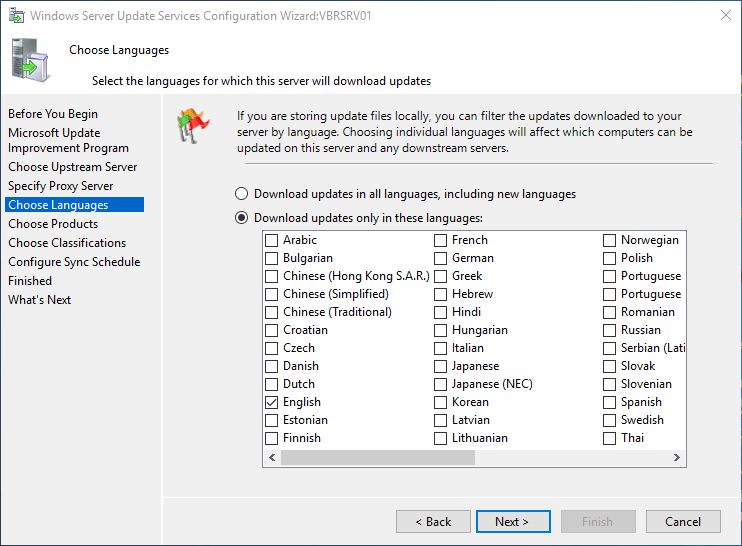
Choose your language here.
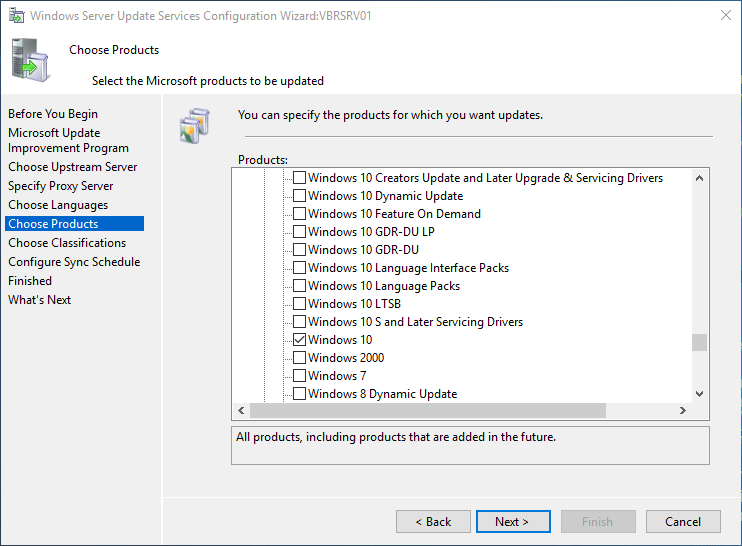
On our Choose Products screen we actually choose operating systems and products we want to pull down and store updates for.
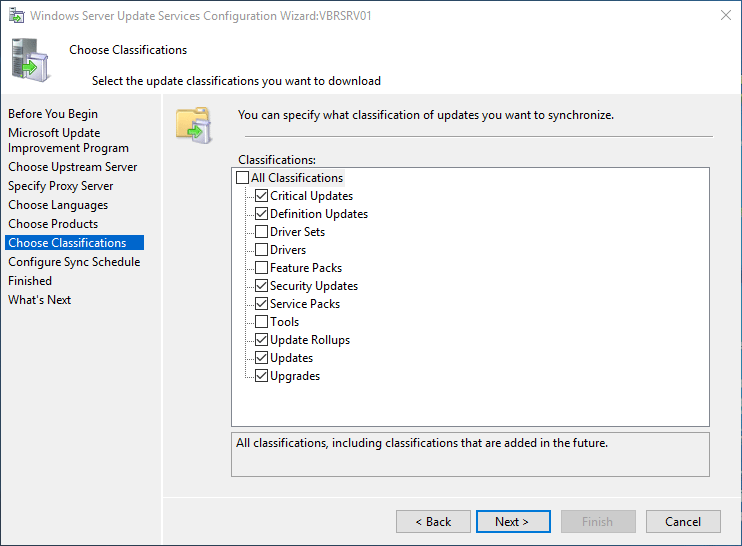
Next, we choose our Classifications where we can set the types of updates for the selected operating systems. This includes choices on Critical updates, drivers, feature packs, security updates, etc.
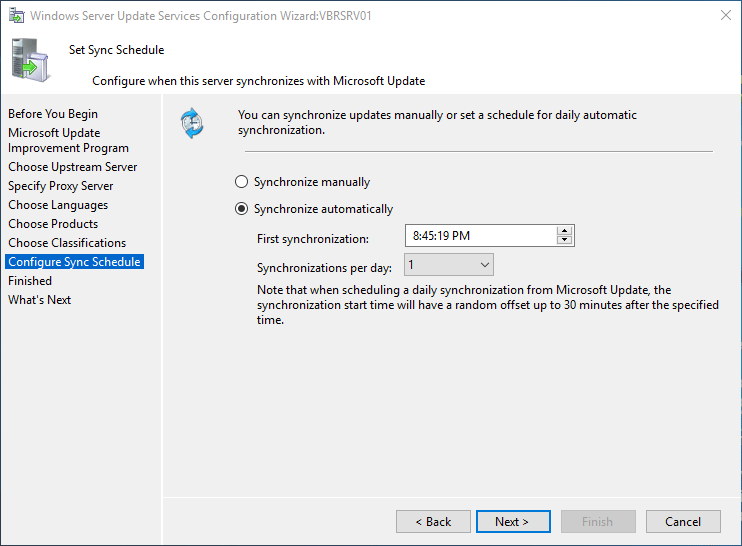
Next is our Sync Schedule where we configure when we want a synchronization with our upstream source server to happen. We can also set the number of synchronizations per day.
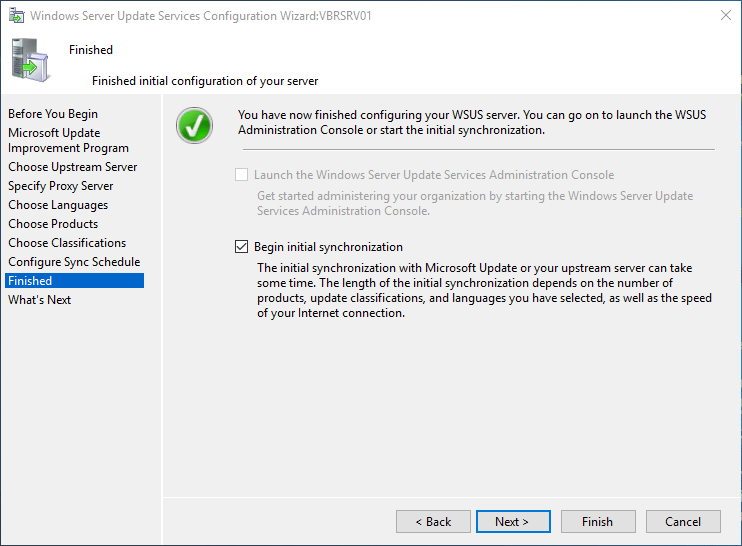
On the Finished screen, we can choose to Begin initial synchronization which will start pulling down the updates that meet the criteria.
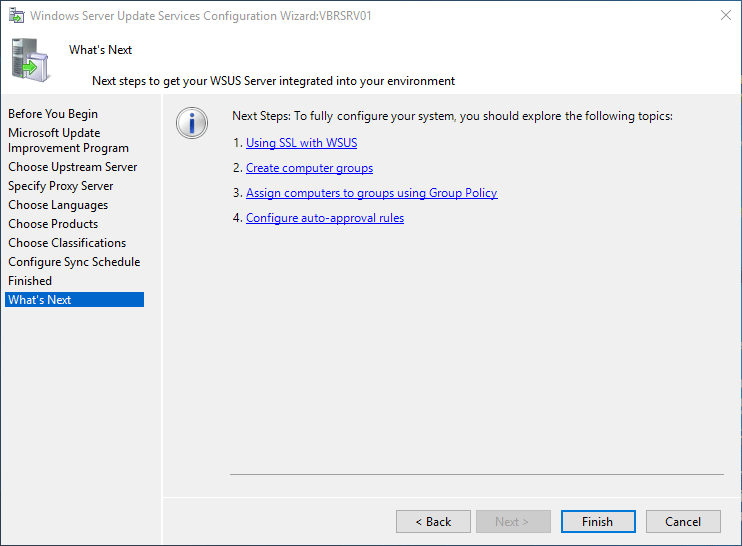
The basic summary screen tells us what we might want to think about doing next including setting up SSL, creating computer groups, etc.
That concludes the basic Windows Server 2016 Install and Configure of WSUS.
Reporting Services
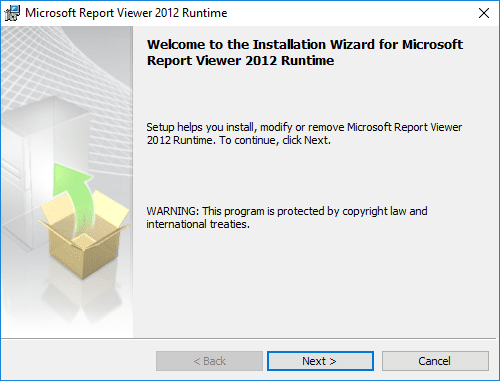
If you try and click on any data in the WSUS screen such as updates needed, etc, you will quickly find several errors or warning pop up about SQL Server 2012 CLR Types and Report Viewer 2012 binaries.
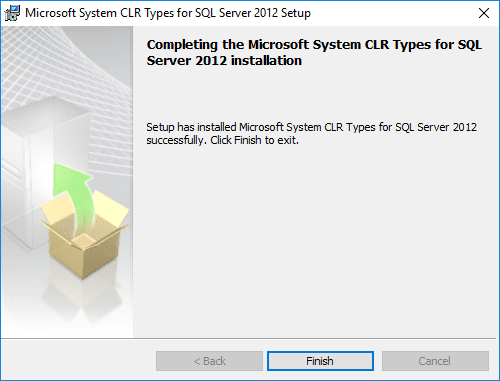
After installing the CLR types, I was able to run the Report Viewer 2012 Runtime.
Thoughts
In this basic tutorial on how to install and configure Windows Server 2016 WSUS, it is easy to see that the process is fairly straightforward to get the role installed and configured. Also, installing the needed report components allows us to view reports from the WSUS console on the server itself. In our next WSUS post, we will take a deeper dive into interacting with WSUS, troubleshooting, and other configuration.