
Lately, I have been doing a lot of testing with backup software and other POC’s related to DR plans, backups, replications, etc. With that said, I stumbled onto and pulled down a copy of the Altaro VM Backup software to take a look. I have to say this is most definitely a worthy competitor to other big names out there. The Altaro VM Backup Install and configuration is very easy to use and intuitive. Let’s take a look at the Altaro VM Backup install and configuration process.
Altaro VM Backup Install and configuration
The installation part of the Altaro VM Backup software is fall off a log easy. It is a simple MSI wizard that we are all used to. Just follow the prompts and you will be good to go. I am installing this on a test Windows 2012 R2 VM that resides inside my VMware environment.
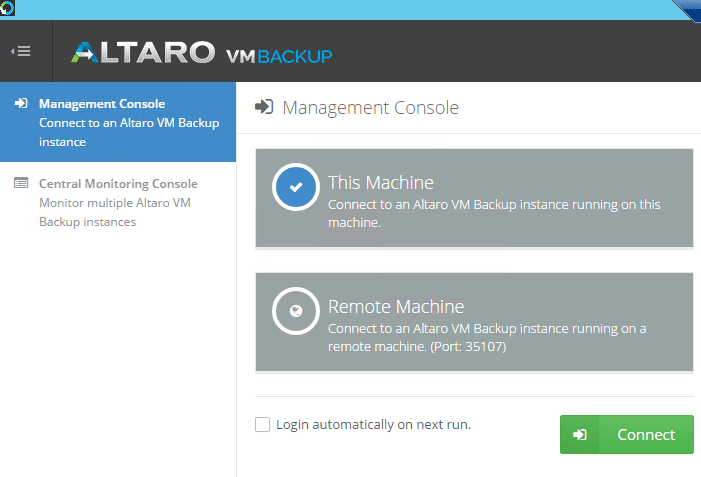
We are now directed to go to the Management console. You can connect to another machine or simple connect to your local machine where the software is installed which is in this case what I am doing.
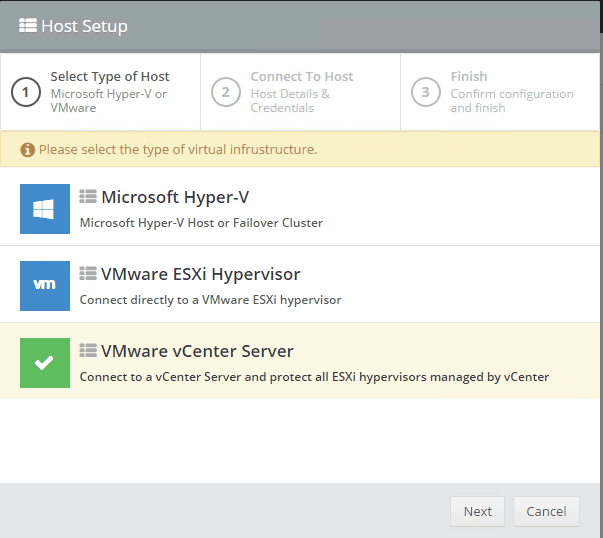
The first order of business is to connect to the virtual environment that you want to backup.

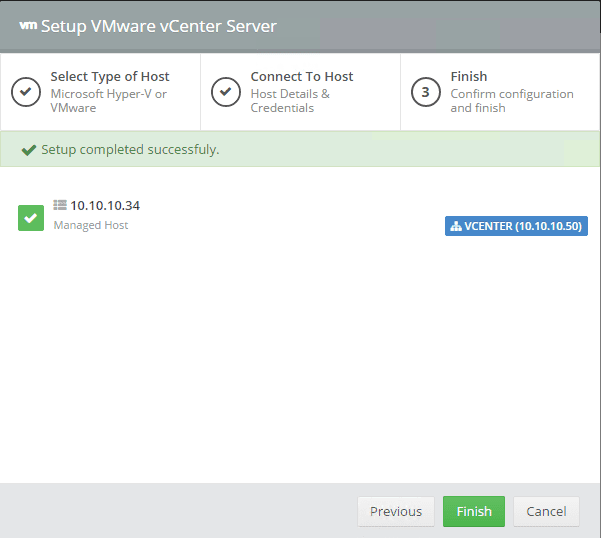
I chose the VMware vCenter Server environment option.
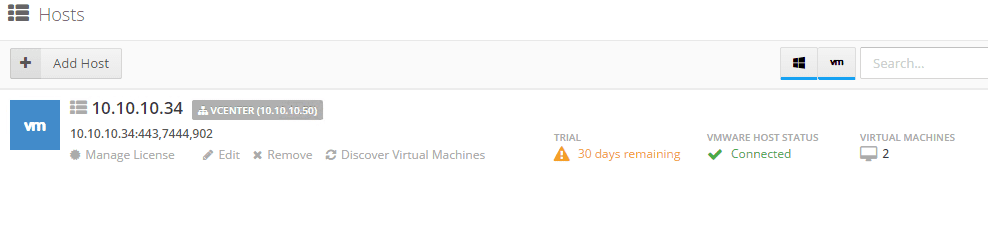
I used the IP address information as well as the SSO administrator account and then tested the connection which was successful.
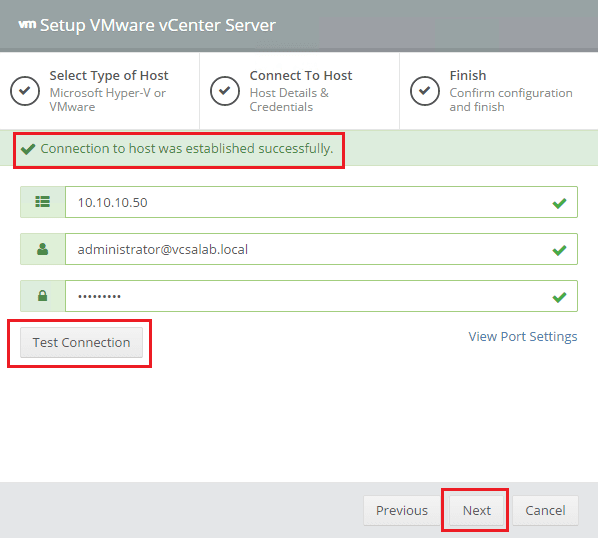
We can now finish out of the connection wizard.
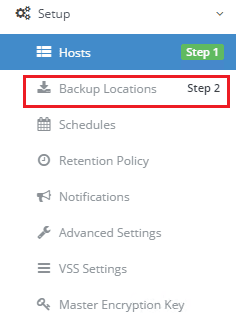
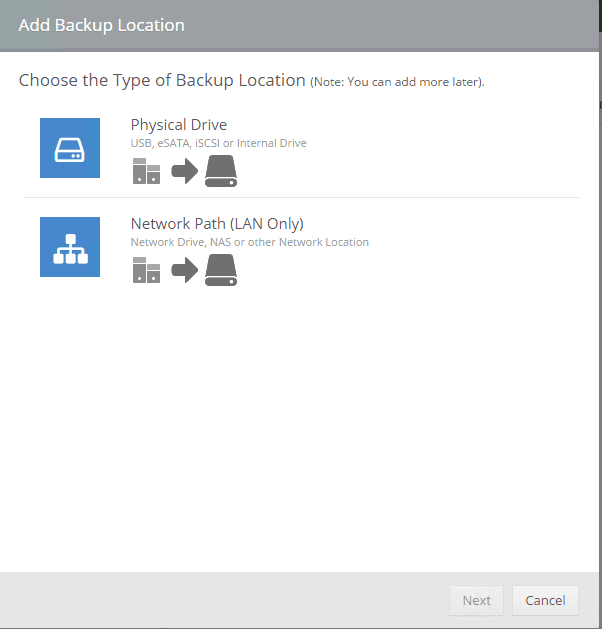
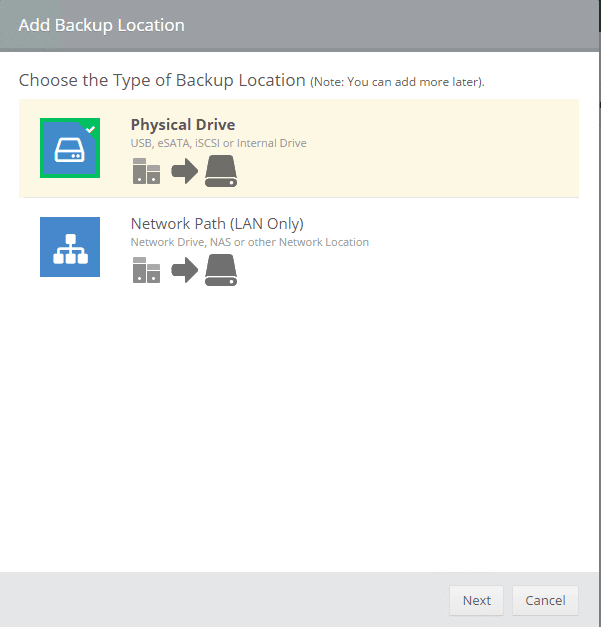
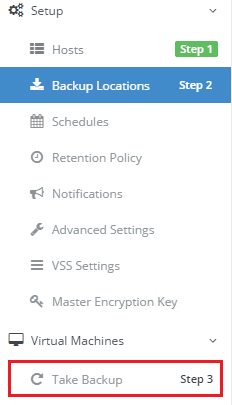
The second step in our case is to setup a Backup Location for the backups to target.
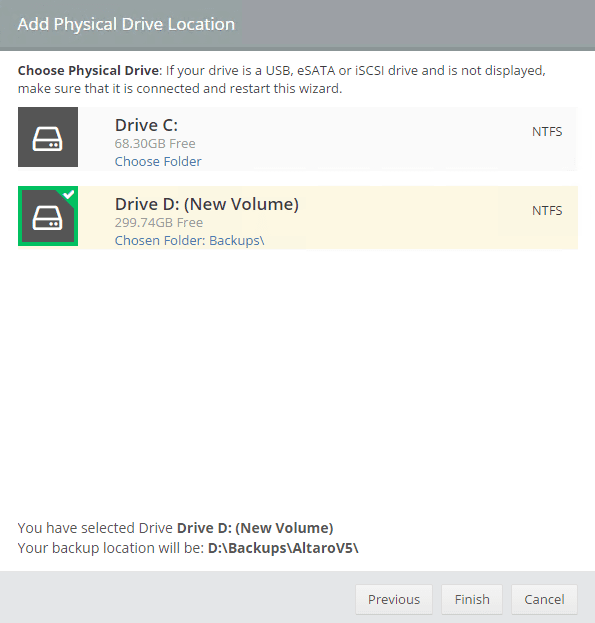
Since this is a test for me, I simply used another local hard drive that resided inside of my Windows 2012 R2 VM.
You can also choose our folder during the wizard as well. I created a “Backups” folder on the DDRIVE of the server.
Next, let’s actually take a backup.
It automatically polls your vCenter environment and reads in all the virtual machines that exist there. I like the drag and drop functionality here. I simply dragged over the “Win2012bak” VM to the D:Backups icon in the right hand pane and it set the location for that VM. Apparently this step is required even though we have setup the backup location in the wizard above.
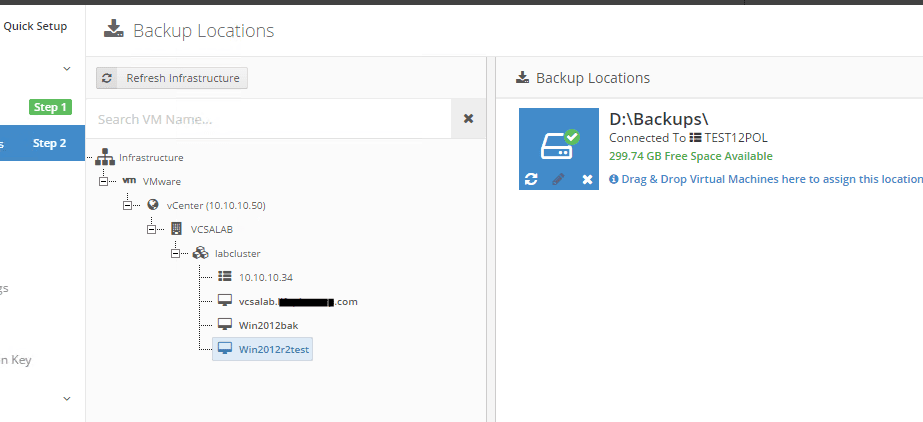
Now we have the option to select the VM for backing up.
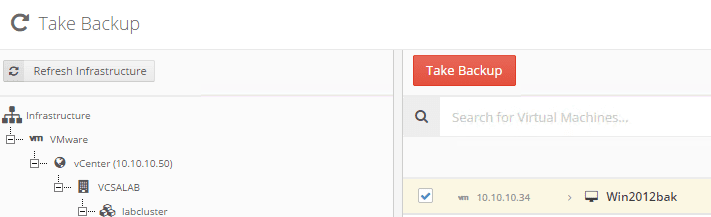
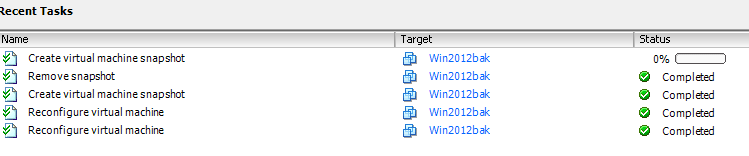
After clicking the “Take Backup” button, we see the actions start happening in vCenter. The snapshot process kicks off on the selected virtual machine.
We have access to the progress indicator of the job if you click the icon all the way to the right in the upper right hand corner.
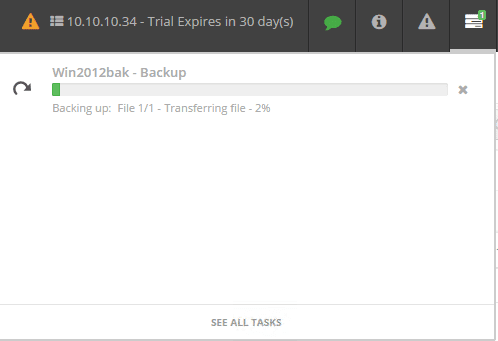
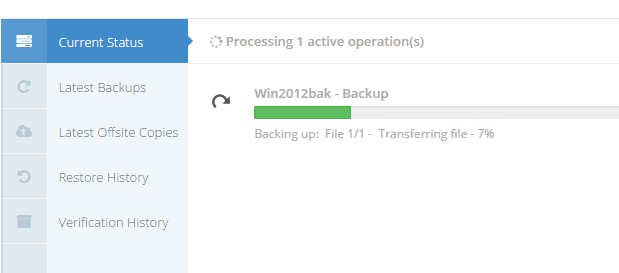
If you click the job, you can see a larger representation of the job. The only criticism I have here is that it would be nice to see the transfer rate as well. If this exists somewhere that I didn’t see, please let me know in the comments. Seeing your throughput for most is a valuable metric to have available.
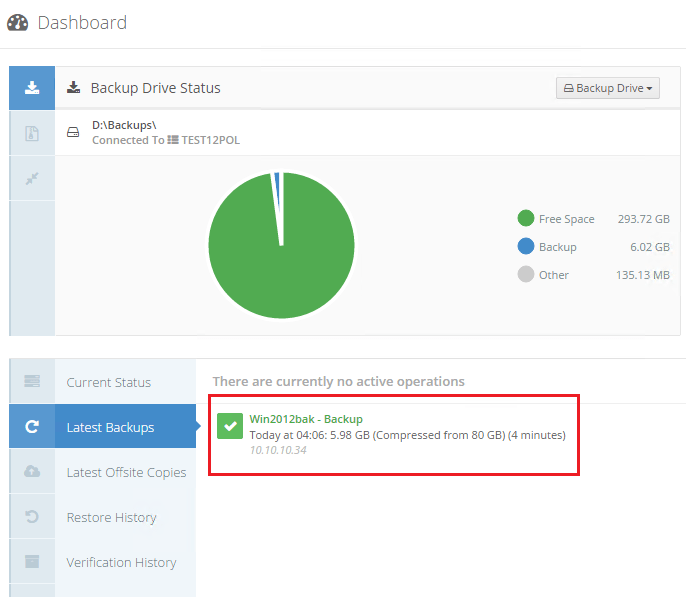
The backup completed very speedily and now we can go to backups and see the backup that was just performed. Also, the compression on the backup job looks very good.
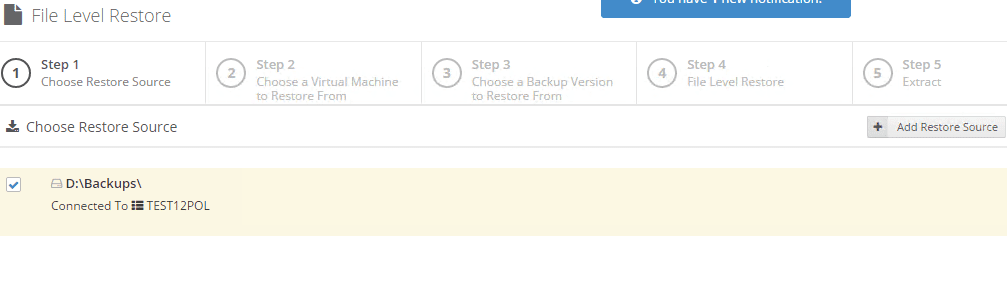
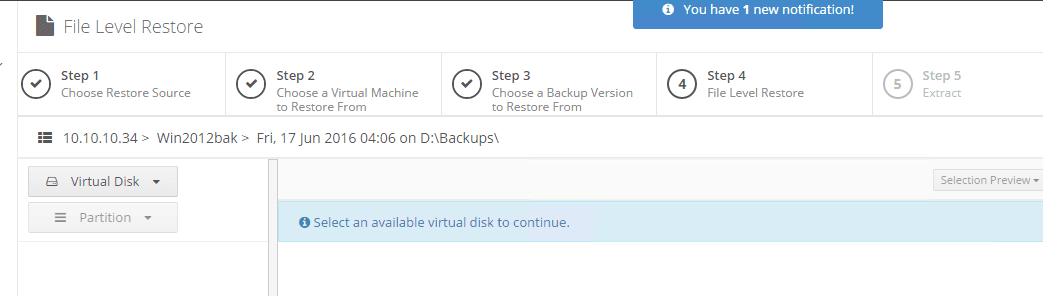
There is also the ability to do a file level restore aside from restoring the entire VM. Launching the file level restore brings about a wizard type approach to the restore. First we select the Restore source.
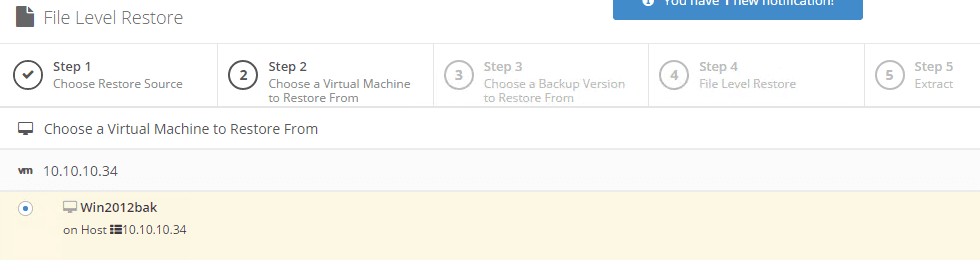
Next we choose a virtual machine to restore.
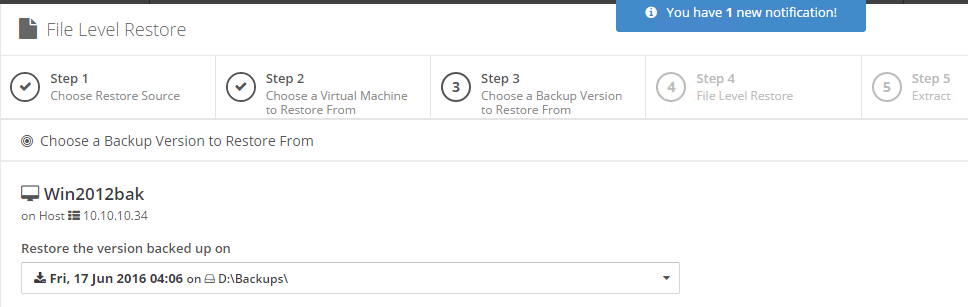
Step 3 is to choose a version or point in time of the backup. Since I only have one backup, it is the only one listed.
Next, it asked us to select which virtual disk.
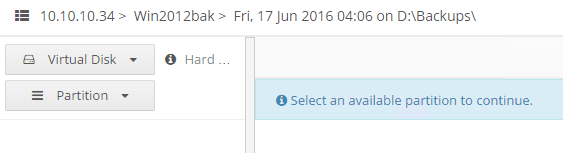
Here we have selected the virtual disk and it is asking which partition.
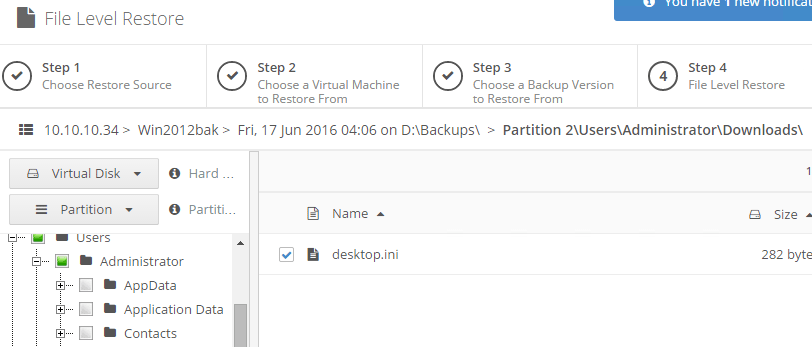
I simply chose a desktop.ini file to restore for something quick and easy.
Finally, we are asked where to restore it to. The default is to restore to “C:AltaroRestored” folder on the target VM.
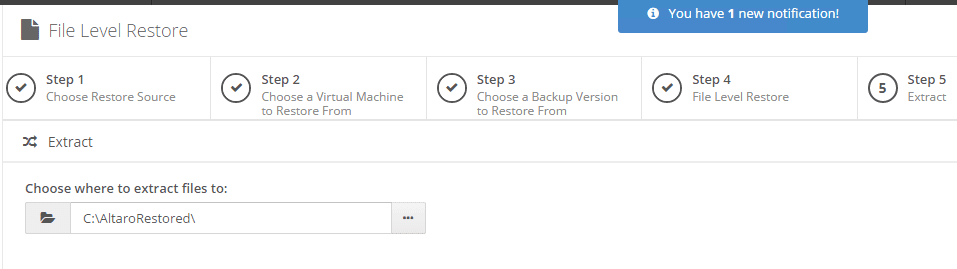
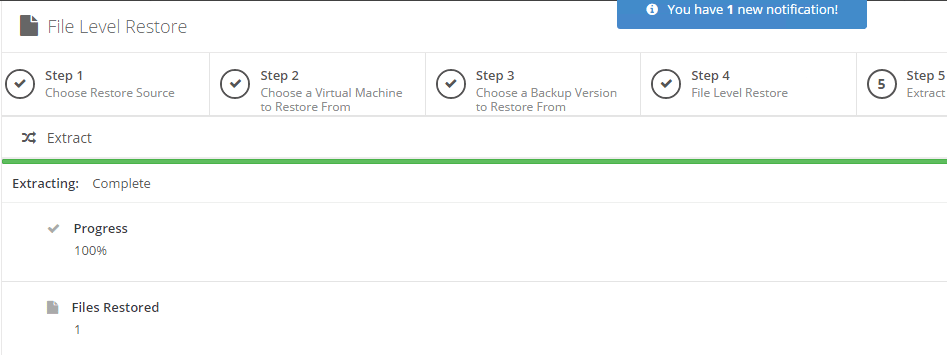
Once we kick it off, it will extract and restore the files as expected.
Review and Other Thoughts
In looking at Altaro VM Backup Install and configuration, there are some really great features with Altaro VM Backup such as encryption of your backups, notifications already built in for email alerts, offsite copies, Exchange level backups, reporting, scheduling and other nice features. The UI has a modern look and feel and is extremely well designed. Everything I thought about doing even when not being overly familiar with the software was easy to figure out in the interface. There are many actions and functions that are drag and drop capable which makes things easy and seamless. Most everything was point and click to perform most backup and restore operations.
The one thing I have not been able to determine by resources from Altaro is whether or not there are built in hooks with PowerCLI for VMware. There is a lot of information about Powershell on their website, however, most of it is general powershell commandlets for interacting and controlling Windows and Hyper-V as well as general Powershell KBs, so I am not sure if they have the ability as of yet to utilize Powershell and PowerCLI in particular to vSphere to control backups.
All in all, Altar VM Backup looks like a great product that I would feel comfortable using in an enterprise environment to backup virtual infrastructure and sleep well at night doing so.
More in this topic


Discuss this in the Community
Google is updating how articles are shown. Don’t miss our leading home lab and tech content, written by humans, by setting Virtualization Howto as a preferred source.
About The Author
