For those of you that don’t know, Dell’s AppAssure product has been rebranded as Rapid Recovery. With 6.0.1 being released, and touting some very worthy features, I decided it was time to upgrade. In this post we will take a look at how to upgrade AppAssure 5.4.3 to Rapid Recovery 6.0.1.
Rapid Recovery 6.0.1 has a number of anticipated features including:
- Agentless protection for VMware vSphere – Finally no more agents if you are running VMs in vSphere!
- Auto discovery of new VMs in your vCenter environment
- Virtual standby functionality for Windows 2012/R2 Hyper-V CSvs
- Bare metal and cloud restore from cloud based and local archives
- SQL attachability checks on the host SQL box which negates prior licensing issues
- A new dashboard view in the GUI
- Enhanced reporting
Above all, the most anticipated feature for me is the agentless protection for VMs. It is such a pain to have to reboot a production VM only to install the backup agent within the operating system. By utilizing VMware’s changed block tracking, the vmkernel tells Rapid Recovery what blocks of a file have changed since a certain point in time. Rapid Recovery can then perform an incremental backup by saving only these changed blocks. So, the obvious advantage is that all of this is done native to vSphere without an agent.
Upgrade AppAssure 5.4.3 to Rapid Recovery 6.0.1
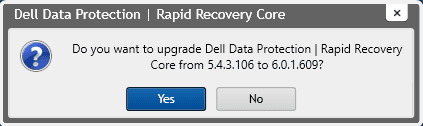
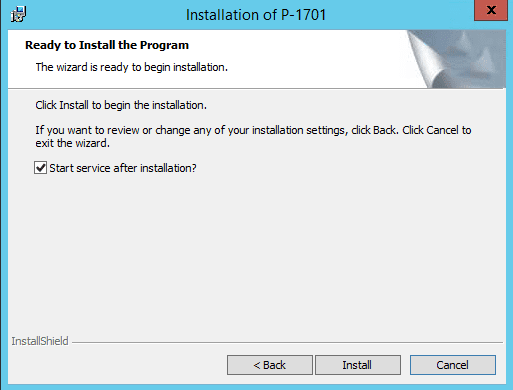
Let’s take a look at the actual upgrade process for upgrading an AppAssure 5.4.3 core to Rapid Recovery 6.0.1. If you have a primary and a target core, you need to start with the target core first.
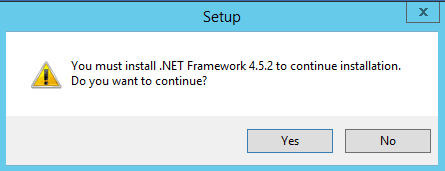
You may receive a prompt that you need to install .NET Framework 4.5.2, however, if you already have this installed, you will not see this.
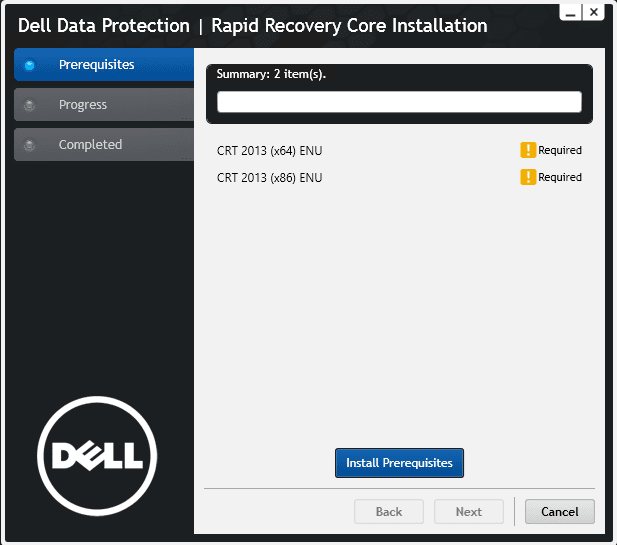
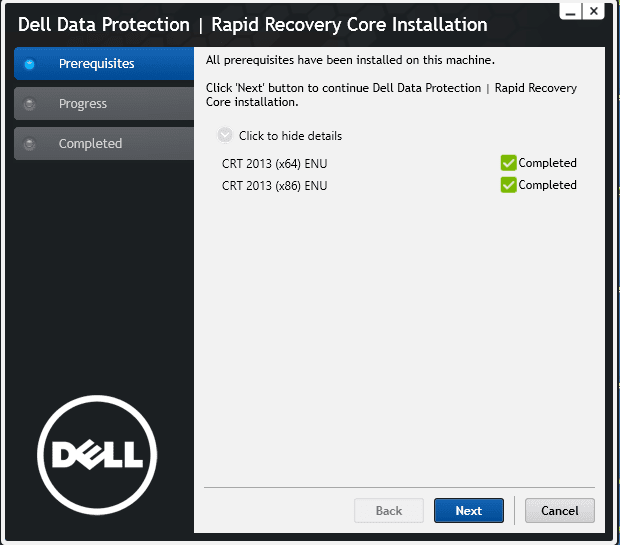
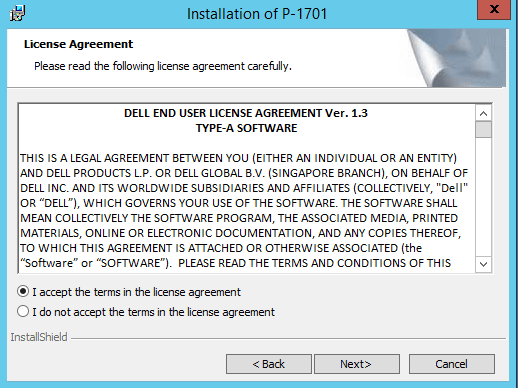
As you are most likely familiar with seeing when installing agents, there is a prerequisites check which will check for needed components and will install those by clicking the Install Prerequisites button.
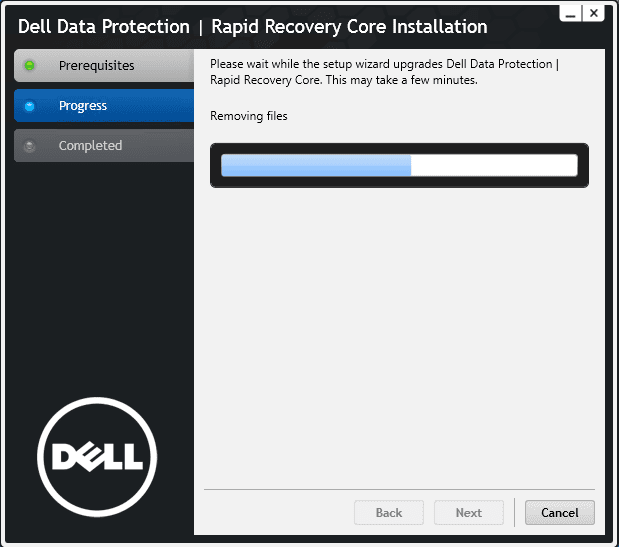
Moving forward with the wizard.
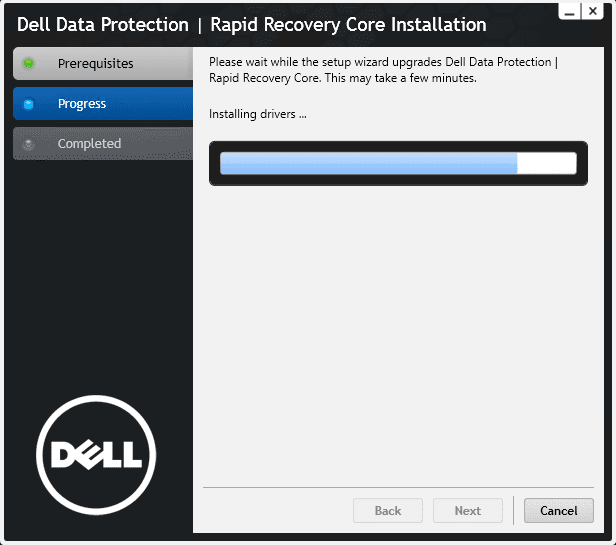
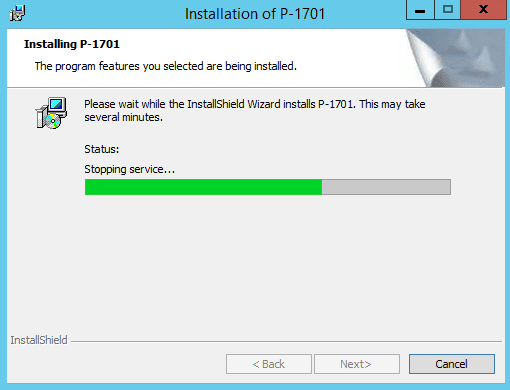
The installing drivers section for me took quite a bit of time (maybe 10 minutes?)
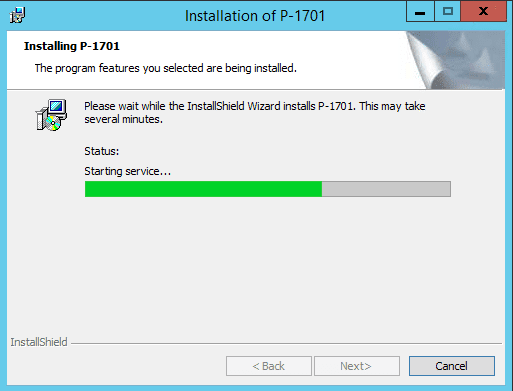
After the driver install finishes, the Rapid Recovery service will be started.
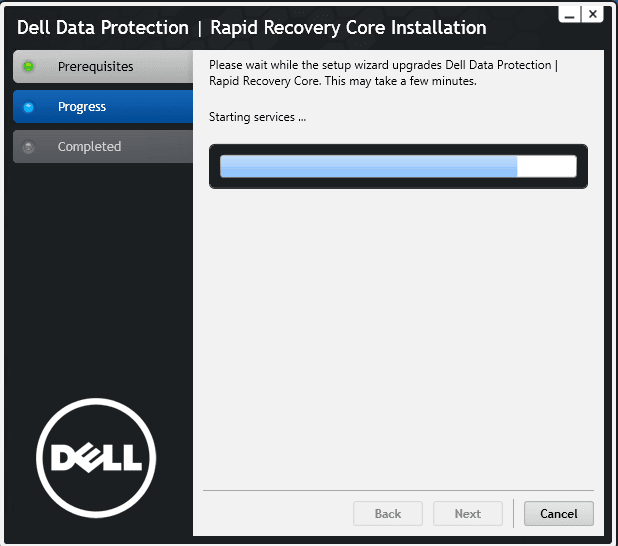
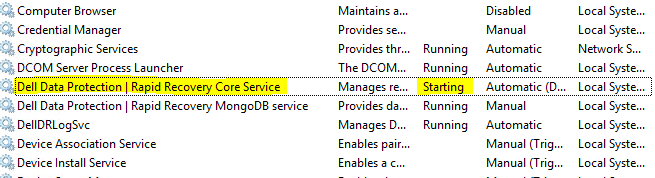
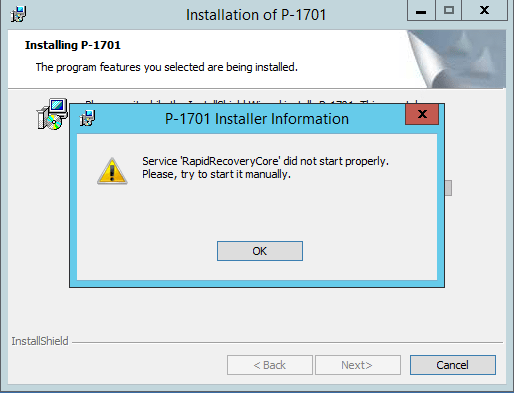
An interesting thing to note for me was that even though I received the “Congratulations” dialog that everything was successful below, when I checked the Rapid Recovery service, it was still in the “starting” state as you can see below.
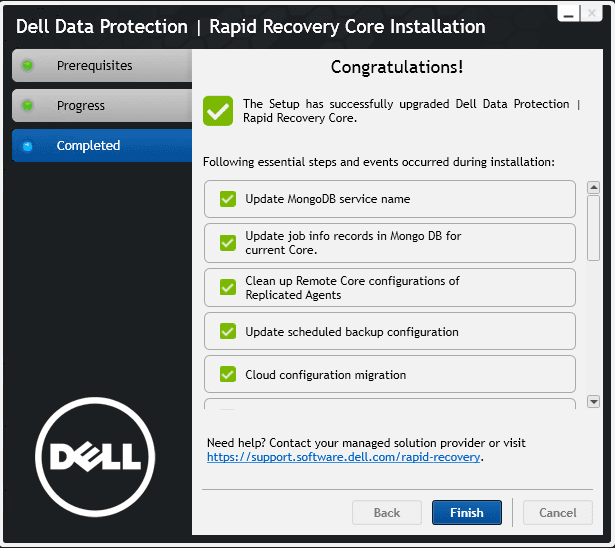
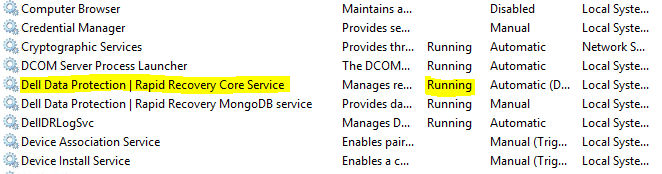
After another couple of minutes, the service was started.
Installing the cumulative patch available for 6.0.1
There is a cumulative patch available already for 6.0.1 that can be found here: https://i.dell.com/sites/csdocuments/Shared-Content_campaigns_Documents/en/Alder_Spec_Sheet_v3.pdf
Installing the patch is fairly painless and is simply a wizard that stops the service, installs the patch, and then starts the service again.


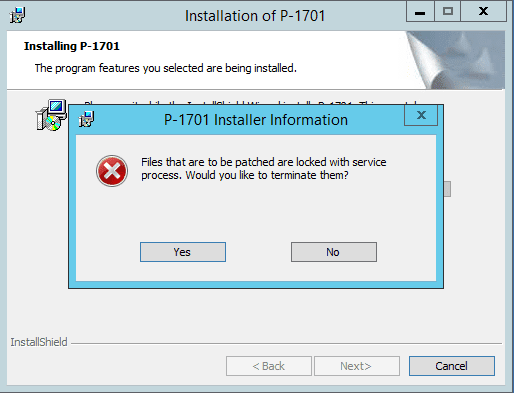
I received the following error that files were locked when attempting to install the patch and asked if I wanted to terminate. I answered Yes here and the wizard moved on.
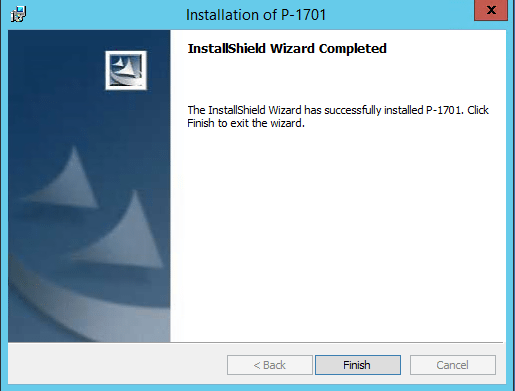
Even though I received the warning below, when I checked the service after I hit Finish, it was started.
The annoying thing about the patch is that you will have to install Rapid Recovery 6.0.1 upgrade first, allow the service to start and perform a mount on your Repository, then install the patch which has to stop the service, install the patch, and start the service again. Then another mount of the repository is ran.
Final Thoughts
All in all the upgrade process went smoothly. I was able to get both Cores upgraded in about 2 hours with all the service stops and starts and repository mounts taking the most time. After running the upgrade, everything came back up as expected. Also, if you would like to see a video of the process, you can see that on Dell’s site here:
https://i.dell.com/sites/csdocuments/Shared-Content_campaigns_Documents/en/Alder_Spec_Sheet_v3.pdf
Google is updating how articles are shown. Don’t miss our leading home lab and tech content, written by humans, by setting Virtualization Howto as a preferred source.
About The Author


thanks for this post, very useful. qq, we run appasure 5.4.3 – if we need agentless backuprecovery for ESXi we need to upgrade to RapidRecovery 6.X – right?
Artur,
Thanks for visiting the site. Yes, that is correct, the agentless capabilities are not available unless you are running Rapid Recovery 6.X…
thx so much Brandon, while I have you here, is there are specific upgrade order I have to follow to upgrade from AppAsure to Rapid Recovery?
Artur,
The order is if you have a replication target you always need to upgrade the replication target first and then the primary core. I did both of mine close together but again upgraded target first and then primary. Also make sure to grab the latest patches as well.