Deploy Dell Virtual Storage Manager 4.5.2 in vCenter
For those of you who don’t know or haven’t seen the Dell Virtual Storage Manager (VSM) appliance, it is a virtual appliance provided by Dell which extends the functionality of vCenter to have better control and functionality over their EqualLogic environment. Including the following:
- A datastores manager – this tool allows administrators to provision, expand, delete and monitor EqualLogic datastores across multiple groups.
- VSM Smart Copies and Replication – Allows the creation of hypervisor-consistent snapshots, clones and replicas for data protection and disaster recovery
- VDI Tool – Coordinates SAN based thin cloning for virtual desktops within VMware View
- VASA Storage Provider – Allows vCenter and EqualLogic SANs to have better storage awareness between them
As a side note, take a look at a post I had written about the basic initial setup of an EqualLogic array here.
Let’s take a look at how we deploy Dell Virtual Storage Manager 4.5.2 in vCenter.
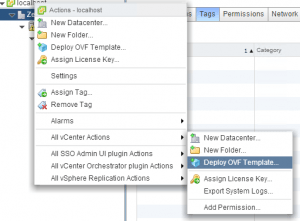
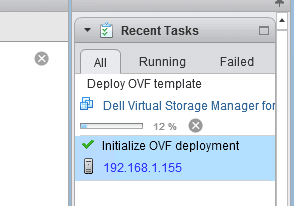
Start the Deploy OVF Template wizard in vCenter
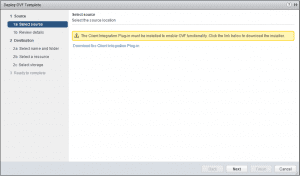
You may need to install the Client Integration Plug-in as you see the warning below. You will need to kill the wizard, install the plugin, and relaunch your browser session connected to vCenter.
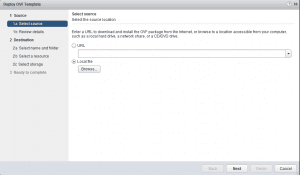
Browse to the downloaded OVA file that you downloaded from Dell.
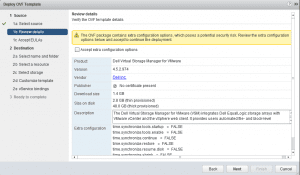
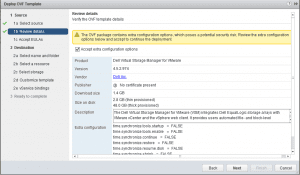
There is a warning that pops up about extra configuration options and the security risk involved – normal security prompts.
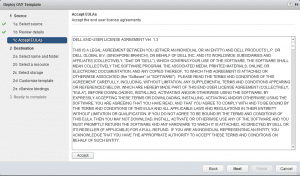
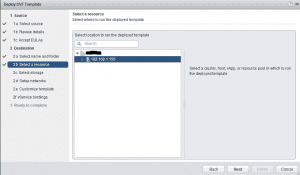
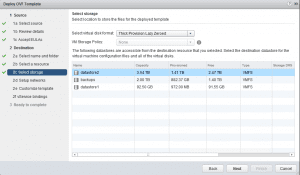
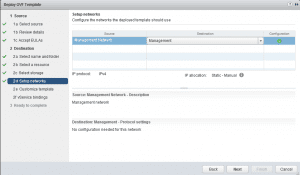
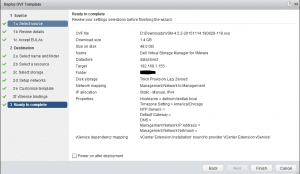
The rest of the wizard is for the most part the normal questions you receive when deploying an OVA file
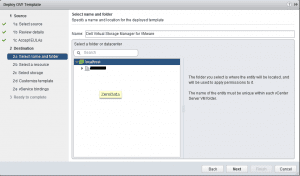
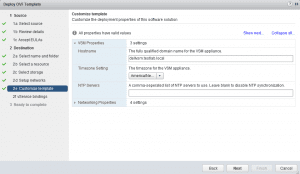
Don’t miss the Networking Properties section here which allows you to setup your management IP address, mask, gateway, etc.
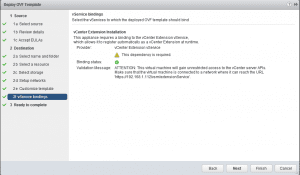
You will see a warning about your vCenter installation being extended with the install
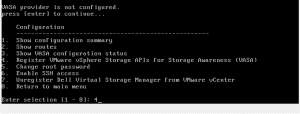
After the appliance has deployed, login with user: root and password: eql
- Select Option 4 – Register VMware vSphere Storage APIs for Storage Awareness (VASA)
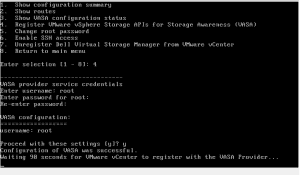
You will then be asked to provide a username and password. This is not the same username and password as the system root account. However, in the example below, I simply used root as the username and entered a different password. There will be a minute or so as the VASA provider integration and connection with vCenter is made.
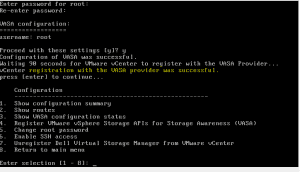
You should see the registration with the VASA provider was successful.
After you integrate the VSM VASA provider into vCenter, you will now see the Dell Virtual Stroage Manager icon in the Inventories section of your vCenter Home in the web client.
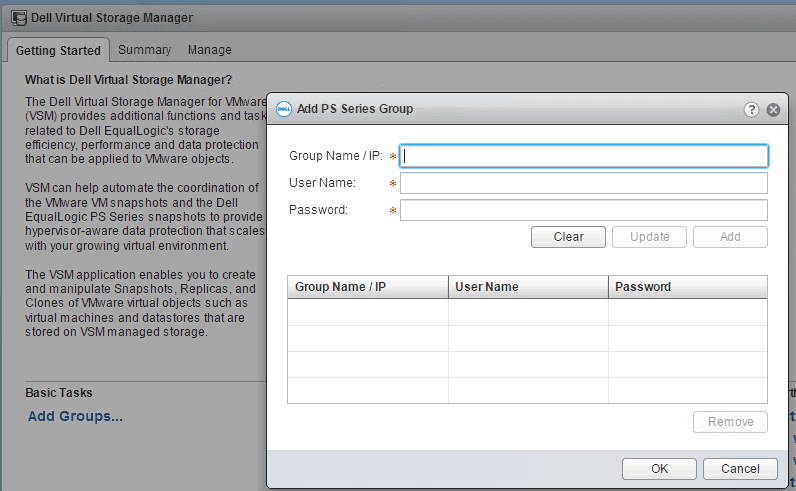
After you launch the Dell VSM, you now have the option to add your Group Name/IP of your EqualLogic SAN environment(s).
Final Thoughts
As you can see the deployment of the Dell VSM 4.5.2 OVA is very straightforward. The VSM appliance is a worthy install if you are using a Dell storage product such as EqualLogic. Also to do VVOLs you will need to have the Dell VSM plugin in place in vCenter.


