How to backup and restore MySQL DB using MySQL Workbench
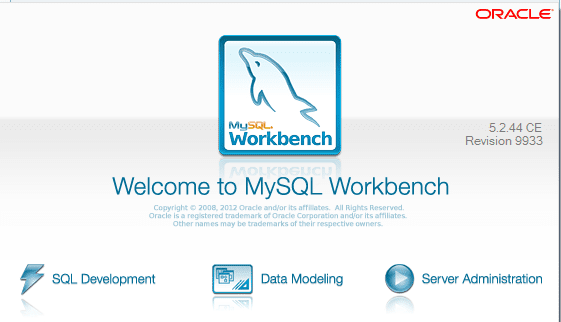
For those database administrators out there who mainly deal with Microsoft SQL Server environments, you may wonder what tool you use to interact with MySQL and perform the necessary functions that most admins are used to performing with Microsoft SQL Management Studio. The equivalent utility that can be used to manage your MySQL environment is called MySQL Workbench. This is a free download from the MySQL development site and can be found here: https://dev.mysql.com/downloads/workbench/
Backing up and restoring DBs
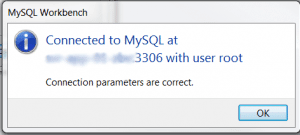
Once you have downloaded and installed MySQL Workbench, you will need to first establish communication with your MySQL server. It is easy to see if you need to make connection changes with the “Test Connection” button that is found in the connection setup screen. You want to see the result:
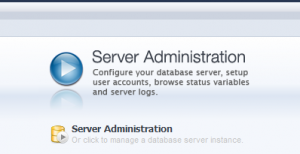
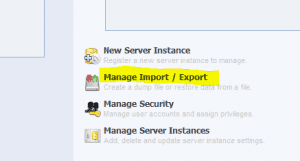
So after you are able to get a successful connection to your MySQL server, then you are ready to proceed to connect and backup the files and also create a connection and follow the same procedures for testing this with the destination server if it is a different server than the source. Over on the right hand side of your MySQL workbench, you will see the “Server Administration” console function. Underneath that, you will see the Manage Import / Export option which is what we will be using to backup and restore the DB.
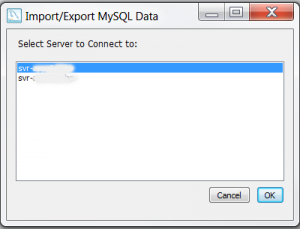
When you click the Manage Import / Export link, you will be prompted with the Select Server to Connect to: dialog box which basically displays for you the servers that you currently have established connections for. So a prerequisite to this step is that you will need to have added the servers as a connection in the Workbench.
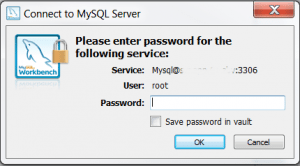
You will then be prompted for credentials needed to connect to this server.
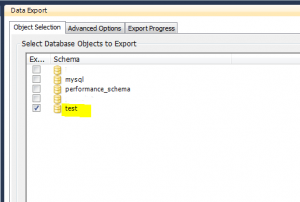
Once connected, you will see the available DB’s that you can choose to backup. Select the DB you want to backup.
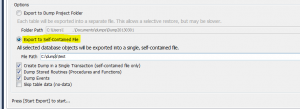
At the bottom of this screen, you will see the options available to backup your DB. We have chosen here to Export our DB to a “self-contained file” which makes things a little easier as you only have one restore file to work with. You can also choose to export the backup to a dump project folder which dumps each table to a separate file, allowing you a little more control over which things you want to restore. However, for our purposes, we know that we want to restore everything so we are selecting the self-contained file.
After you have made your selections, you need to click the Start Export button.
Below is the Export Progress screen which essentially lets you see the progress of your DB backup/export.
Restoring/Importing your DB
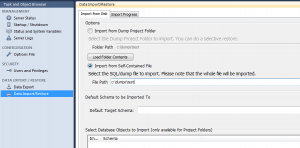
Our steps here are basically the reverse of what we did before. On the left hand side of the console under Data Export / Restore you will select Data Import/Restore this time. Also, you will notice that we are pointing the import to the folder/backup file we created in the backup process above.
After selecting your options, simply click Start Import
Final Thoughts
If you work with MySQL to any degree, you will definitely want to download a copy of the MySQL Workbench as it makes administering MySQL a breeze with most of the GUI functionality that admins would expect from a SQL Management console. The backup/restore process is also very painless and most admins will feel at home with the point and click process the Workbench presents.


