If you have ever spun up a Windows 7 workstation in VMware and get everything loaded and start using it only to find that you didn’t provision enough storage up front, you may be thinking you will need to delete the virtual disk, create a new one, reload Windows, and then reload all other applications, right? Not so fast! We can actually do this using a couple of tools. One is already built into VMware. There are two steps to this. You first have to resize the actual virtual disk to include the new size that you are needing. Next, we have to actually extend our Windows partition to include the new size.
Think about it this way – you have to enlarge the container first, and then we can increase the size of what we need in there. So the first step, increasing that container size, is what we do in VMware.
- Make sure the VM is powered off
- Make sure you don’t have any snapshots as you can’t extend the disk with snapshots
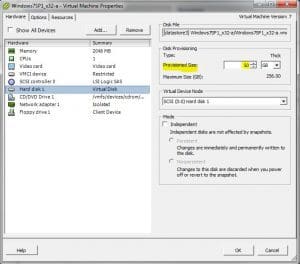
- Edit the settings of your virtual machine and then go to the properties of the Hard Disk
Taking a look above, you can change the size of the disk by simply changing the “Provisioned size”. That is the easy or least time consuming piece. We now need to “extend” the Windows partition so that it actually sees the extra space. There are a number of utilities that you can use to do this. However, we use a SystemRescueCD which already has all the tools you will need to manage your partitions including one called GPART. Simply download their ISO and burn this to a disk.
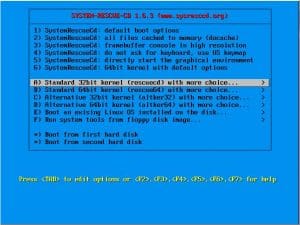
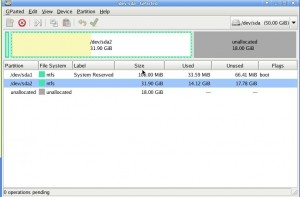
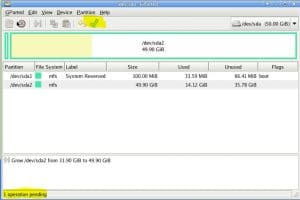
Once you get the disk burned and boot from the rescue CD, launch GPART and take a look at your partitions.
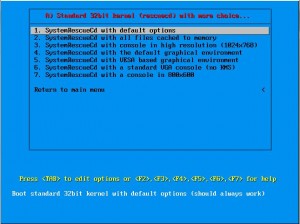
After booting….on some systems you will come to a terminal screen in which you will need to type the startx command to boot the GUI
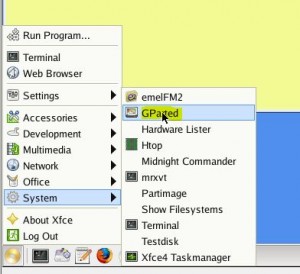
After booting into the linux GUI, navigate to System >> GParted
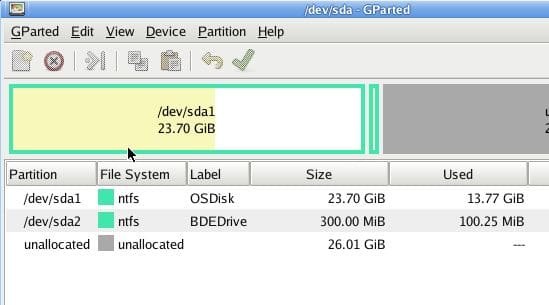
Navigate to See below, we have the unallocated space that is available.
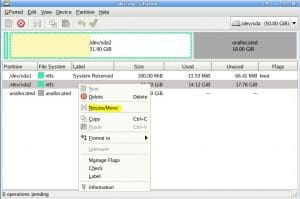
Select the partition you want to extend and then right click and select Resize
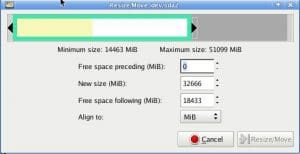
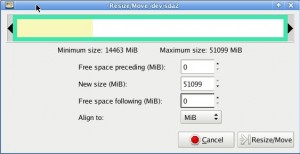
Type in the amount of space you want to add in the New size (MiB) Take a look just above the fields
After the above operation completes, Windows will be extended to fit the entire area of your disk including the extra size that came from extending the virtual disk.


