How to use Windows Server Backup to backup files
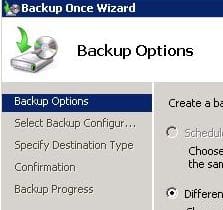
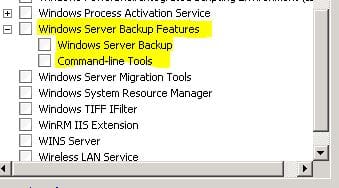
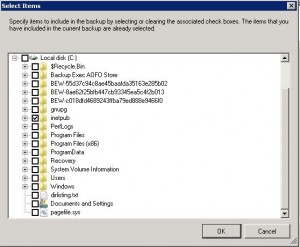
Backing up files using the builtin backup utility in Windows Server 2008 R2 is really a piece of cake. We will take you through the steps in the WBADMIN.MSC interface as to how you would go about backing up file(s) to a network location. The following tutorial uses the backup utility that is only available if you install it through Server Manager. This is a Feature and is found if you select to add and remove features from the server.
Simply select Windows Server Backup Features
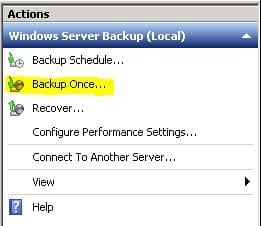
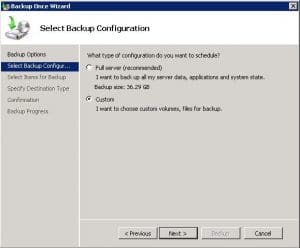
After the backup tools are installed, we can launch and proceed with the backup. Simply type wbadmin.msc at the run/search box.
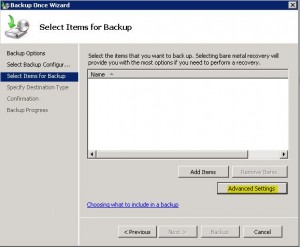
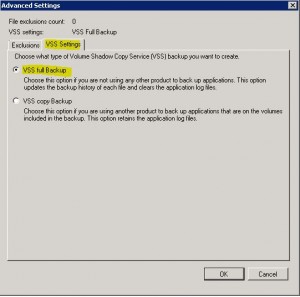
VSS settings are very important as they either clear the archive bit or not. If you select the full backup it clears the archive bit which says to Windows, “these files have been backed up already and haven’t changed since the last backup.”
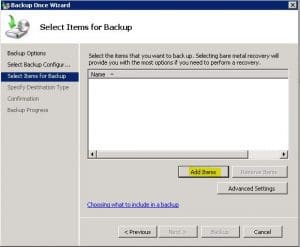
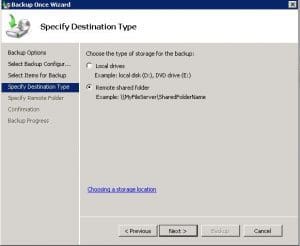
We are backing up to a remote shared folder which will store the backup on another location across the network. Be aware that this option overrides itself if you back to the same network location more than once.
Hit next and enter in your server location information and proceed forward.
After you hit Next on the screen upon entering your server location, you will be taken to a Confirmation dialog box to review what you are about to do. Simply hit Finish when you are ready to proceed and the backup of the files should take place.


