Install Devstack Openstack Ubuntu VM
If you want to get your feet wet with Openstack, there is a great project available called Devstack which allows you to create a VM with an all in one installation of Openstack inside a virtual machine. I decided to get started playing around with Openstack by creating an Ubuntu virtual machine and installing Devstack within. I thought it would be good to put together a post to share with everyone the experience of getting this up and running and issues I ran into. So let’s dive into how to install devstack openstack ubuntu VM inside VMware.
Install Devstack Openstack Ubuntu VM
First things first, I chose to go with Ubuntu Server 14.04 as this is the current stable LTS branch of the server family and it looks to be pretty well documented for Openstack install and support. I brought up the server, patched and ran the following command:
sudo apt-get install cloud-init
This command installs a set of python scripts and utilities that enable the devstack install to do what it needs to do.
After installing cloud-init only and without any other devstack configuration, I ran into an issue after rebooting the server where it was looking for a link local address for cloud providers. The boot process was painfully slow while a barrage of messages similar to the following were issued:
2016-04-16 20:42:33,252 - url_helper.py[WARNING]: Calling 'LINK://169.254.169.254/2016-04-16/meta-data/instance-id' failed [0/120s]: request error [HTTPConnectionPool(host='169.254.169.254', port=80): Max retries exceeded with url: /2016-04-16/meta-data/instance-id (Caused by : [Errno 101] Network is unreachable)]
To get around this issue, simply run the following command:
dpkg-reconfigure cloud-init
Unselect the sources pulling from cloud providers.
After getting cloud-init installed, I copied over the script found at the devstack “all in one vm” instructions page: https://docs.openstack.org/developer/devstack/guides/single-vm.html#virtual-machine here to my Ubuntu server and ran the setup shell script. To do this, just:
- use WinSCP or other scp client of choice
- create a empty file such as cloud.sh
- copy the contents of the above linked script, save
- change permissions to Execute 0744
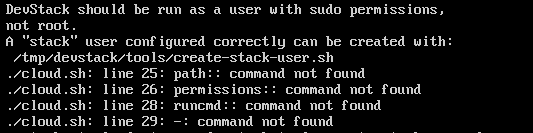
I hadn’t read the instructions carefully enough and received the error that you need to use a user with sudo permissions and not root. There is a provisional script for creating a user just for this: create-stack-user.sh. After running that script, you have a stack user that is created.
After creating the stack user via the script, simply change to this user with the command:
sudo su stack
I ran the script from the /etc/devstack directory and then ran the stack.sh script located there.
I ran into a permissions issue with the stack user that it had created not having permissions on the folder. To solve that I simply ran:
sudo chown -R stack /etc/devstack
I am not sure if this is best practice or will cause future issues, however, it seemed to get me through the install. After correcting the permissions, I simply reran the stack.sh script again and it started running all the install scripts.
Be prepared – This process takes quite a bit of time. After the stack.sh script finished running, you should see something similar to the below directing you to the <IP address>/dashboard of your newly installed server.
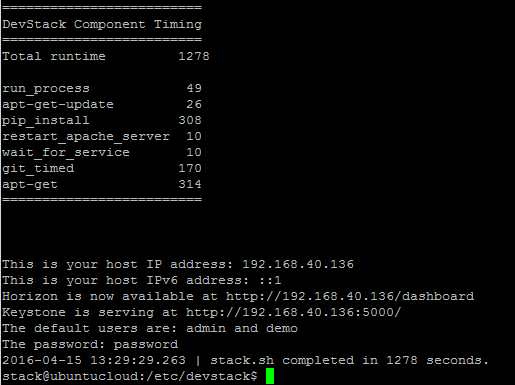
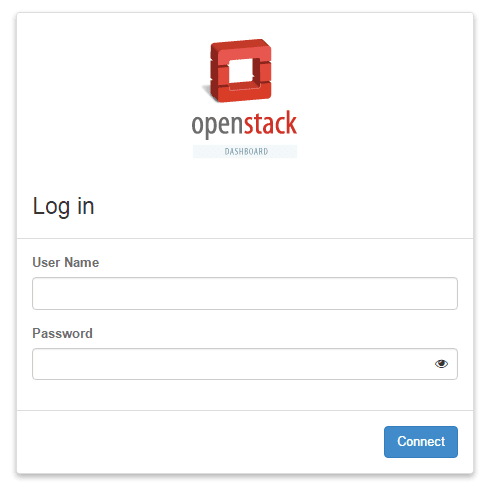
After pulling up the address in a browser, Voila! We get the OpenStack Dashboard login screen. The defaults here are listed in the terminal above:
Default users are: admin and demo
Password is: password
Information Gathering Commands
source openrc admin admin


nova-manage service describe_resource compute


nova service-list


neutron agent-list


nova host-list


nova hypervisor-list
Final Thoughts
The installation process really isn’t that difficult and the devstack project has definitely taken MUCH of the pain out of the OpenStack install providing a way to “all in one” install all the requirements. The devstack project can also be installed bare metal on a dedicated hardware platform of your choice as well for testing, lab, etc. So that is Install Devstack Openstack Ubuntu. Look for a future post of more details once the install is complete – spinning up instances, etc.