
Out of all the really great features that Proxmox offers for home labbers and production environments, one of the most underutilized features is Proxmox SDN. You have probably seen the SDN section sitting there in the UI and wondered if it was worth the effort to learn and implement in your home lab environment. You may have thought that it is a feature that is more for enterprise environments and not home labs. However, once you start digging into what Proxmox SDN can do, it becomes intriguing what it can do for you. In this post, we are not going to walk through every configuration possibility or option. But instead, I want to focus on what Proxmox SDN actually does for you and where it can make a difference in a real home lab.
What is Proxmox SDN?
SDN is a term that has been around quite a while. It stands for software-defined networking. Proxmox SDN has been around since Proxmox 8.1 or so. It is a way to centrally create and define networks in software that span across your entire cluster instead of configuring networking on each host individually.
For those of us that came from a VMware vSphere environment, I like to think of this like comparing vSphere “standard” switches vs vSphere distributed switches. As you know, once you define the vSphere distributed switch, it is made available across all the nodes in your cluster. The same is really true with the Proxmox SDN construct. When you create Zones and VNETs, these are shared across the nodes in your cluster.
Notice the difference between traditional Proxmox Linux networking and Proxmox SDN:
| Traditional networking | Proxmox SDN |
|---|---|
| Create Linux bridges on each node (like vsphere standard switches) | Define networks once centrally |
| Assign VLANs manually per host | Apply networks across the entire cluster |
| Manually keep configs consistent between nodes | Proxmox keeps configurations in sync automatically |
| Higher risk of config drift | Consistent networking by design |
| More manual effort when adding nodes | New nodes inherit network config automatically |
| Troubleshooting is host-by-host | Centralized visibility and management |
So just in terms of management Proxmox SDN is worth it simply from the standpoint that it makes it much easier to define networks and have these consistently applied across all the nodes in the cluster.
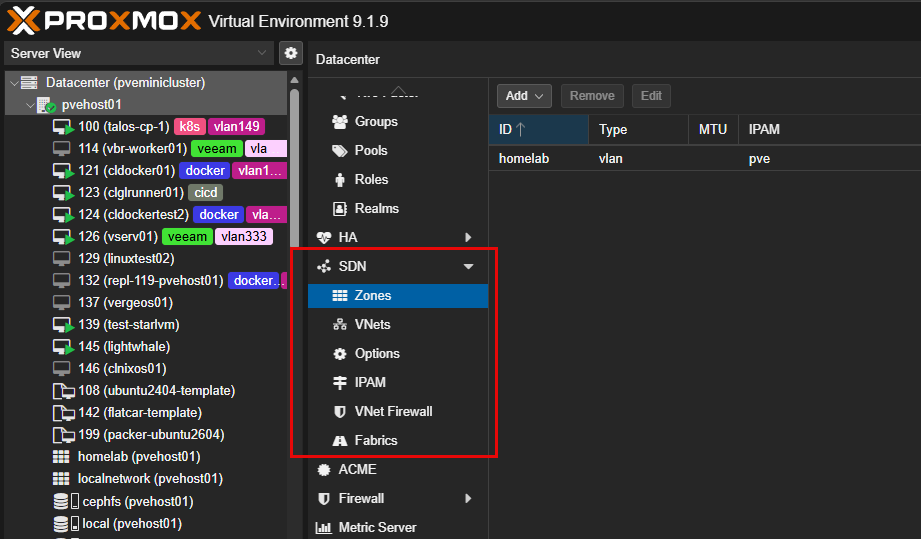
The building blocks of Proxmox SDN
There are several core building blocks that make up the Proxmox SDN solution. What are these? Notice the following:
- Zones – these define the type of network you are working with. This could be a VLAN-based zone, a VXLAN overlay, or a simple flat network.
- Vnets – these are the actual networks your VMs connect to. Think of these like virtual switches that are defined once and available everywhere.
- Subnets – these define IP ranges and can include DHCP or IP address management if you want Proxmox to handle addressing.
When you put all of these together, you get a powerful SDN solution. It gives you flexibility in the way that you can define your networks and that is no longer tied to a single host.
Why this matters in a home lab
Now, back to the question of does this really matter in a home lab? I think so. This isn’t just technology that we make use of in enterprise environments. Proxmox SDN brings many benefits I think that ease management and allow you to do very cool things. I will say, if you have a single Proxmox node with a couple of VLANs, Proxmox SDN may not bring about tremendous change for you in your setup, outside of the learning aspect.
But, things change I think when you are running a Proxmox cluster with multiple nodes and many services. That is where SDN starts to make a difference. It reduces the effort of managing all of that complexity.
Let’s consider three scenarios that you can benefit from Proxmox SDN capabilities.
Scenario 1: Have Proxmox “vSphere Distributed Switches” and port groups
We have already alluded to this benefit. I think this is the one that most will benefit from in the home lab. Imagine you have three or five nodes in your Proxmox cluster (like me), and you are running 20 VLANs. Without Proxmox SDN, you would literally have to configure all 20 VLANs and configurations on each Proxmox node.
Granted you can script your configuration between all 5 nodes, but if a single configuration is different it is going to cause problems with your VMs migrating between nodes, etc and that is just the tip of the iceberg. If one node is misconfigured, you get strange issues like:
- VMs that only work on certain nodes
- networking failures after migration
- inconsistent connectivity
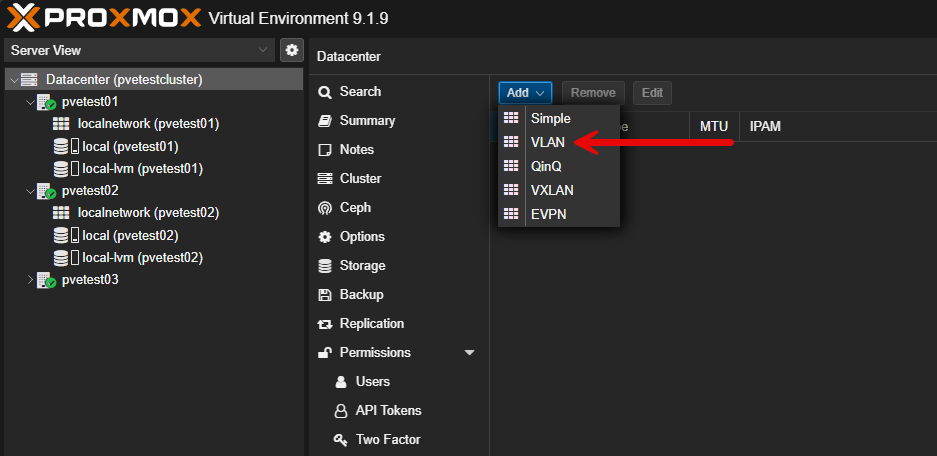
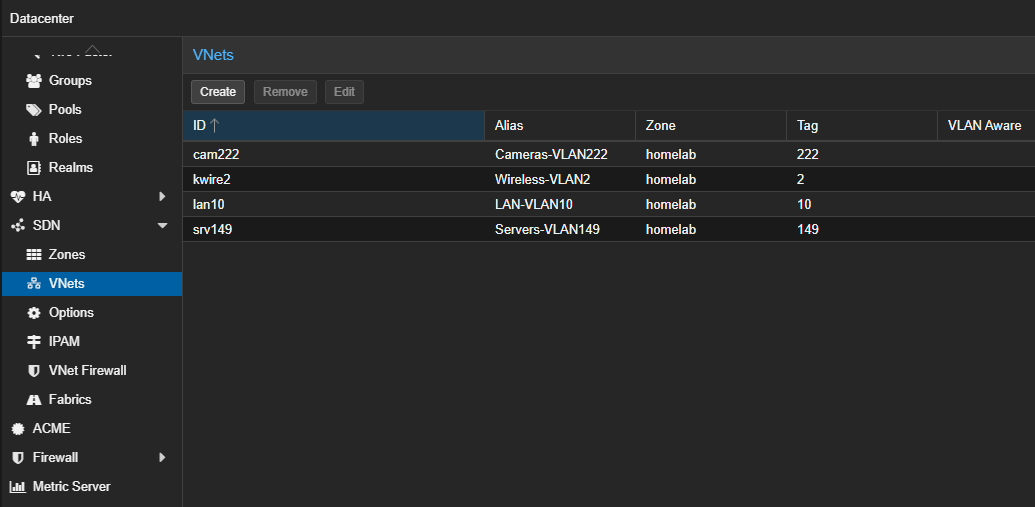
With Proxmox SDN, you get the tools that make this consistency much easier. Note the steps:
- You define a VLAN zone
- Create Vnets for each network
- Attach VMs to those Vnets
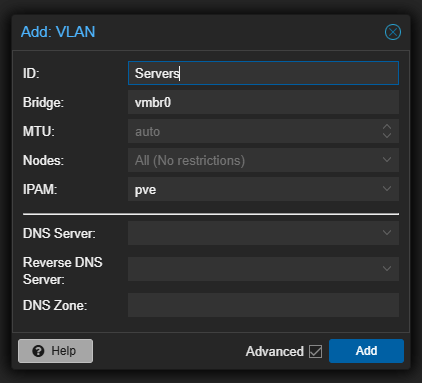
On the Add: VLAN box, you enter the ID, underlying bridge for the VLAN, MTU if you need it, and which nodes that it is scoped to.
You see the new Proxmox SDN VLAN vnet staged and ready to apply.
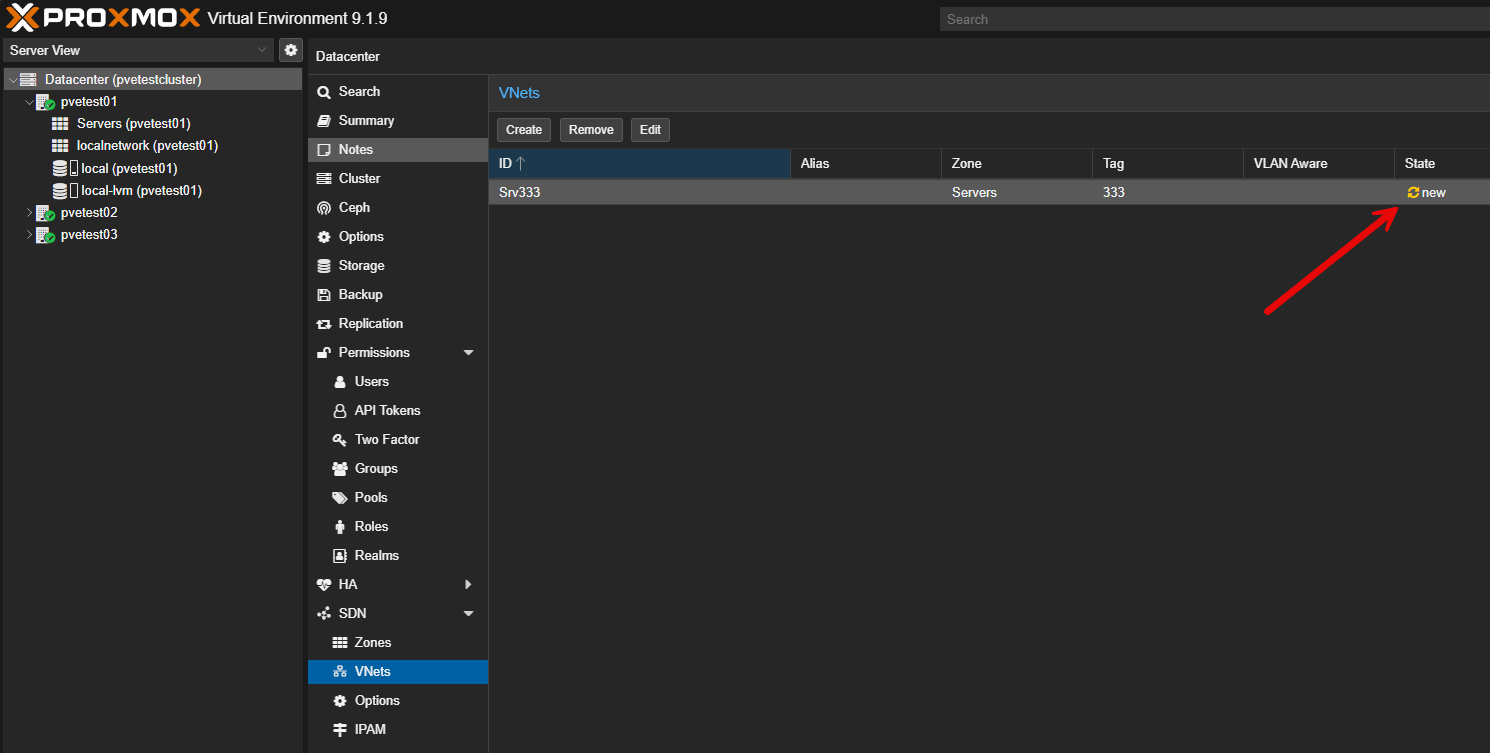
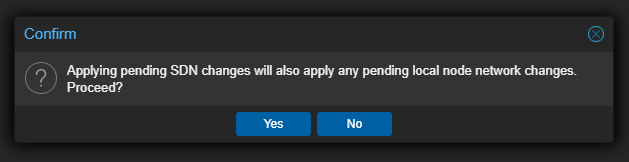
Don’t forget to apply the configuration. Everything you do in the Proxmox SDN configuration is first “staged” and isn’t live until you apply the configuration.
Now when a VM migrates between your Proxmox nodes in the cluster, the network is already there and consistent. This alone can eliminate a lot of troubleshooting time.
I initially used traditional Linux bridges in my environment, but this was super tedious as I had to literally create the configurations for a handful of VLANs on each host. However, moving to SDN, I just created it once in the Datacenter > SDN configuration and this is pushed out to all the hosts.
Scenario 2: Creating isolated lab environments
One of the other really great use cases for the Proxmox SDN configuration for a home lab is the ability to use it to create isolated lab environments that you can use to quickly test things and spin down once you are done. These can be completely isolated, AND, you can use Proxmox’s built-in IPAM to assign IP addresses, etc.
Let’s say you want to spin up:
- a test Active Directory environment
- a Kubernetes lab
- a staging environment for apps
Each of these needs its own isolated network. Without the SDN capabilities in Proxmox SDN, you would have to have a dedicated network configured for your virtual machines and place them on the segment. Also, you would have to have a way to provision IP addresses for those segments.
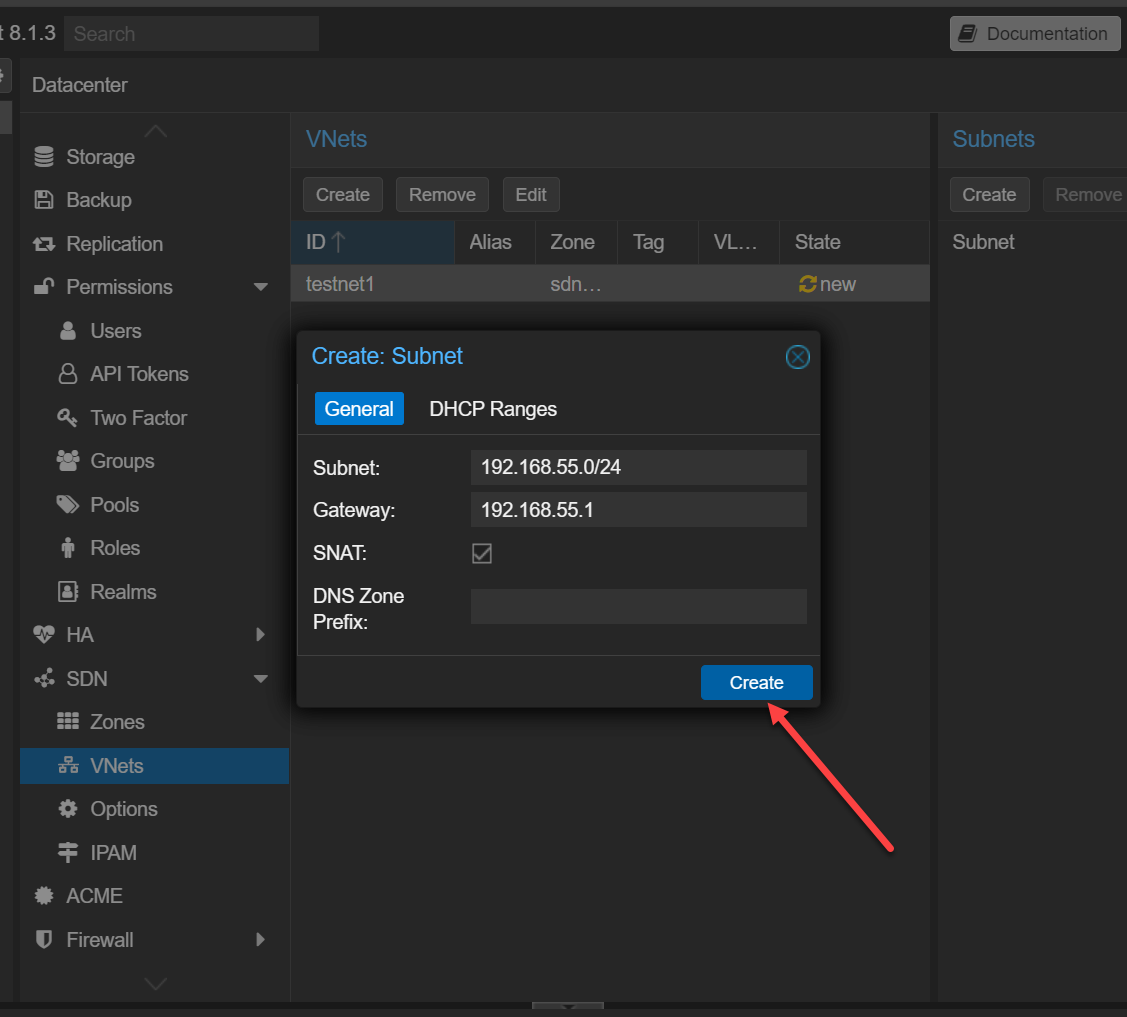
But, with Proxmox SDN, you can do the following to have a completely isolated network in just a few minutes that is self-sustaining with its own IP addressing with DHCP. To do this you just need to:
- Create a new Vnet
- Assign a subnet
- Enable DHCP
These are not all of the screenshots of this process. Check out my full walkthrough of creating a simple zone, vnet, and enabling DHCP here: Proxmox SDN Configuration Step-by-Step. However, below are just a few of the highlights:
Here we are creating the subnet and notice that we are enabling SNAT which allows machines on this vnet to be able to assume the source NAT of the Proxmox VE Server host:
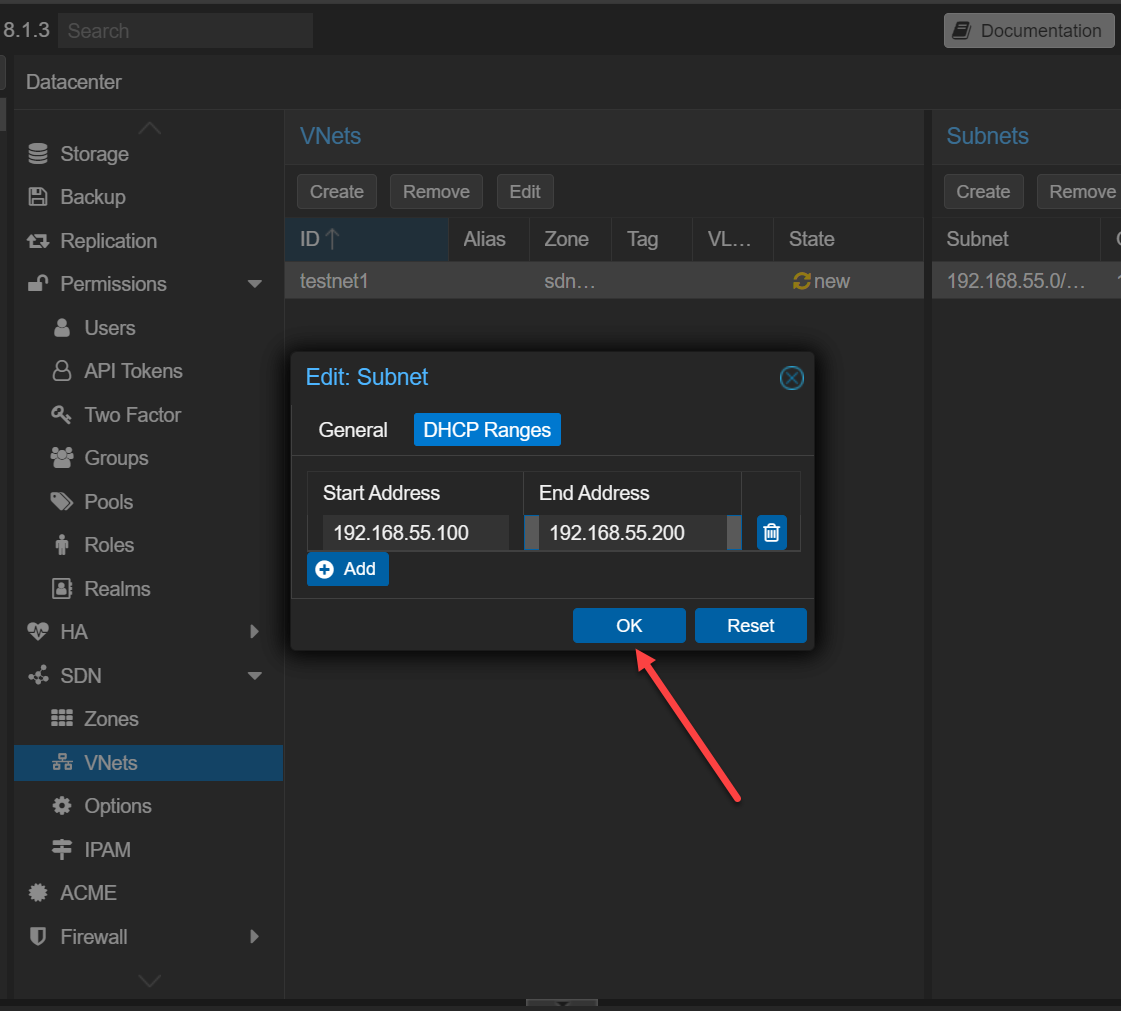
Here we are setting up the DHCP range that Proxmox will hand out. Pretty cool. No DHCP server needed, etc. Proxmox SDN does this for us.
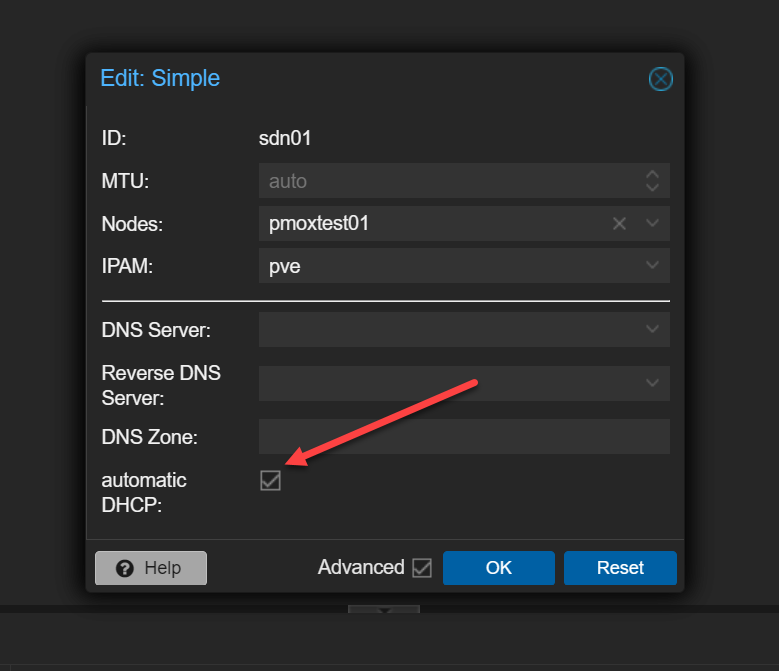
On our zone, we make sure to enable the automatic DHCP option.
I think this aspect of Proxmox SDN is definitely underrated in terms of what it gives you in the ability to have ephemeral networks that you can spin up on a whim, without spinning up a heavy DHCP server on an isolated segment with the configuration needed to make everything work.
Scenario 3: Disaster recovery and multi-site networking
This is where things get really interesting I think. If you are looking at disaster recovery like replicating your workloads from one site to another, one of the hardest aspects of this is the networking. As we know subnets route at layer 3 between sites typically, unless you have something like a metro Ethernet connection that is L2 for your handoff.
For DR, routed layer 3 becomes a problem since your primary site uses one IP range and your DR site uses another. Replica VMs will have the networking configuration of the source site.
With Proxmox SDN and VXLAN, you can create overlay networks that stretch across nodes or even locations. With this overlay network you can do some extremely cool things that you wouldn’t be able to do otherwise. Think about being able to do the following with VXLAN:
- VMs can keep the same IP addresses
- Networks can exist across different physical locations
- You can simulate failover scenarios more realistically
In a home lab, this means you can learn and test things like powering on replicas in a different cluster that may exist in a different IP space. You can validate your applications during a failover event. You can also experiment with stretched networks. This is something that is very difficult to do cleanly without an abstraction layer like SDN.
What is VXLAN anyway?
You may not have heard about VXLAN as opposed to VLAN when it comes to networking if you haven’t been exposed to software-defined networking before. VXLAN is a powerful part of SDN from most vendors and it is the technology that prevents you from being limited by the physical VLANs and routing in between sites.
You can even do this between non-clustered nodes. See here: (3) VXLAN between standalone (non clustered) nodes. | Proxmox Support Forum.
When you hear about “overlay” networks, you are essentially hearing about what VXLAN allows you to do. With VXLAN, you can define networks in software and span these networks across hosts and even physical locations.
For home labs, this opens up a lot of possibilities when it comes to building complex multi-tier networks. You may not necessarily have a “need” for this in the home lab, but it allows you to see what is possible for enterprise use cases and needs. You can basically simulate cloud-like networks in software and test scenarios that would usually require enterprise hardware.
Hidden gotchas to be aware of when it comes to Proxmox SDN
There are a few gotchas to keep in mind before you jump into Proxmox SDN. The learning curve is there when it comes to SDN in that it uses different components and constructs when you compare it with traditional layer 2 networks. Things like VXLAN require you to become familiar with new terminology and components.
Also, it can add some complexity to troubleshooting. When something breaks, you are dealing with an abstraction layer for your network. You need to think a bit differently about things compared to a traditional network.
Keep this in mind though. The underlying “underlay” network is still VERY important. An overlay can’t function if the underlay isn’t working properly to begin with. Also, SDN requires a larger MTU size, usually around 1600 bytes to allow for the overhead of the encapsulation that takes place with VXLAN.
Look for a dedicated post in the future on setting up VXLAN and going through how I use this in the home lab for various testing and labbing projects.
Video
Wrapping up
Proxmox SDN is an extremely powerful tool I think for home labs of all sizes. You don’t have to be a large enterprise organization to start taking advantage of the capabilities and features it offers. Just simply taking advantage of the ease of management introduced with the replicated zones and vnets between cluster hosts is hugely helpful and is akin to the management advantages you get from vSphere distributed switches. Also, the simple zones and vxlan zones both bring extra things to the table related to how you can test and try out things in the home lab. How about you? Are you currently using the advantages of Proxmox SDN in your home lab? Let me know in the comments.
More in this topic


Discuss this in the Community
Google is updating how articles are shown. Don’t miss our leading home lab and tech content, written by humans, by setting Virtualization Howto as a preferred source.
About The Author
