
For a long while now, I have felt like I have my Docker hosts dialed in. I have used a wide range of operating systems over the years, including Ubuntu, Debian, and even experimented with more specialized setups, including NixOS. Everything has been stable, predictable, and easy to manage with tools that I already know. But recently, I had a comment on one of my blogs about trying Lightwhale. I hadn’t heard of it before so I wanted to give it a spin, and I am really glad I did. Let me show you what I learned about this purpose-build Docker operating system.
How do I normally run Docker containers in my home lab?
I usually deploy a virtual machine running in my Proxmox VE Server environment, running either Ubuntu or Debian. I have been trying out NixOS for this purpose as well. From there, I would install Docker, Docker Compose, and whatever other additional tools I need to run.
There is nothing “wrong” with this approach as it is familiar and it is arguably the most flexible approach. If you need something installed, you just install it. But with the flexibility it brings, it comes with certain tradeoffs. Over time, I found myself dealing with the normal challenges of things like the following table gives an overview of:
| Area | What happens | Why it matters |
|---|---|---|
| Updates | OS updates have to have non-container packages | Wasted time and added risk |
| Extra services | Unneeded services run in the background | More complexity and resource usage |
| Inconsistency | Hosts drift and get to be slightly different | Harder to manage and troubleshoot |
| OS maintenance | Time spent managing the base OS | Less time for actual workloads |
| Attack surface | More packages and services installed | More security risks |
| Overhead | More packages to patch and monitor | More time spent managing |
| Human error | Manual changes over time | High chance of misconfiguration |
| Drift | Systems slowly diverge | Less predictability |
What Lightwhale actually is
In case you haven’t heard of Lightwhale, it is a minimal operating system that is designed specifically to run containers. It strips out the idea of running a traditional Linux server and focuses almost everything on running Docker.
So, what you get is not just a general Linux operating system that can run containers, but it is built with containers as the primary workload in mind. The footprint is extremely small and the entire system is simplified. The idea here is not that you are managing the OS in the same way that you would do if you were running Ubuntu or Debian or some other distro.
In many ways, this reminds me of the same philosophy that we see behind projects like Talos Linux. But, it is applied more directly to Docker instead of Kubernetes which Talos is focused on. Note the following key characteristics of the Lightwhale project that I think stand out:
- Minimal base system with very few moving parts
- Focus on running containers without extra packages or services
- Simple lifecycle and reduced maintenance
- Less opportunity for configuration drift
That combination is what caught my attention. It made me start questioning whether I really needed a full Linux distribution for running Docker hosts in the home lab.
Installing Lightwhale
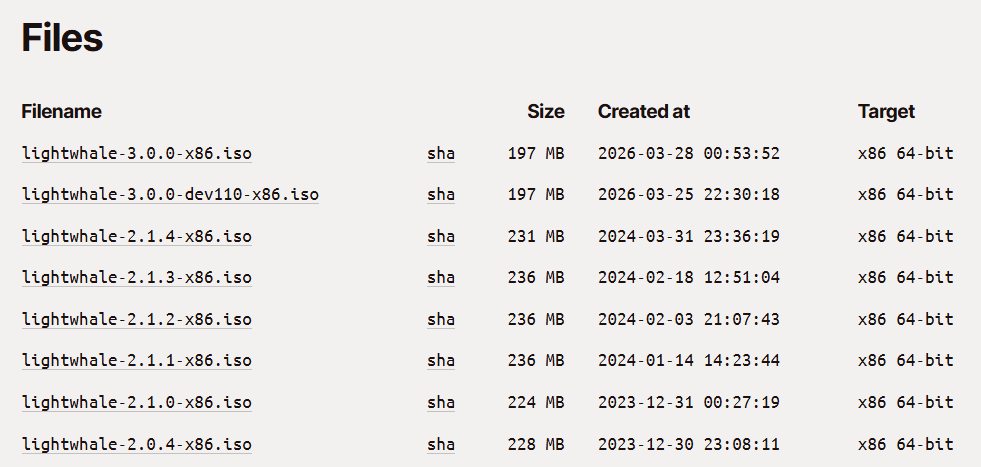
So, how do we pull down this purpose-built operating system for running Docker containers? It is pretty simple actually. Browse out to this link to download the latest ISO image:
One of the cool things you will note about the ISO is it is TINY! It only weighs in at around 200MB!
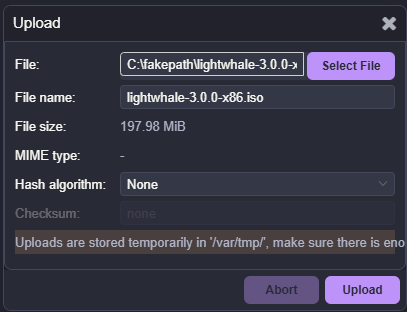
After ISO downloaded and uploading to Proxmox:
Creating a new virtual machine to house lightwhale installation:
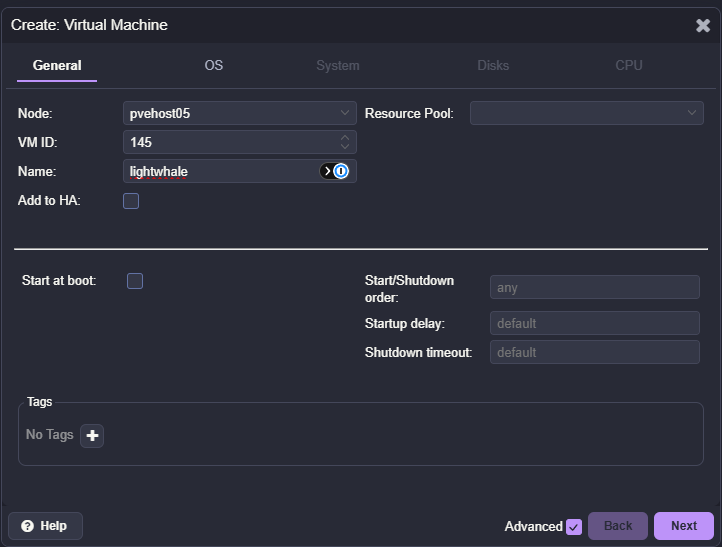
One of the first things I noticed is how straightforward the initial setup is. Lightwhale is designed to be lightweight and fast to deploy. You are not walking through a long installer or making dozens of configuration decisions. The system is focused on getting you to the point where you can run containers as quickly as possible.
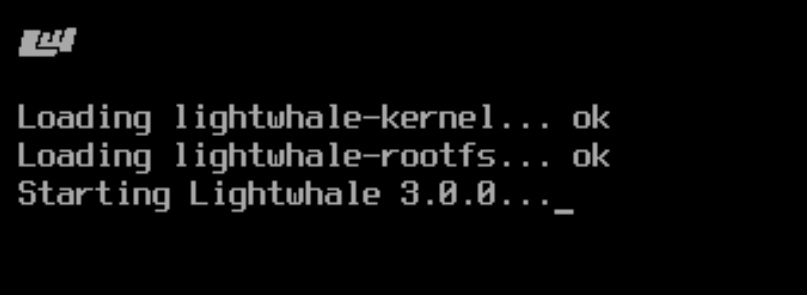
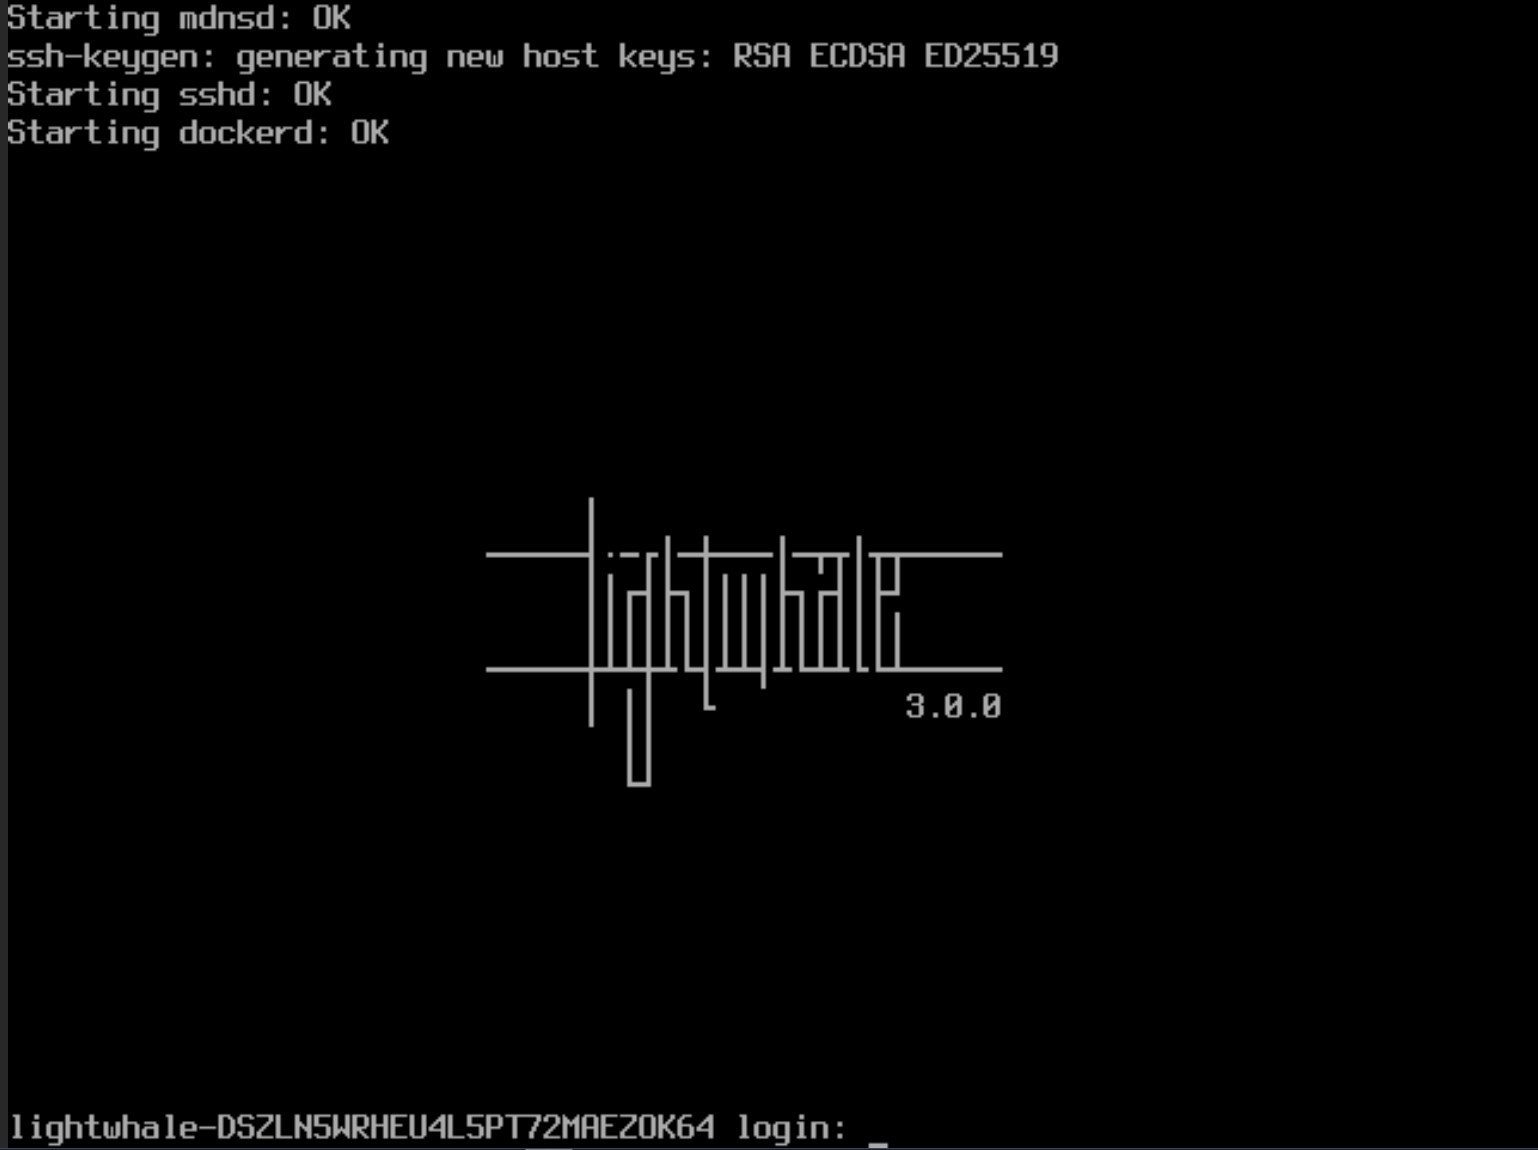
Lightwhale will boot up to the login screen. Here, the default login credentials are:
- User: op
- Pass: opsecret
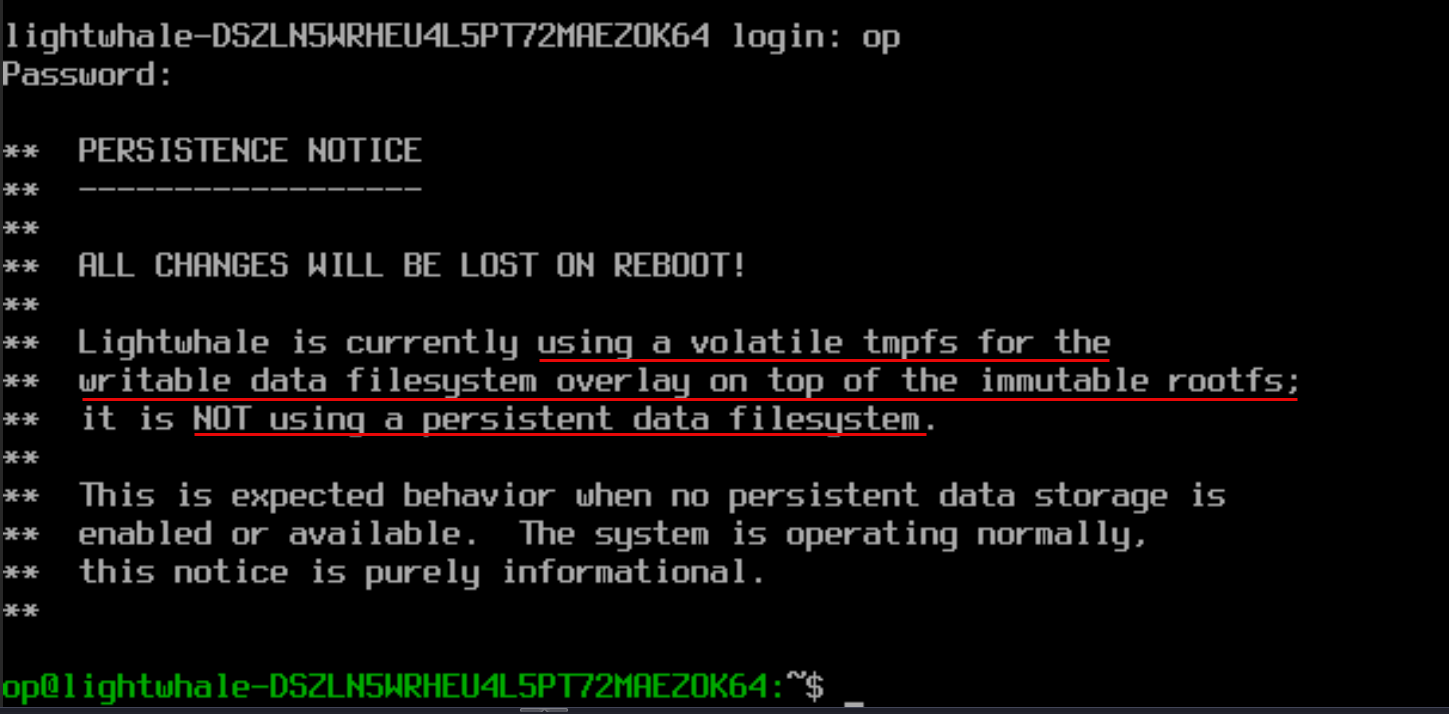
After logging in, you will see the note about the default storage for Lightwhale being non-persistent.
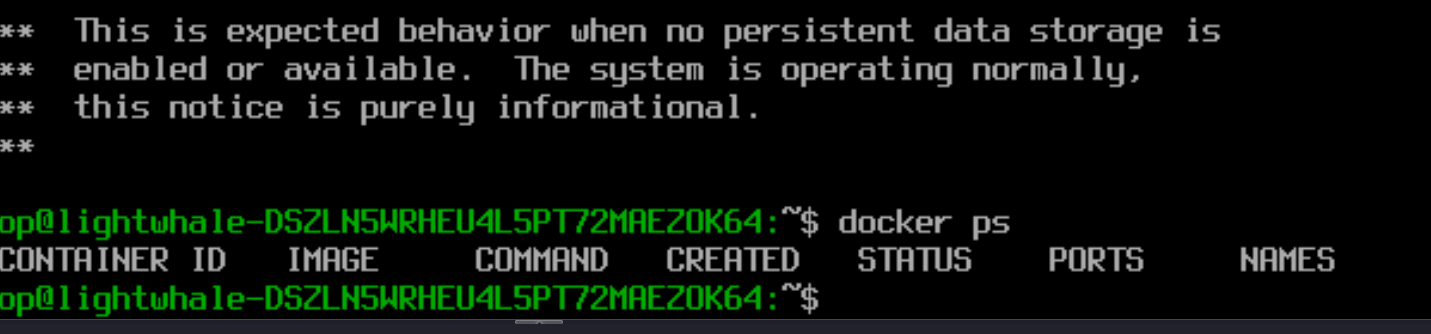
I wanted to do just a quick sanity check of how docker ready this is right out of the box and sure enough, a quick check of docker ps worked just fine.
Enabling persistence
Now, we have already mentioned that the Lightwhale installation out of the box is not persistent. But, we can make it persistent if we want to and have the need to have bind mounts and store images locally if you are not just working with stateless containers.
To enable persistence, this is just two commands and a reboot. First we run the following to wipe the first 512 bytes of the disk. This also clears any existing partition table or metadata. In the following two commands replace sda with the disk ID on your particular system which you can get with a quick lsblk command:
sudo dd if=/dev/zero bs=512 count=1 conv=notrunc of=/dev/sda
Next, we write the “magic header” for the disk. What is this? The magic header command writes a specific identifier string to the beginning of the disk that Lightwhale detects at boot. This command is a signal for it to automatically initialize, format, and use that device for persistent storage.
echo "lightwhale-please-format-me" | sudo dd conv=notrunc of=/dev/sda
Now, all that we need to do is reboot the Lightwhale temporary live environment and the process will pick up the marked disk and get it ready on the next boot:
sudo reboot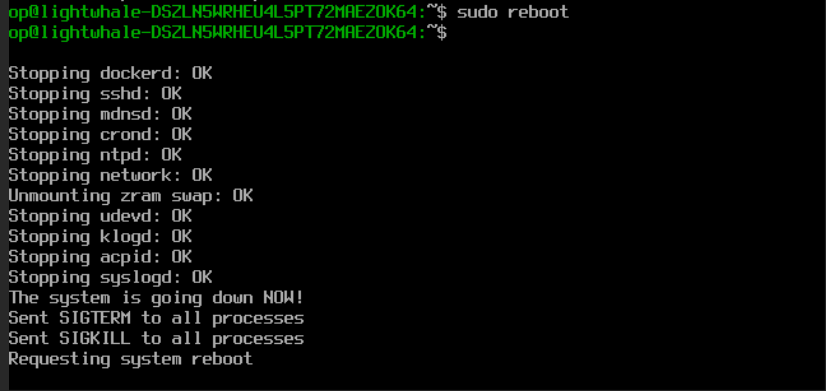
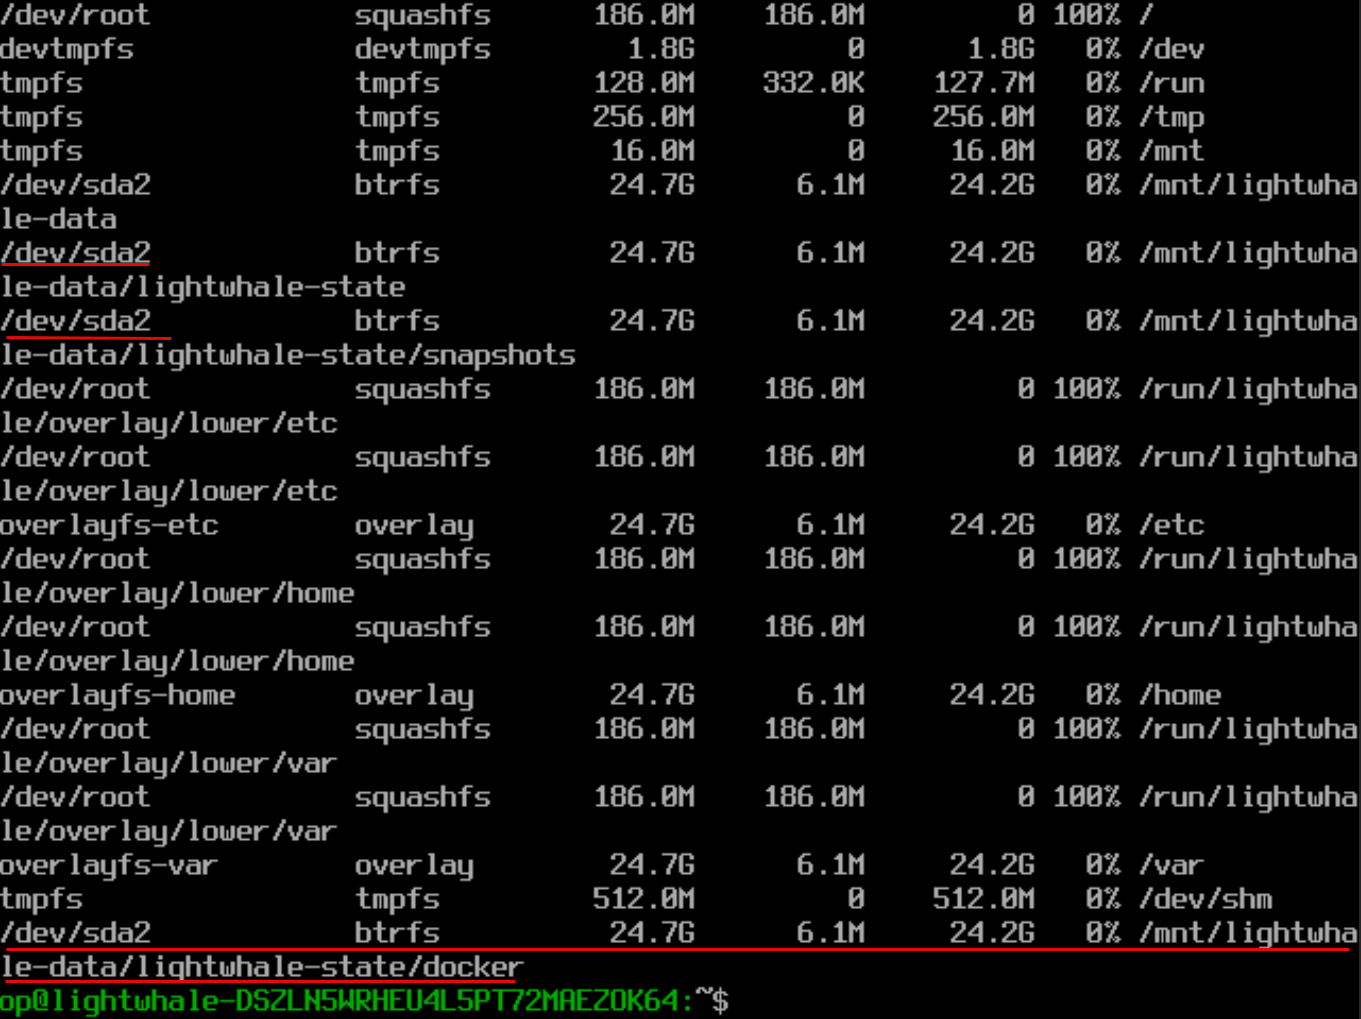
Just a quick comparison of what it looks like before and after enabling persistence. Below is before we make storage persistent. You can see by default the /mnt/lightwhale-data/lightwhale-state/docker is on tmpfs.

But, after running the persistence commands above, the /mnt/lightwhale-data/lightwhale-state/docker is now pointed to /dev/sda2 and is now persistent.
Where I think Lightwhale shines
After spending some time with Lightwhale, there are many areas where I think it stands out as something I would recommend definitely for a home lab. First of all, it is simple. There isn’t a lot of complexity here outside of typing a couple of commands for persistence. There isn’t anything to configure during the installation and this means quick and easier time to running containers. It is also less to troubleshoot.

This greatly helps with consistency. The system is super minimal as you can see, just 200 MB. So, with this, it is easier to keep things consistent and aligned. You are not dealing with slightly different package versions or configurations across nodes. This also helps to reduce maintenance since there is WAY less to update and manage.
Lightwhale naturally pushes you toward getting things containerized since there isn’t much at all to the host operating system and you can’t just run commands like you would a traditional installation of a Linux distro.
Where Lightwhale may not fit
As much as I like it, there are a few call outs here that I think need to be made and at least stated before saying that you would absolutely use this everywhere. First, if you rely on host level tools or custom scripts that expect a full Linux environment, Lightwhale is probably not going to work well for you as it doesn’t have the flexibility compared with full Ubuntu or Debian installations.
Also, if you feel like you are still learning Docker and want to experiment with different tools directly on the host, a traditional OS is probably a better starting point. Lightwhale assumes you are comfortable working in a container first mindset.
You also may have scenarios where you need specific drivers, kernel modules, or integrations that just may not work on Lightwhael and would be much better suited on a full Linux distro.
Wrapping up
When I went into trying Lightwhale, I thought I already had the best Docker setup in the home lab. I don’t run quite as much standalone Docker installations now that I am full on with Kubernetes, but I think this is definitely going to become my goto for quick and easy and maintainable installation for Docker container hosts.
When you first use Lightwhale, it makes you realize that most of us are carrying a whole lot more complexity than we need most of the time. For most container workloads, we just need a container focused OS that simplifies things and shrinks your attack surface. If you haven’t tried it before, I would definitely recommend Lightwhale for the home lab and running Docker hosts. How about you? Have you tried it before? Does this look like a container OS you would think about running in your lab?
Google is updating how articles are shown. Don’t miss our leading home lab and tech content, written by humans, by setting Virtualization Howto as a preferred source.
About The Author


Do you know flatcar Linux?
pdj,
Thank you for the comment! Yes definitely heard about Flatcar. I have had this one on my list to try for quite some time. Are you currently using it in your lab?
Brandon
Flatcar is the one of the best immutable container oses. we run over 100 instances in prod Patching via Nebraska. If you have questions happy to answer. I use it at home with proxmox too, but also Fedora Core OS is has be better driver support for Bluetooth for homelab
Mike,
Great to hear you are using Flatcar and sounds like you have lots of great production experience. Did you find that Flatcar solves problems other Docker specific OS’s didn’t for you? Love to hear the stories of why certain solutions are used over others. Also I haven’t heard of Nebraska until now so will check this out as well. Stay tuned!
Brandon
I was waiting for a review on this. Really wanted a dedicated Docker environment rather than trying to run Docker in Ubuntu Server. Then trying to manage the networks ports and the shenanigans! Oh the pain it was!
I would like a video on this if its not out yet.
Using Lightwhale and then podman or portainer to manage all docker containers. That would be educational!
Vinnie,
Very nice! I have been enjoying Lightwhale over the past few days and definitely think it has promise as being one of the goto OS’s for running Docker. It cuts out a lot of the pain points I have had with full Linux distros over the years.
Brandon
Hi Brandon, there is a typo for the lightwhale username. It should be “op” not “ops”.
jstars,
Thank you for that! Will correct that in the text. I knew I was going to fat finger something there 😁
Brandon
One other thing: When creating a lightwhale VM on Proxmox, you’ll always need to boot from the virtual CD Drive/ISO, even after you have enabled persistence. Proxmox by default sets the BIOS boot order as harddrive, cddrive, network (as you would expect). With lighwhale you do not want to boot from the harddrive first – otherwise the boot hangs at “Booting from Hard Disk…”. Go into your VM’s Options and edit the Boot Order. Drag the CDDrive to the top and uncheck the harddrive (e.g. scsi0) so the BIOS will always boot from the ISO.
jstars,
Great tips here and thank you again! Guessing you are a long time Lightwhale user in the lab? I hate I have been slow discovering this!
Brandon
Sorry, just found the notification of your reply in my Gmail spam folder. I’m new to lightwhale too. I only discovered it after reading an online article (XDA?), then I found your post. I installed it to test and ended up replacing my Ubuntu 24.04 docker server with lightwhale. It took a bit of work and help from Claude.ai to migrate over all my container data but it’s running great now. I wouldn’t say its any faster but its got a smaller resource footprint on my Proxmox node, and I like the idea that the host OS is immutable and perhaps more efficient.
jstars,
Very nice! I am going the same direction for my environment as well. Ubuntu is great, but much wider footprint than these dedicated container OS’s. I am currently enamored with Flatcar as it is a bit more enterprise in configuration and management and it is also immutable.
Brandon
I am perplexed. I don’t use docker in proxmox, nor do I see the need to. Docker just adds layers and more complexity. I mean, promox itself handles vm’s and containers just fine. Tailscale for local services, and vps with caddy and wireguard for public access. Docker just introduces network layers and other complications.
Rick,
Thanks for the comment. I used to feel the same way for quite some time. Proxmox absolutely does a great job with VMs and LXCs. For a lot of home labs that may be all you need. If you already have a clean setup with Tailscale, WireGuard, and something like Caddy in front you are in a really good spot. Where Docker starts to make sense isn’t where it replaces Proxmox, but layering it on top of it for running applications. Docker gives you quick and easy ways to run apps that is portable across different container hosts and even in the cloud, app isolation without full VMs, and faster rebuilds. If you want what I would call an “app-centric” workflow, Docker starts to shine in this case. I use both in my lab, Proxmox as the foundation, and Docker is just how I choose to run most of my applications on top of it.
Brandon
Fair enough, but there are different types of virtualization for different use cases. Docker is application virtualization (application and libraries), Linux containers (LXC) are applications, plus much of the OS minus kerrnel, and a VM is everything. It all depends on your use case and how much isolation (or level of abstraction) you want. For me docker is great for spinning up applications only. I agree that currently in Proxmox it seems silly to have nested virtualization (docker containers on a VM), but wait until Proxmox’s implementation of OCI containers (introduced as a tech preview in v 9.0) has matured.You’ll soon be running docker containers reliably and directly on your Proxmox host.
jstars,
Great points here. Yes there is definitely more than one way to run our self-hosted apps and production workloads for sure. I definitely think each individual and organization should match their use case with the best tool to solve the problem. I am anxiously awaiting to see how the new OCI image functionality will evolve in Proxmox. This may definitely open up some very interesting use cases and ways of doing things for sure.
Brandon
The lightest docker specific OS I run is coreELEC, yes it’s designed to be a Kodi centric OS but as it supports docker I’ve found it to be amazing.
It being an immutable OS is icing on the cake for my needs.
Very cool. I need to check this one out!
Brandon
Fedora CoreOS with rootless Podman Quadlets is actually the way to go, especially if you’re exposing any of your containers to the Internet.
I’ll have to give Lightwhale a look. You may want to give Alpine Linux a look (also very light weight, but easily installed persistent). Been running Docker under it for years on free ESXi without an issue. Rock solid.
Thanks for the video and the clear instructions here. I’m very inexperienced with immutable OS’s, but can I run docker compose files on lightwhale, or is this only good for pulling images from the repository? I couldn’t find anything about running containers on the lightwhale website.
Oh, nevermind. It looks like it does. I just copied the dockge compose file and ran it, and it survived the reboot. I was glad to see that ‘vi’ is already installed!
John,
Thanks for the comment and glad you are trying out lightwhale with a few containers! Do keep us posted on how you get along with it 👍
Brandon
It’s always fun when you publish an article directly related to something I’ve been trying to figure out how to do. I mean, I don’t love that you apparently have me under surveillance, but hey, useful results!
I’ve been thinking for a couple of months now about the best way to set up a templated docker VM in Proxmox. I don’t like using Docker when I don’t have to (it adds layers of abstraction that I don’t think are necessary in a homelab/home server environment, and by extension can create new and annoying problems that take time away from doing whatever it is you started out trying to do in the first place), but for certain open source projects, deploying the ready-made docker container is really the best way to go, or even the only way to go.
(For instance, I want to use the Pterodactyl game server system, but it’s only available as a Docker stack, so I’ve been stuck figuring out the best way to actually *do* Docker instead of playing Minecraft.)
Do you have any suggestions for factors that would make you choose an Alpine VM with Docker installed versus this project? Does the answer change if you’re going to expose the docker stack publicly?
I put together a Gist script that builds a new Lightwhale VM in Proxmox and deploys Arcane for Docker UI management. Take a look!
https://gist.github.com/ilium007/7042a91ef6e6683c0c92380db9cf8217