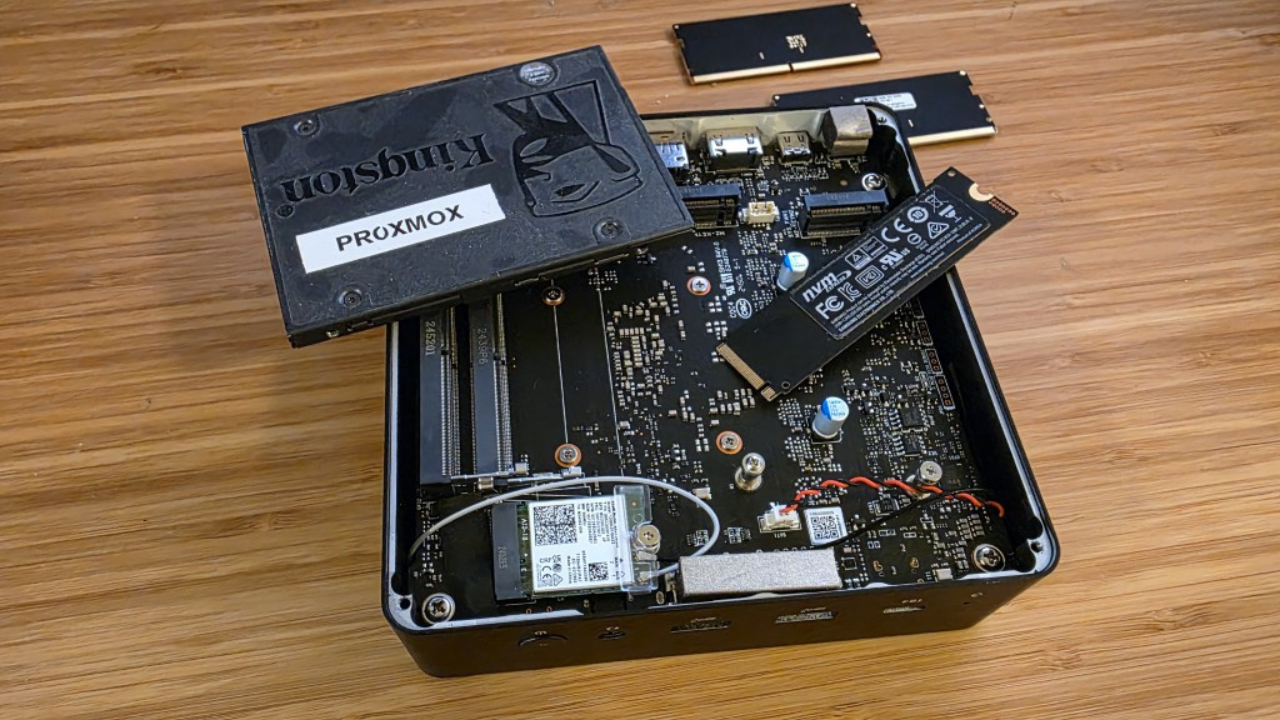
Recently in my home lab, I had a project that I was a little worried to execute on, but I decided to take the plunge and do it any way. But as it turns out, everything went suprisingly well. In switching from different models of mini PCs and standardizing on my new Proxmox Ceph cluster with the Minisforum MS-01 barebones units I picked up, I needed to go from a SATA SSD that I was running for the boot drive on the Asus NUC 14 Pro I was using over to NVMe boot on the MS-01.
This is part of my plan to upgrade everything with faster networking, more RAM, and more NVMe for workloads and Ceph. I already had Ceph configured and setup and the node was a cluster member in both Proxmox and with Ceph as a Manager, Monitor, and OSD contributor. This would have been a lot of work to rip everything out just to reload the Proxmox OS on an NVMe drive. So my plan was to see if I could just safely image over the SSD to the NVMe drive. This actually worked! Let me show you how I did it.
Why reinstalling Proxmox would have been overkill
Going along with what I have mentioned, reinstalling Proxmox would have simply been overkill for what I was trying to accomplish. It would have meant pulling this node out of not only Proxmox clustering but also Ceph. I already had everything configured like I wanted it to be configured.
Reinstalling Proxmox is not too difficult, but the complexity comes after you reload. Even in a home lab, a Proxmox host has configurations that you need to restore to work with your cluster. Network bridges. VLANs. Storage definitions (in my case Ceph was enabled). Custom repositories. Kernel tweaks. Cluster state. Authentication settings. So, not just a simple load from ISO and done.
I didn’t want to have to rejoin the Proxmox cluster and also rework Ceph by taking things out and bringing them back in, which is never the easiest thing to do. There are always little things you run into or can run into.
Cloning the OS drive avoids all of that because Proxmox never sees a new system. From its point of view, nothing changes. The same partitions exist. The same UUIDs exist. The same bootloader exists. The same cluster identity exists so it is just pure bliss from a recovery standpoint. But this is in theory. I had never done this with an actual Proxmox host.
What matters to image your Proxmox disk
The main thing that matters when you go to do something like this is to have the Proxmox host OS offline for the node you are going to image. This isn’t an online image. You don’t want any cluster state to be inadvertently rolled back. So, you want to do this in an offline fashion.
Also, no mounted filesystems or running services. And, no data being written in the background. You want everything quiet. If you don’t do it this way you are introducing a lot of risk in corruption and other bad things happening. You want the image to be “cold” in other words.
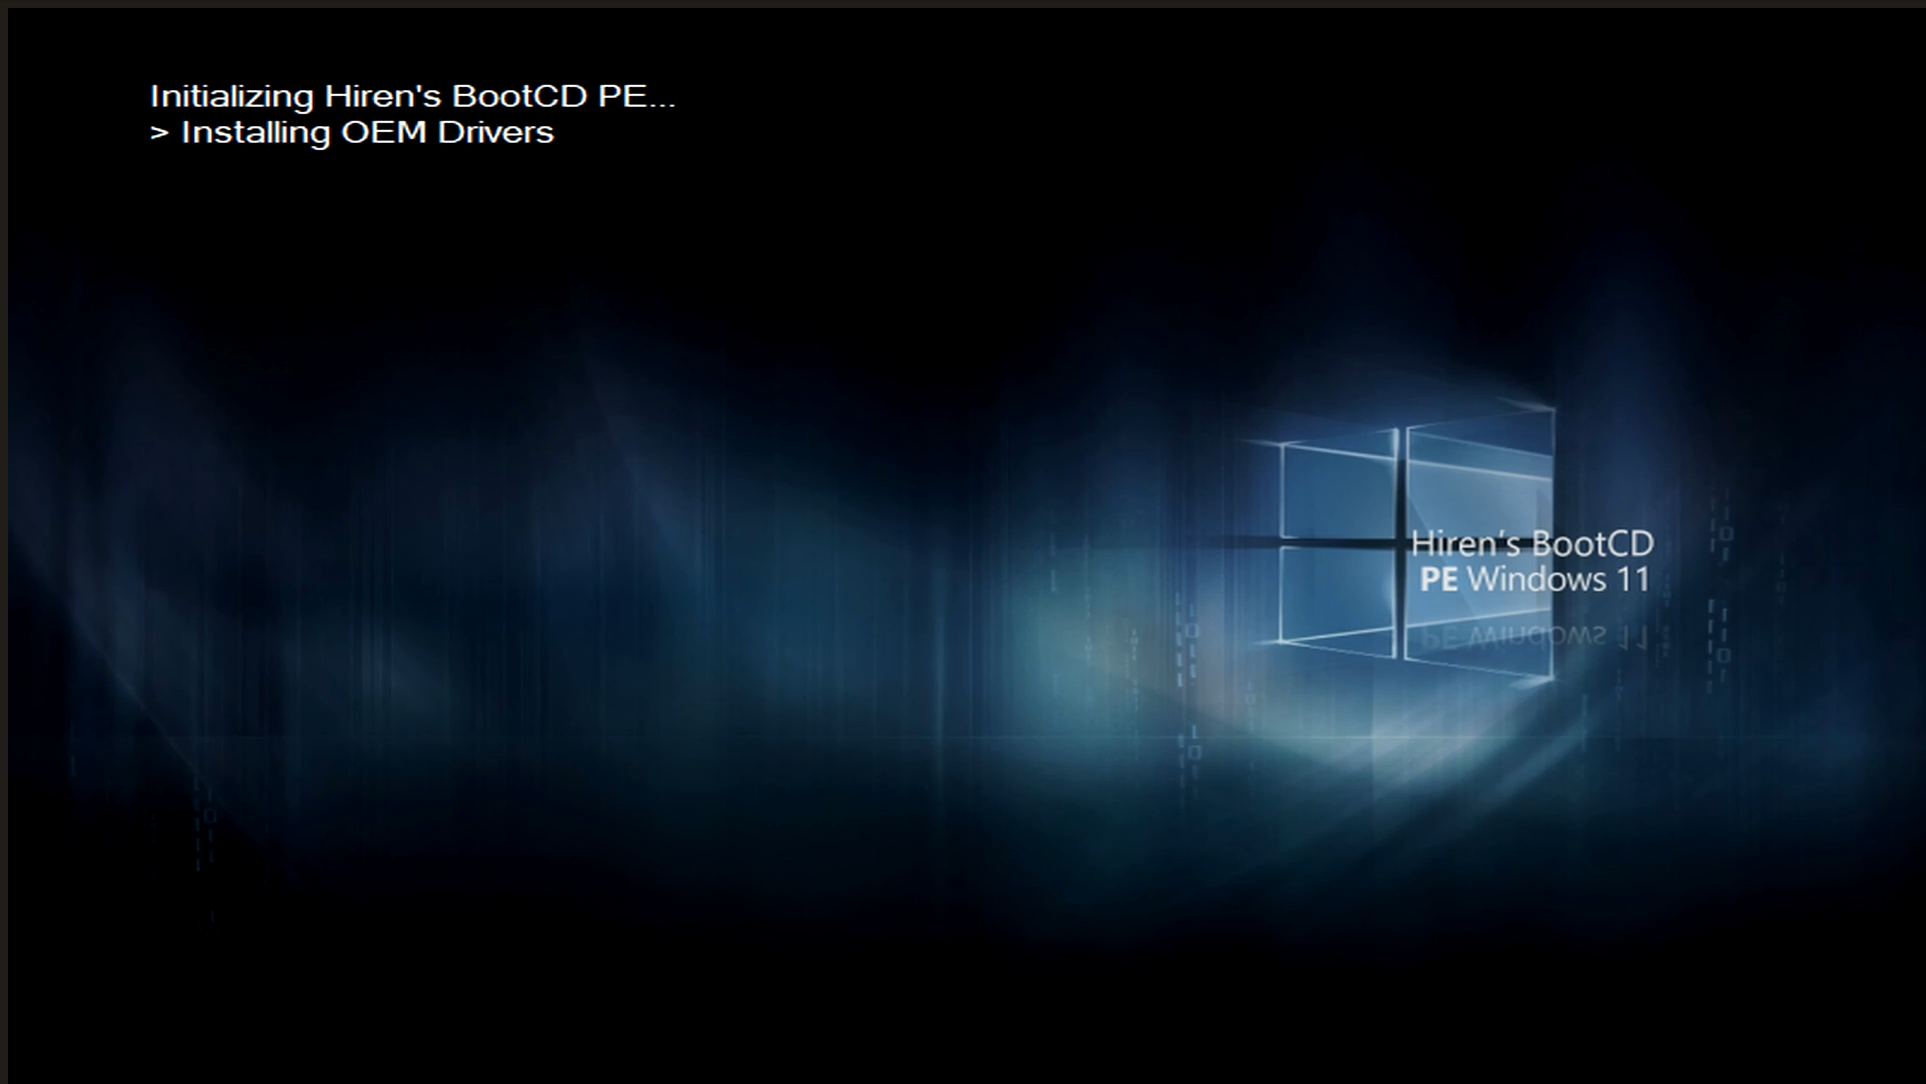
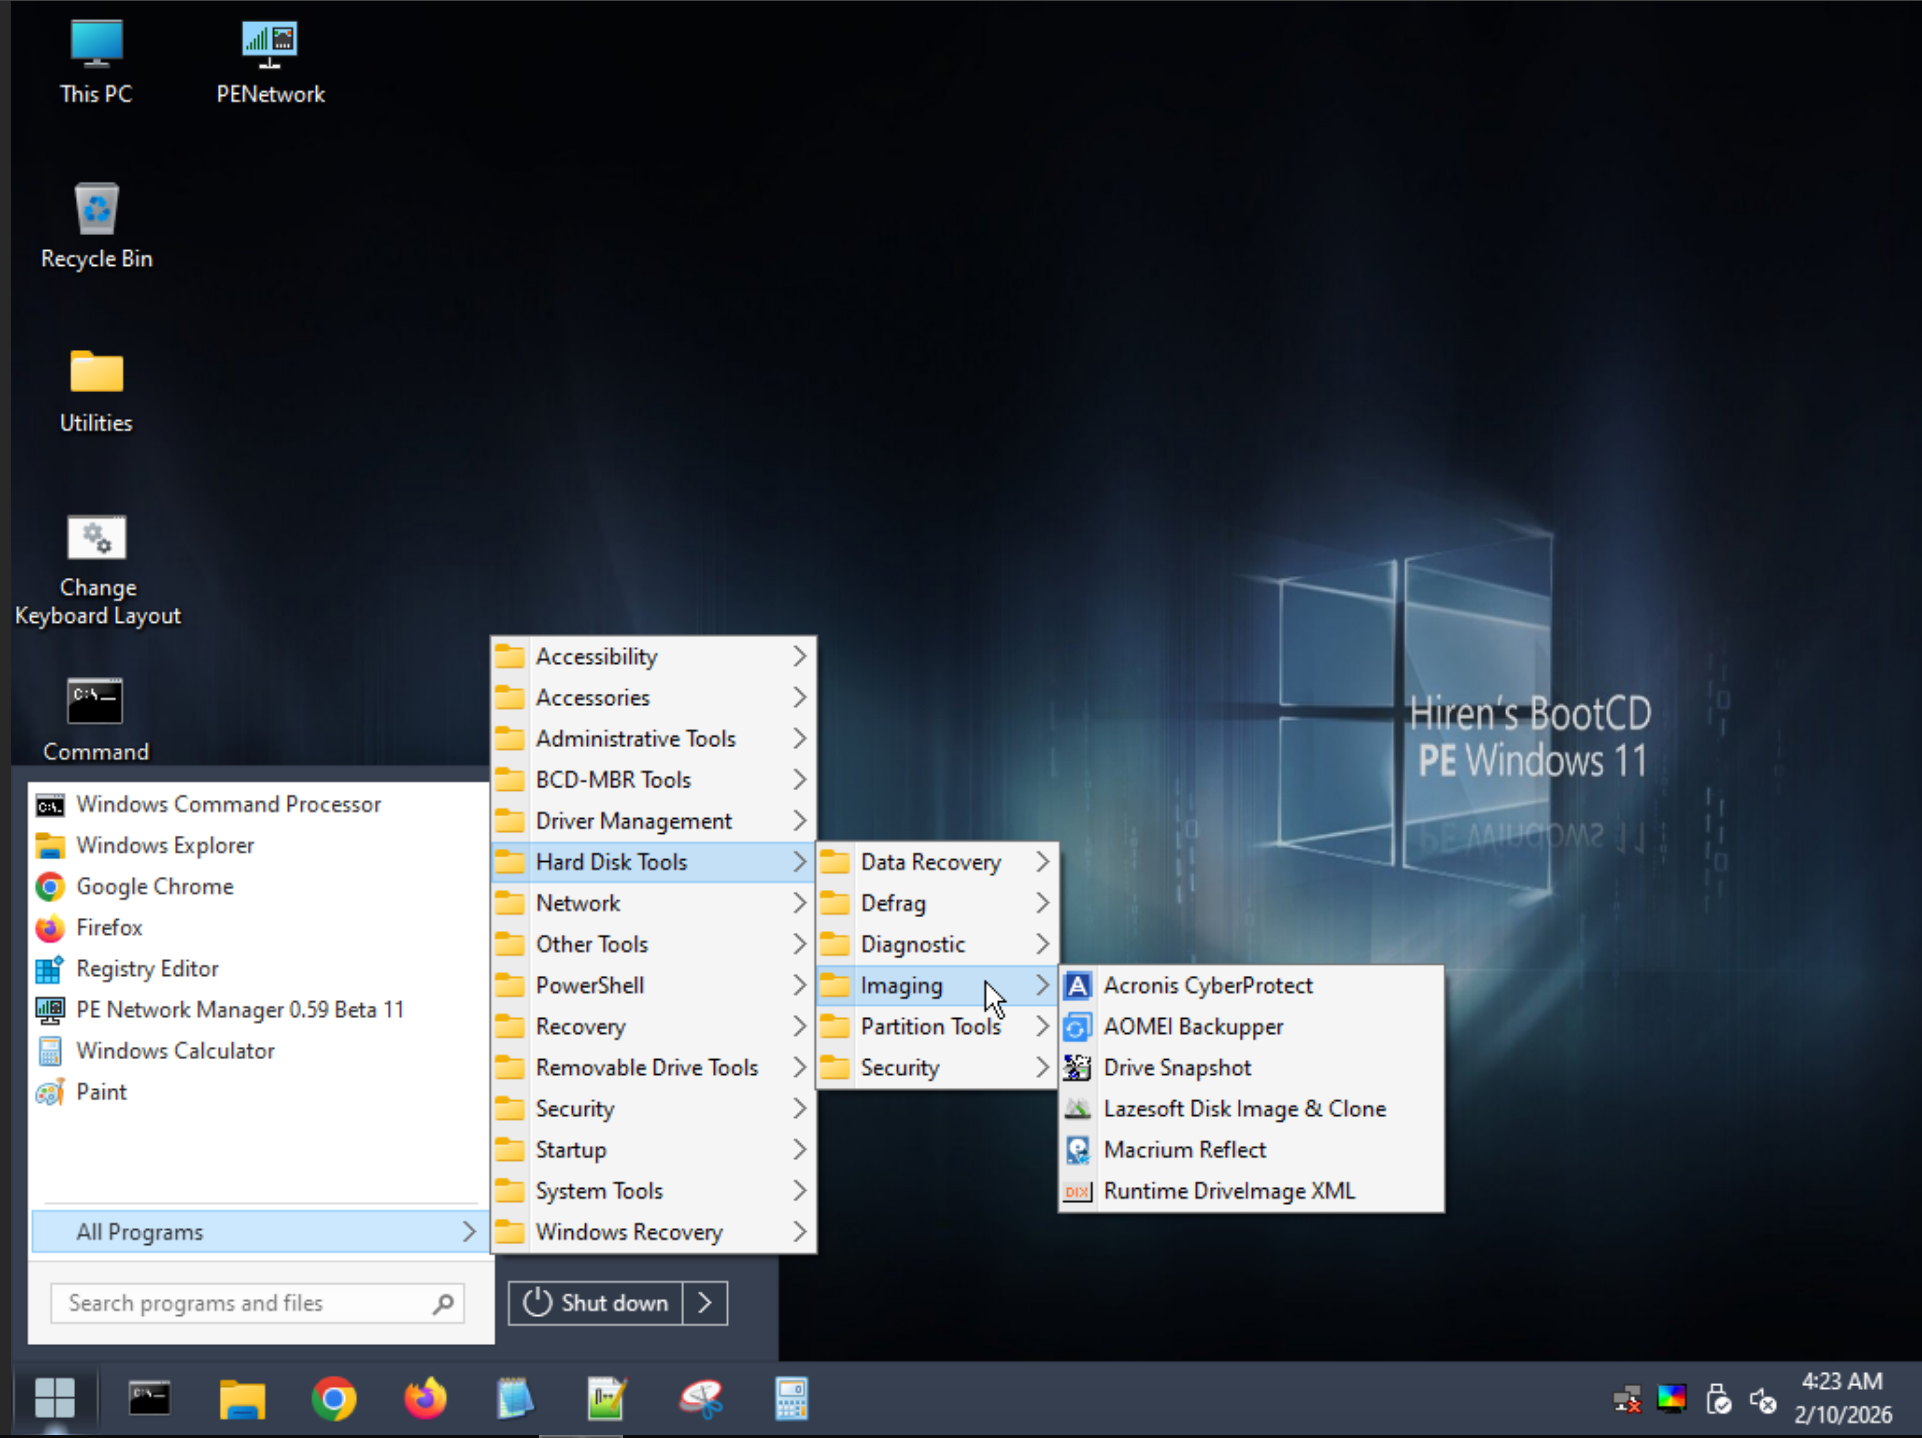
What tool did I use to do this? I used Hiren’s Boot CD with Macrium Reflect.
How to get Hiren’s Boot CD and Macrium Reflect
You can easily get a copy of Hiren’s Boot CD as this is a free download that you can pick up from here. You have probably used or at least heard about Hiren’s Boot CD in system administration work if you have been around for a while.
The latest Hiren’s Boot CD has a ton of tools that you can use, including several disk imaging tools. These include:
- Acronis Cyber Protect b40901
- AOMEI Backupper v7.3.3
- Lazesoft Disk Image & Clone v4.7
- Macrium Reflect PE v7.3.5925
- Runtime DriveImage XML v2.60
- Drive Snapshot v1.50
Download it here:
I used the Macrium Reflect free tool as it handles Linux partitions, boot sectors, and mixed partition layouts cleanly. It does not care that the source disk belongs to Proxmox. It images what is there and restores it exactly as-is. So this is why I chose this tool for this particular job.

Preparing the host before you image
There are a few sanity checks that I made sure of before imaging my Proxmox disk. First, make sure of which disk is actually your Proxmox OS drive. I can’t tell you how many times I have made some pretty serious mistakes just messing with the wrong drive by accident. On systems where you have multiple NVMe devices, this is extremely important!
Be sure to check the disk sizes, vendors, and serial numbers so there is no confusion later. There is a great command you can use to do this:
lsblk -o NAME,SIZE,MODEL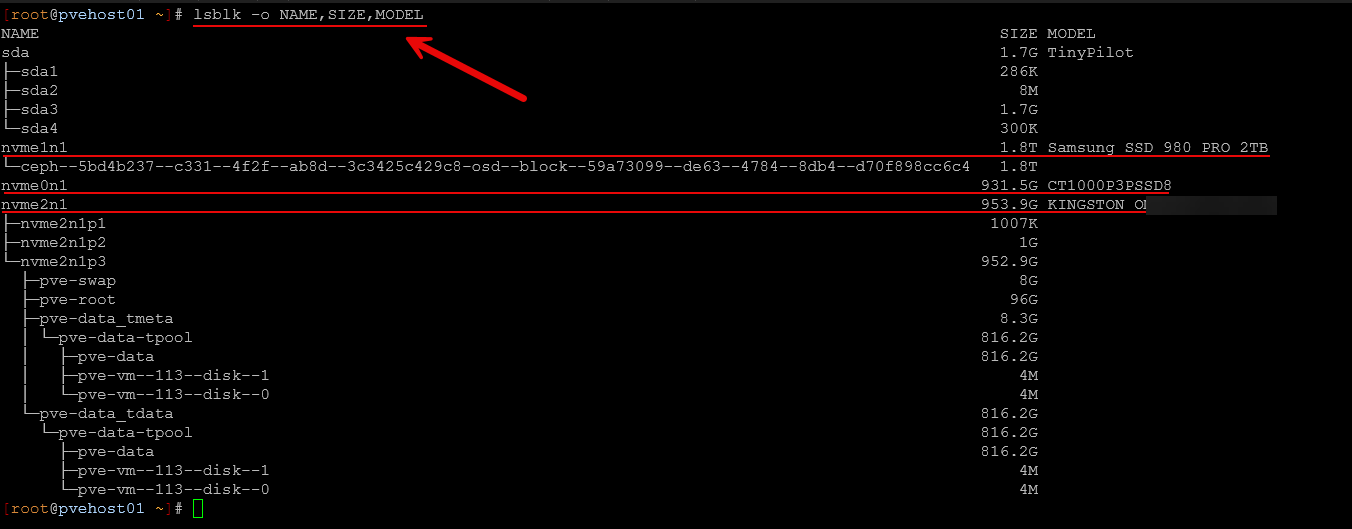
Next thing to do is make sure your Proxmox OS drive is healthy. There are no filesystem errors, no storage in degraded state, no boot warnings, etc. You don’t want to clone a broken system that carries the problem over to your new drive or possibly makes new problems appear.
Third, I planned the downtime properly. If the host is part of a cluster, downtime still affects quorum and HA behavior. Nothing special needs to be done, but you should be aware of it.
Once that was done, the host was shut down cleanly.
Booting into the imaging environment
With the system powered off, I booted into Hiren’s Boot CD. You will need to do all the normal things like setting your BIOS settings so you can boot from either a USB key that you have formatted and copied over the Hiren ISO using something like Rufus or Ventoy.
Set your boot to use USB first and then boot from the USB key with the Hiren ISO “burned” to it.
Once the environment loaded, one of the first things I did was check the network connection. Hiren’s CD does a great job at loading most of the normal type drivers for most mini PCs, including Intel and Realtek network adapters. With this, you can establish a network connection to a NAS or storage server on your network. You can also target another USB drive attached to your mini PC to store the image.
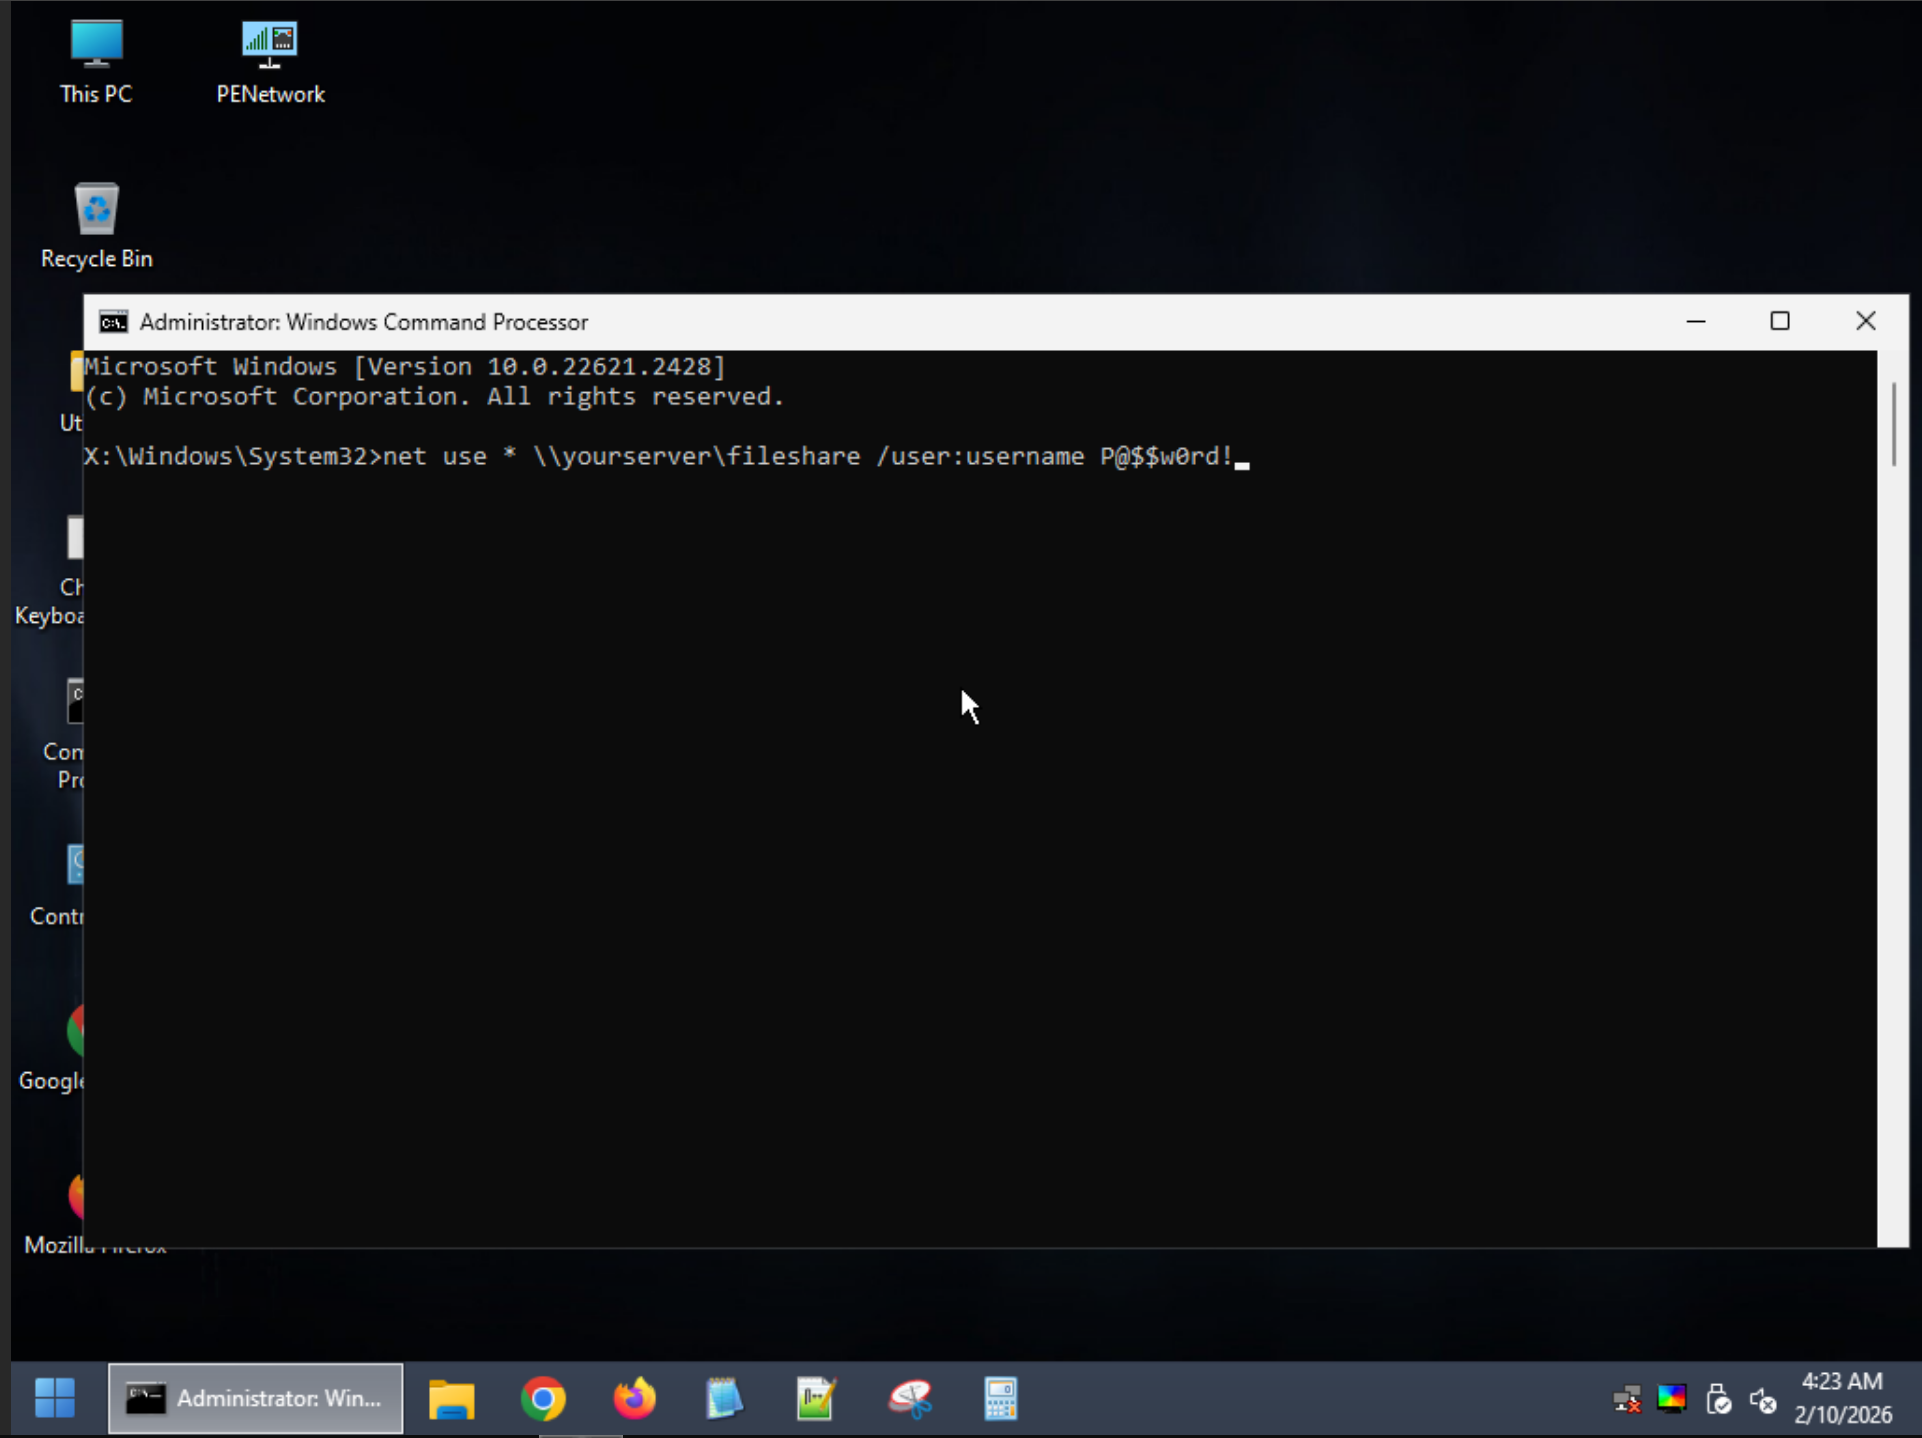
After verifying I had an IP address, I did the standard net use syntax to get a network drive mapped over to an SMB share I had running on the network. You can see the format below to do that.
Hiren’s Boot CD has a pretty intuitive menu system where you can find the tools grouped in folders of tool types. The imaging tools are under Hard Disk Tools > Imaging.
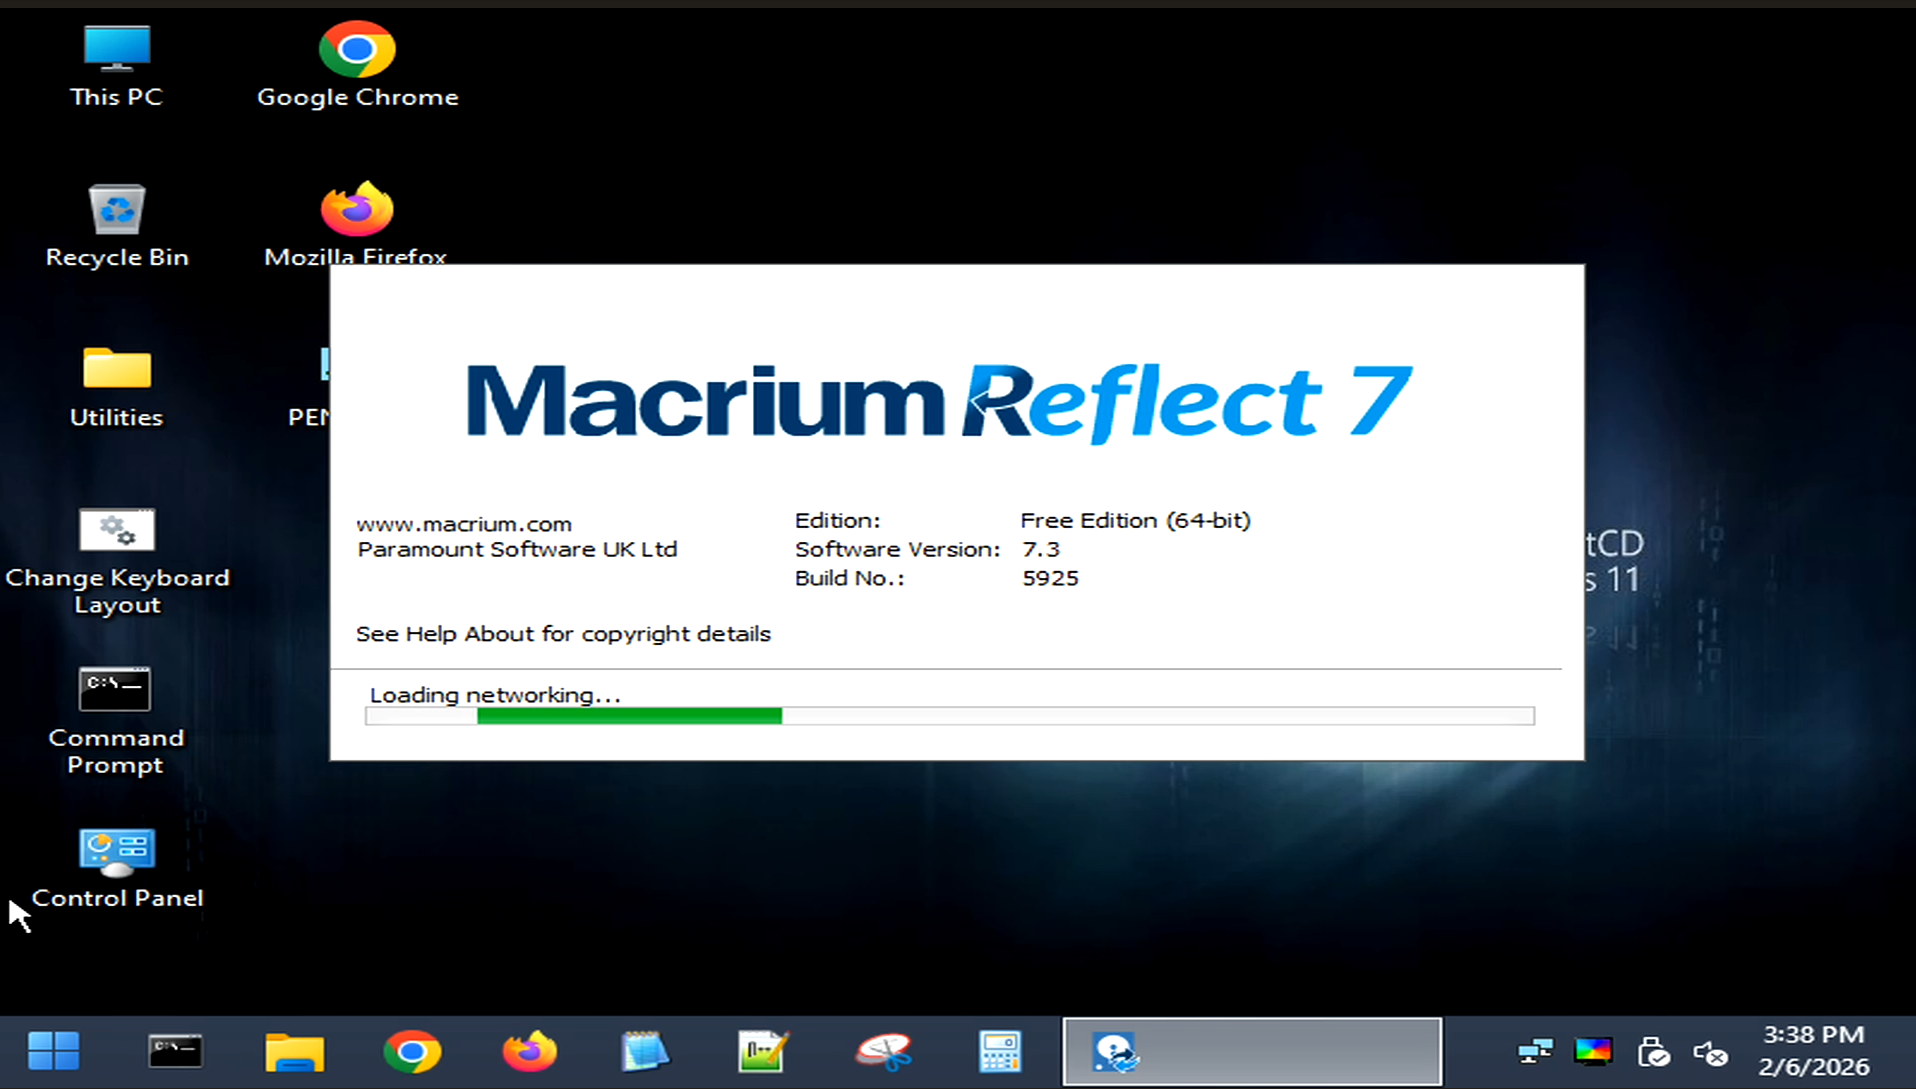
I launched Macrium Reflect and verified that all disks were visible.
Imaging the Proxmox OS drive
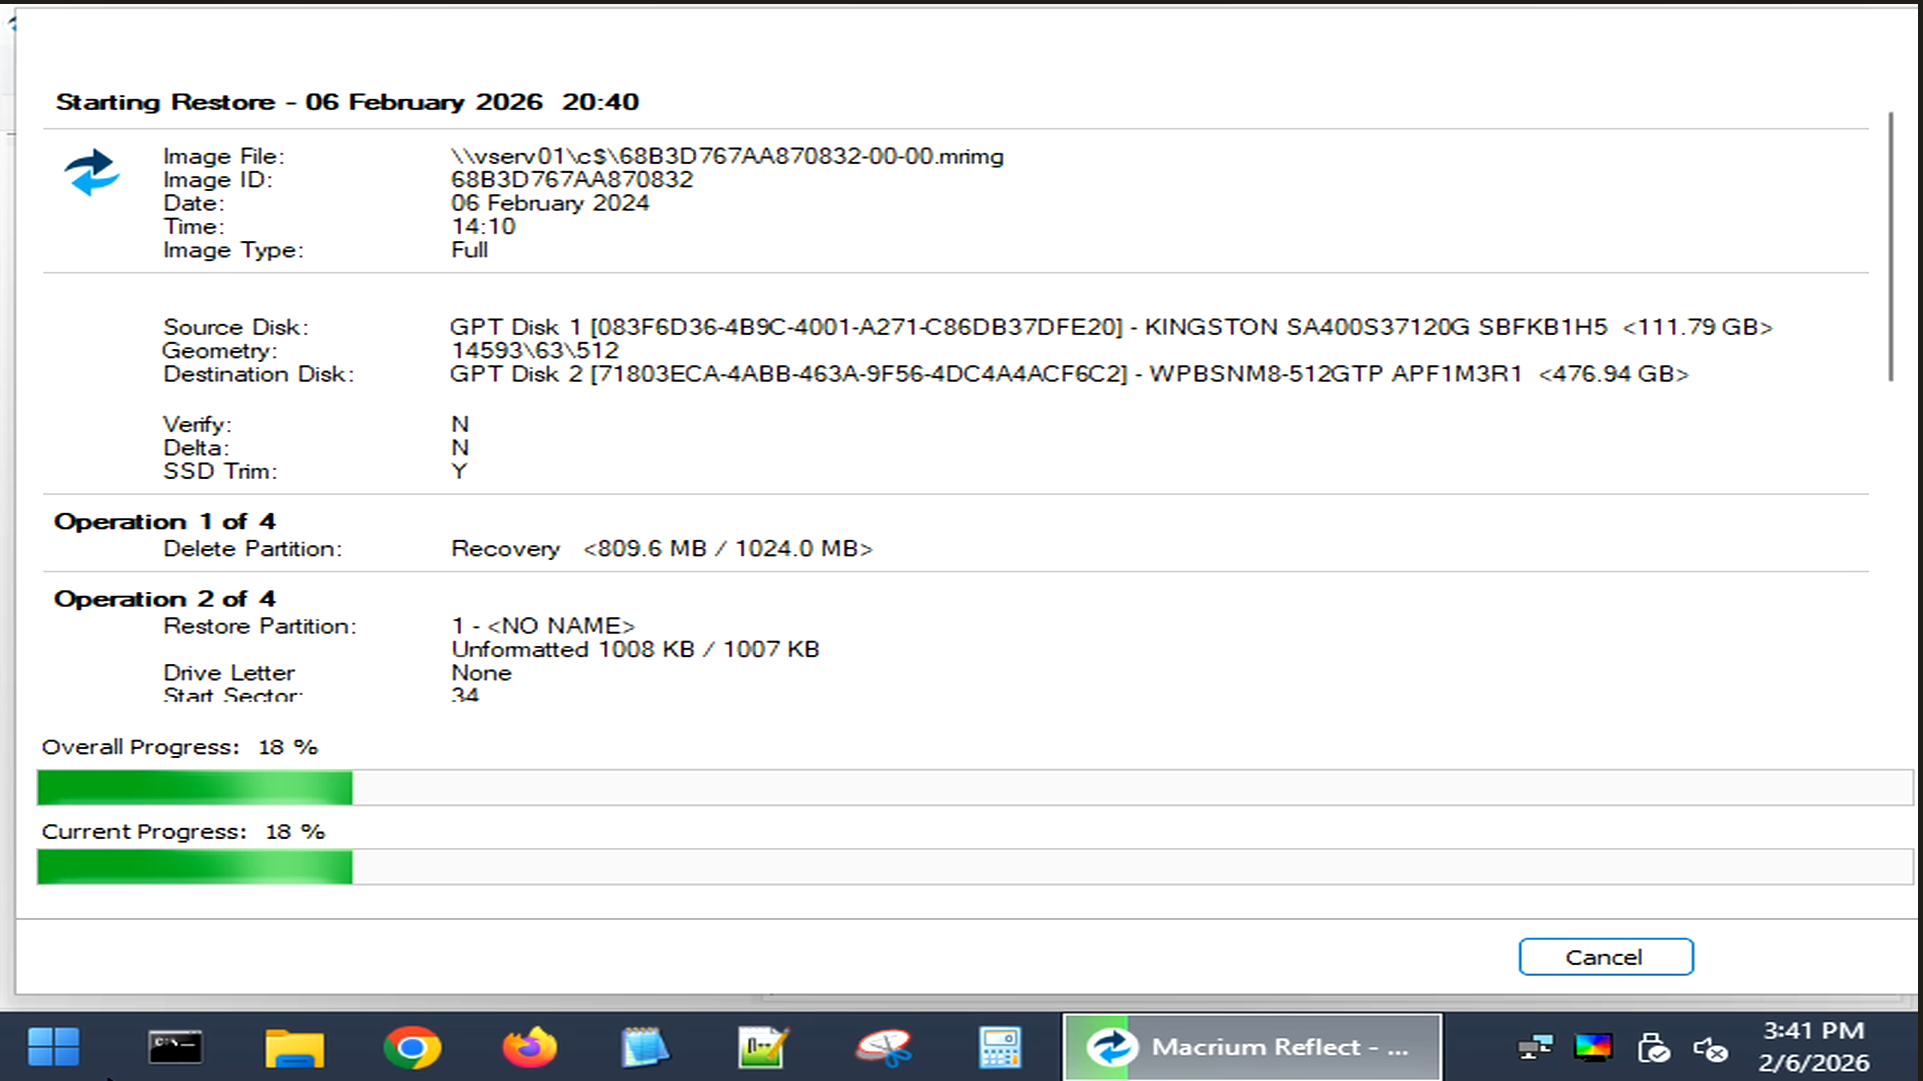
In Macrium Reflect, I selected Backup and selected the entire Proxmox OS disk and created a full disk image. I targeted the network share that I mapped in my environment.
I did not pick individual partitions. I imaged the disk as a whole. This makes sure the bootloader, partition table, and all Proxmox data stay together. You can also do direct disk-to-disk cloning if the system has both hooked up. However, for me, this wasn’t possible since my target system only had NVMe disks and no SATA connections.
Once the image completed, I moved on to the restore step.
Restoring onto the new disk
The restore process was straightforward. Below I am selecting the disk image I have stored on my network share.
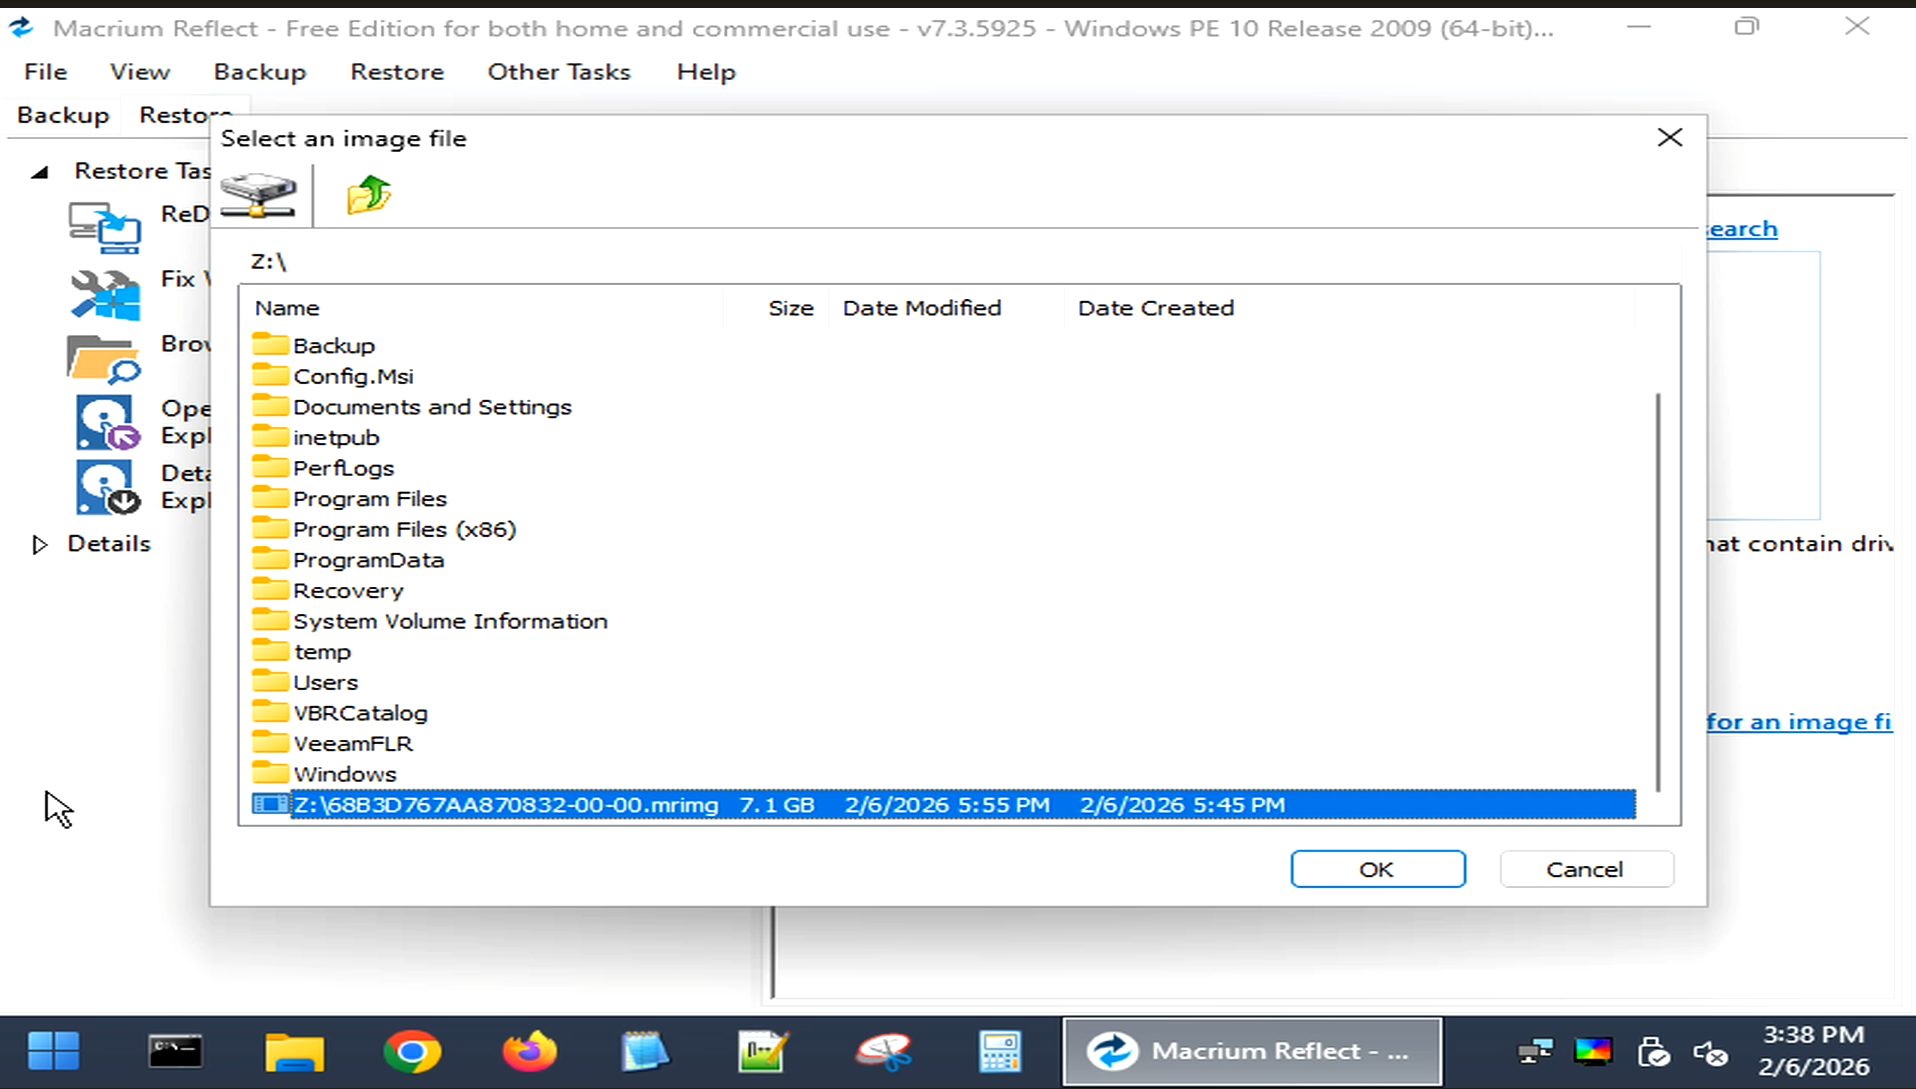
This is the time to take pause when you are ready to restore. Make doubly sure you select the right disk. At this point you could wipe out data that you are not expecting to destroy. So, taking an extra minute here will possibly save hours later. No need to rush through this.
Booting for the first time after the disk clone
If you did have both disks installed into the same system and did like a disk-to-disk clone, at this point, before you boot the machine again for the first time off your target disk of the image restore, I would remove the old disk. You don’t want to have duplicate disks and volume groups, etc. as the system comes up.
When the system powered on, I was surprised a bit, but Proxmox booted exactly as it had before. No warnings. No prompts. No surprises. It was a little too smooth and I was waiting for some ugly error to pop up, but it never did. Success!
Even when everything looks fine, it is worth doing a few checks before calling the migration complete.
I checked:
- networking to confirm interfaces were up and IP addresses were correct
- If you are moving between identical hardware, this usually just works
- If hardware differs, interface names may need adjustment
- I verified that storage was present. Local storage, ZFS pools, Ceph OSDs, and mounts all appeared as expected
- For clustered hosts, I checked cluster status and quorum. The node rejoined automatically without intervention.
- Finally, I scanned logs briefly for errors related to missing devices or mounts. There were none.
At this point, the host was effectively back in service.
Common mistakes to avoid
I am probably beating a dead horse here, but don’t make the mistake of cloning the wrong disk. Always triple check or more before you begin restoring the image to another disk in your system. NVMe drives can look the same or very similar.
Another mistake is attempting to image a running system. Do not do that. I can’t say 100% it will not work. There are plenty of really good backups that can do an online full system backup like Veeam agents. But in my opinion, you use the right tool for the right job. I would rather do something like this with an offline image to make sure nothing gets corrupted or skewed.
Leaving both disks connected during first boot can also cause confusion or real errors/issues. Remove the old disk befor that first boot if you were doing a disk-to-disk image.
Would I do this again?
Actually, yes. This was surprisingly a very uneventful process. Your mileage may vary so as always be sure to test, test, and test again on a system that you don’t care much about to feel comfortable with the process.
Wrapping up
Hopefully this walkthrough of my experience with imaging a Proxmox OS drive and restoring it to a completely different drive will help any who may be in the position I was where I didn’t really want to reload everything and do all the maintenance that would have been required since this was a cluster node and a Ceph storage host for the cluster. How about you? Have you imaged a Proxmox OS drive before and restored to another drive? What tools did you use? I would be curious to see what you post in the comments.
Google is updating how articles are shown. Don’t miss our leading home lab and tech content, written by humans, by setting Virtualization Howto as a preferred source.
About The Author

I’ve cloned the boot/root drive many times using dd or booting into gparted, saving me a complete reinstall and also allowed me to grow the boot drive or save the boot disk when it starts to have bad sectors. I would like to clone a raw disk into a vm-drive and attach it to a vm, I’ll attempt to do this soon.
MonkeyP,
Awesome, glad to know others are doing this as well. I hadn’t taken a stab at this before this go around with Proxmox. I have cloned ESXi many times for various things. I hoped Proxmox was forgiving enough to be able to do this and wasn’t disappointed. I need to try dd as well. Keep me posted on the cloning of raw into vm-drive…sounds interesting. What is your particular use case there?
Brandon
I’ve found Rescuezilla (Clonezilla with GUI) easier to use, used it to clone many Linux and Windows systems. Gonna try it on Proxmox!