If you’re like me, you’ve probably noticed that the world of DevOps is more accessible than ever. This is especially true if you’re willing to roll up your sleeves and build things in your own home lab. I personally think that whether you’re transitioning from a sysadmin role or dipping your toes into cloud engineering or just simply wanting to level up a hands-on DevOps roadmap can make all the difference. In this post, I’ll share the roadmap I’m personally following. It is built on the foundation of a home lab. This is a practical no-fluff learning plan. And, it leverages real infrastructure and AI to speed up your learning.
Why a hand’s on DevOps roadmap?
There are plenty of great DevOps roadmaps online but most of them assume you’re already working in the field or have a deep software development background. My approach is different. This is especially true for those that may be a traditional IT engineer. It starts from scratch, with a focus on practical, home-lab-friendly steps. In this way, you can simulate real-world infrastructure challenges and progress using a project-based approach. My philosophy is simple: learn by doing.
Step 1: Start with a Home Lab Environment
Before you dive into YAML files or Git repositories, you need a lab you control. This is where all the experimentation happens and it is where you learn A LOT from just simply engineering your own self-hosted environment. I know I sure did. Take a look at the suggestions of what to build below.
What to Build:
- Proxmox or VMware ESXi hypervisor setup (ESXi is now free “again” for now)
- A dumb switch (if no VLANs), or a managed switch (if you want to start right at the gate with VLANs and segmentation)
- A small cluster of VMs or mini PCs (even a single node is fine to start)
- Linux VMs for testing (Ubuntu, Debian, Rocky Linux)
- A basic network. You can even do a flat network without VLANs or segmented traffic, but it will give you a place to start growing and implementing those in the future.
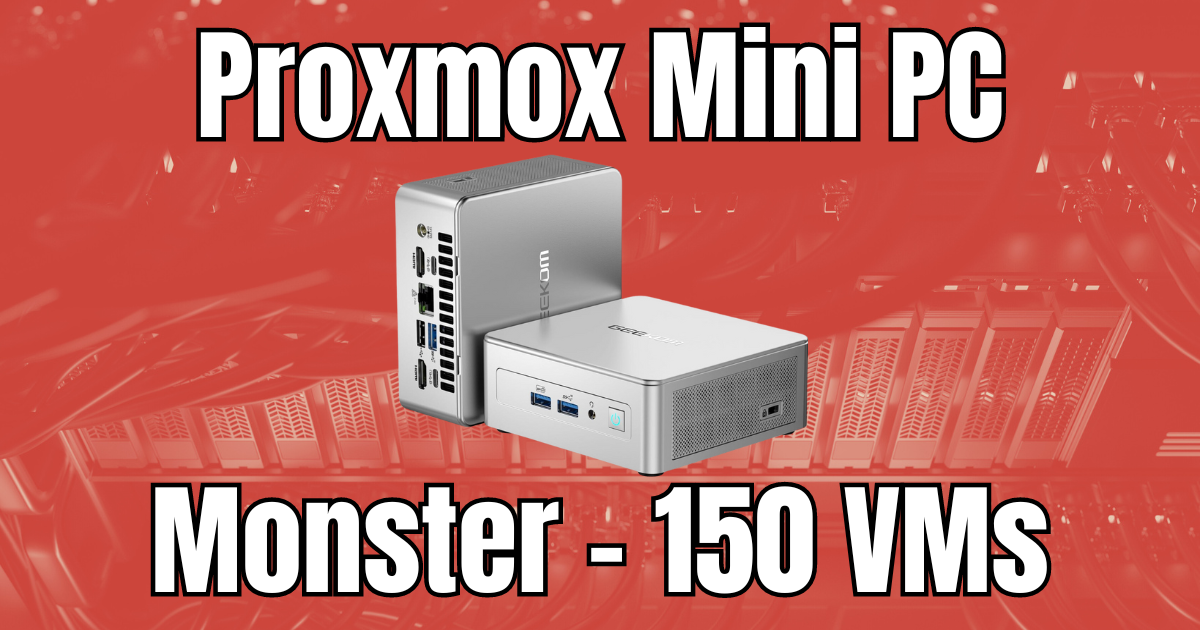
An example of a great little mini PC for Proxmox that is low-power and works great (affiliate link):
What You’ll Learn:
- Basic virtualization
- Networking and DNS
- Resource constraints and troubleshooting
If you’re tight on budget, tools like Docker Desktop, WSL2, or VirtualBox can also get you started just simply using the workstation that is your daily driver, so long as it has virtualization instructions built-in which is the case for most processors over the past decade.
Step 2: Learn containers and Docker
DevOps today revolves around containers. Containers are the de-facto standard of “what” runs your apps and does the heavy lifting. Once you get into CI/CD, you will start to see how containers are a core part of your pipelines and are what make “agile” development possible.
What to Do:
- Install Docker on your lab nodes or local machine – I like to use Ubuntu Server as my platform. Just install Ubuntu and add Docker using the official steps. Again, you can also just install Docker desktop if you are running a Windows workstation and don’t have any other hardware to use.
- Deploy real-world containers: Nginx, Portainer, GitLab, Redis, etc.
- Learn how to build and run your own Dockerfiles – this is a must and a great learning experience. The great thing about today is that we have AI to help with these once very tedious and time consuming processes to build Dockerfiles that work.
Hands-On Projects:
- Deploy a multi-container app using Docker Compose
- Set up a reverse proxy like Nginx Proxy Manager (for SSL termination, etc)
- Start monitoring containers with Netdata or cAdvisor
Step 3: Version control with Git
Once you have built your lab environment on your workstation or dedicated nodes, and you have gotten familiar with containers, Docker Compose, and Dockerfiles, now it is time to start learning the Git methodologies and workflows. With Git, you have a completely versioned system to store and build your infrastructure as code tools. This will lead into CI/CD later.
Key Concepts:
- Repositories (local vs remote)
- Branches, merges, commits, and pull requests – Get a solid understanding of branches especially and how you can create new branches for deployments, feature requests, bugs, etc.
- Using GitHub or Gitea in your lab – These are completely free, also GitLab is excellent, but a bit more learning curve in terms of provisioning it in the lab. However, not too difficult.
Projects to get started
Use Git to version control your Docker Compose files, bash scripts, and future Ansible or Terraform code.
Step 4: Dive into Infrastructure as Code (IaC)
This is where things get exciting, and challenging. However, the barrier to entry is dropping with AI tools. Tools like Ansible and Terraform let you automate the entire infrastructure lifecycle.
Start With:
- Ansible: Great for configuration management and orchestration
- Terraform: Best for provisioning cloud or on-prem infrastructure
- Together: Use them together for the ultimate in automation, Terraform to build, and Ansible to configure.
Beginner-Friendly Projects:
- Use Ansible to install Docker and deploy containers
- Write Terraform code to spin up VMs in Proxmox or VMware using Packer templates which are easy enough to build. Check out my multiple walkthroughs on that topic here: You searched for packer – Virtualization Howto
- Use variable files and reusable roles
Step 5: Explore CI/CD Pipelines
Now that your infrastructure is versioned and automated, it’s time to start automating how software is built and deployed. To me, there is nothing more beautiful than a CI/CD pipeline running your code commit when you check in code, automatically building a new container, and then deploying the container after running tests on it and verifying its security. That is just awesome.
Tools to Try:
- GitLab CI/CD (self-hosted GitLab is a great home lab project) – this is my personal favorite since everything is in one solution
- Drone CI (lightweight and easy to use with Gitea) – a bolt on to Gitea
- GitHub Actions (if you’re using GitHub for your repos)
Sample Projects:
- Build and push Docker images on commit
- Deploy containers automatically to your lab
- Run Ansible playbooks as part of a pipeline
Step 6: Use AI tools for learning and tutoring
This step might surprise you, but it’s become one of my favorites. AI can be a powerful DevOps tutor and help with your learning. If you use it in the right way, not just to mindlessly have it do all the work, but instead as a “person” you can bounce ideas off of and get help with troubleshooting, it can definitely help to overcome roadblocks.
Tools I Use:
- ChatGPT (OpenAI) via OpenWebUI + Ollama in my lab
- GitHub Copilot for code suggestions
- Shell AI or kubectl-ai for real-time help in terminal and Kubernetes
How It Helps:
- Debugging YAML syntax or Terraform errors
- Writing CI/CD pipeline logic
- Learning concepts faster
You can run most of these tools locally with Docker, even offline, using models like Phi-3, Mistral, or LLaMA 3.
Step 7: Transition to Kubernetes
If you’ve mastered Docker and have basic IaC and CI/CD experience, Kubernetes is the next logical step that really is at the pinnacle of your learning path. It is the defacto way to run containers with high-availability on-premises or in the cloud.
Lightweight Options:
- K3s or MicroK8s for single-node deployments
- Add MetalLB and Traefik for load balancing and ingress
- Deploy Helm charts and learn Kubernetes manifests
Home Lab-Friendly Projects:
- Deploy your GitLab instance on Kubernetes
- Run monitoring tools like Prometheus + Grafana
- Host your LLMs in Kubernetes using Ollama
Step 8: Monitor everything
Monitoring is critical in real-world DevOps. In your lab, it reinforces observability principles and helps you practice troubleshooting.
Must-Try Tools:
- Netdata for node-level metrics – they have a very reasonable $90 home lab license.
- Prometheus for scraping metrics
- Grafana for dashboards
- Dozzle for real-time Docker logs
Add alerts and thresholds to simulate production-grade monitoring.
Step 9: Documentation
This isn’t a soft suggestion. I think this is a habit and discipline that will make you stand out among other potential DevOps candidates. Documentation isn’t just for beginners. I think it sets the seasoned professionals from the beginner or novice DevOps engineers.
Tools to Use:
- Markdown in Git repos
- Obsidian, Notion, Evernote
- Create a blog (like this one) to share what you’ve built – I always learn more when I write about things and that is why I try to write, a lot!
When you document your work, you retain more, help others, and create a portfolio that shows others what you have been doing and learning.
Bonus Ideas to Add to Your Roadmap
- Set up DNS failover with Pi-hole or Unbound
- Use Vault for secrets management
- Learn about GitOps with ArgoCD or Flux
- Run your own GPT summarizer for RSS feeds
- Explore cloud-native tools like Loki, Tempo, and Thanos
Wrapping it
I think the most effective engineers in general are the ones that learn and continue to sharpen their skills with real-world experience. Certifications are nice, but real-world experience cannot be substituted for anything. Combining both will make you unstoppable in your career and learning journey.
Hopefully this very simple and progressive DevOps Roadmap will help any who are wanting to start out on their transitional journey away from a traditional systems engineering role over to a DevOps professional.
Let me know in the comments if you have other suggestions that you have found useful on your personal DevOps roadmap and journey to transitioning your skillset.
Google is updating how articles are shown. Don’t miss our leading home lab and tech content, written by humans, by setting Virtualization Howto as a preferred source.
About The Author

If using vsphere exsi, what server can you recommend. Such as the Dell T series or any small factor. Want to build a 3 node cluster.
Tekola,
I am not sure on your budget, but I would recommend mini PCs for the cost savings in terms of power consumption if this is a lab that you will be running 24x7x365. Something like an MS-01 or MS-A2 are my current favorites. However, there are many other mini PCs that are compatible with VMware ESXi.
Brandon