If you have not heard about StartWind Virtual SAN, it is a highly scalable and powerful virtual SAN solution that allows for a two node hyperconverged configuration for multiple Hypervisor configurations. StarWind VSAN allows you to take internal storage whether spindles or flash and mirror those between hypervisor servers. StarWind also utilizes some secret sauce to achieve high performance and availability with simple commercial non proprietary hardware. StarWind offers several ways to use their virtual SAN technology including a hardware appliance. Additionally, they offer a virtual appliance solution that we will take a look at here that allows you to quickly provision storage between nodes and provision this on your hypervisor. Below we take a look at the StarWind Two Node VMware Hyperconverged VSAN configuration.
StarWind Two Node VMware Hyperconverged VSAN
As mentioned above, StarWind provides a number of ways to get up and running with their virtual SAN technology including a hardware appliance, a virtual appliance as well as the installable software that we can load up on our servers and be and ready to go. For the following in the lab I am using (2) Windows Server 2012 R2 Servers each running on (2) VMware ESXi hosts.
Starwind recommends the following configuration for Windows Server 2012 R2 VMs:
Memory: at least 8 Gb (plus size of RAM cache) needed
CPUs: 4 virtual sockets, 1 core per socket.
Hard disk 1: 100 Gb for OS.
Hard disk 2: Size you are planning to use as a shared storage.
Note: Each hard disk should be Thick Provisioned Eager Zeroed.
Network adapter 1: Management network
Network adapter 2: iSCSI connections
Network adapter 3: Synchronization between nodes
Network Adapters should be configured as VMXNET3.
The VMs I setup for the lab were setup accordingly. After setting up the VMs, additionally I installed the newest Vmware.PowerCLI module in PowerShell for some of the additional storage tasks associated with StarWind and VMware ESXi.
On both ESXi hosts, I provisioned an iSCSI network, SYNC network, and Management network to coincide with the three networks needed for the Starwind VMs network connections.
Installing StarWind Software on the Windows VMs
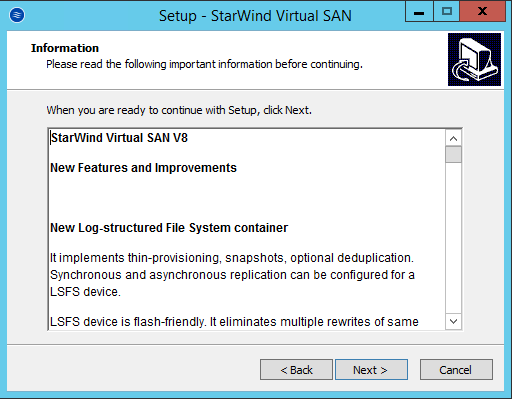
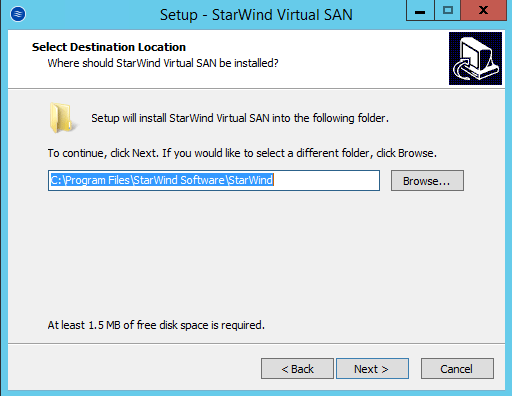
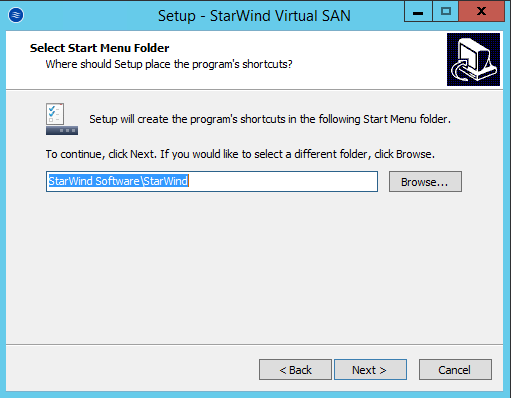
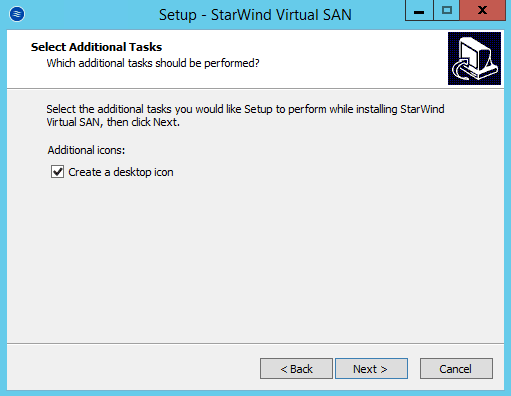
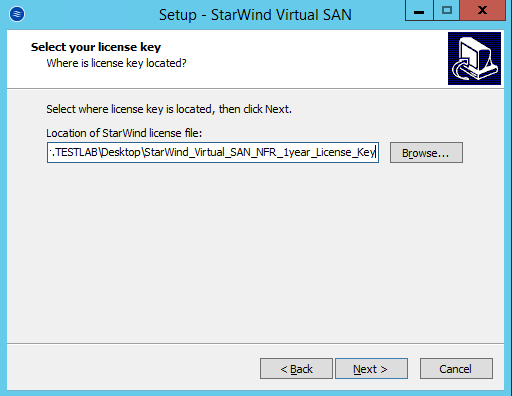
Below is the straight forward process to get the software installed on the VMs. A note here that if you meet certain criteria you can apply for an NFR license to use in a lab environment. Additionally you can use a trial license key for testing. The installer is a small 73 MB installer for V8.
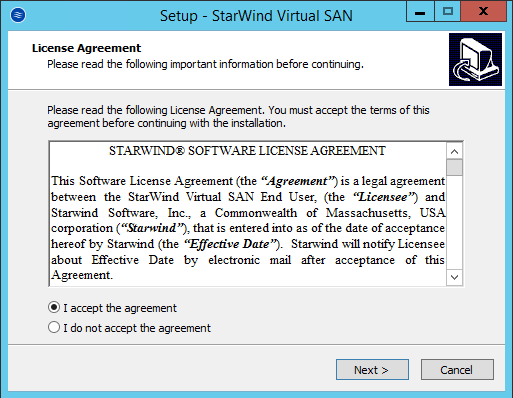
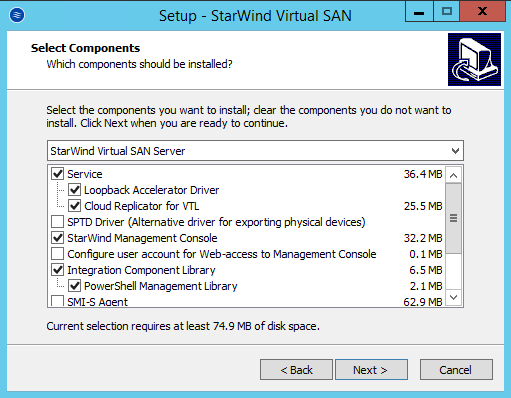
Here you can use the evaluation mode or free mode as well as point the installer to a license key.


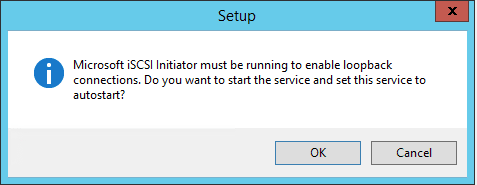
The installer will give you the notice about the Microsoft iSCSI Initiator service. It will start it and set it to Automatic.
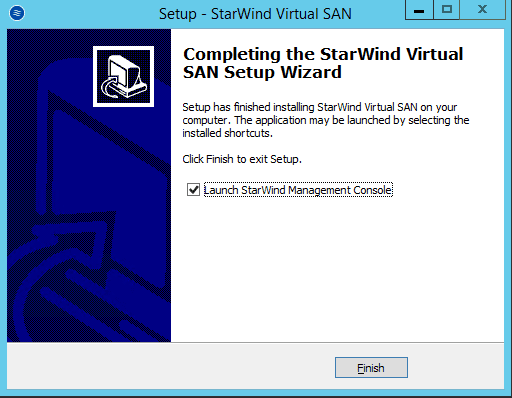
Next, we will be taken to the management console
Setting up StarWind Storage
I won’t show the basic steps here as most already are familiar with adding storage to a VM and provisioning in Windows. I have already taken the steps to add a secondary hard drive in the lab (200 GB) in this case to use as storage for the storage pool.
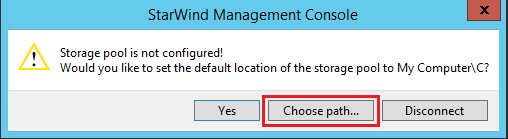
When you first launch the StarWind Management Console, you will prompted to choose the default location of the storage pool. As mentioned above, I have already setup a volume on the virtual machine. Click Choose path…
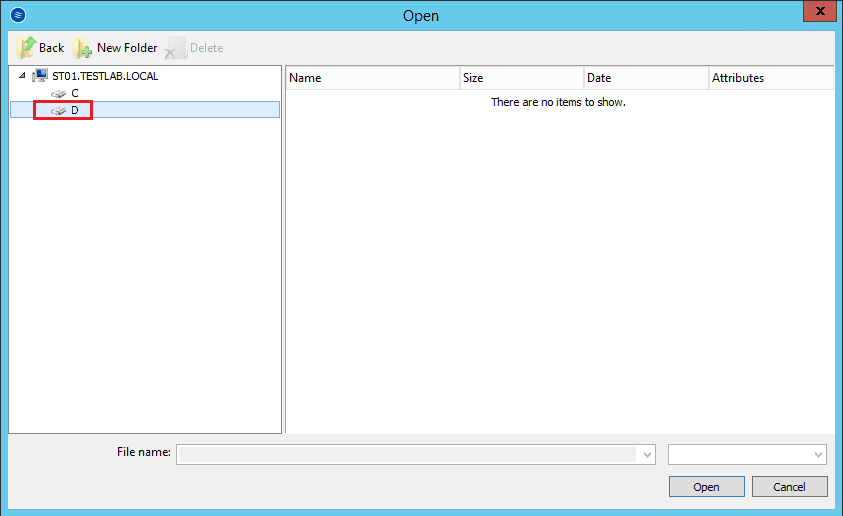
The D drive is where I want the storage pool configured.
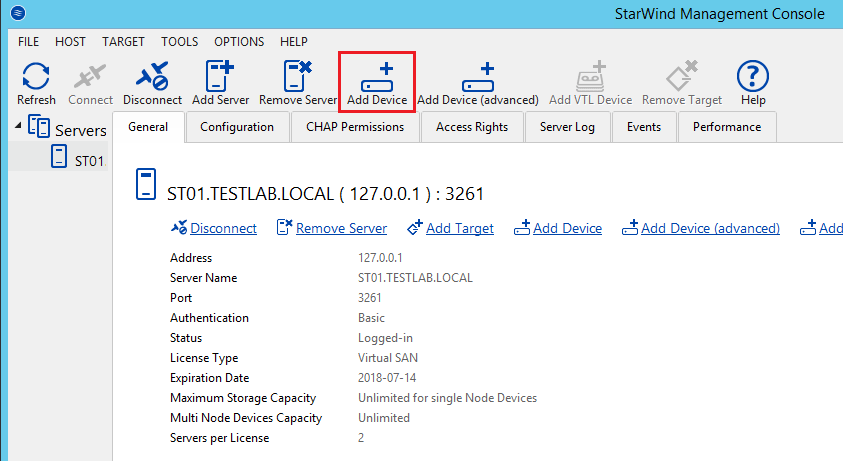
Now, we can start setting up our storage. Click the Add Device button at the top. To have more granular control you can click the Add Device (advanced) button as it will give you more options.
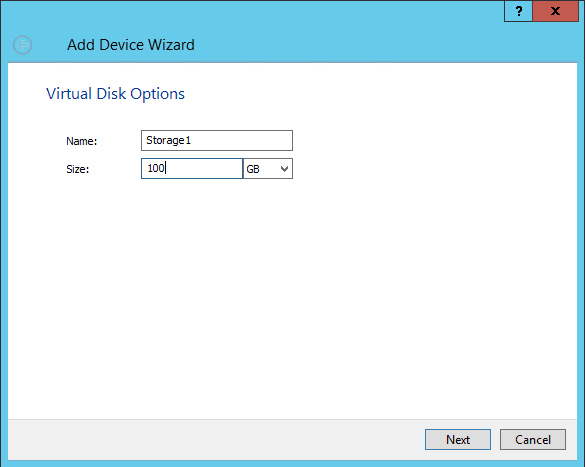
Below, we are provisioning our test datastore.
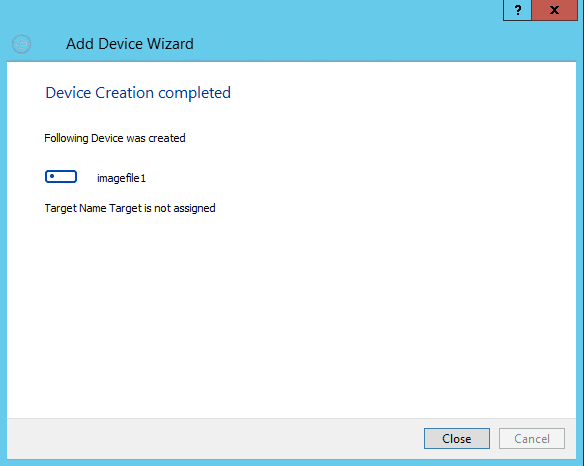
The creation page will show progress on the action once you click the Create button.

You should see a message confirming the device was created.
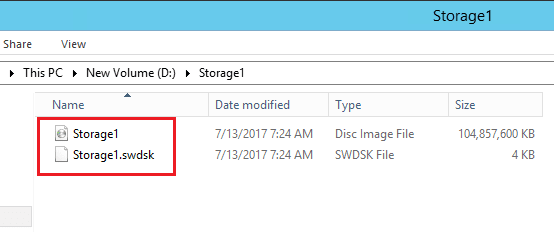
If we look out on our storage pool location we will see the new Storage1 disc image file located there.
Setting up StarWind Replication betwee nodes
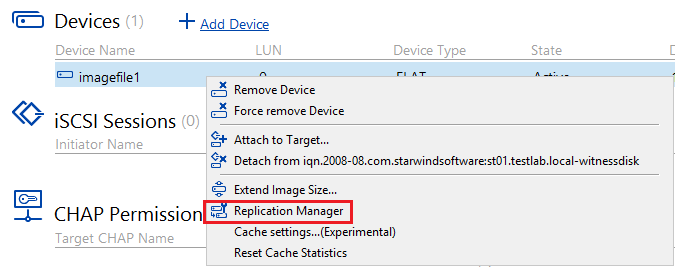
The next thing we want to do is setup replication from our initial node to our second node. You can get to this by right-clicking on the device name and selecting the Replication Manager option.
Choose the Click to add replication partner link.

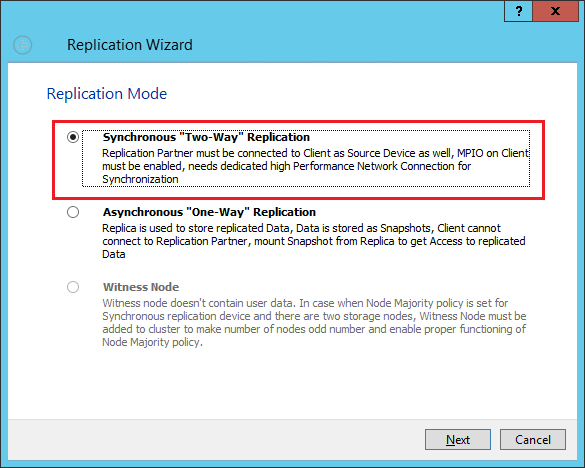
Here we will select the Synchronous “Two-Way” Replication option.
Supply the FQDN or IP address of the second node. Note at this point I have already gone through the steps shown above in getting the second StarWind node configured with storage pool, networking, etc.

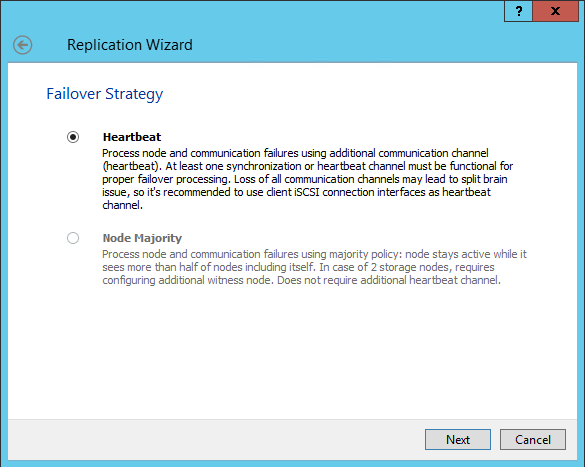
Failover method here we choose Heartbeat.
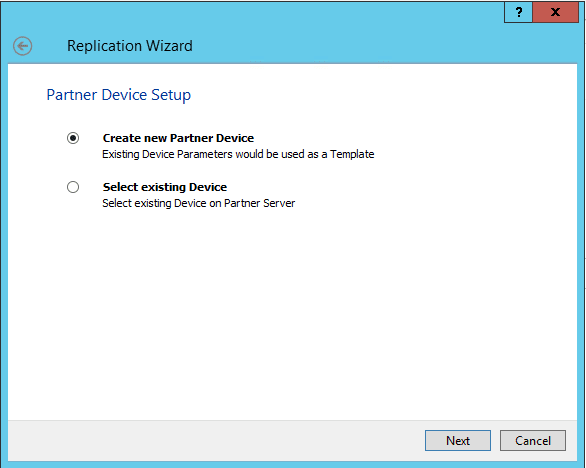
We select Create new Partner Device.
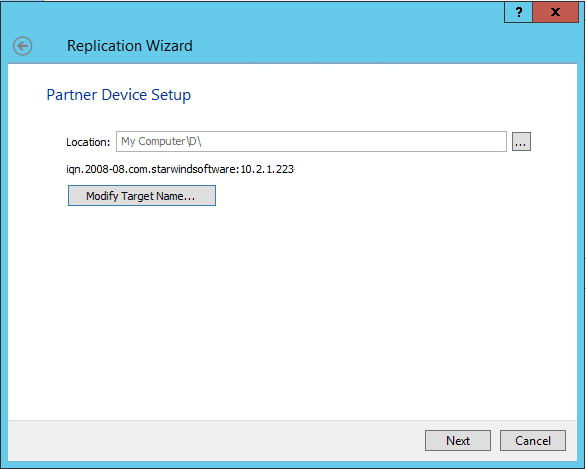
We select the location on the partner device. We can also modify the target name if we choose.
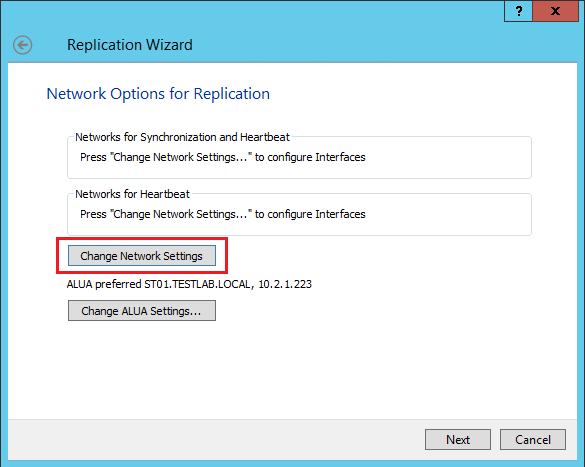
We need to click the Change Network Settings button to set our heartbeat and synchronization networks.
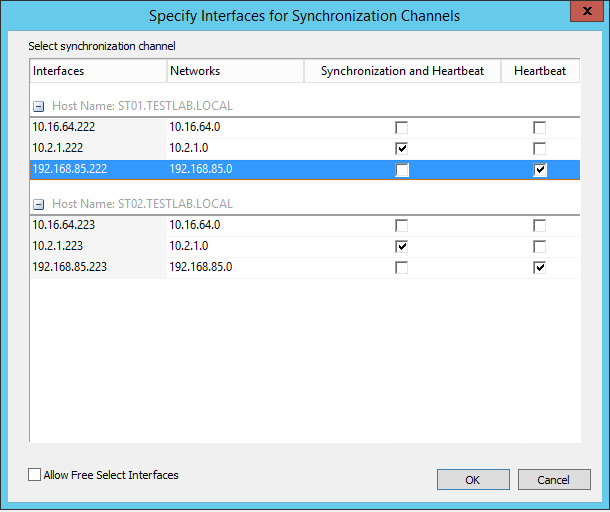
As you can see I had configured different subnets here for the each network adapter. Select the corresponding networks for the Synchronization and Heartbeat and Heartbeat options.
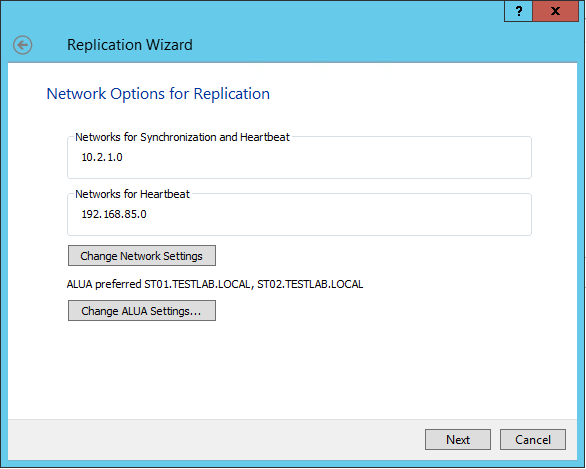
Our chosen networks are shown.
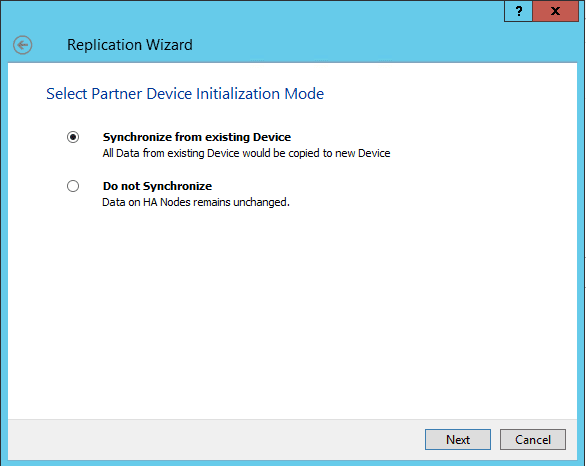
On the Select Partner Device Initialization Mode we select Synchronize from existing Device since we want all data from the existing device to be copied to our second node.
Ready to start replicating…

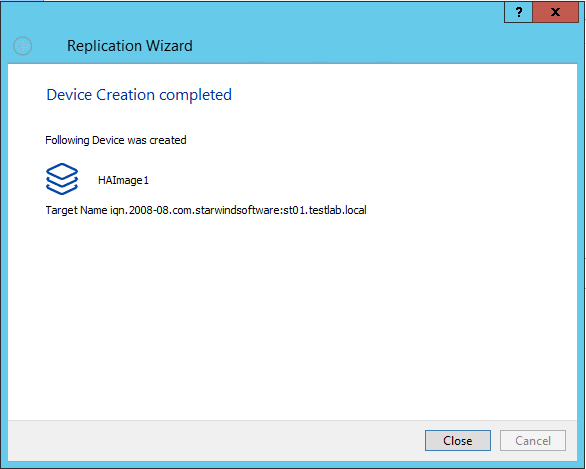
The Device creation on the second node completes and the synchronization process begins.
If we go back to the Replication manager we will see the progress of our synchronization process.

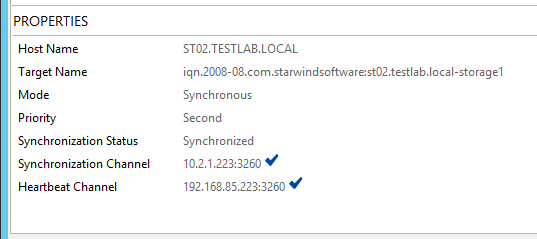
In my case it didn’t take very long to finish. You should see the Synchronization Status of Synchronized.
Adding Datastore to VMware
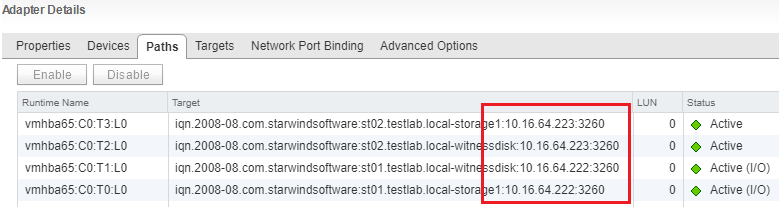
The final step in the process is to add the datastore to our VMware ESXi hosts. Below I have added the two iSCSI IP addresses of my two StarWind VMs to the targets of my iSCSI adapter in ESXi.
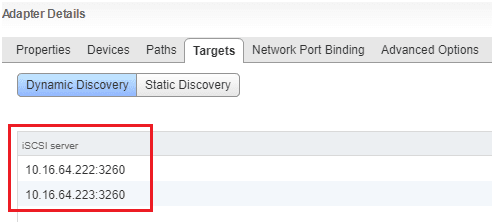
Notice, we see the Paths including the IPs for both StarWind hosts.
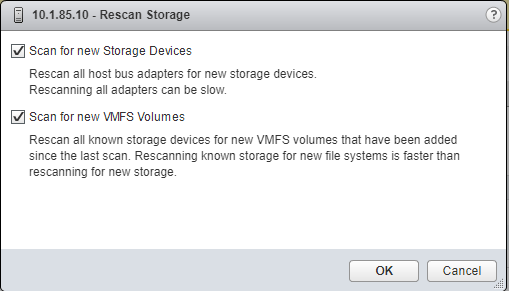
We need to rescan our storage.
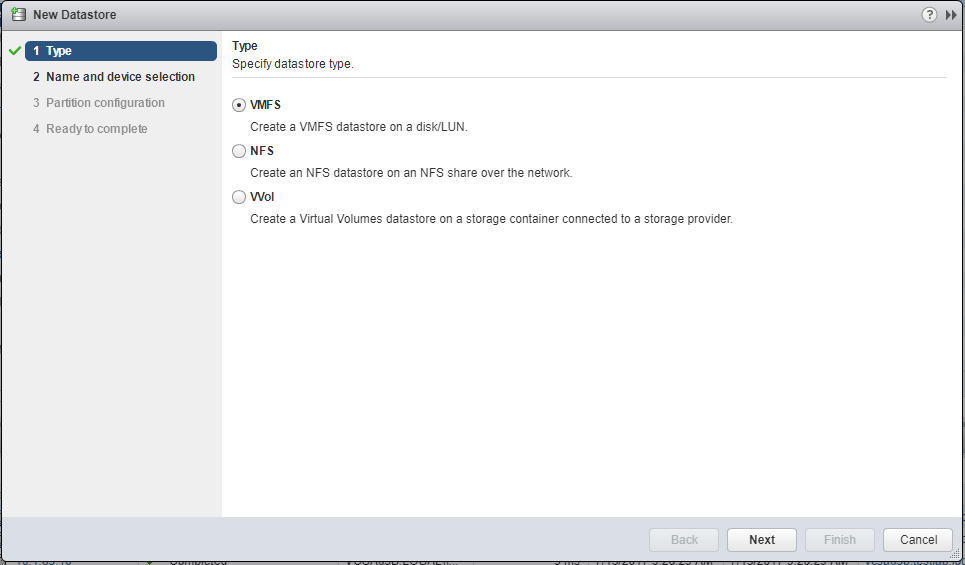
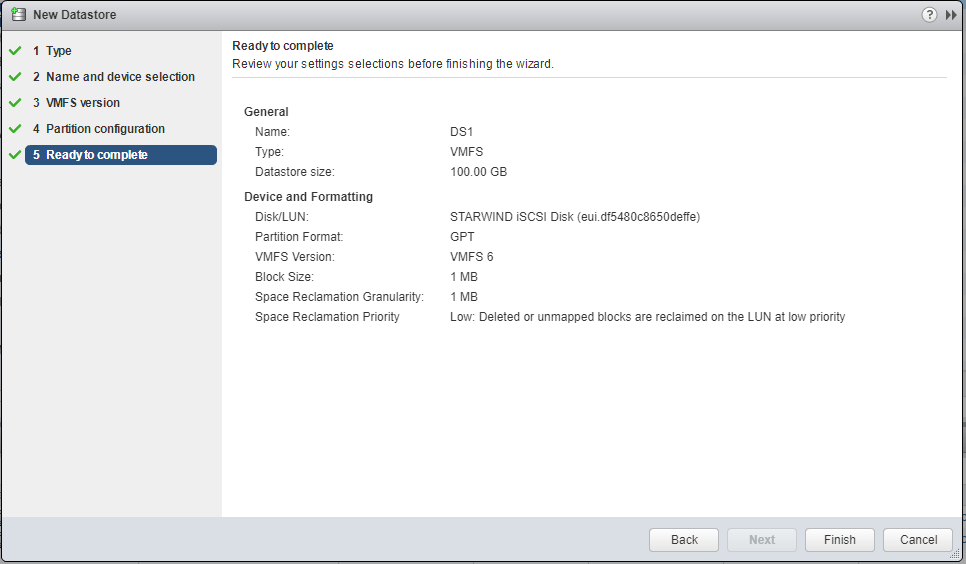
Now, we can add our VMFS datastore.
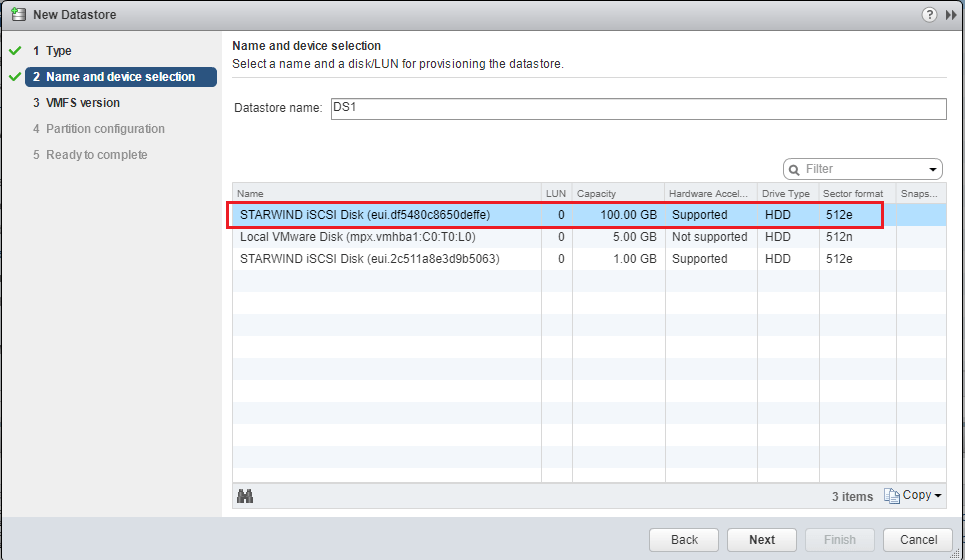
Skipping a few screens here, but we are able to successfully add our datastore.
VMware additional tweaks
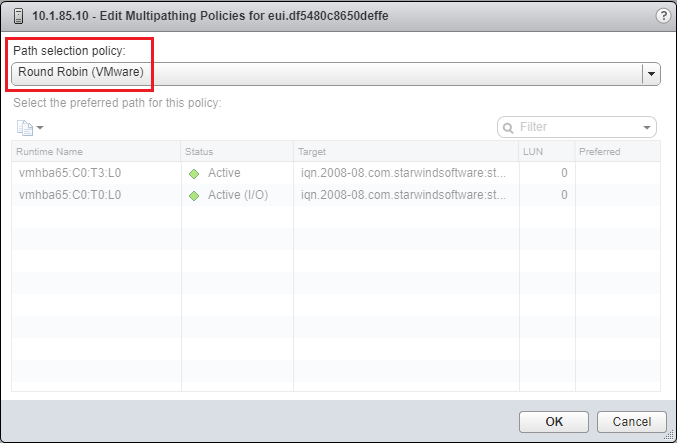
The following are additional tweaks recommended by StarWind for VMware.
Change to Round Robin path selection policy
SSH into you hosts and for each StarWind Datastore adjust the Round Robin size.
For devices adjust Round Robin size from 1000 to 1 using following cmdlet:
esxcli storage nmp psp roundrobin deviceconfig set –type=iops –iops=1 –device=
Change Disk Advanced Settings for Host
Under the hosts Advanced Settings select Disk and change Disk.DiskMaxIOSize option to 512
Thoughts
Setting up the StarWind Two Node VMware Hyperconverged VSAN was fairly straightforward. I found the process to be mostly intuitive and StarWind has good documentation on their site for configuring the virtual SAN configuration for various hypervisors. Check out StarWind’s virtual SAN and take it for a test drive in your environment.
Google is updating how articles are shown. Don’t miss our leading home lab and tech content, written by humans, by setting Virtualization Howto as a preferred source.
About The Author