In building my most recent VMware lab inside of VMware workstation, I wanted to deploy the VCSA 6.0 with Embedded Platform Services Controller and step you guys through the process along with a few issues and gotchas along the way. First things first though, you will need to download the VCSA appliance from VMware. A departure from previous appliances from VMware, this appliance is in the form of an ISO file which you mount on your workstation or burn to media – however you would prefer.
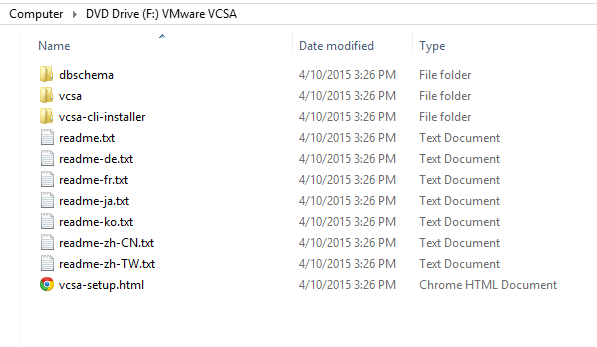
- After mounting, the contents will look like the below
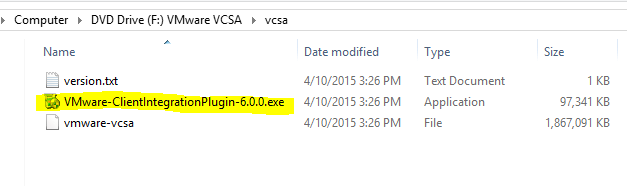
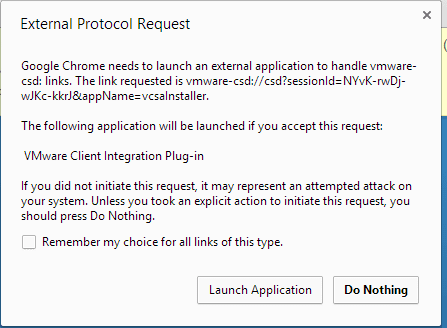
- You will receive a notice about needing to install the client integration Plugin 6.0 which is what actually allows the deployment of the appliance.
![]()
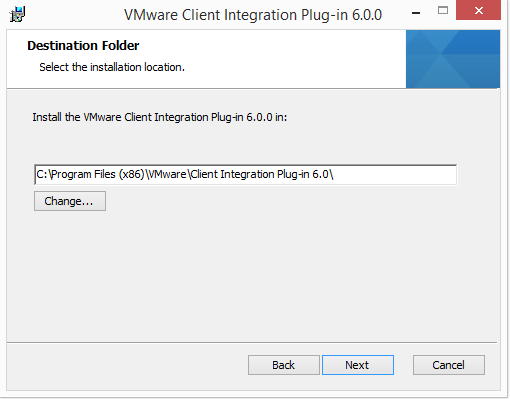
- Navigate to your mounted media and then the vcsa folder and run the VMware-Client
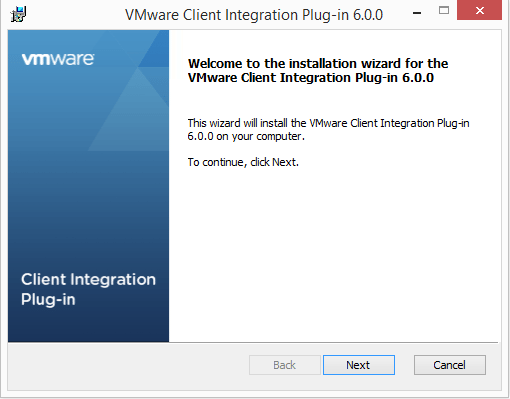
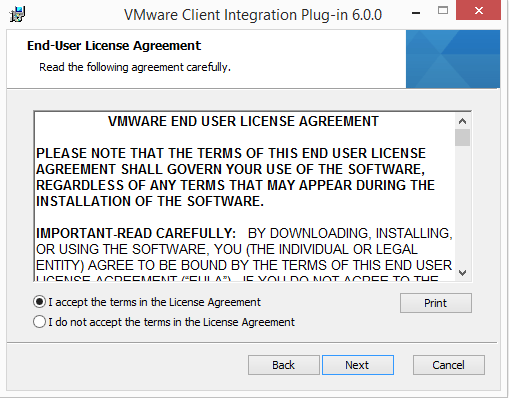
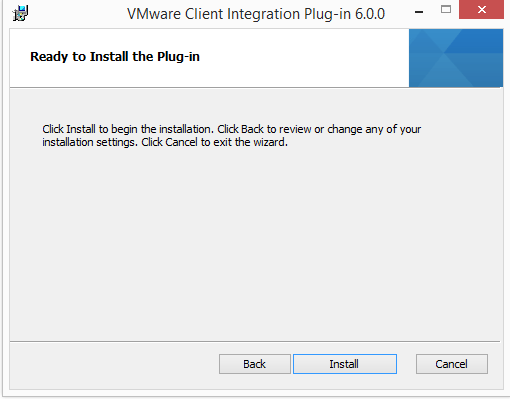
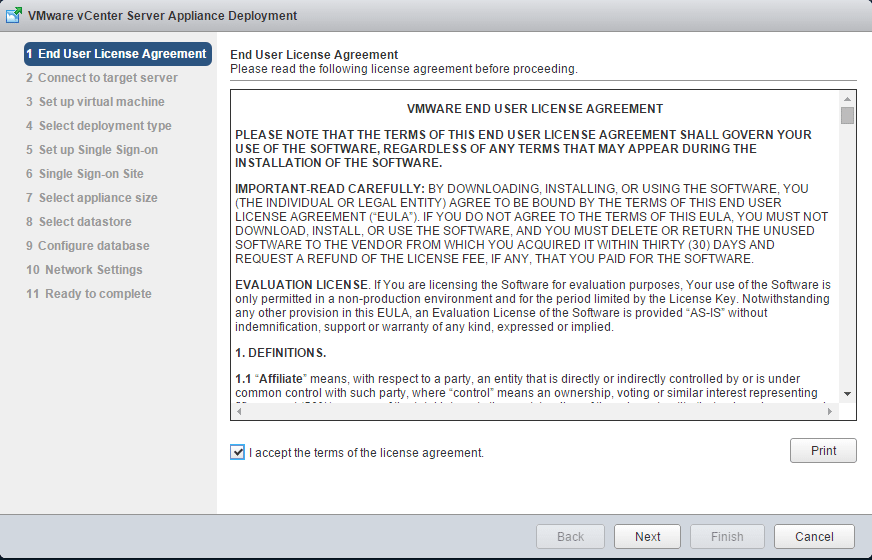
- The install wizard begins….simply step through the installer at this point.
- After rerunning the vcsa setup you should get prompted to run the plugin.
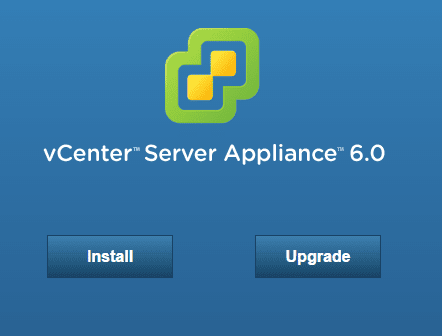
- Click the Install option
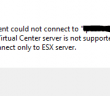
- Here you will enter the FQDN or IP Address and the username/password to connect to the specific ESXi host that will be used to initially deploy the VCSA appliance.
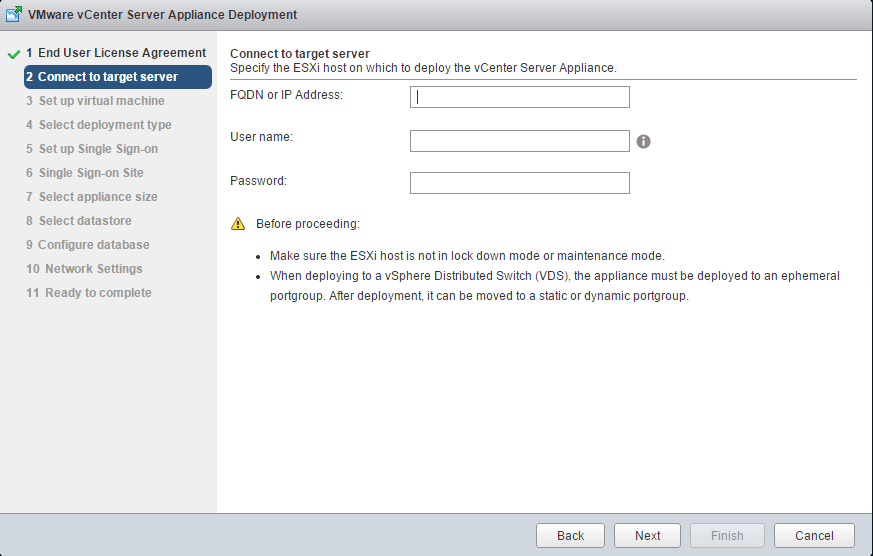
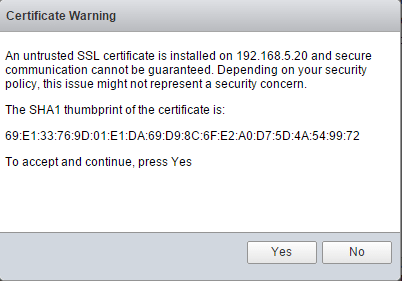
- Accept the certificate thumbprint
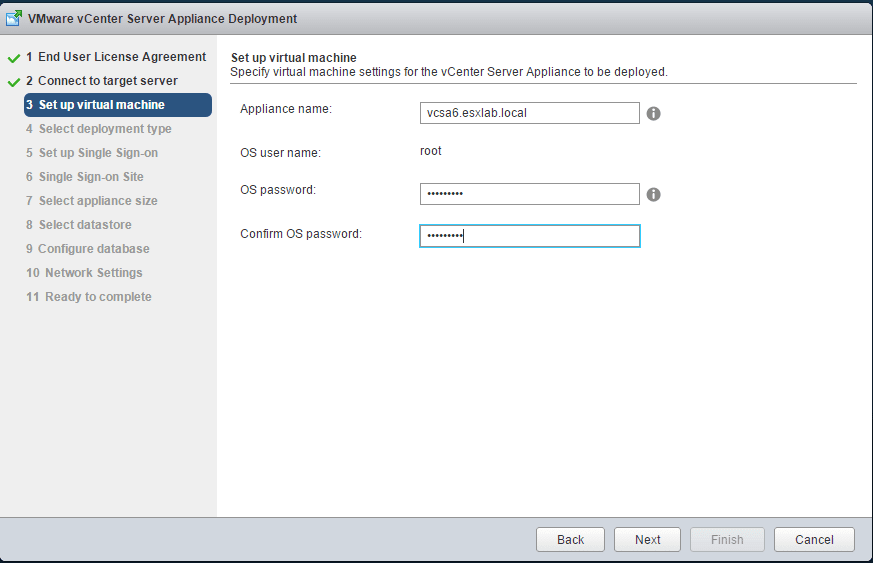
- Here we name the appliance (the name that shows up in vSphere) as well as set the password for the appliance.
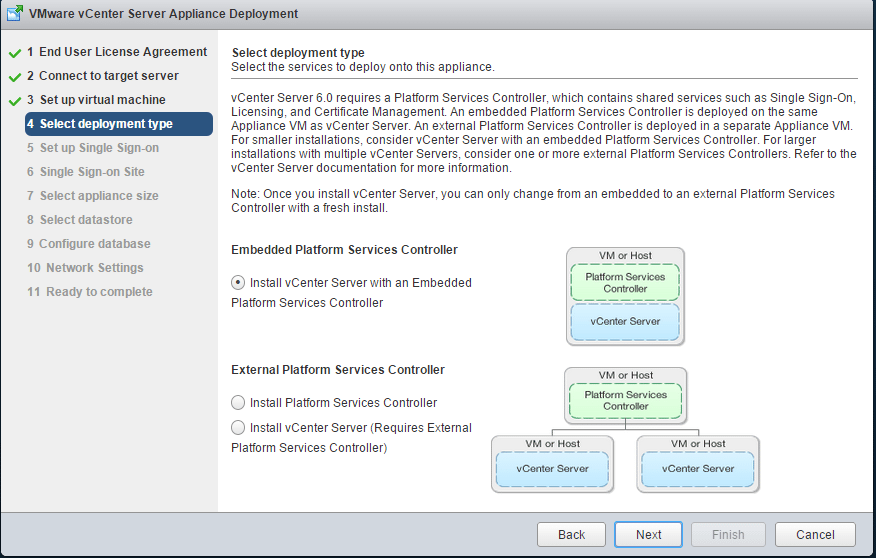
- There are a couple of choices on the deployment type – Embedded Platform Services Controller and External Platform Services Controller
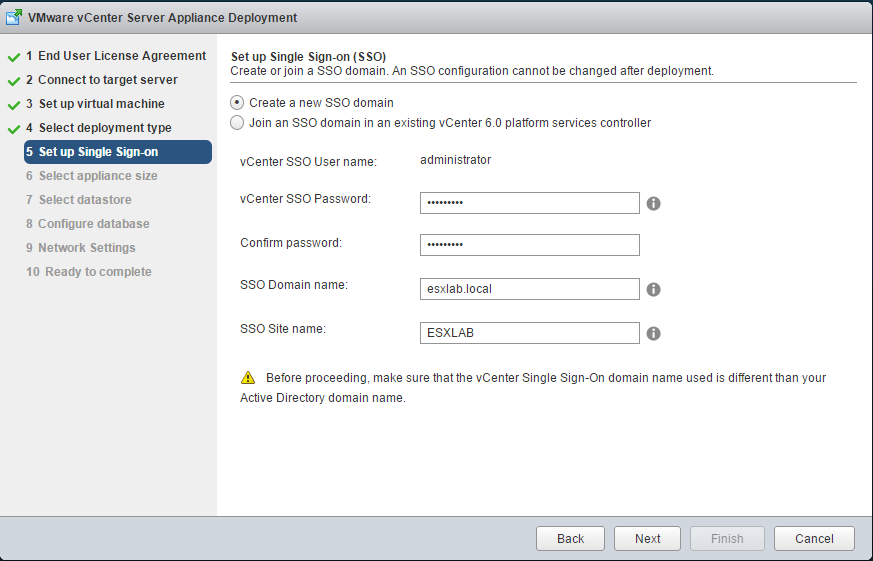
- On the next screen we setup the single sign-on domain information (SSO) as well as password information
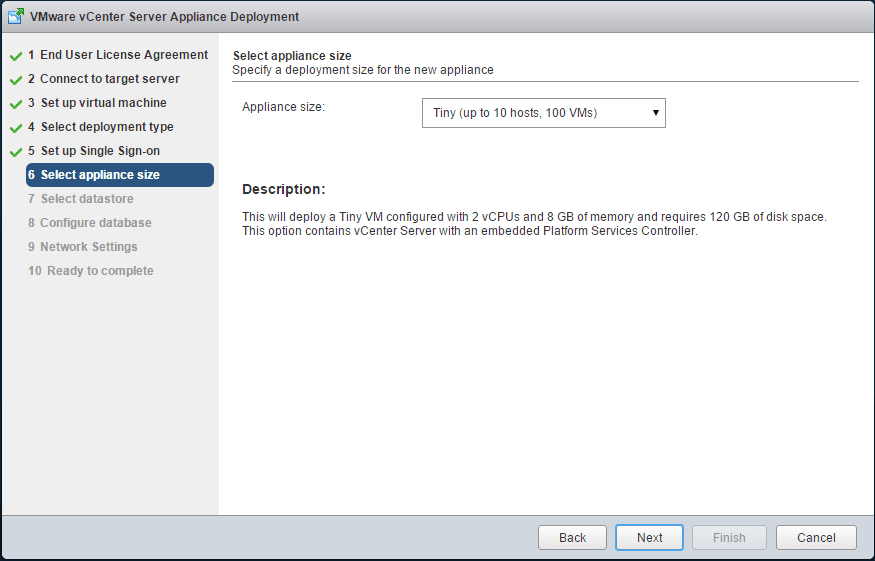
- Next we can choose the appliance size. Notice that even in the tiny configuration, it can support up to 10 hosts and 100 VMs which no doubt covers most of the environments out there and for sure is fine for our lab environment.
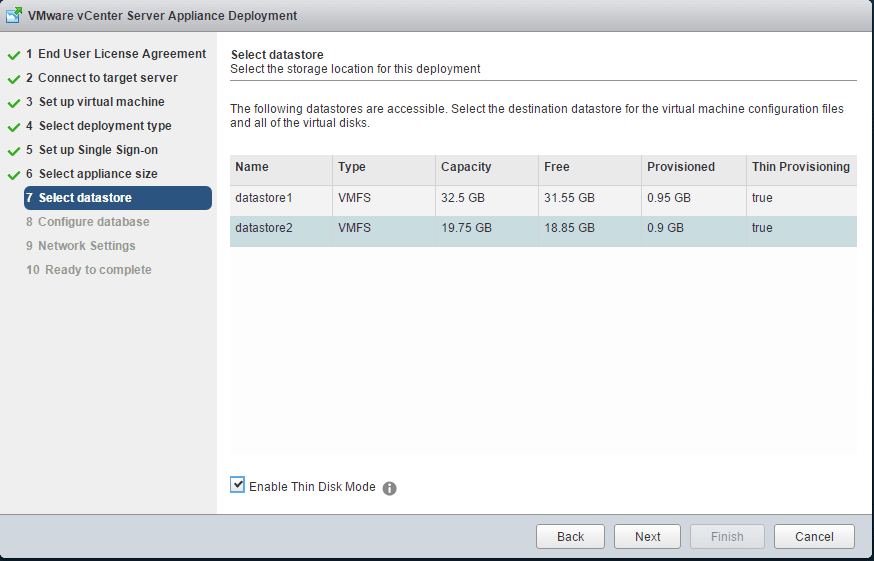
- Choose the datastore destination for the appliance
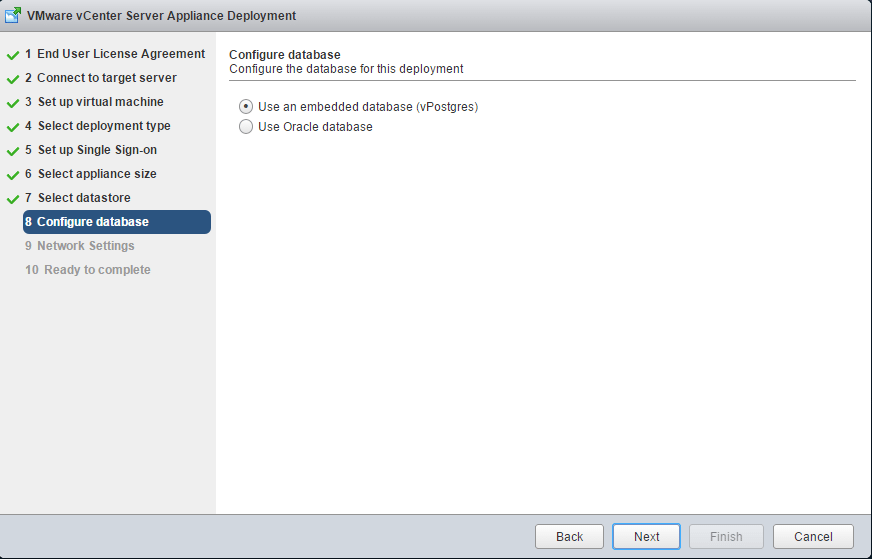
- I chose Postgres DB since we are using the all in one solution
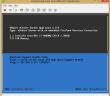
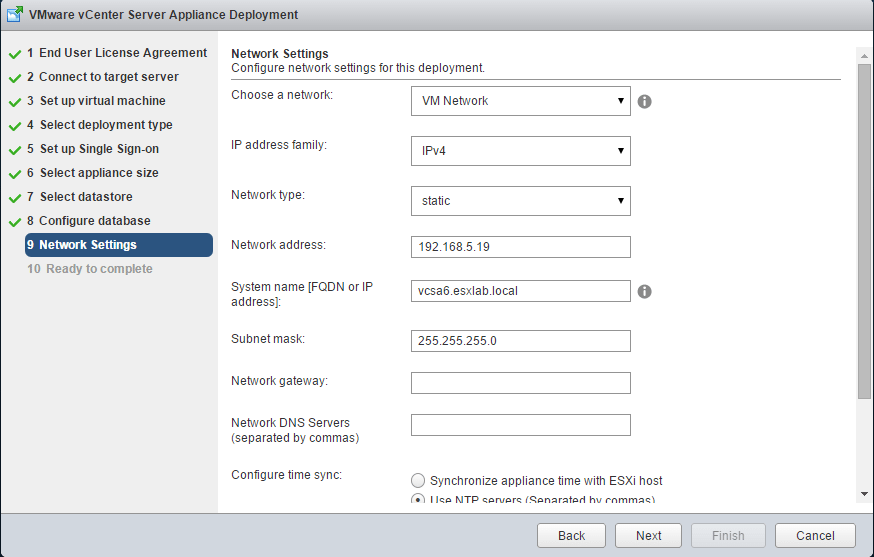
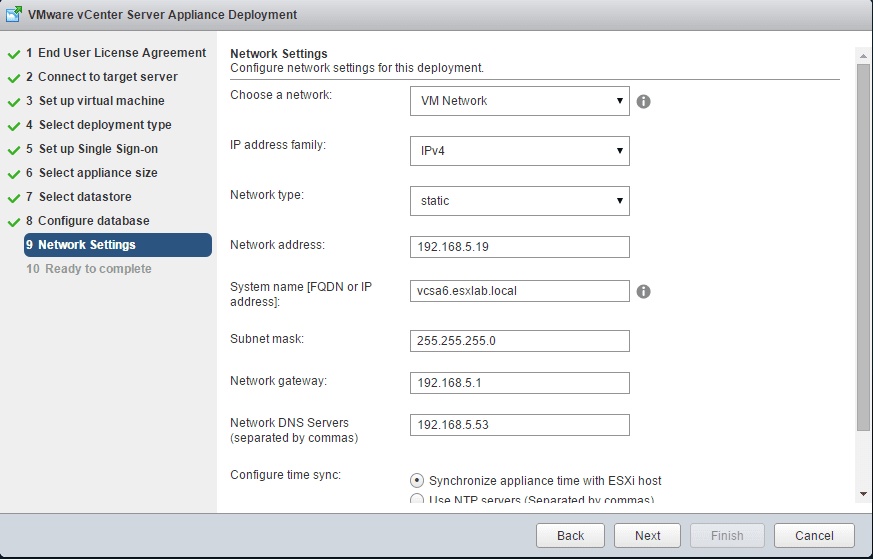
- The next screen is critical to the appliance functioning correctly. Specifically, you need to make sure that the FQDN for the appliance is in your DNS (whether LAB or production) and resolves correctly for the appliance to start all the services correctly. See the post here about setting up a lightweight DNS server for name resolution in lab scenarios.
- I had a failed install the first time through this in my lab environment because of DNS hostname resolution failures on the appliance when it tried to startup services
- Do yourself a favor and make sure you have your infrastructure pieces in place BEFORE you attempt to install your VCSA appliance
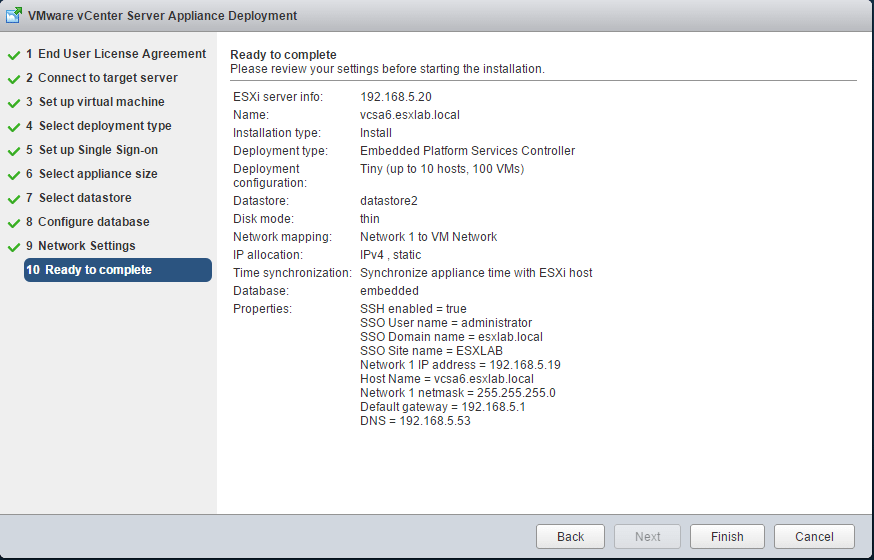
- Finally, you should see a summary of your choices
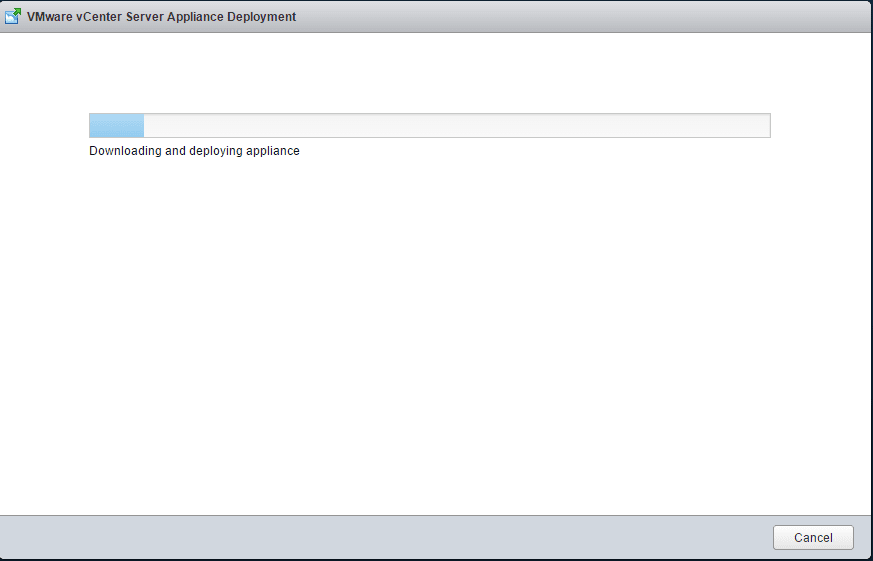
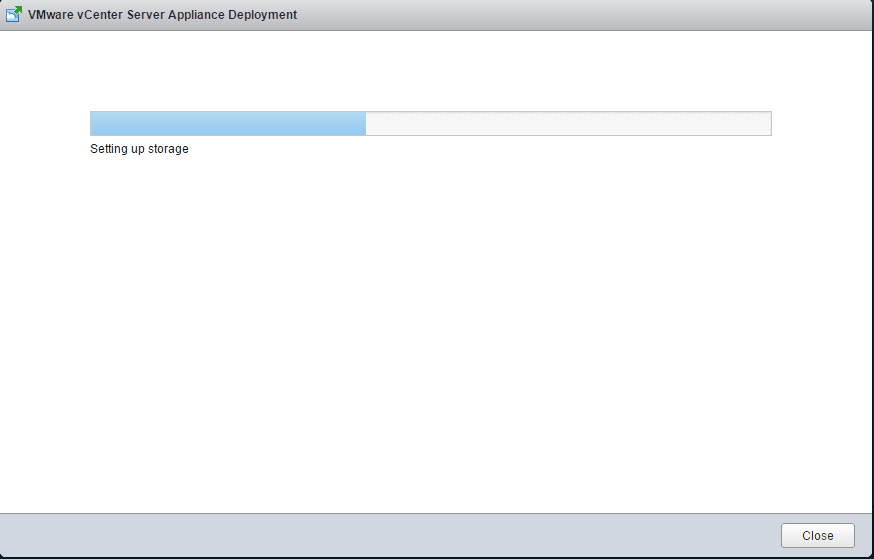
- Deployment now begins – this will take some time.
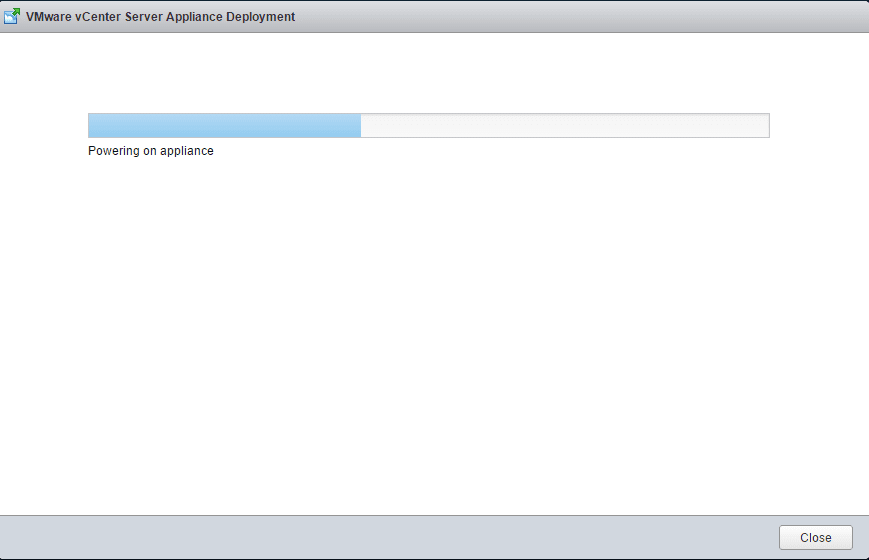

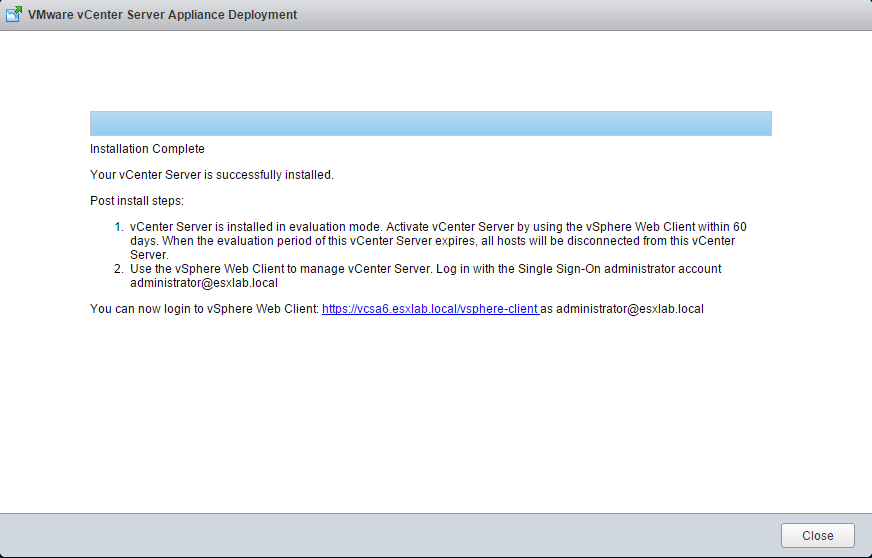
- You should finally get the notification that the install has successfully completed

Add as a preferred source on Google
Google is updating how articles are shown. Don’t miss our leading home lab and tech content, written by humans, by setting Virtualization Howto as a preferred source.
About The Author