
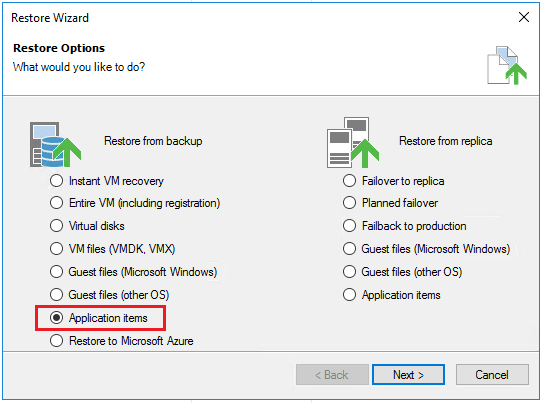
When thinking about DR, Active Directory backup and restoration is CRITICAL! Period! If you can restore all of your important SQL servers, Sharepoint, Exchange, exactly as they were in production at the block level, but cannot start services because AD is hosed or non existent, for the purposes of getting the business back up and running, you are just as “down” as you were without your critical servers up and running. Veeam Backup and Replication 9.5 with the Explorer for Active Directory which is also free provides a powerful way to backup and restore your Active Directory environment. Let’s look at how to with Veeam restore Windows Server 2016 Active Directory Objects.
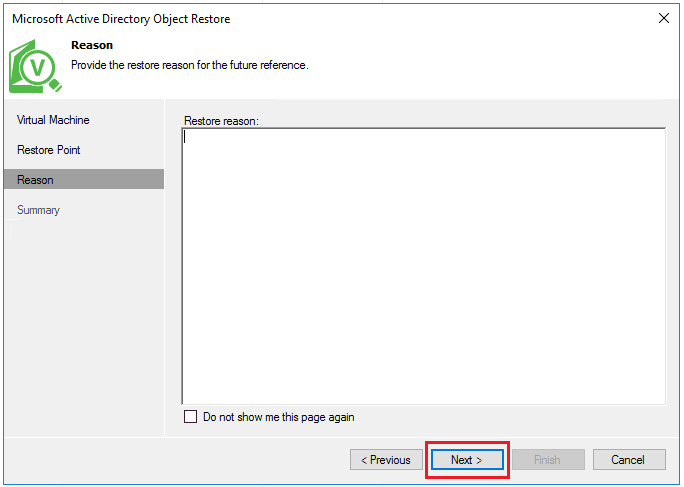
Putting our DR hats on for a minute, lets say we need to restore an important service account. Also, it is a member of many different groups. We may not know all the groups the account is a member of. How do we restore this object with all the attributes, memberships, etc, intact? Let’s see how to use Veeam Backup and Replication 9.5 to do this.
Veeam Restore Windows Server 2016 Active Directory Objects
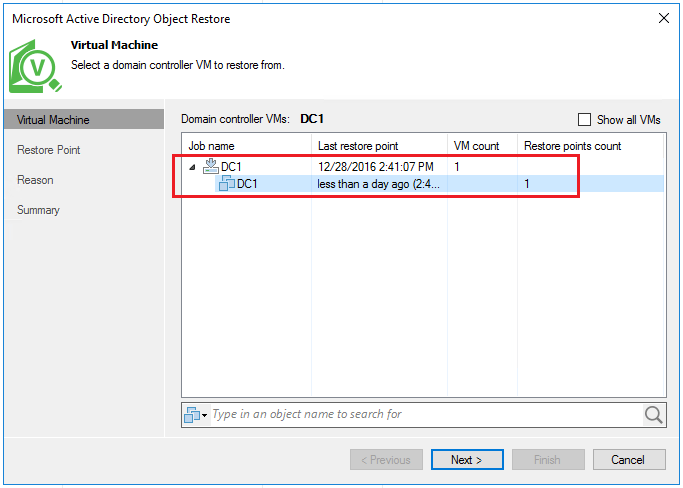
As mentioned above, for this lab scenario, I am using Veeam Backup and Replication 9.5. The AD environment is a simple single domain controller running Windows Server 2016.
I performed an application aware backup of the domain controller. In going to the restore process in Veeam, we can then choose to restore application items.
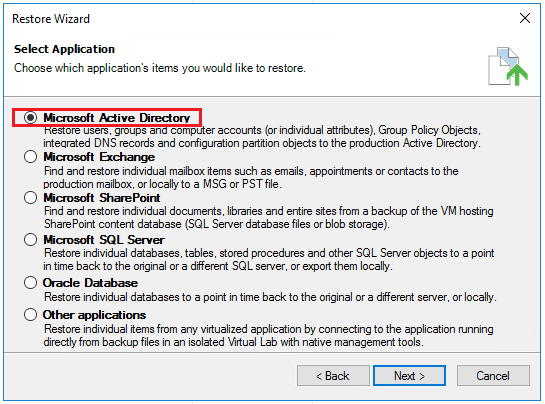
The application aware backup picks up on the fact the VM has an Active Directory database. So, in the restore, we can choose Microsoft Active Directory as the application to restore.
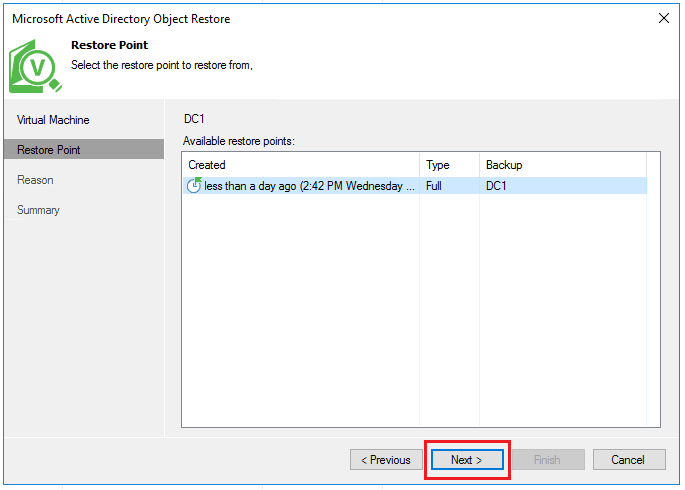
Choose the restore point that we wish to choose Active Directory objects from.
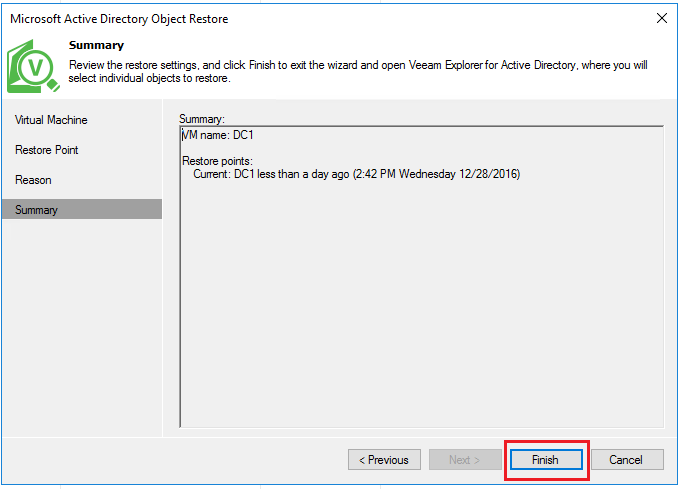
The Veeam Explorer for Microsoft Active Directory launches and the restore point/database mount of Active Directory begins.

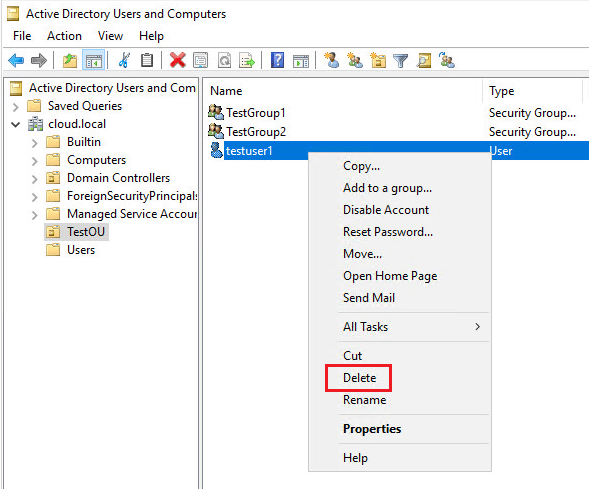
As the Explorer is launching, let’s do something drastic to see how the Veeam restore of AD objects works. I have a TestOU setup with a testuser1 account and a couple of groups – TestGroup1 and TestGroup2. I deleted the testuser1 account.
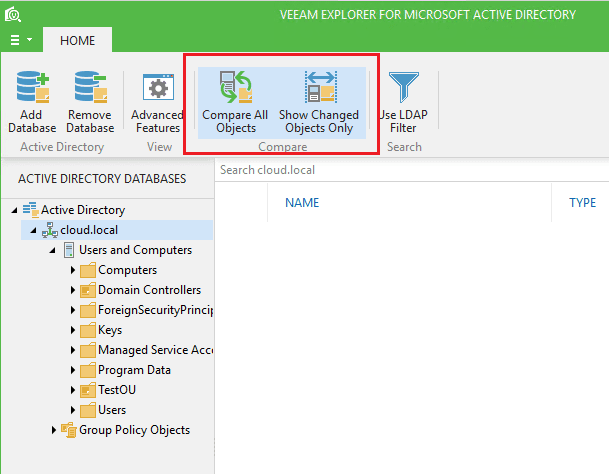
A really nice feature of the Veeam Explorer for Microsoft Active Directory are the Compare All Objects and Show Changed Objects Only functions. These do what they sound like they do. This is nice as it cuts through the noise of unchanged objects and only shows ones that have changed.
As you can see below, when we look into the TestOU, we see that our testuser1 account shows Tombstone which means it has been deleted. Also, the TestGroup1 and TestGroup2 groups show changed because the membership (testuser1 account) has been changed since the user was deleted.
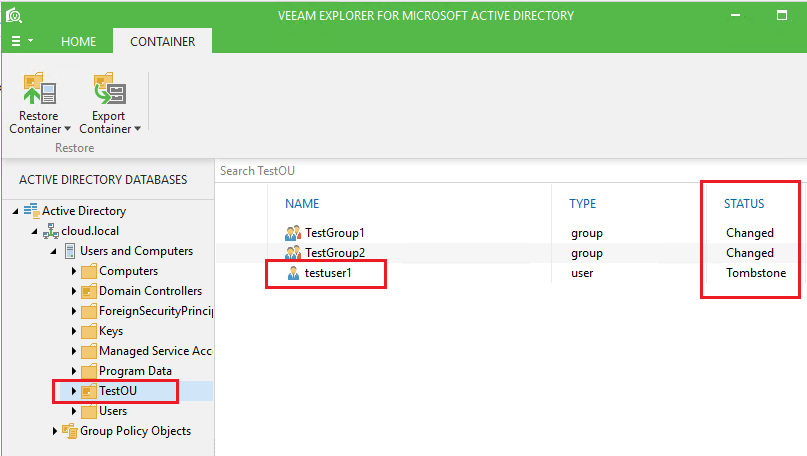
Notice in TestGroup1, we indeed now have no members.

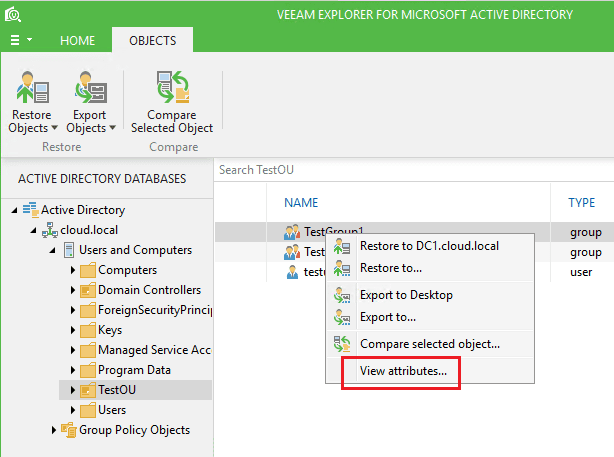
Looking at the View attributes function in the Explorer, we can check TestGroup1 to see the attributes that were backed up.
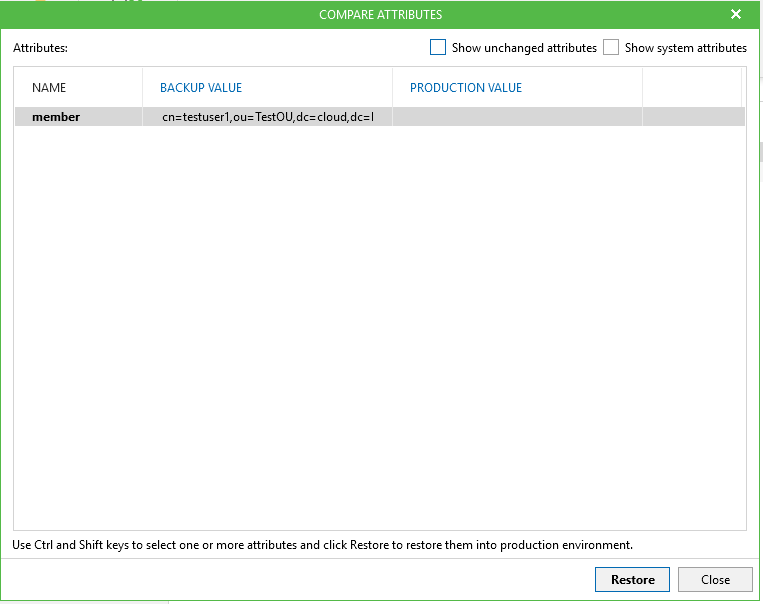
We see that the backup knows that it had a member – testuser1.
A restore of the object is as simple as right clicking on the object and then selecting to Restore to <your dc> or the Restore to… function which allows you to choose the LDAP server you wish to connect to.

The restore process begins.
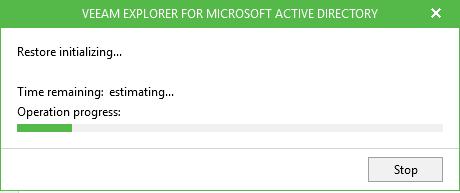
In a couple of seconds it finishes.
Notice also once the restore completes, Veeam has successfully restored the group memberships as well. This is important as you not only want to be able to restore an object, but also restore all other attributes and memberships of that object for successful reanimation.

Deleting an OU
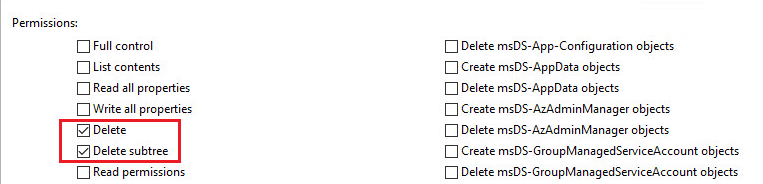
Let’s take it up a notch and do something even more drastic. By default or normally when you create an OU, you have the message to allow to protect from accidental deletion. When you set this, the permissions for Everyone has a DENY permission set on the Delete and Delete subtree permissions. Let’s unset this.
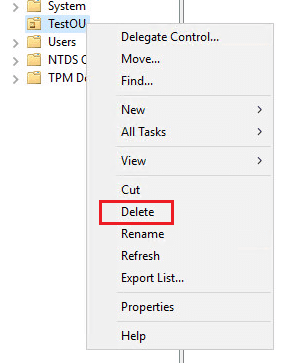
Now, let’s delete it!
We have a warning that pops up and basically pleads with you – do you understand what you are about to do?
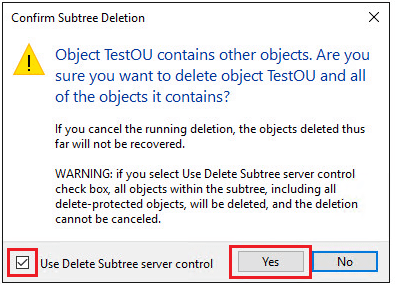
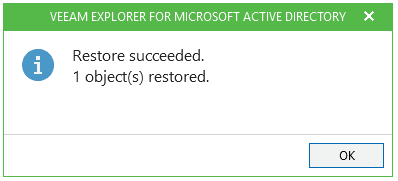
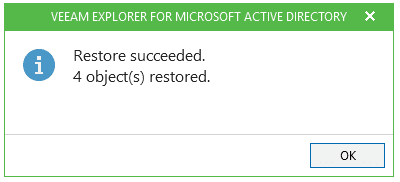
So I clicked Yes and deleted the whole OU with the two groups and testuser1 account. Let’s go back to Veeam and see how well a container and objects get restored.
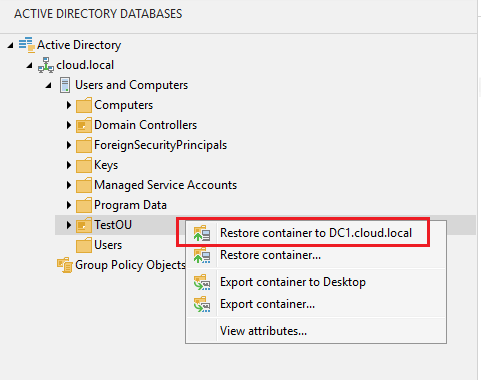
All 4 objects show to have been restored.
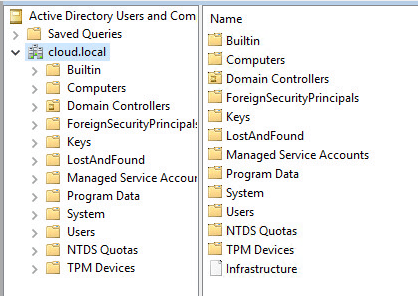
This is a picture of before we restored the objects back.
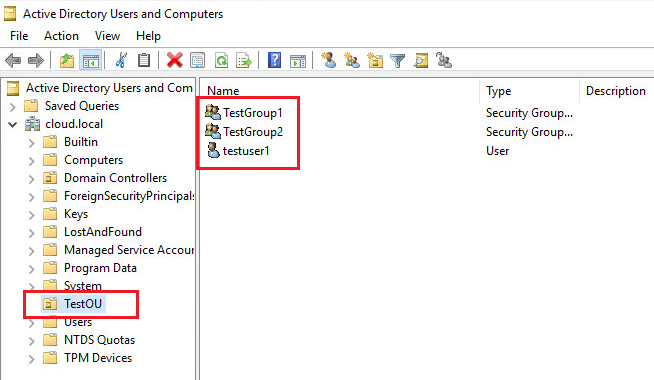
After the Veeam AD restore, we have the OU, both groups, and the testuser1 account.
Thoughts
The Veeam Active Directory restore is slick. I ran into no issues with the Veeam Restore Windows Server 2016 Active Directory Objects. All objects were restored including attributes and group memberships. In thinking about disaster recovery Active Directory often gets forgotten. We tend to think first about the important SQL servers, email servers, file servers, but then forget that the domain and domain authentication is equally important.
Google is updating how articles are shown. Don’t miss our leading home lab and tech content, written by humans, by setting Virtualization Howto as a preferred source.
About The Author