If you have spent any time at all in building out your home lab, one of the first things you try to decide how to do is remotely access your environment. Remote access can get pretty messy and fast. You usually start with remote access that is simple, opening up your SSH port to a machine, maybe even using a non-standard port. You may setup a reverse proxy for a couple of dashboards or rely on VPN to get inside your network. Then the environment grows with more services, clusters, and a lot more moving parts. Before you know it you are juggling multiple access methods, credentials and exposed entry points. I had been putting it off, but decided to get Guacamole up and running in the home lab and should have done it sooner.
What is Guacamole?
Apache Guacamole is a clientless remote access gateway that lets you connect to systems through a web browser. The cool thing about this is you can do it without installing any additional software. Instead of using separate tools for SSH, RDP, or VNC, Guacamole allows you to have a single interface where you can access all of your servers and desktops in one place.
At a high level, it allows you to do the following:
- Connect to Linux systems using SSH
- Access Windows machines using RDP
- Open VNC sessions for other systems
- Manage connections from a single web UI
- Avoid exposing multiple ports and services externally
Because everything runs through the browser, Guacamole acts like a modern jump host or bastion server for the home lab that gives you a secure entry point into your environment.
How to install Guacamole
The first step before we actually work with the Docker compose code is to get the directories in place. To do that, use the following commands:
mkdir -p ${HOME}/docker-stack/guacamole/init
mkdir -p ${HOME}/docker-stack/guacamole/postgres-data
cd ${HOME}/docker-stack/guacamole
Next, we want to generate the database schema before the first startup. The reason you generate initdb.sql first is because Postgres only processes files in /docker-entrypoint-initdb.d/ during the first initialization of the database volume. If the database has already been created and you add the file later, it will not automatically run. That is why people end up doing one-off import commands if they miss this step the first time. You need to run the following command before bringing up your docker compose:
docker run --rm guacamole/guacamole:latest /opt/guacamole/bin/initdb.sh --postgresql > ./init/initdb.sqlWe also need a .env file for the Docker Compose code. We can create that manually and edit, or you can do a single command line command while replacing the passwords with what you want them to be.
cat > .env <<EOF
POSTGRES_USERNAME=guacamole
POSTGRES_PASSWORD=SuperSecurePassword123
EOF
Create the docker-compose.yml file. The compose code below mounts the init SQL file directly.
services:
  guacd:
    container_name: guacamole_be
    image: guacamole/guacd:latest
    restart: always
    volumes:
      - /home/linuxadmin/homelabservices/guacamole/drive:/drive:rw
      - /home/linuxadmin/homelabservices/guacamole/recordings:/var/lib/guacamole/recordings:rw

  postgres:
    container_name: guacamole_db
    image: postgres:latest
    restart: always
    environment:
      PGDATA: /var/lib/postgresql/data/guacamole
      POSTGRES_DB: guacamole_db
      POSTGRES_USERNAME: ${POSTGRES_USERNAME}
      POSTGRES_PASSWORD: ${POSTGRES_PASSWORD}
    volumes:
      - /home/linuxadmin/homelabservices/guacamole/postgres-data:/var/lib/postgresql/data:rw
      - /home/linuxadmin/homelabservices/guacamole/initdb.sql:/docker-entrypoint-initdb.d/initdb.sql:ro

  guacamole:
    container_name: guacamole_ui
    image: guacamole/guacamole:latest
    restart: always
    depends_on:
      - guacd
      - postgres
    environment:
      GUACD_HOSTNAME: guacd
      POSTGRESQL_HOSTNAME: postgres
      POSTGRESQL_DATABASE: guacamole_db
      POSTGRESQL_USERNAME: ${POSTGRES_USERNAME}
      POSTGRESQL_PASSWORD: ${POSTGRES_PASSWORD}
      POSTGRESQL_AUTO_CREATE_ACCOUNTS: true
      TOTP_ENABLED: "true"
    ports:
      - 8090:8080
    volumes:
      - /home/linuxadmin/homelabservices/guacamole/drive:/drive:rw
      - /home/linuxadmin/homelabservices/guacamole/recordings:/var/lib/guacamole/recordings:rw
Finally, we start the stack
docker compose up -d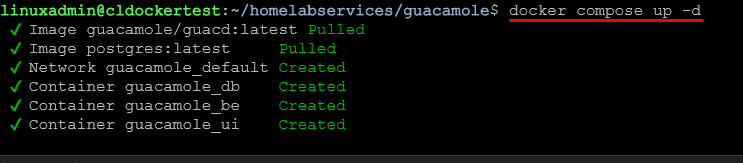
You can also make sure the services come up and are running with the command:
docker compose ps
Browsing and opening your Guacamole server
Once the containers are up and running, you can browse out to the host and port for the service that you defined in your Docker Compose code. For instance, in the example code above, we defined port 8080.
http://your-server-ip:8080/guacamoleAnd then log in with:
guacadmin
guacadmin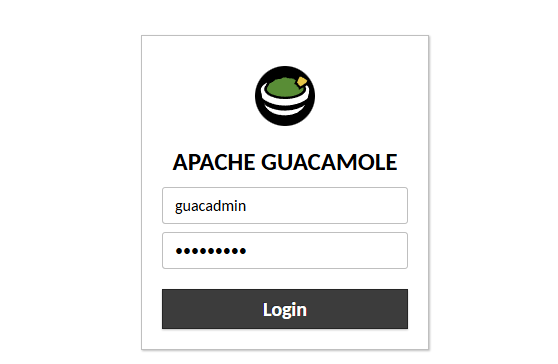
Adding connections
Let’s now look at adding connections to your Guacamole server. You can do that under the Settings cog that is found in your admin profile:

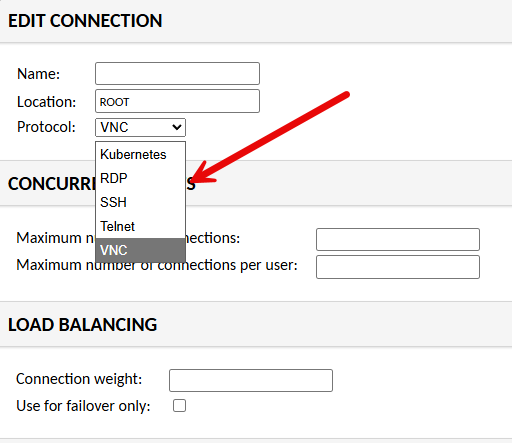
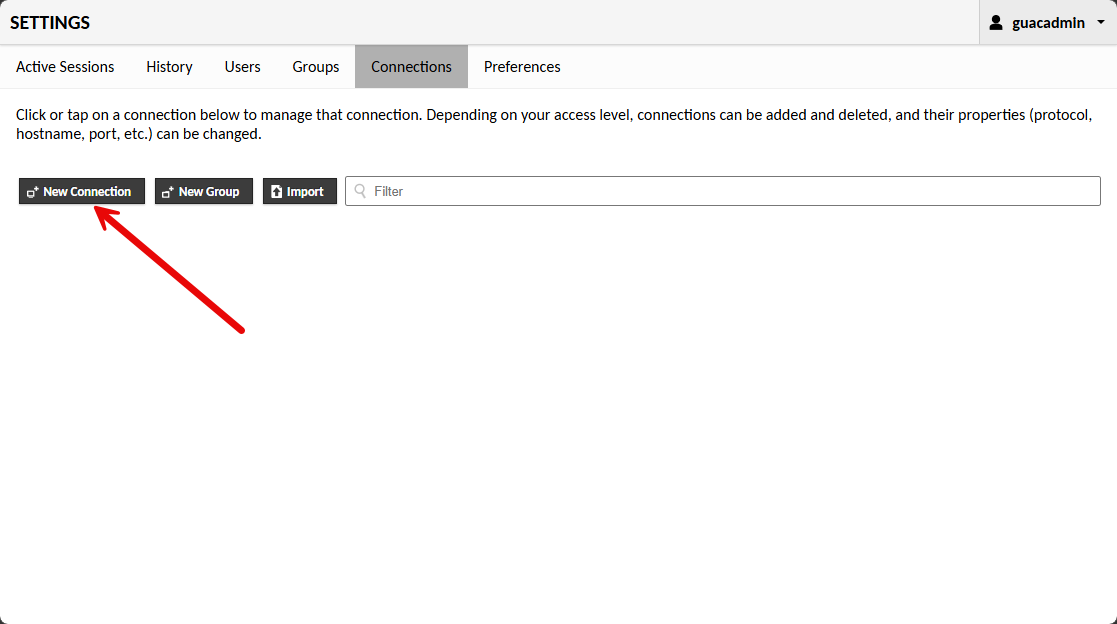
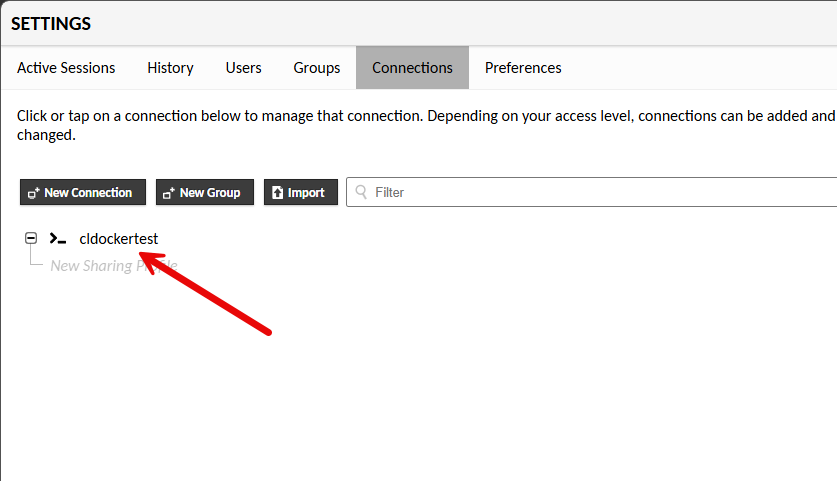
Once you are in the administrator settings, click the Connections tab. Then click New Connection.
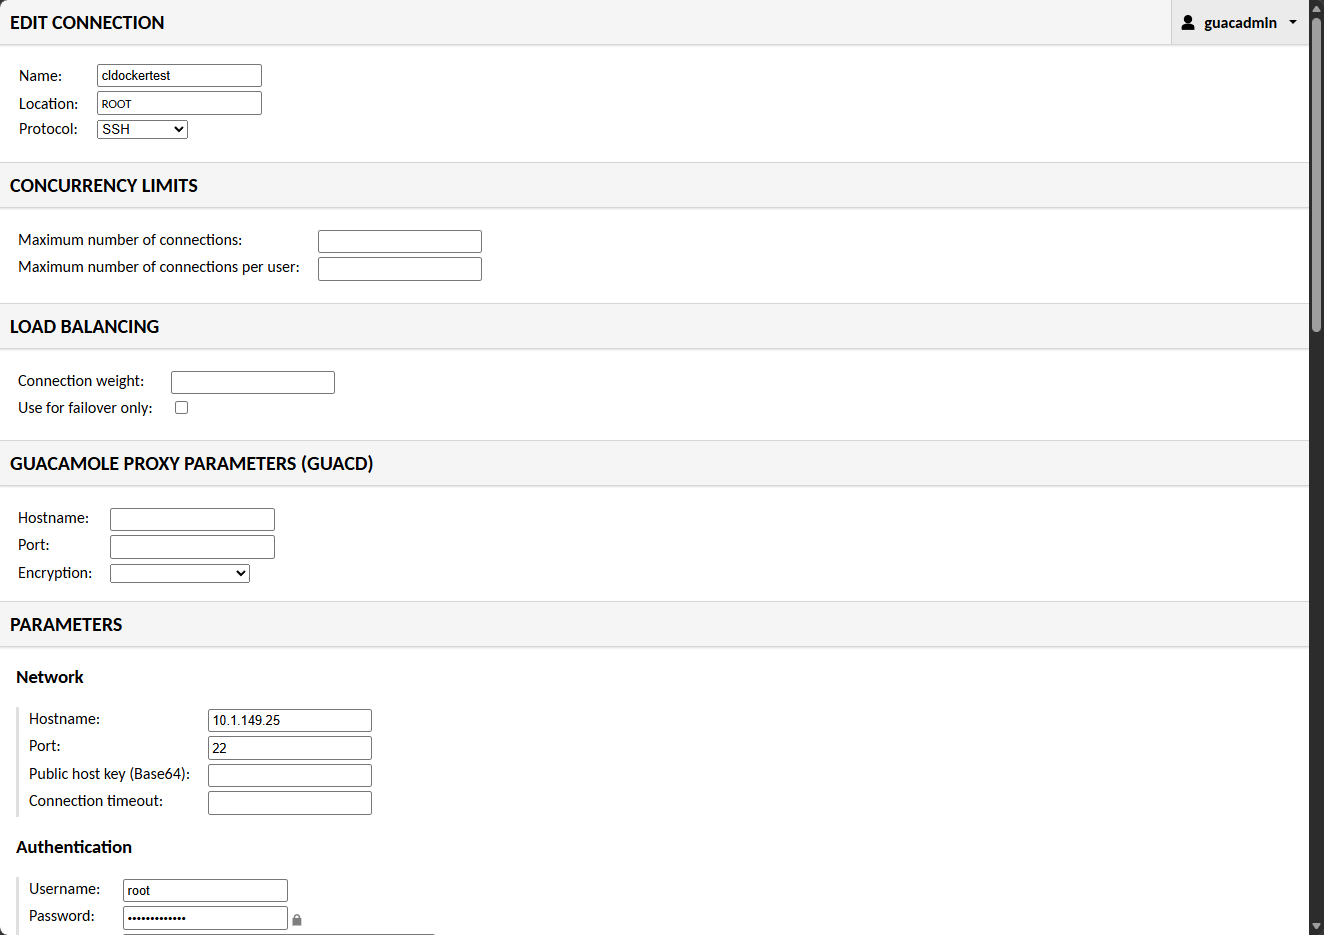
This will launch the Edit Connection configuration page. Here you will name the connection, choose the protocol, then adjust any of the other settings needed. Under the Parameters section Network, you will set the hostname, port, etc. Then under Authentication you can set the username and password.
After saving the configuration, you will see the new entry listed under the connections tab now.
Navigating back to the home screen of guacamole, you will see your connections listed.
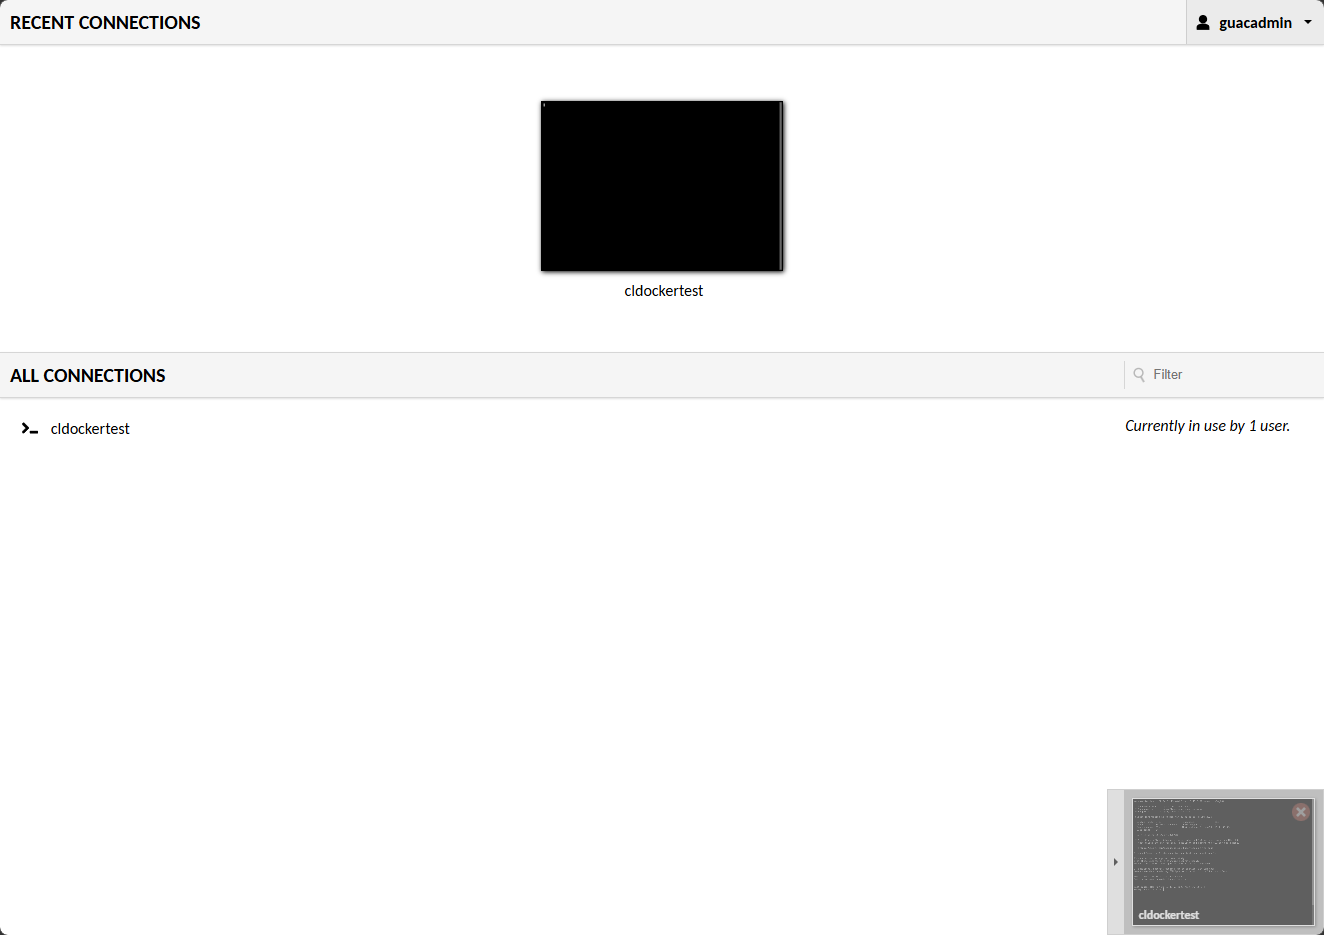
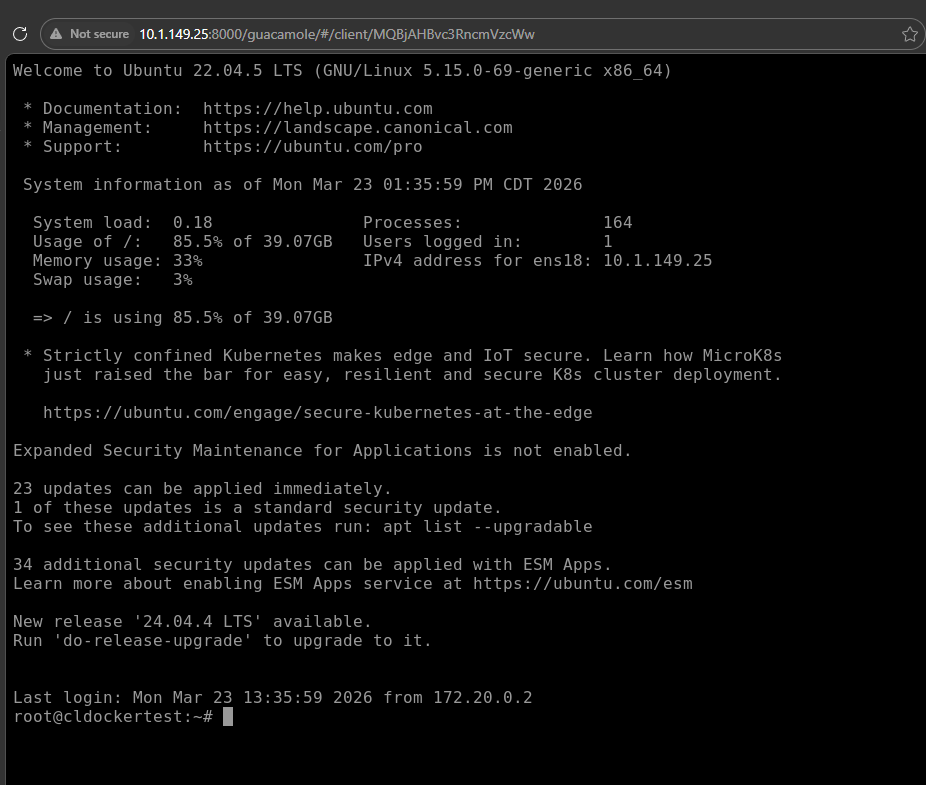
Clicking the connection took me immediately into the server. Pretty cool!
Multi-factor authentication with Guacamole
You can add multi-factor authentication which should be a prerequisite for a secure jump host like this. You can enable this when you first spin up the Docker compose. It is a simple process if you are running Guacamole inside Docker. You just add the following environment variable in your Docker compose under the :
TOTP_ENABLED: "true"Below is an example of where I placed it in the block of code under the guacamole_ui container.
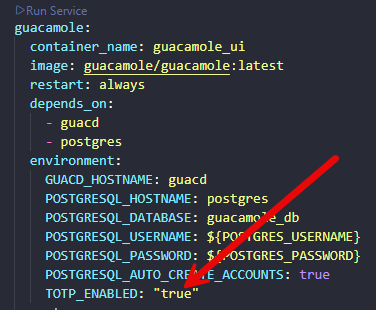
authentication
You can then do a docker compose down and then a docker compose up -d again on your stack for guacamole and you can view the logs for your guacamole_ui container. You should see the following entry in the startup logs for the container:

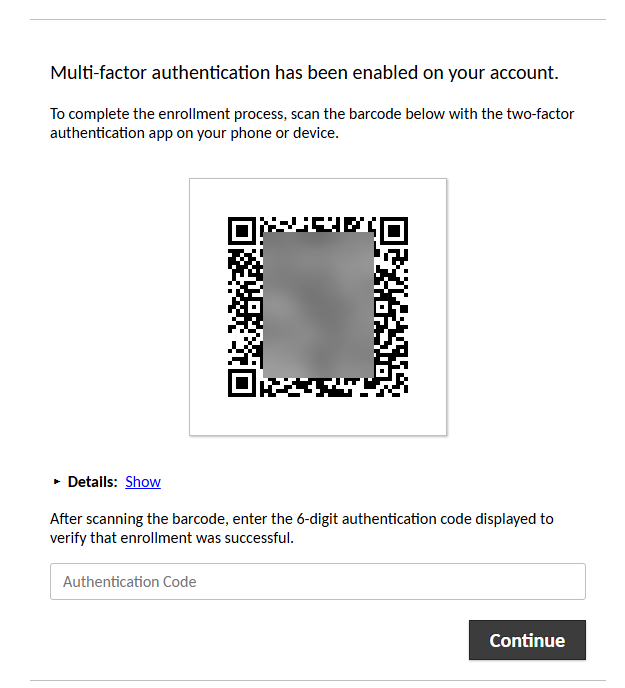
Now, when you browse out to your guacamole UI container, you should see the following prompt to get your user enrolled into MFA:
How I set it up in my home lab
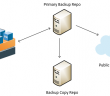
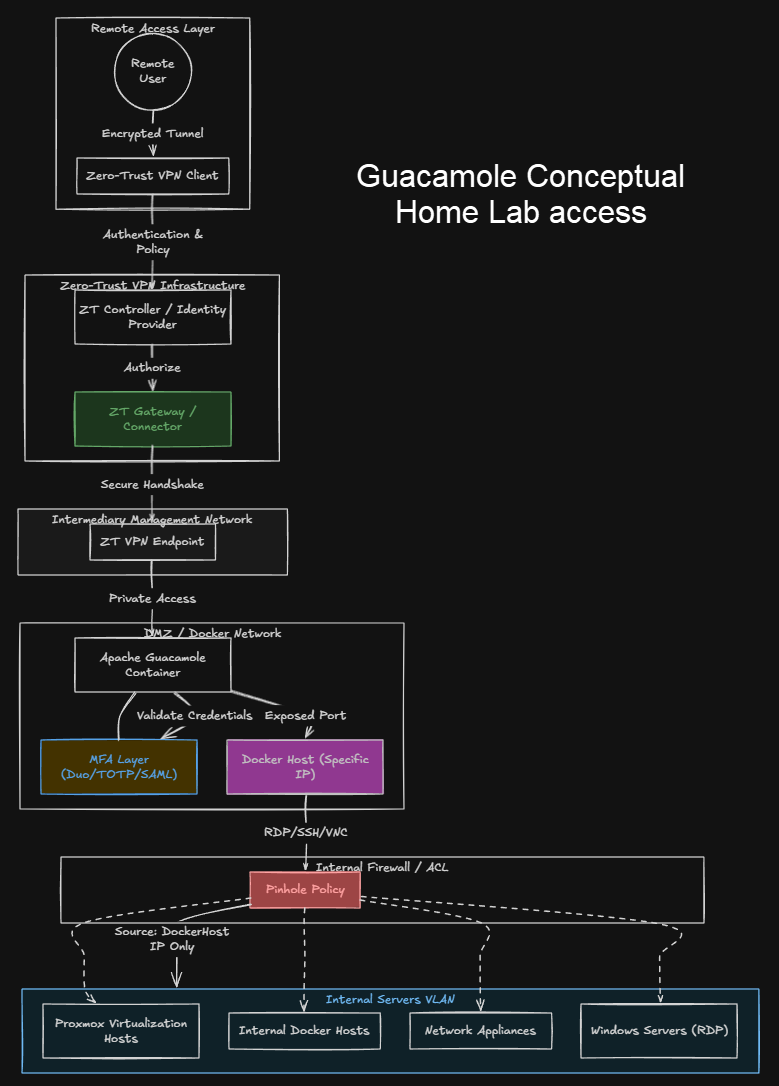
I had stopped fully exposing resources to the Internet quite a long time ago and instead went to a zero-trust VPN solution. So in thinking through the architecture for accessing the home lab with the Gauacamole solution, I generally establish network connectivity using a zero-trust VPN solution and then hop to various resources.
With the new approach, once the network connectivity is established, I have the guacamole server stood up in an intermediary network with firewall rules established to only allow connectivity from that specific host, into the servers, Docker Swarm cluster and Kubernetes clusters in the VLAN. This funnels things down to a single point of entry being the guacamole server.
What changed in my daily workflow
Let me show you a workflow of what things used to look like. Before, accessing my lab looked something like this:
- Connect to VPN
- Open terminal
- SSH into one node
- Possibly jump to another node
- Open browser tabs for dashboards
- Manage multiple credentials and keys
Now, the process is much simpler:
- Connect to VPN
- Open a single web interface
- Choose the system I want to access
- Connect instantly
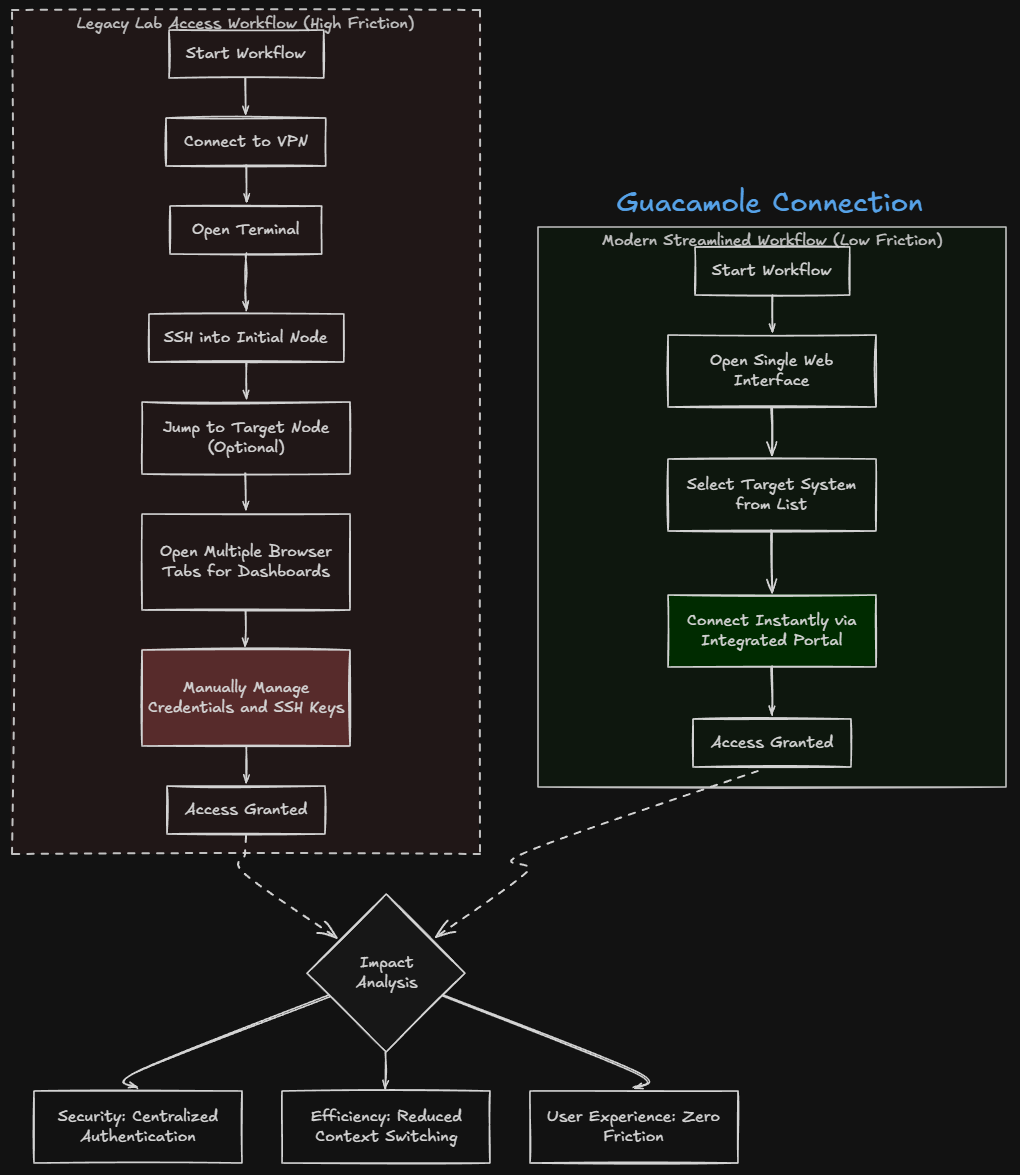
That is it. The difference seems small on paper, but in practice it is major when it comes to security. It removes friction also from connecting to various nodes across your environment. Everything feels faster and more streamlined. You spend less time navigating access and more time actually working on your systems and gaining access to them.
Security improvements this gets for your home lab
Security in the home labs is a mix of many different things. With centralized access, this approach improves security due to the fact that it minimizes the attack surface. Also, it removes the direct access to internal systems. All connections are proxied through your bastion layer so that your internal nodes are never directly reachable from other nodes on your network.
You have access control, logging, and multifactor authentication that is enforced so that you know all connections are brokered through the guacamole host. This is a lot harder to achieve when access can be directly established across SSH, VPN, and different web interfaces.
Wrapping up
When you think about home lab remote access, you need to think through it carefully. One misstep in pinholing traffic or allowing access to your network in the wrong way can lead to compromise. Switching to a centralized access model using Guacamole simplified my workflow and improved my security at the same time. When you have fewer exposed services, cleaner access patterns, and better control over the environment, leads to better security. If your current home lab setup has a mix of SSH, VPN, and exposed dashboards, this is something you should seriously consider. What about you? Are you using something like Guacamole for centralized access to your home lab? I would love to hear what tools you are spinning up in the home lab.
Google is updating how articles are shown. Don’t miss our leading home lab and tech content, written by humans, by setting Virtualization Howto as a preferred source.
About The Author