
If you were able to wipe the slate clean and start your home lab journey fresh today for the beginning of 2026, what would your starter stack look like? I know mine would be definitely different today going into 2026 than it was over 15 years ago. After spending the last several years working with mini PCs, Proxmox, Docker Swarm, Kubernetes, Git, and reverse proxies just to name a few, you can now build a lab that sips power and feels modern, scalable and useful. Let’s dive into a guide of what I would choose for 2026 that focuses on having the tools you need to learn modern IT, and have fun self-hosting!
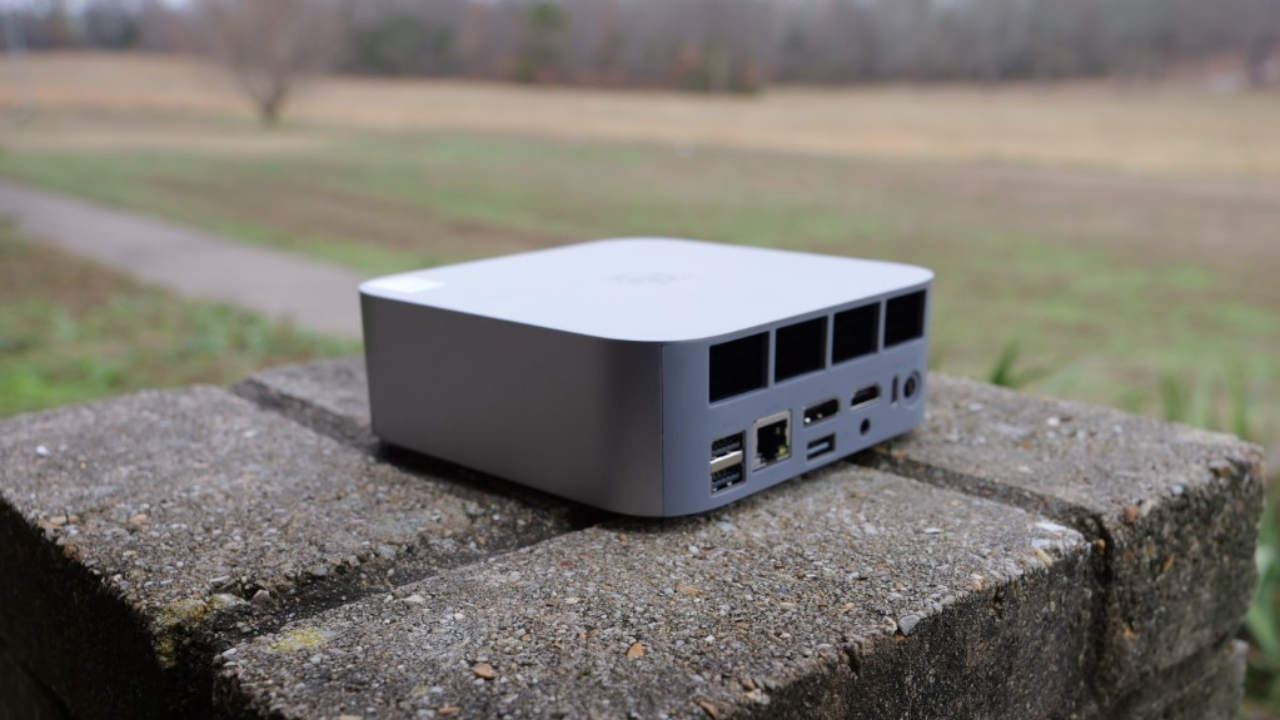
A single Mini PC With 32 GB to 64 GB of RAM
If you are starting fresh and want hardware that is quiet, efficient, and compact, I think even with the high RAM prices at the end of 2025, mini PCs are still what I would choose. They are incredibly powerful for their size and they can run enterprise-grade applications. Also, if you are starting small, a single mini PC is all you need. It is crazy to think back in the day what I started with was a monstrous Dell Precision Workstation with 32 GB of memory and probably pulled 100 watts idling!
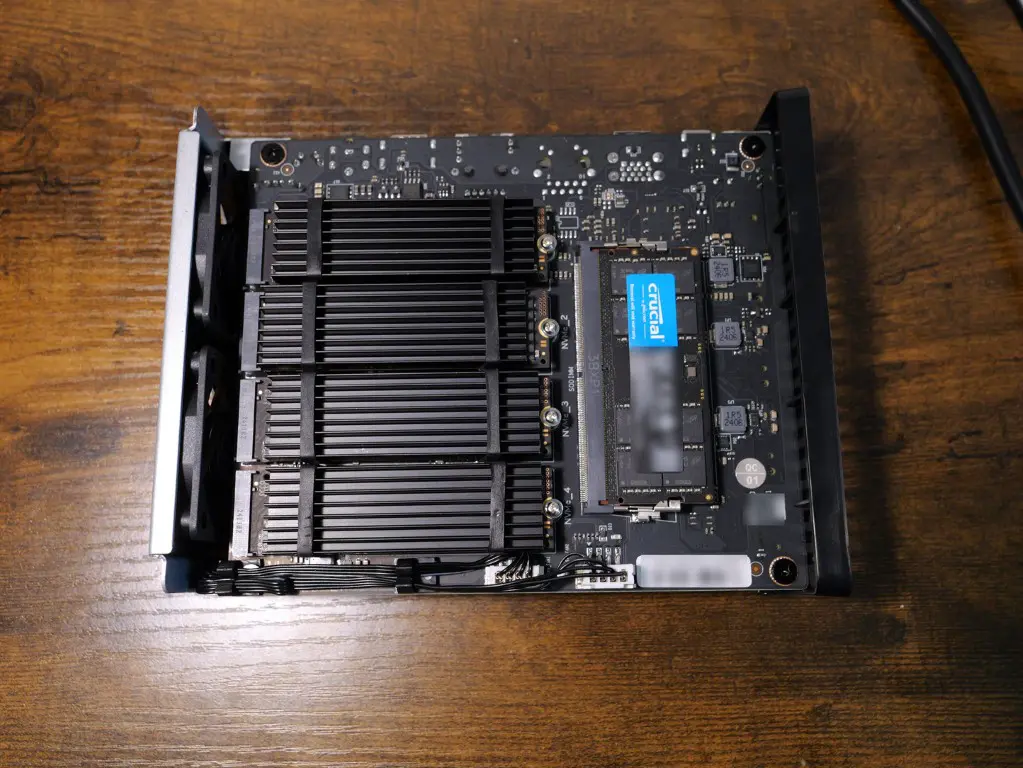
There are many great models out there that I really like, including several of the Minisforum models: MS-A2, MS-02, MS-01, and others of their platform. As you have seen me write about, I have also experimented and built custom builds around the Minisforum motherboards they have released, including the BD795M, and the BD790i X3D.
I recently reviewed several other mini PCs, including the Beelink SER9 Max as well as the Minix EU-715AI. Both of these were great little mini PCs especially for running Proxmox. They draw a fraction of the power of an enterprise server. The only real challenge for 2026 is RAM pricing. I think 32 GB is still a sweet spot for a starter system and 64 GB gives you the overhead to run a more dense stack but may be expensive. But, there may be good deals on mini PCs that already have 64 GB installed, but seems like these are much fewer than options with 32 GB of RAM.
Good baseline for a mini PC
• Ryzen 7 or Ryzen 9 class CPU (I like the Ryzen CPUs since they are uniform)
• 32 GB to 64 GB DDR5 (I think this will be the range that most may be able to afford given the exorbitant prices for RAM now)
• Two NVMe drives for mirrored storage or separate workloads
• 2.5 Gb or 10 Gb networking depending on budget
This configuration for hardware lets you run Proxmox VE with a full container stack, backup your data, and even have enough headroom to run a couple of virtual machines outside of your container hosts. The power draw for a mini PC in this range and running this number of workloads will typically be around the 20-50 watt range. This is a great power footprint to stick to.
Proxmox VE 9.1 forms the foundation
Proxmox just keeps getting better. If I had to pick one hypervisor or platform for a fresh home lab build in 2026, it would be Proxmox VE 9.1. The platform is getting better and better, each year. And, with the recent announcement for support of OCI container images and better VM features like vTPM support and backups, it is just the best choice for building a lab today. You even get all the enterprise features like clustering, software-defined storage, and SDN.
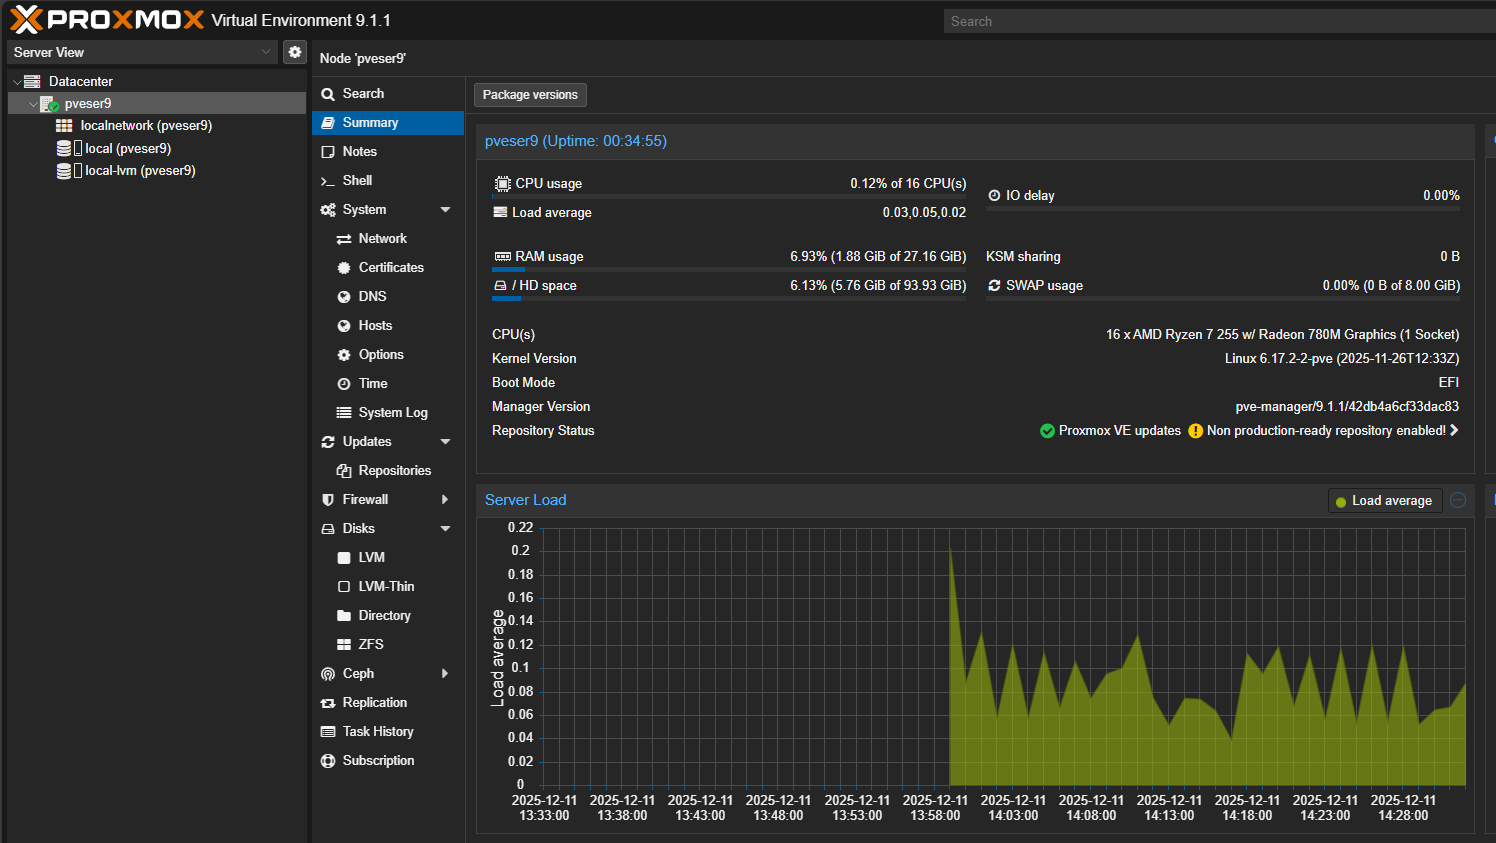
As mentioned you get software-defined storage with Ceph integraton in the box, Proxmox Backup Server (PBS), and tooling like Terraform and Ansible to automate your environment. If you have a single node or if you expand to multiple nodes, Proxmox has a solution that grows as you need it to grow.
With Proxmox 9.1, you also get:
- Great performance on modern CPUs
- OCI image support (***NEW*** and great for efficiency)
- Strong backup integration
- A huge community of scripts and add-ons
- No license shenanigans
It is the best balance of power and simplicity for home lab users in 2026.
Shared storage using a NAS or Microceph
When starting out, most of us just opt for running local storage in a virtualization node. This can either be another partition on the same NVMe drive, or a second NVMe drive if your mini PC supports it.
Using a NAS if you have the funds for it is a great way to expand your storage and to have shared storage between nodes. A NAS can even “be” your Proxmox node as well. Meaning, you can install Proxmox on NAS hardware, and then install TrueNAS as a virtual machine and pass through disks to your TrueNAS virtual machine. Pretty cool!
If you are running multiple Docker hosts as virtual machines, you can use Microceph inside something like Ubuntu Server and this allows you to synchronize and have software-defined shared storage between multiple nodes acting as your Swarm hosts or Kubernetes nodes. Microceph gives you redundancy at the disk level.
If you want to buy a name brand NAS devices, you can always opt for something like a Synology. However, Synology soured most of their customers earlier this year by saying they were pulling support for third-party drives, only to reinstate that support with a few caveats.
At this point, a TrueNAS SCALE box running on a custom NAS might be the best option to avoid some type of lock in or vendor hell with support, licensing, compatibility, etc.
I really like a hardware option for shared storage between multiple nodes like a traditional NAS, with software-defined options like Microceph for Docker hosts running as virtual machines inside your mini PC environment.
Below is the Terramaster F8-SSD Plus which I use as shared storage for a virtualization cluster. See my write up here: Terramaster F8 SSD Plus Review: All Flash NAS with NVMe.
Read my full Docker Swarm tutorial which shows how to create what I think is the perfect Docker host setup using Microceph, Portainer, and Docker Swarm.
Check out a video I did on my setup and how I was using the various solutions to create an awesome self-hosting solution:
Komodo or Portainer for container management
Once you have Proxmox in place in your new stack, container management is an important piece to the puzzle. Having a stack manager of sorts with a good UI for interacting with your environment is key. There are really two options here that I highly recommend. These are Komodo and Portainer.
Komodo is the newest option on the scene and arguably might be the one that home labbers will lean to in late 2025 going into 2026. It is free and it is fast and modern with great management features built in. With Komodo it is extremely easy to deploy Docker containers and monitor these in your lab environment. Komodo makes it easy to keep your containers up to date and organize things without having a full orchestration layer like Kubernetes.
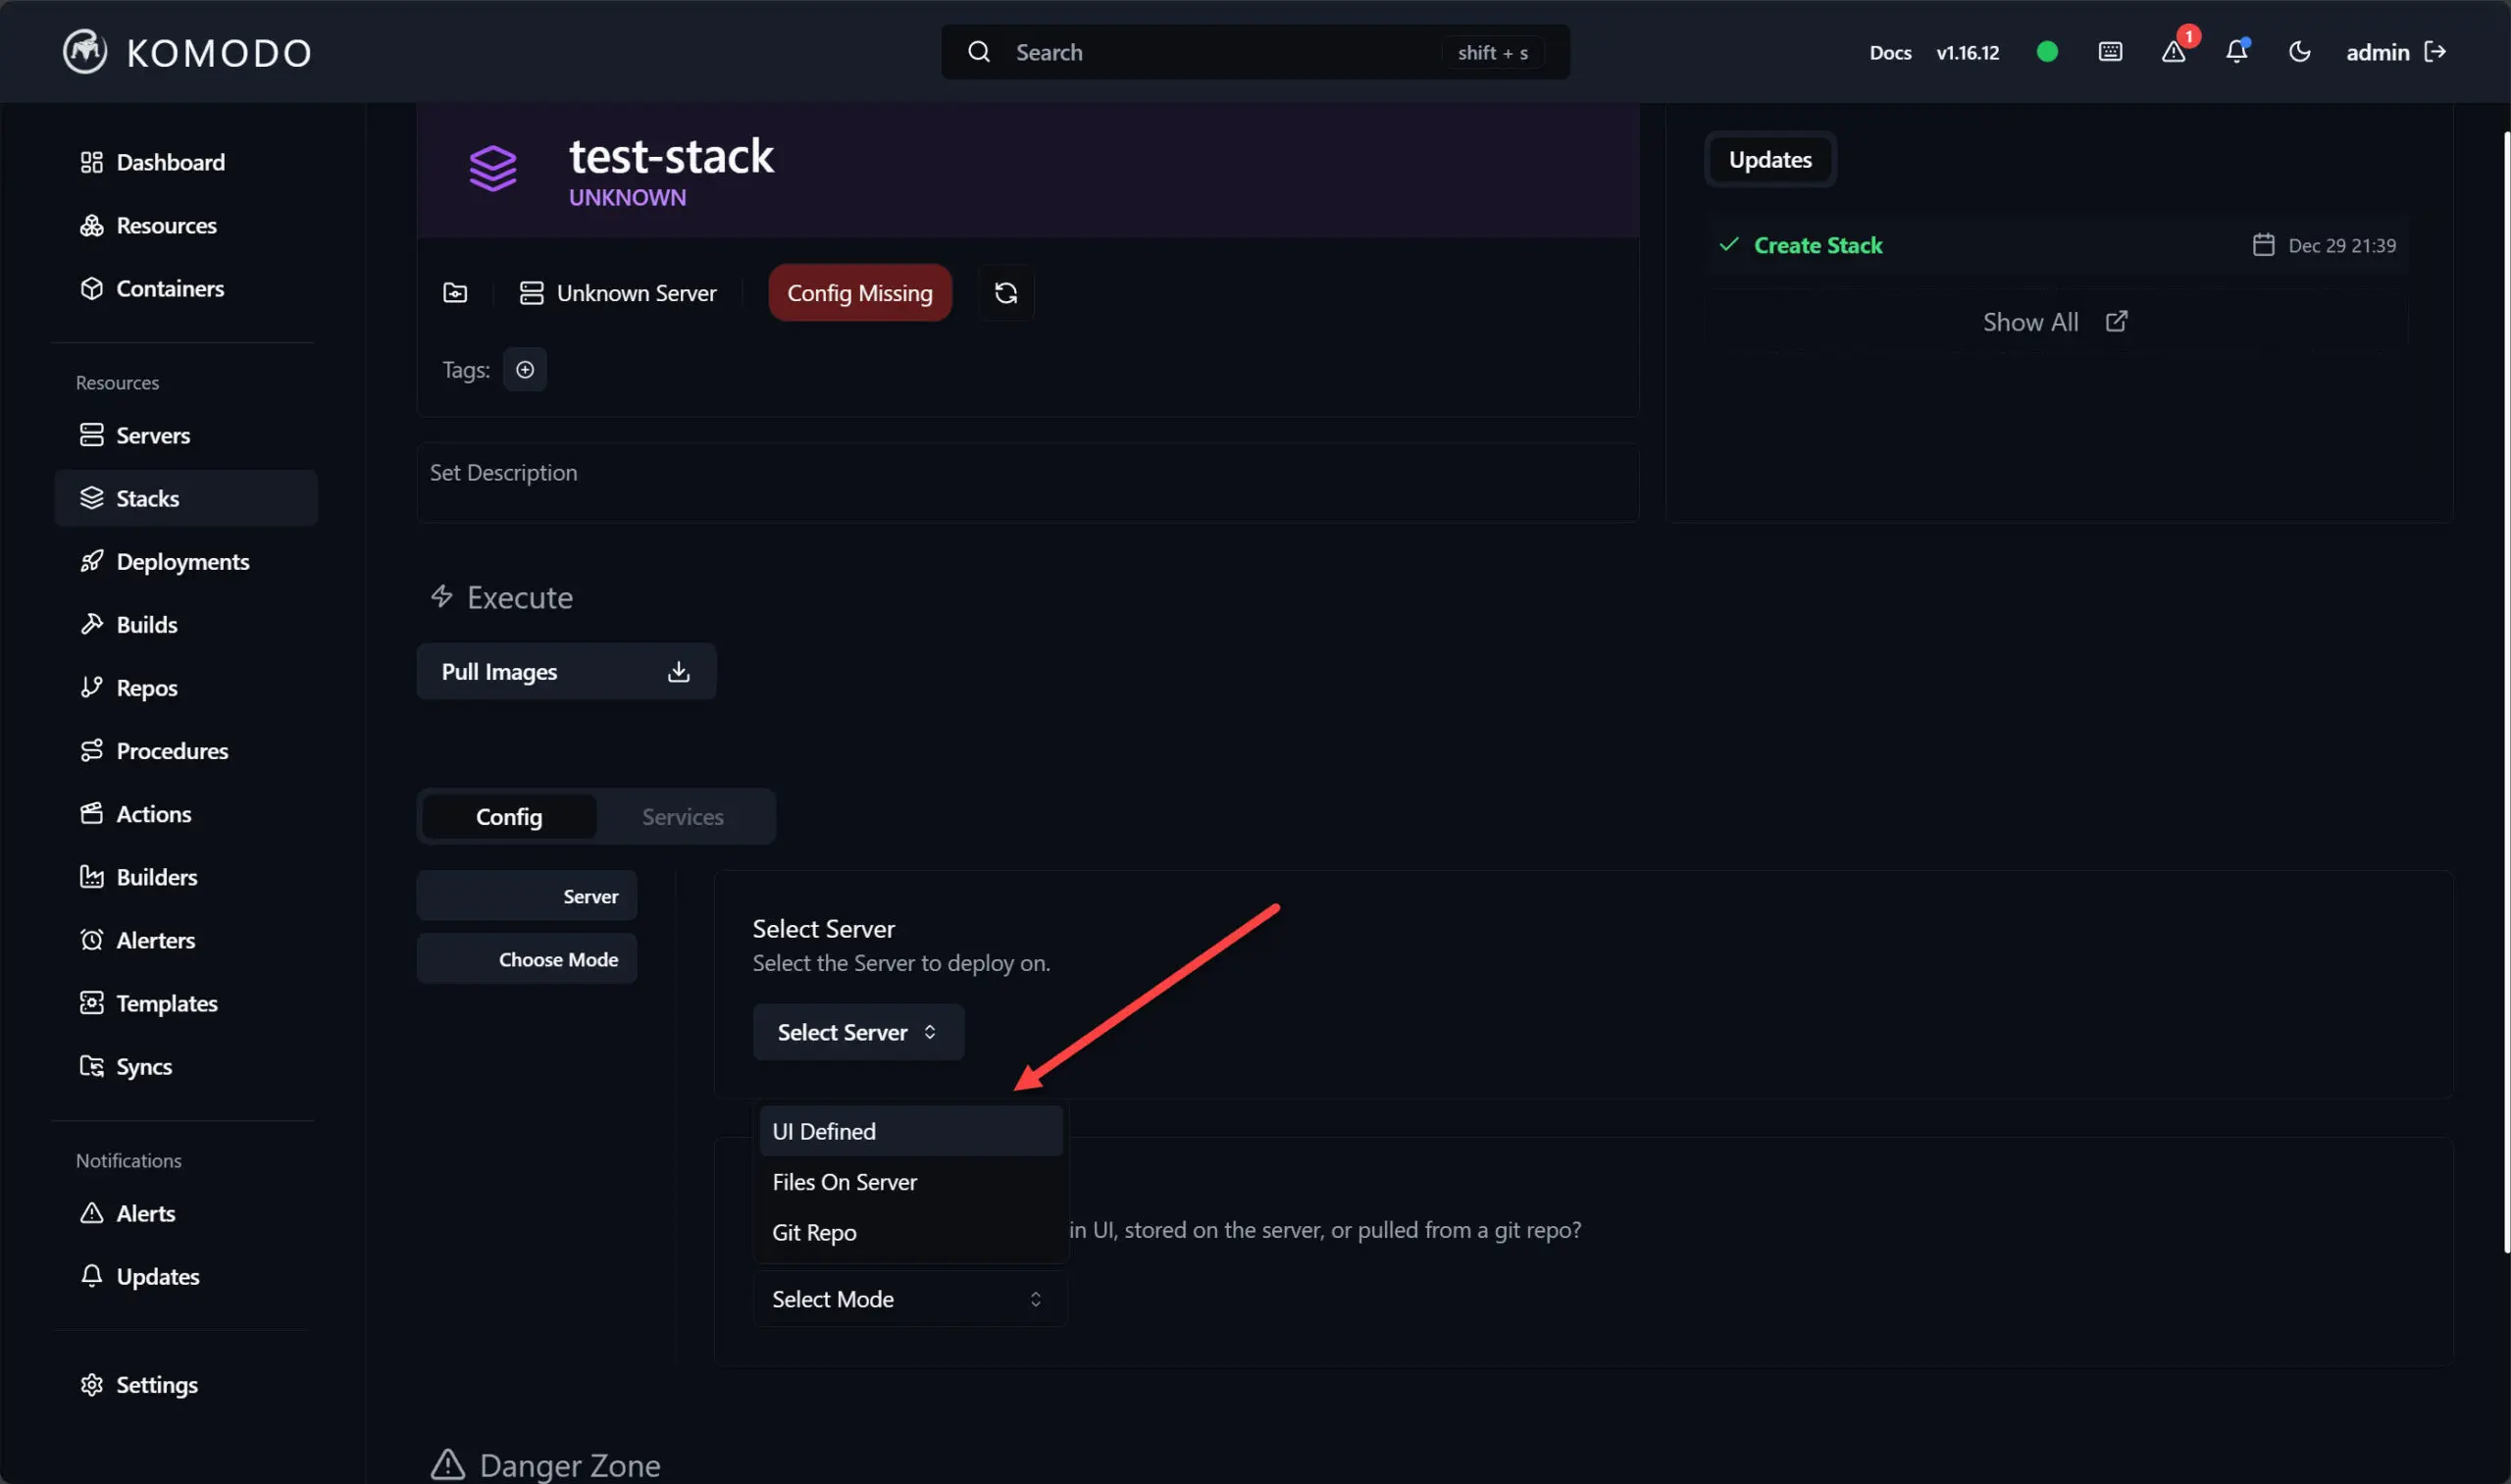
Check out my write up on Komodo here: Portainer Alternative Komodo for Docker Stack Management and Deployment.
Portainer is the 800 lbs gorilla in this space that has all the bells and whistles. I have been using Portainer for a few years now and it is my goto solution for container management. It is like the VMware vCenter of the container host world in my honest opinion. It has GitOps features built-in and allows you to really have a almost purpose-built GUI on top of your Docker Swarm cluster.
Both of these tools:
- Run well as containers
- Give you clean dashboards
- Allow YAML or UI based deployment
- Support stacks of workloads
- Integrate well with reverse proxies and automation
If I were starting fresh, I would likely pick Komodo because it is lightweight and incredibly easy to use. But Portainer is still one of the most reliable tools available.
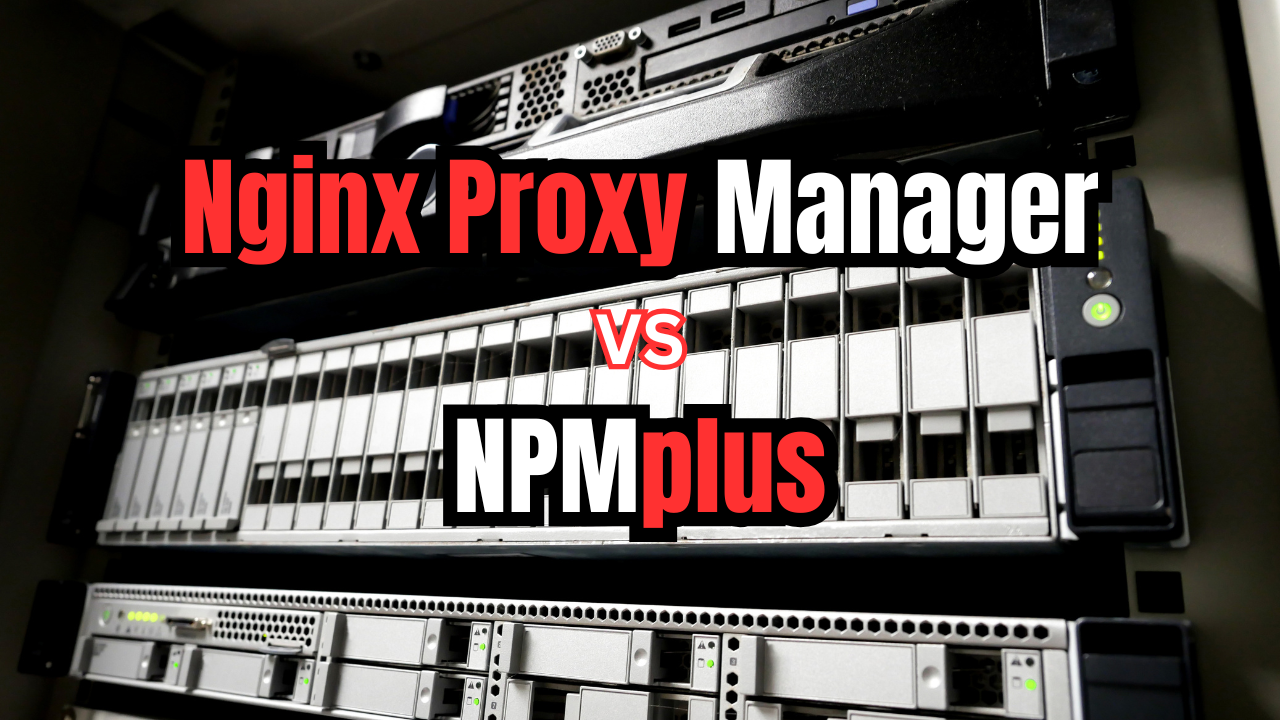
Nginx Proxy Manager as the default reverse proxy
Once you start getting into containers, and you should, you will soon after want to control how clients connect to those containerized services. Using a reverse proxy is the way to go and this also allows you to have proper SSL certificates using LetsEncrypt.

Traefik is my overall favorite reverse proxy solution. However, it has a learning curve getting started with it. Nginx Proxy Manager (NPM) is still the one that I think is the best to start with. The reason for this is that it has a very intuitive GUI that makes working with the solution extremely easy. It runs on top of Nginx underneath the hood.
Check out my full guide to setting up Nginx Proxy Manager with Docker and LetsEncrypt certificates: Setting Up Nginx Proxy Manager on Docker with Easy LetsEncrypt SSL.
Every home lab eventually needs a reverse proxy. Instead of managing 10 different ports or exposing apps in ways that do not scale, Nginx Proxy Manager gives you a browser based interface for managing routes, TLS certificates, and hostnames.
Nginx Proxy Manager handles the following:
- HTTPS termination
- Automatic renewals with Lets Encrypt
- Domain and subdomain routing
- Access lists and authentication if you want/need it
- Organizing internal and external access
It is easy to deploy, stable, and works great in combination with Komodo or Portainer. When you run a reverse proxy from the beginning, this sets your lab up for making things easy when you start hosting more apps or sharing them with friends and family.
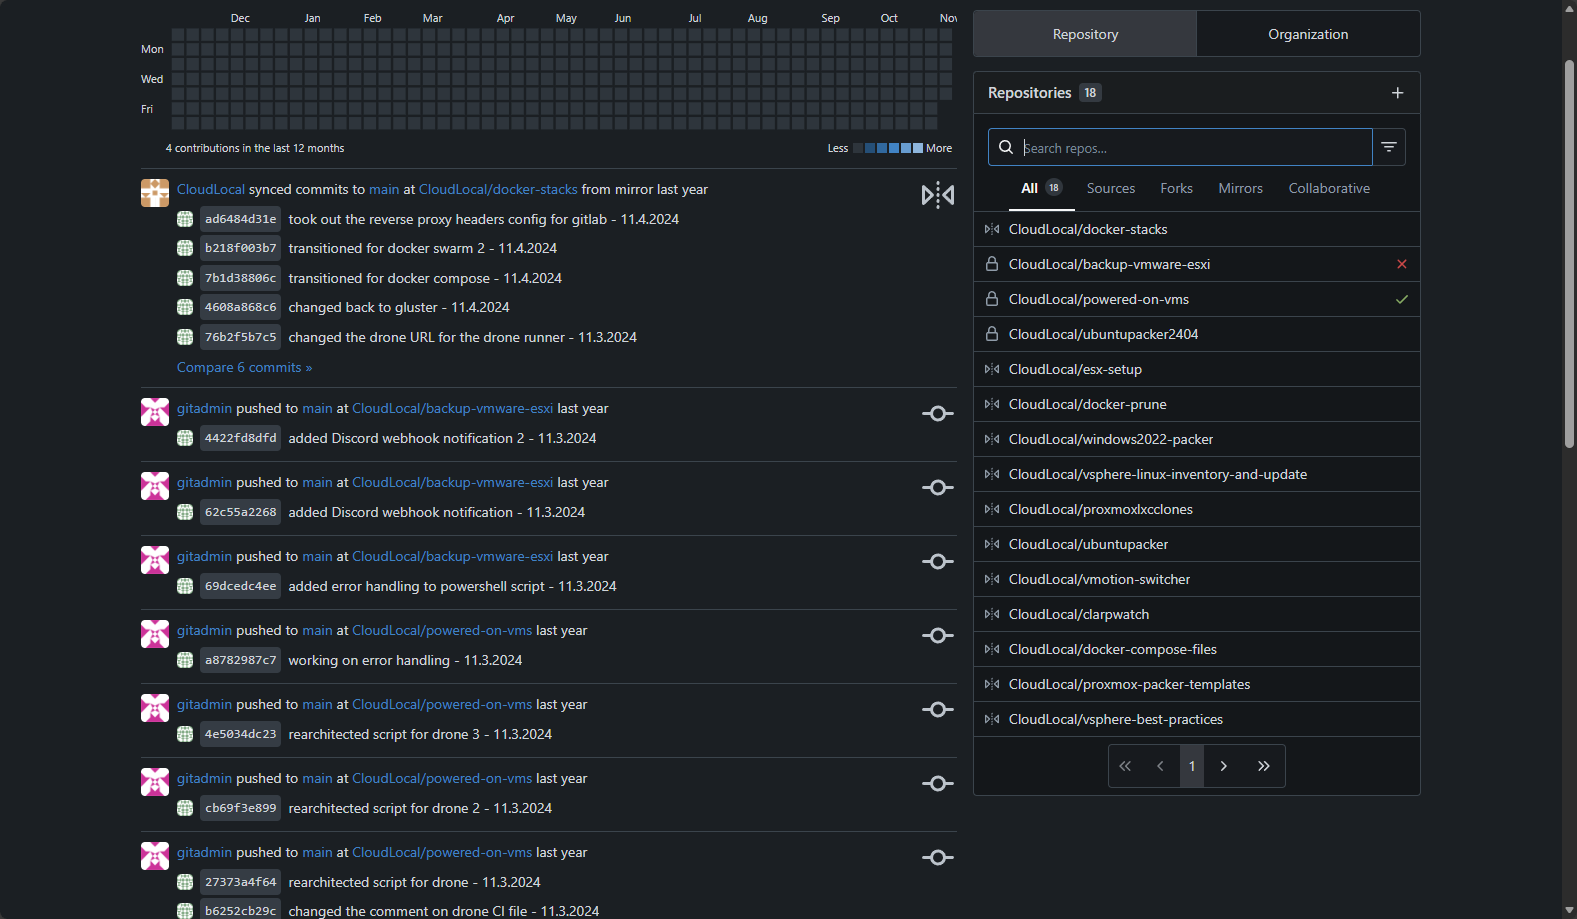
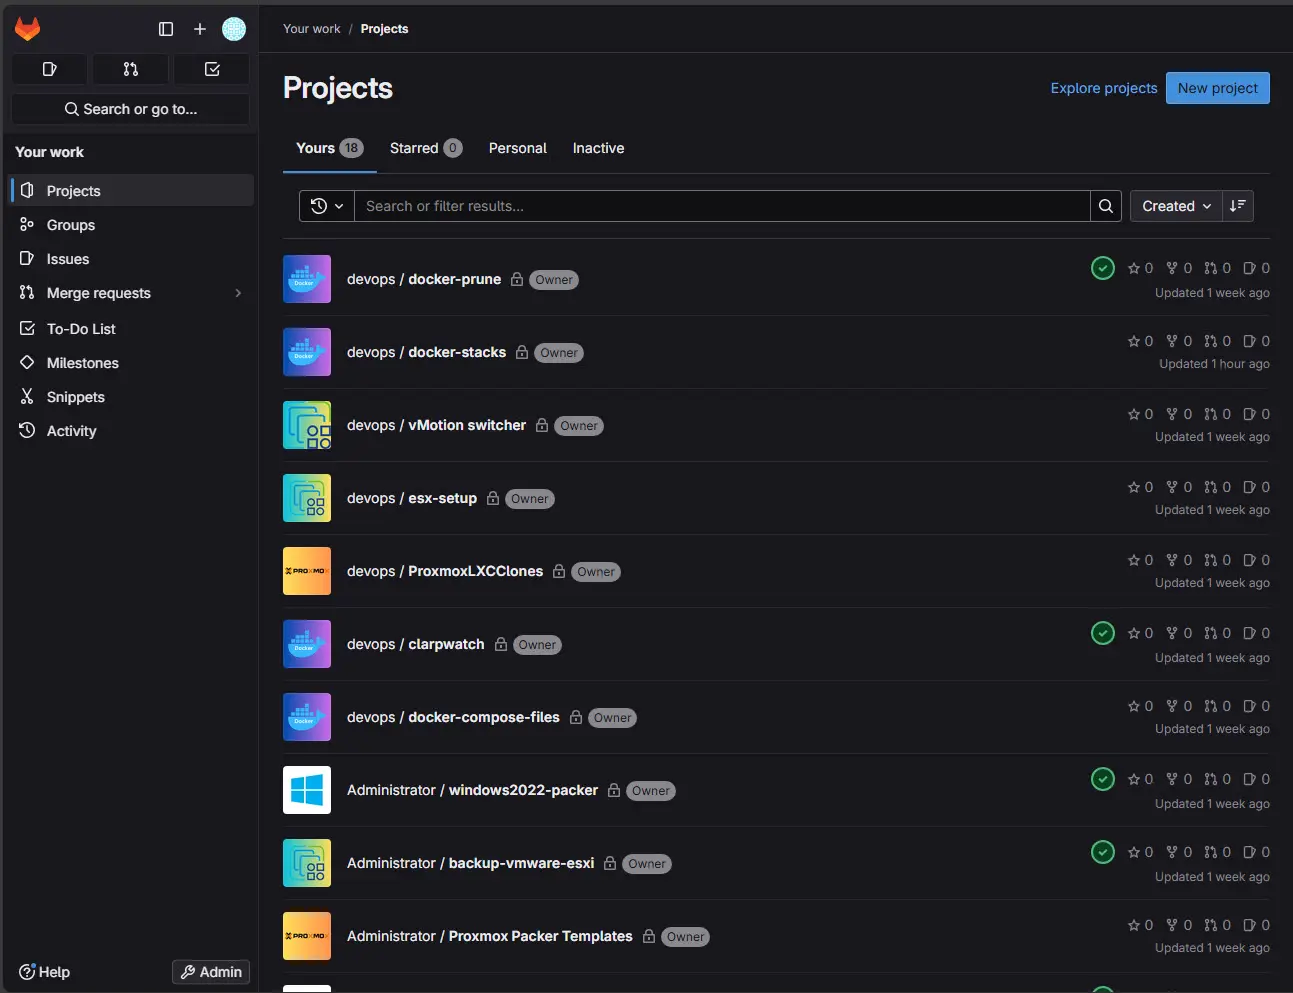
Gitea and Drone or GitLab
Do yourself a favor and get yourself a self-hosted Git repo stood up day one or shortly thereafter. If I were starting over, I would want Git hosting and CI from day one. When you start working with Docker and Docker Compose code, storing your stack compose inside Git is absolutely the way to do it. I can’t tell you how many times I had changed things with my Compose code early on and then lost my file or wasn’t able to revert my changes.
Even simple automation becomes much easier when your scripts, Terraform plans, Docker Compose stacks, and configs live in a real repository.
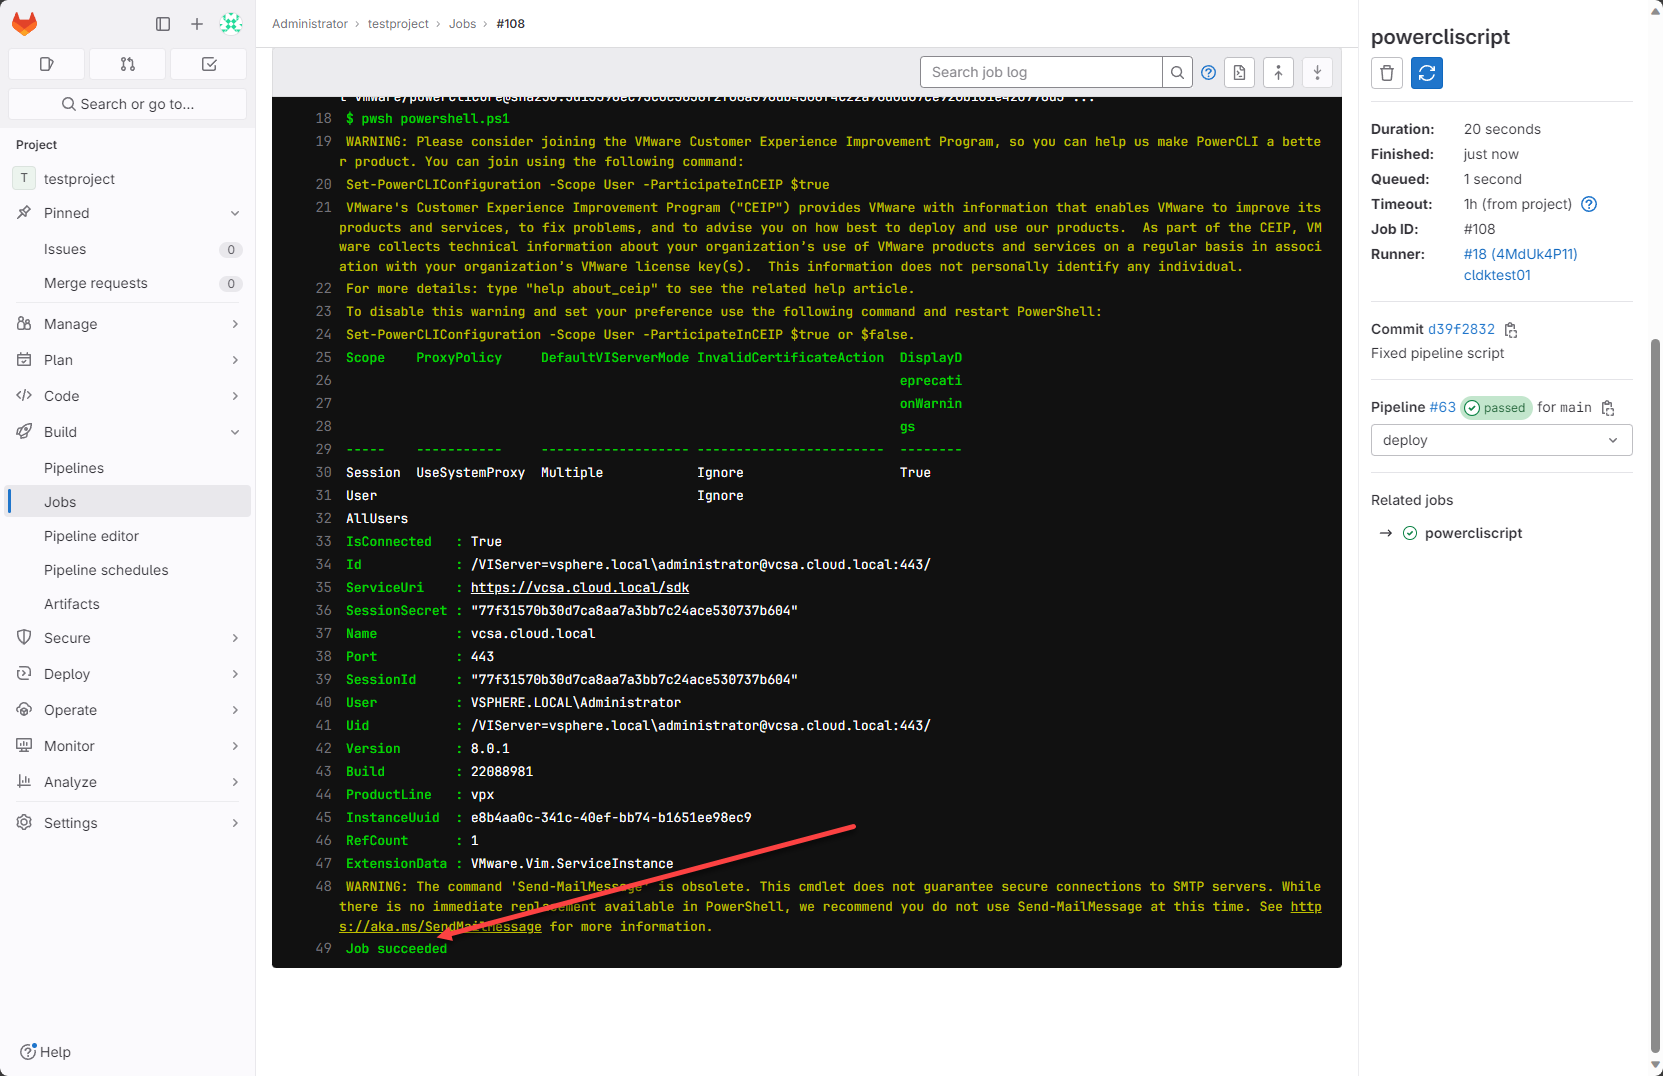
Gitea is the perfect home lab Git server solution. It is tiny and fast and it runs really well as a container. It supports user accounts, permissions, branches, issues, pull requests, and everything most people need and it is an almost identical clone to GitHub in the way it looks.
Drone CI pairs really well with Gitea. It is lightweight, easy to run, supports pipelines through simple YAML, and runs builds inside containers. However, in newer releases of Gitea, there are now Gitea actions that can do a lot of what you needed Drone CI for back in the day.
GitLab is a heavier option but provides an incredible number of features. This is my favorite out of the two in terms of features and capabilities, but it is more complex to get up and running. It is also a resource hog. So, just starting out, if you have no experience with either one and looking at what needs to be in your home lab starter stack, Gitea is the one.
Backups with Proxmox Backup Server
Implementing a backup server right off the bat is the way to make sure all your home lab projects and data are protected against data loss and, really more importantly in my opinion, losing hours or days worth of work.
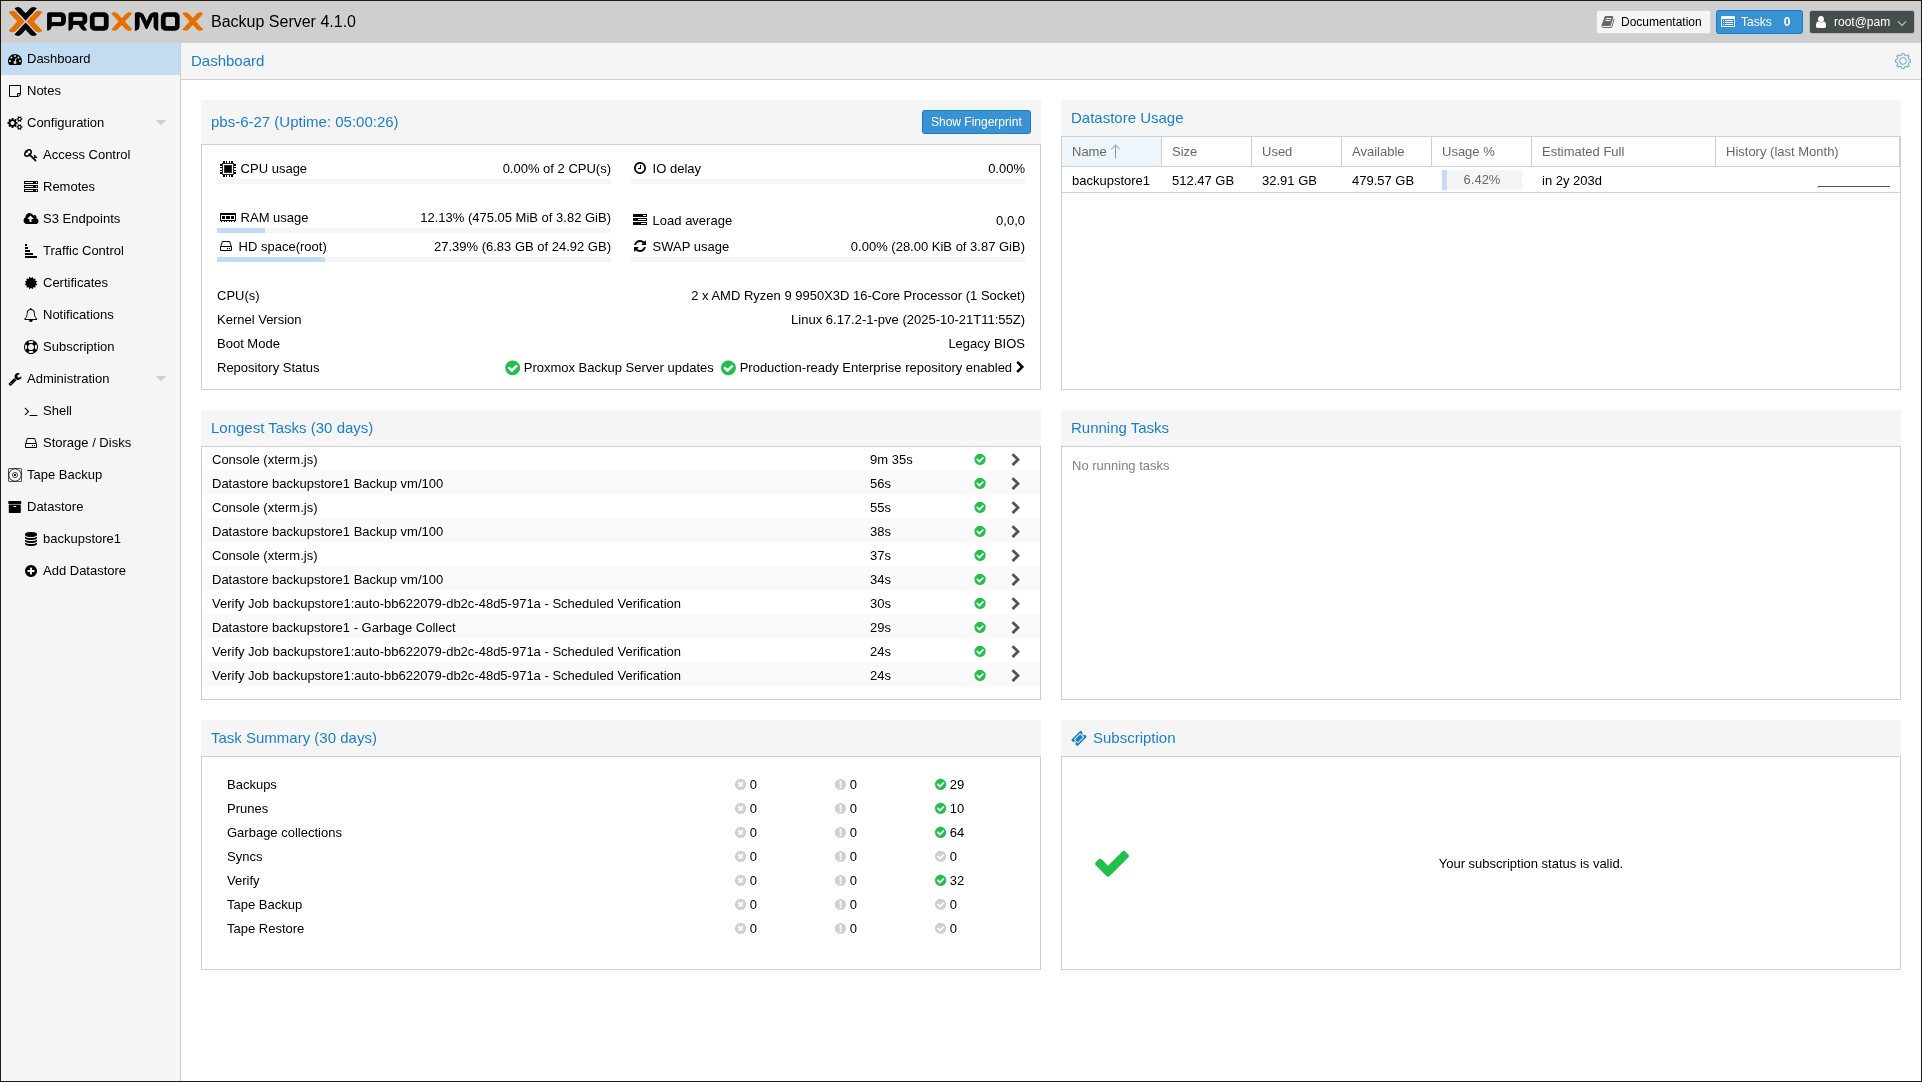
When you use Proxmox VE Server as your hypervisor of choice, you can also use Proxmox Backup Server (PBS) which is totally free. It has all the modern backup features built in that you would expect. This includes deduplication, compression, and incremental backups. You also get fast restores, job schedules, and you can also replicate data to another system or off site, to bolster your 3-2-1 backup methodology.
PBS can run on the same mini PC as long as you give it a separate disk. You can also run it on a NAS or a second mini PC later on if you choose to expand or need more space. Even if you only have a few VMs or containers PBS will definitely come in handy if you need to restore a lab resource. Don’t start without it!
Core set of containers to run in the home lab
I did a write up recently on 15 containers that make your home lab instantly better. View the full list here: 15 Docker Containers That Make Your Home Lab Instantly Better. From this list, here are a core set of containers that I would recommend running:
- Dozzle
- Pulse
- Komodo
- Netdata
- Uptime Kuma
- Bitwarden
- Mailrise
- Nginx Proxy Manager
- Gitea
- Pi-Hole
These are a large subset of the list I wrote about in the linked blog. But, these containers provide what I think are core features and functionality that just make things work so much better in the home lab and give you valuable services and apps to keep an eye on things or automate and give you visibility and monitoring.
Wrapping up
If you are thinking about building a home lab, now is a great time to do it. Even with the skyrocketing price of RAM, there are still some great mini PC deals out there that will give you 32-64 GB of RAM and allow you to start self-hosting services. With a simple mini PC, Proxmox VE Server, LXC containers, and Docker, you can run lots of modern software apps in containerized solutions. This will teach you lots of valuable hands on skills like troubleshooting, hardware, troubleshooting, containers, hypervisors, networking, and many others. Hopefully, this discussion will help you if you are starting fresh knowing what I would build if starting over today with a home lab. What about you? Are you going to start building your home lab in 2026? Let me know in the comments.
Google is updating how articles are shown. Don’t miss our leading home lab and tech content, written by humans, by setting Virtualization Howto as a preferred source.
About The Author


I had more issues than I’d like to admit with Nginx Proxy Manager and eventually switched to Cloudflare tunnels. Thanks for sharing this setup.
Matt,
Honest question….what types of issues have you seen with NPM? Curious what experiences others in the community have with various solutions. I ran NPM quite a while before Traefik and it worked pretty well for me. Definitely beginner friendly as well. Thanks again.
Brandon
Please use Zoraxy instead of NPM
Florian,
I haven’t heard of this project before. Will definitely check it out. Are you by chance the developer?
Brandon
Npm is king
Unraid is by far the better OS to host a home lab.
JQNORNMAN,
Thanks for the shout out on Unraid. I like it, have demoed and used it a bit as a NAS OS for some whitebox hardware and seemed to work well. This may be a good option for some.
Brandon