Kubernetes is one of the most complex architectures and solutions in modern infrastructure. When it comes to K8s, we need to manage control planes, worker nodes, certificates, upgrades, and lifecycle management. This is where Talos Linux and Omni come in. Talos Linux is gaining traction as a favorite for those that want a secure and minimal, as well as immutable OS for Kubernetes. Omni is a new management solution from Sidero. Let’s walk through how to install Talos Omni on-prem, looking at the official documentation and my own testing in the home lab.
What is Omni?
Omni is a Kubernetes management solution built by Sidero Labs, the creators of Talos Linux. It provides a GUI way to manage Talos-based Kubernetes clusters. It offers lifecycle operations, secure bootstrap, and observability. Also, unlike having to create ad-hoc scripts or rely on other open-source management tools, Omni is purpose-built for Kubernetes clusters running on top of Talos Linux.
The SaaS version of Omni is available if you want to leverage this for production environments, but the great thing for home lab environment is being able to self-host and deploy Omni locally. Self-hosting Omni means you have full control and lets you run the same workflows you’d get in the cloud on your own infrastructure.
Why Self-Host Omni?
Take a look at just a few of the reasons I can come up with that you may want to host Omni yourself:
- Its free and open-source – While the SaaS version of Omni is a paid solution, for non production use, such as home labs, is free
- Data control: Keep management data inside your network.
- Compliance: Not so much for home labs, but for production and compliance sensitive environments, sending cluster lifecycle or configuration data to a third-party cloud may get sticky. This helps to avoid that
- Air-gapped labs: For disconnected environments, self-hosting is the only option
- Learning: In the home lab, you can see the moving pieces and learn about Kubernetes management first hand
I think this option is of course perfect for home labs. Also, self-hosting Omni gives you control and fits perfectly with what we are seeing across many environments, cloud repatriation and local management of Kubernetes. Let’s get started with how to install Talos Omni on-prem.
Prerequisites for deployment
I will say this, there are a lot of manual steps with this deployment of Omni in your self-hosted environment. Most of us are used to tinkering and running commands though so definitely something you can step through.
Before we get started, here are a few of the prerequisites:
- You need Docker installed on a host for spinning up Omni
- You need to have certbot installed and the plugin for your particular DNS provider
- Network connectivity to your Docker host
- DNS configured for your omni host
- An Auth0 account
Setting up the certificates
The first steps below are straight from the Sidero Labs documentation page on installing the self-hosted Omni installation. I just followed these steps below and installed the DNS provider for Cloudflare.
# Install certbot
$ sudo snap install --classic certbot

# Allow for root access
$ sudo snap set certbot trust-plugin-with-root=ok

# Install DNS provider
$ snap install certbot-dns-<provider>

# Create creds file with API tokens
$ echo '<creds example' > creds.ini

# Create certs for desired domain
$ certbot certonly --dns-<provider> -d <domain name for onprem omni>
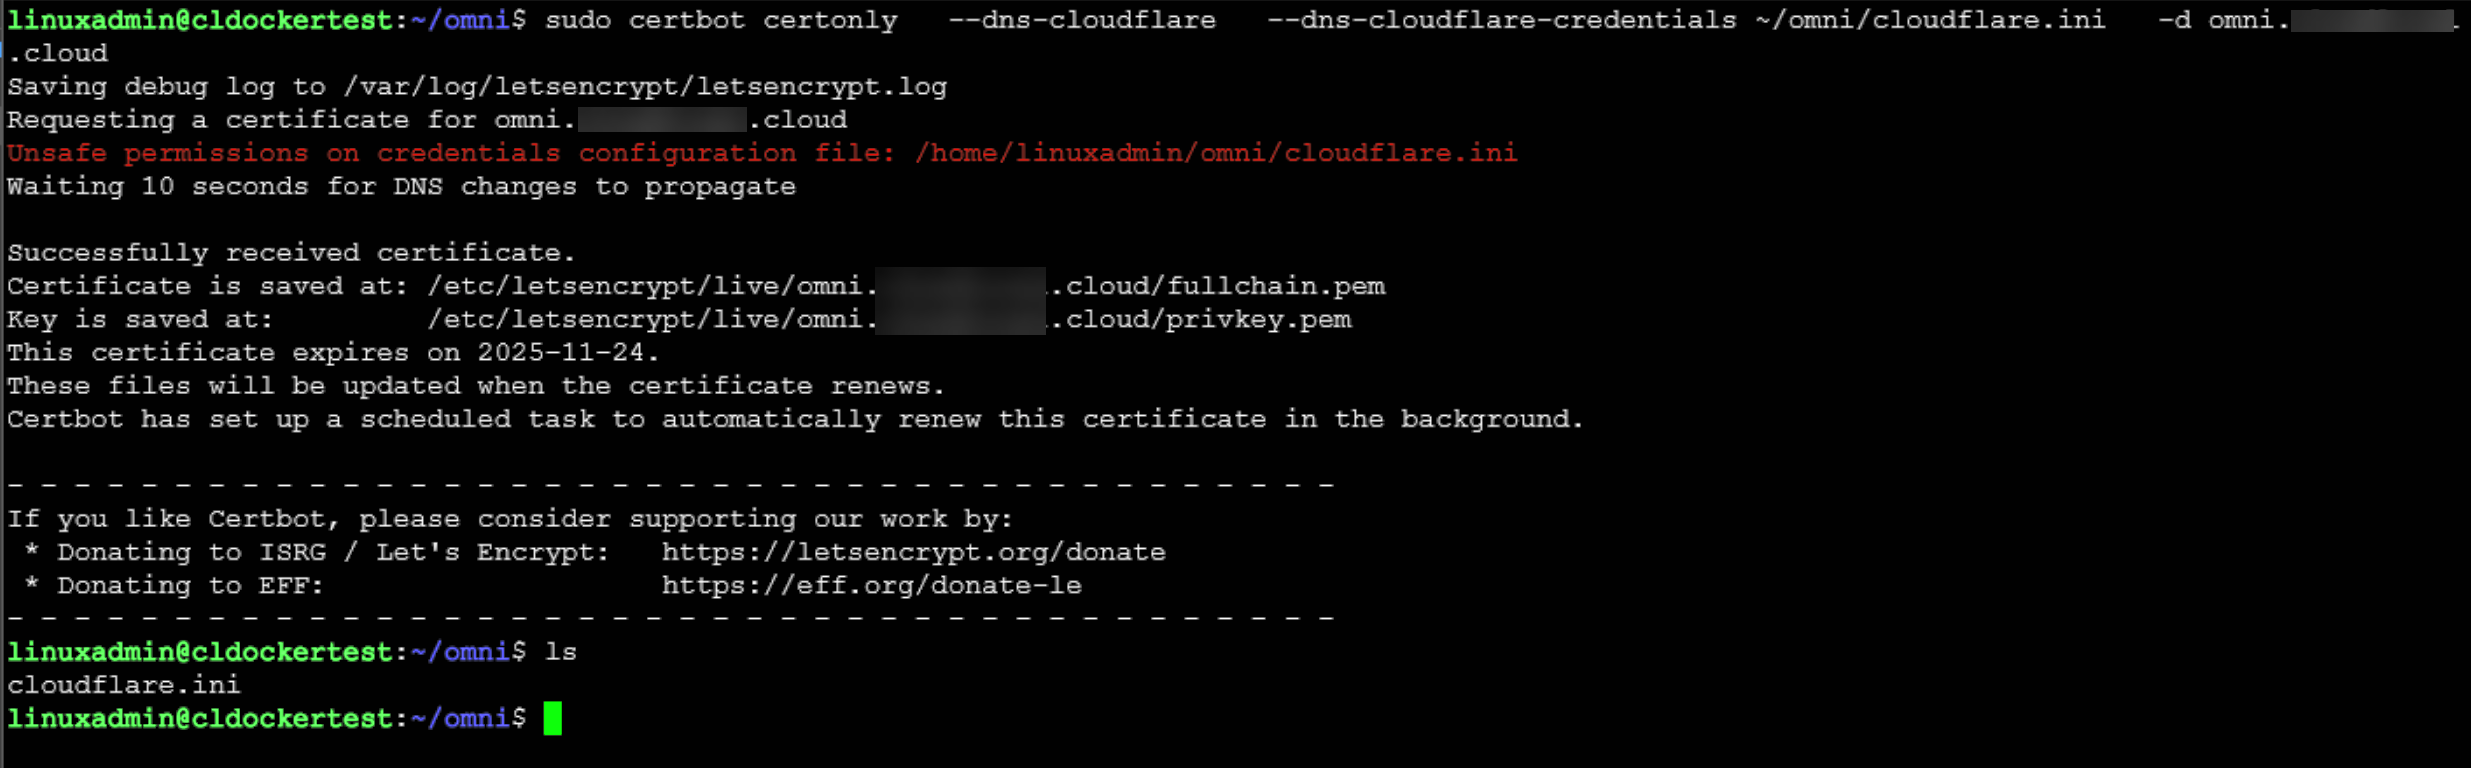
After installing the required plugins for certbot, we are ready to create the certificates needed.
sudo certbot certonly --dns-cloudflare --dns-cloudflare-credentials ~/omni/cloudflare.ini -d omni.yourdomain.comYou can see below, I created an “omni” folder in the home directory of my linuxadmin account. So that is where I am working out of for the commands.
Create etcd encryption key with GPG
Next, we need to create an encryption key using GPG and this will be used for etcd encryption.
## Creating the key
gpg --quick-generate-key "Omni (Used for etcd data encryption) [email protected]" rsa4096 cert never
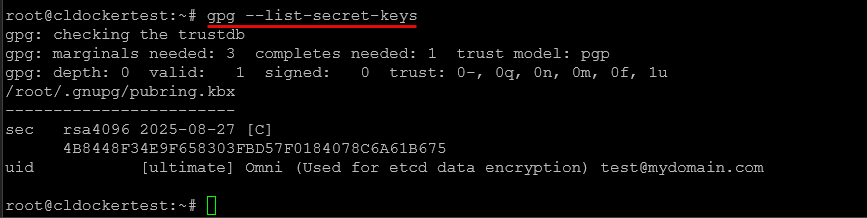
## Listing your key after creation
gpg --list-secret-keys
## add an encryption subkey
gpg --quick-add-key 4B8448F34E9F658303FBD57F0184078C6A61B675 rsa4096 encr never
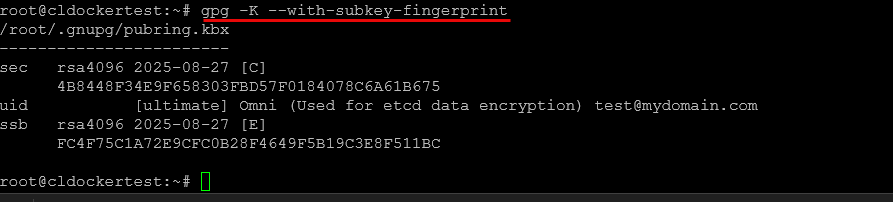
## Viewing the fingerprint
gpg -K --with-subkey-fingerprint
## Exporting the key
gpg --export-secret-keys --armor 4B8448F34E9F658303FBD57F0184078C6A61B675 > omni.asc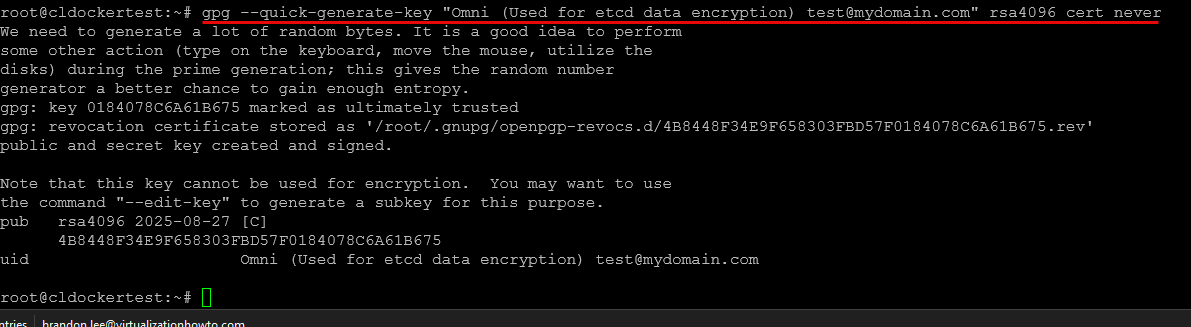
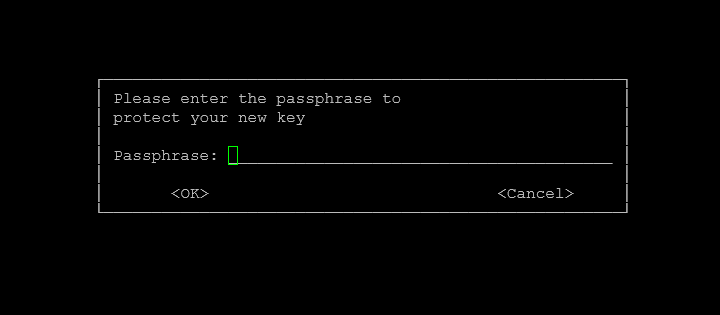
An important point to note. Leave any passphrase prompts blank and then just press OK. Entering a passphrase will break the bootstrap process.
Listing your gpg keys:
Adding a subkey:

Listing key with subkey:
Exporting the key to a file:

Configuring Auth0 for authentication with Omni
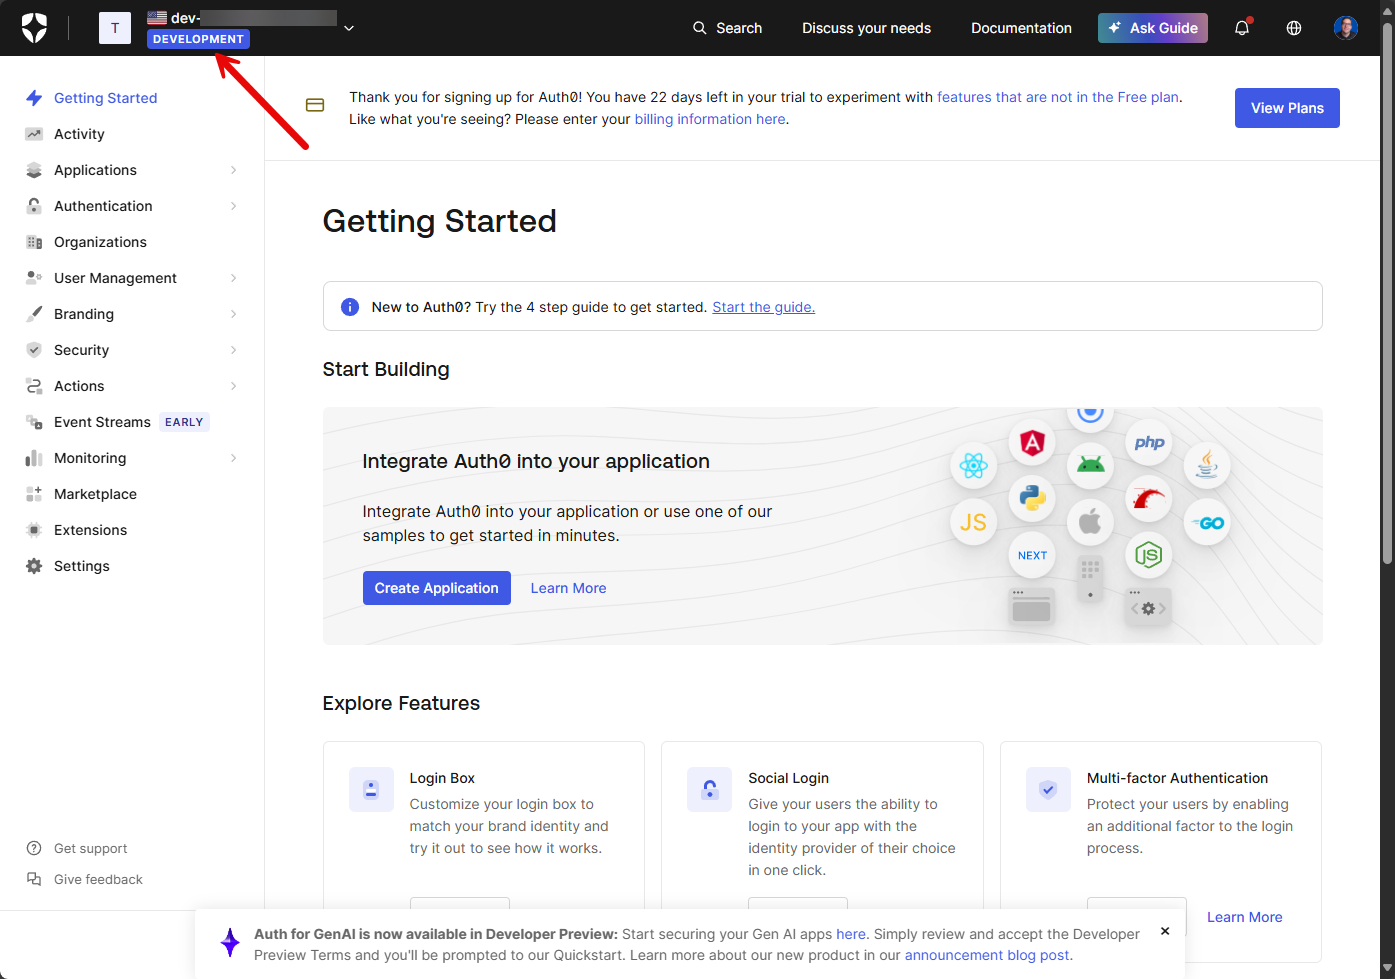
A core piece to getting a self-hosted instance of Omni up and running is configuring an Auth0 account. Don’t worry this is free using what they call a developer account when you configure it. There are several steps to this that we need to configure.
Below, I have just signed up for Auth0 and you will see your dev domain in the upper left-hand corner.
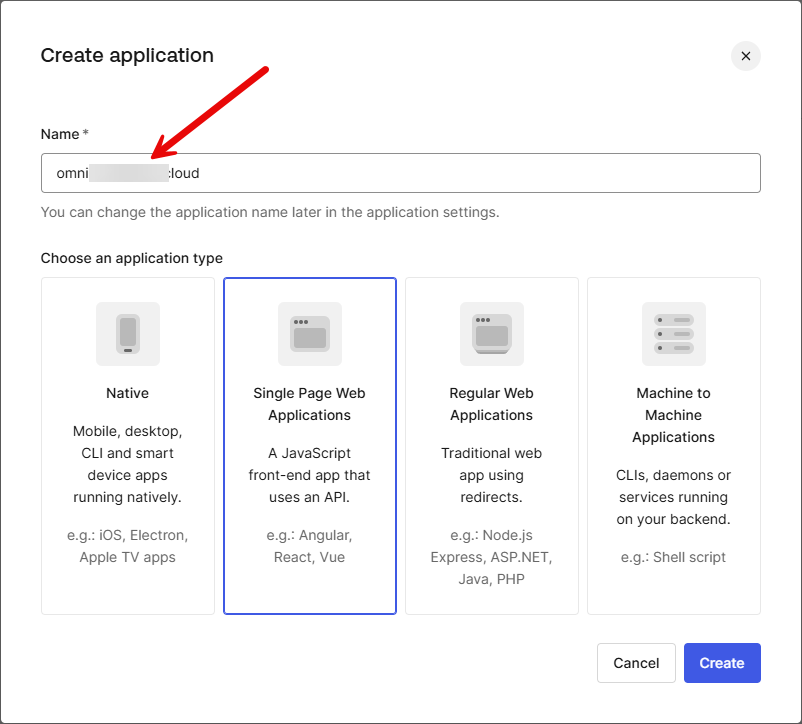
Create a new application in Auth0 and choose the Single Page Web Applications option. In the name, put your domain name that you used for your Omni hostname.
After creating the application, you will see it listed. Click into it so you can view the properties.
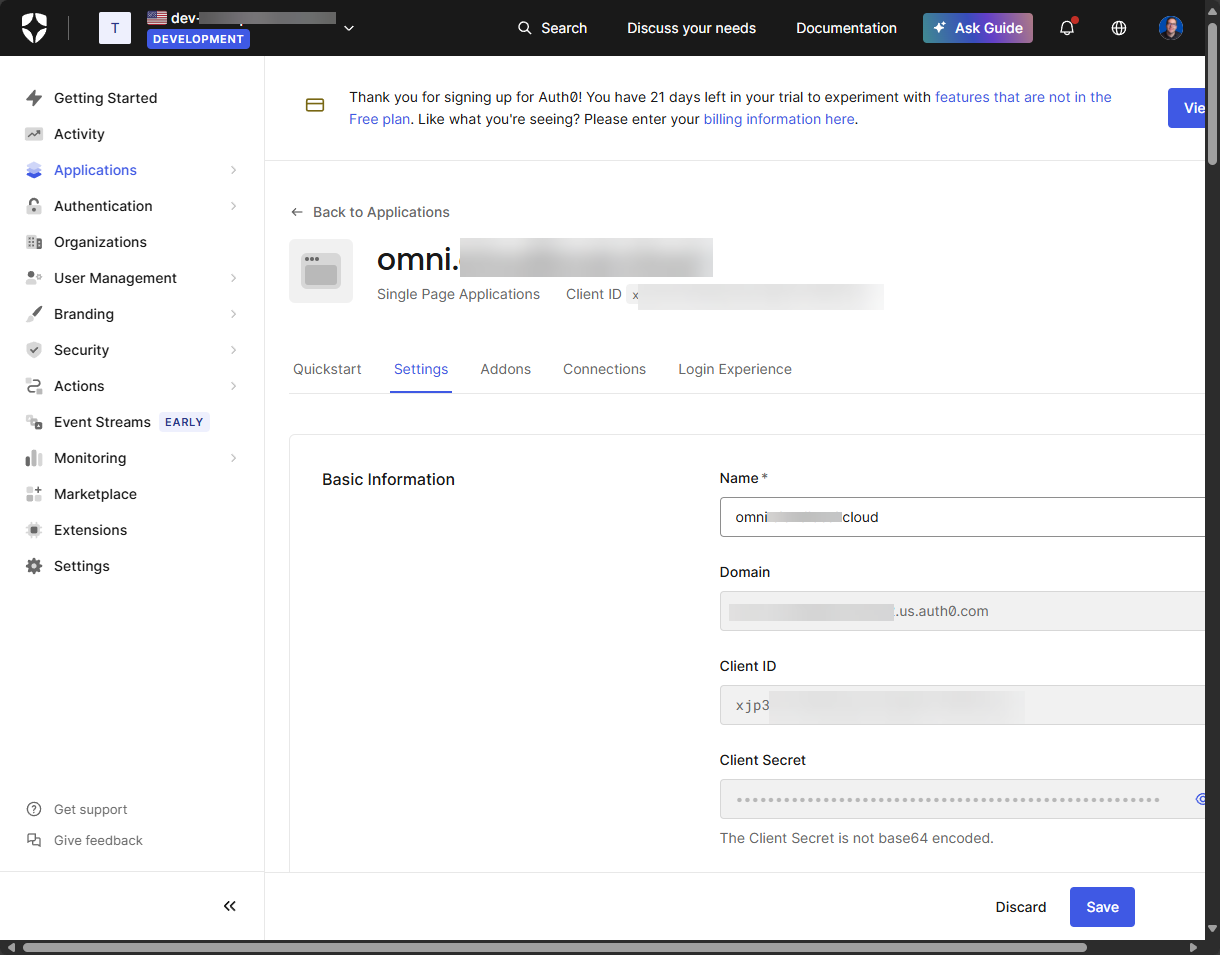
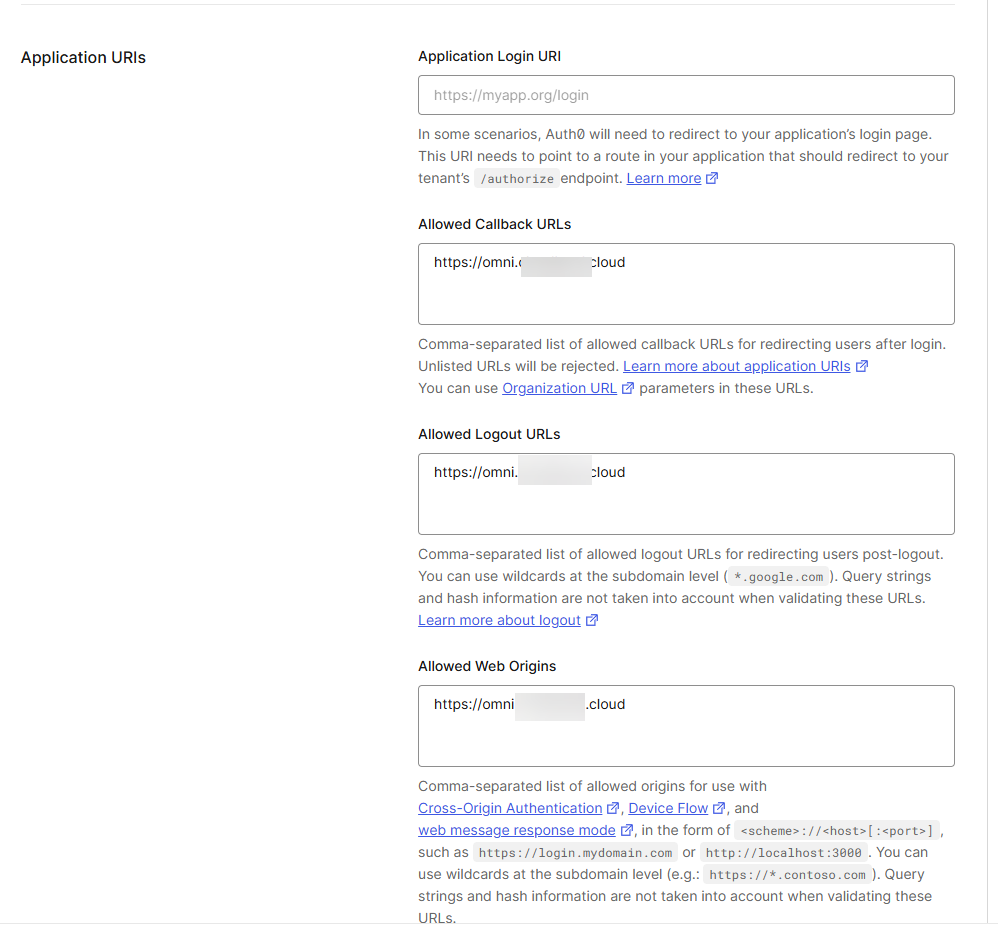
Scroll down in your application details and you will see the Application URIs. Here youneed to enter your hostname that you spun up the certificate for with certbot with the https:// on the front to make it a proper URI. Enter this for:
- Allowed Callback URLs
- Allowed Logout URLs
- Allowed Web Origins
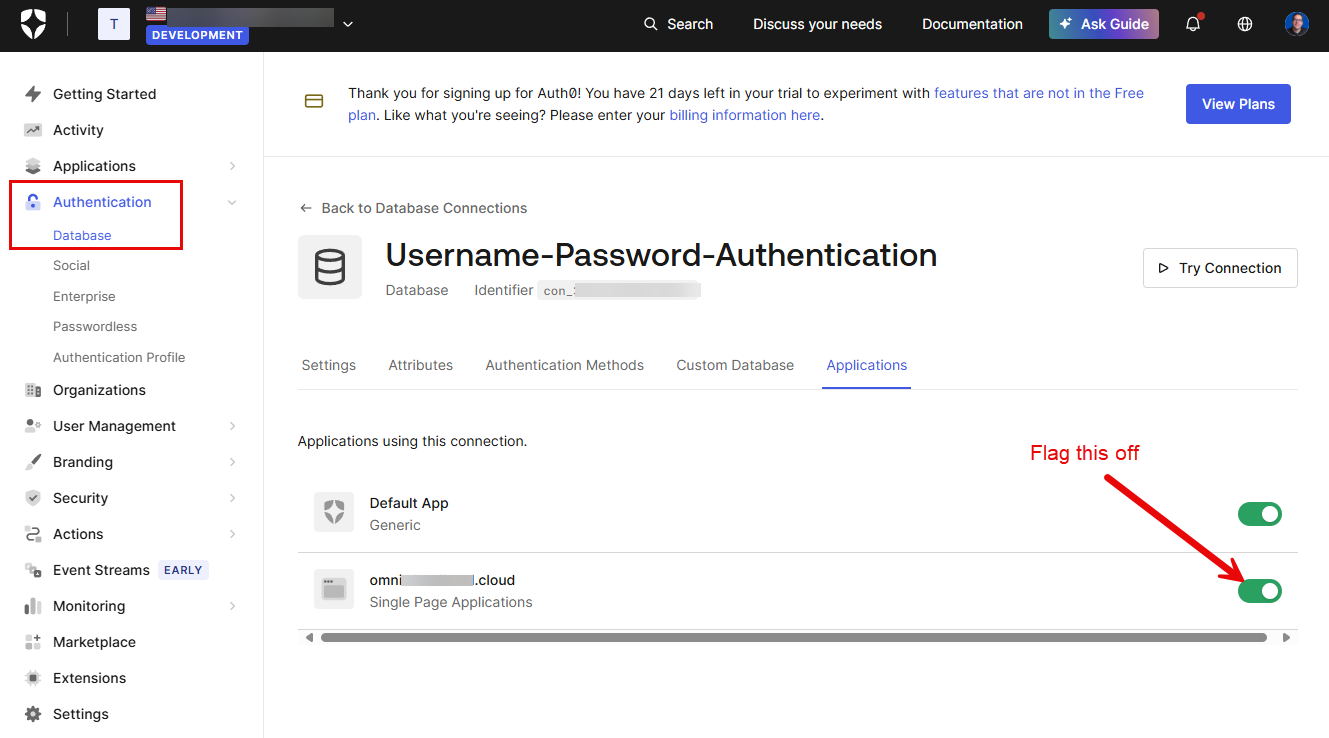
Flagging off username password auth
We want to navigate to Authentication > Database and toggle off the toggle for your application listed that we just created. This might seem like we are disabling it entirely. However, that is not the case. We are just simply telling Auth0 to not allow local users to Omni itself.
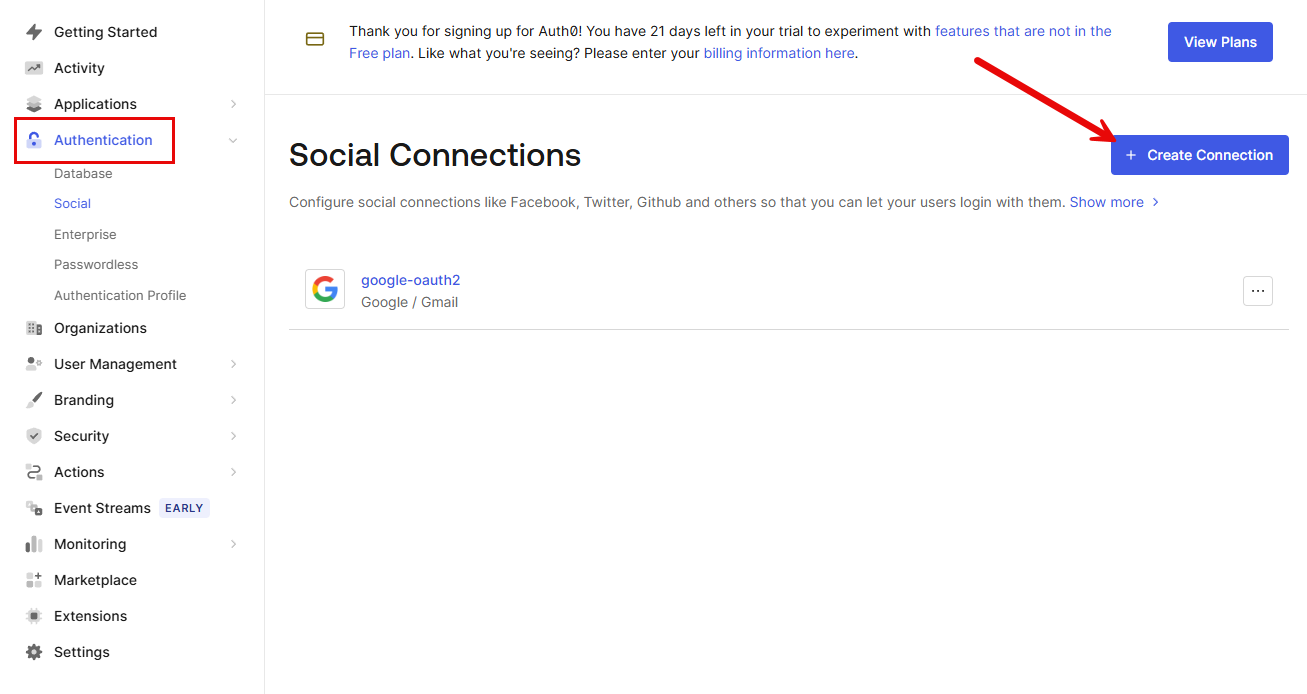
Configure a GitHub social connection
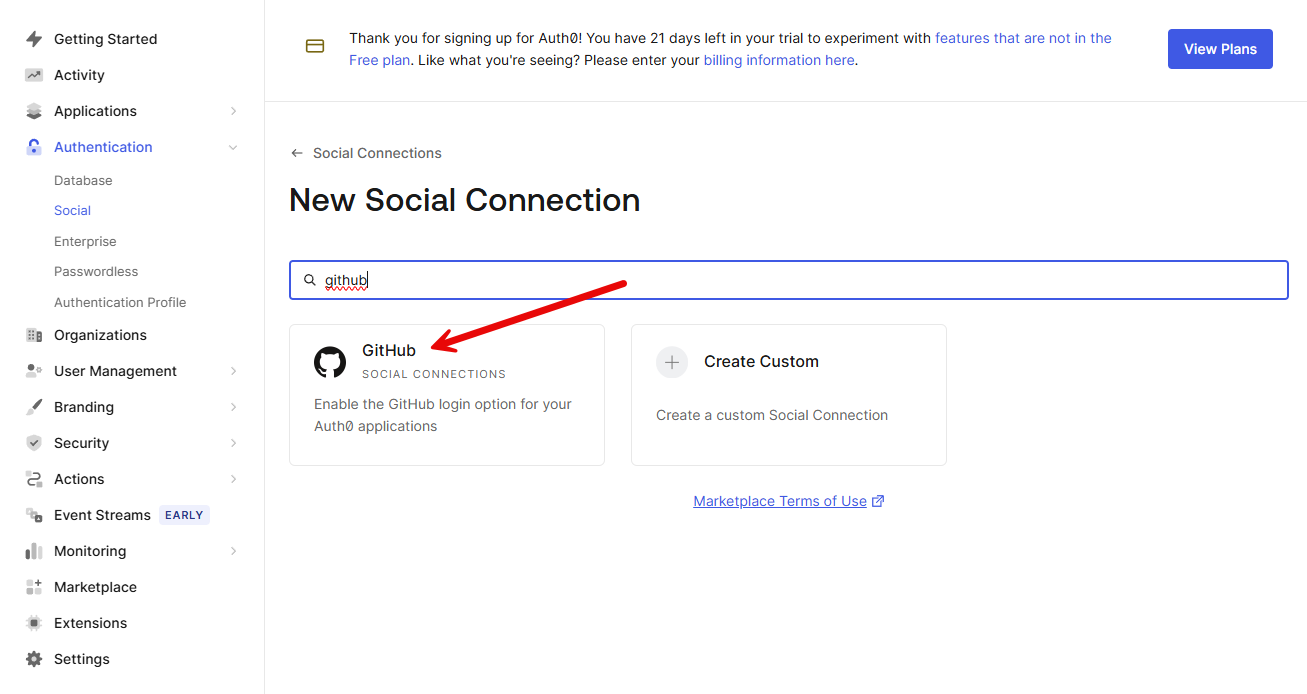
We need to add a GitHub connection according to the official Sidero Labs documentation. Click Authentication > Create Connection to begin the process to add GitHub.
Next, we need to create a Social Connection for GitHub.
On the New Social Connection search, search for GitHub. Then click it.
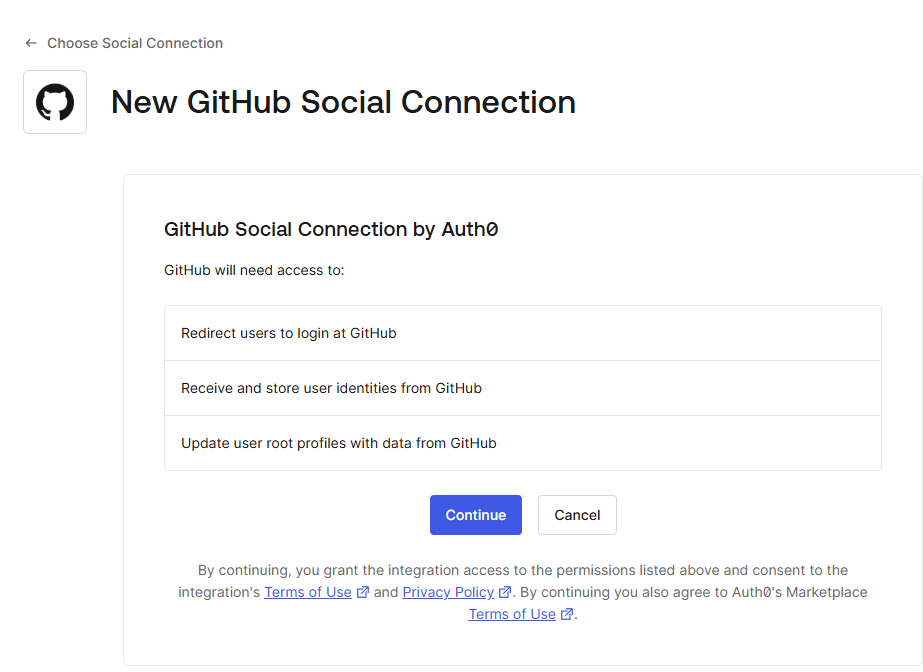
Review the access and then click Continue.
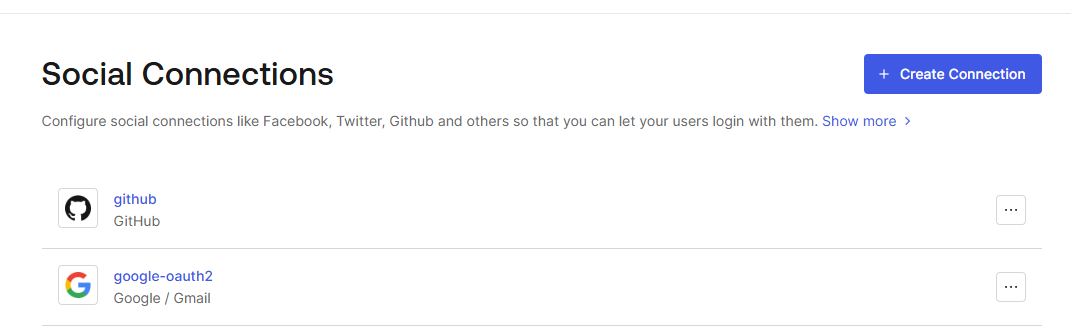
On the Social Connections page, you should see your connections listed. I used Google to sign up for Auth0 so this will be an auth provider along with Github.
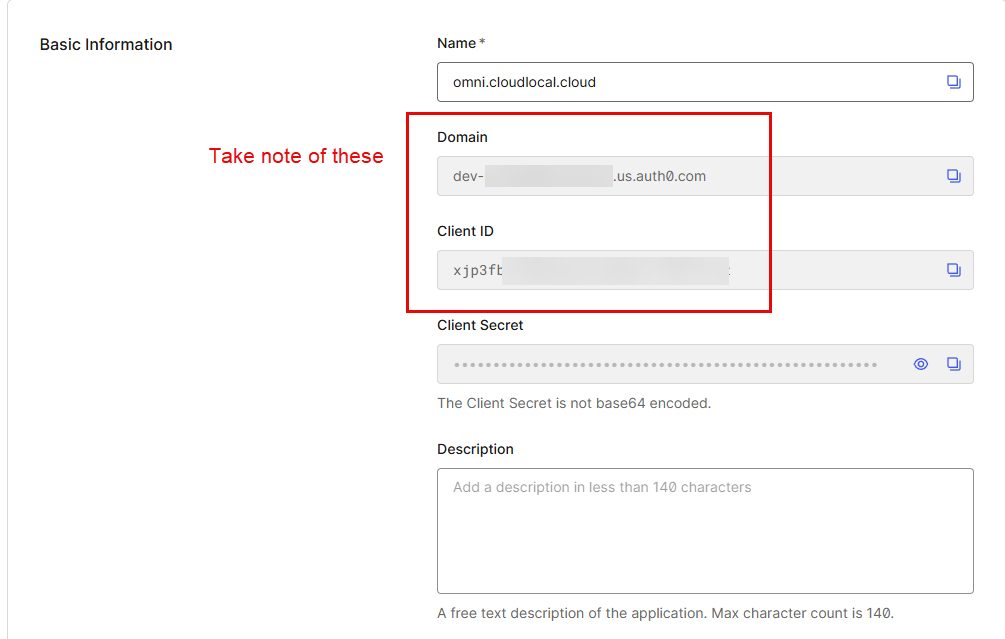
Taking note of your information needed for Omni
Finally, we get to the information we need to move forward with after getting everything configured in Auth0. Take note of and copy down your Domain and the Client ID. We will use this in our Omni bootstrap process.
Bootstrapping Omni – ***Updated instructions for 1.4.x & higher***
As a note, versions 1.4.x and higher have sqlite storage as a requirement. You just need to point it to the storage location and it will migrate everything for you. I have highlighted the sqlite additions in the .env and compose file.
Now we can bootstrap Omni using the information and configuration we have in place. First, let’s download the files needed.
## Set the version of Omni
export OMNI_VERSION=1.4.6

## Download the .env file template
https://raw.githubusercontent.com/siderolabs/omni/v${OMNI_VERSION}/deploy/env.template   | envsubst > omni.env

## Download the compose file
https://raw.githubusercontent.com/siderolabs/omni/v${OMNI_VERSION}/deploy/compose.yaml -o compose.yaml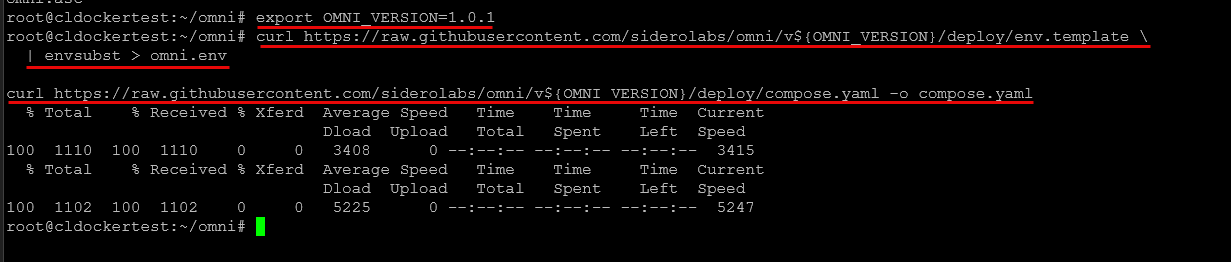
Template .env file for Omni
Below is an example of the .env file from the downloaded template. There are a few callouts here that you need to take note of. Create a UUID for your installation. You can use uuidgen. Also, you will see the TLS CERT path should be what you created using certbot. So make sure your path is correct for that config in the .env file.
The <your-domain> variables need your omni hostname domain populated and then of course the auth0 specific config.
Also, the INITIAL_USER_EMAILS, needs to be the initial email address with Auth0 that you want to be able to authenticate.
omni.env file
# Omni
OMNI_IMG_TAG=v1.4.6
OMNI_ACCOUNT_UUID=<your-uuid-here>
NAME=omni
EVENT_SINK_PORT=8091

# =========================
# Storage (Required in 1.4.x)
# =========================
SQLITE_STORAGE_PATH=/_out/sqlite/omni.sqlite.db

## Keys and Certs
TLS_CERT=/etc/letsencrypt/live/<your-domain>/fullchain.pem
TLS_KEY=/etc/letsencrypt/live/<your-domain>/privkey.pem
ETCD_VOLUME_PATH=/etc/etcd
ETCD_ENCRYPTION_KEY=/root/omni/omni.asc

## Binding
BIND_ADDR=0.0.0.0:443
MACHINE_API_BIND_ADDR=0.0.0.0:8090
K8S_PROXY_BIND_ADDR=0.0.0.0:8100

## Domains and Advertisements
OMNI_DOMAIN_NAME=<your-domain>
ADVERTISED_API_URL=https://<your-domain>
SIDEROLINK_ADVERTISED_API_URL=https://<your-domain>:8090/
ADVERTISED_K8S_PROXY_URL=https://<your-domain>:8100/
SIDEROLINK_WIREGUARD_ADVERTISED_ADDR=<your-domain>:50180

## Users
INITIAL_USER_EMAILS=<your-initial-admin-email>

## Authentication
AUTH=--auth-auth0-enabled=true --auth-auth0-domain=<your-auth0-domain> --auth-auth0-client-id=<your-auth0-client-id>
compose.yaml
name: omni-on-prem

services:
  omni:
    container_name: omni
    image: ghcr.io/siderolabs/omni:${OMNI_IMG_TAG}

    network_mode: host

    devices:
      - /dev/net/tun

    cap_add:
      - NET_ADMIN

    volumes:
      - ${ETCD_VOLUME_PATH}:/_out/etcd
      - /root/omni/sqlite:/_out/sqlite
      - ${ETCD_ENCRYPTION_KEY}:/omni.asc
      - ${TLS_CERT}:/tls.crt
      - ${TLS_KEY}:/tls.key

    command: >
      --account-id=${OMNI_ACCOUNT_UUID}
      --name=${NAME}
      --sqlite-storage-path=${SQLITE_STORAGE_PATH}
      --cert=/tls.crt
      --key=/tls.key
      --machine-api-cert=/tls.crt
      --machine-api-key=/tls.key
      --private-key-source=file:///omni.asc
      --event-sink-port=${EVENT_SINK_PORT}
      --bind-addr=${BIND_ADDR}
      --machine-api-bind-addr=${MACHINE_API_BIND_ADDR}
      --k8s-proxy-bind-addr=${K8S_PROXY_BIND_ADDR}
      --advertised-api-url=${ADVERTISED_API_URL}
      --advertised-kubernetes-proxy-url=${ADVERTISED_K8S_PROXY_URL}
      --siderolink-api-advertised-url=${SIDEROLINK_ADVERTISED_API_URL}
      --siderolink-wireguard-advertised-addr=${SIDEROLINK_WIREGUARD_ADVERTISED_ADDR}
      --initial-users=${INITIAL_USER_EMAILS}
      --auth-auth0-enabled=true
      --auth-auth0-domain=${AUTH0_DOMAIN}
      --auth-auth0-client-id=${AUTH0_CLIENT_ID}

    restart: always
Bringing up Omni
After you have your .env file created (note you can create .env or omni.env – just make sure to use the –env-file parameter if you use something named other than .env), run the docker compose up -d command:
docker compose --env-file omni.env up -d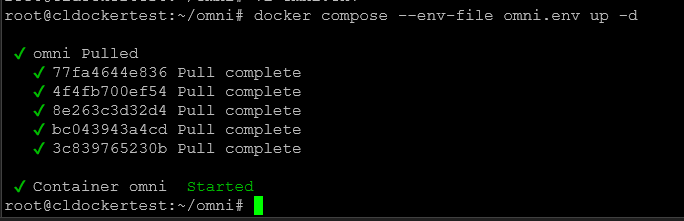
You can check on the status with the docker compose ps command:

First login
Now, you just need to navigate to your proper hostname that should be secured with a proper let’s encrypt certificate. ***Note*** you will need to make sure your DNS points to the Docker host that is running your Omni container. Or, you can also use a “hosts” file to point your name resolution to this host.
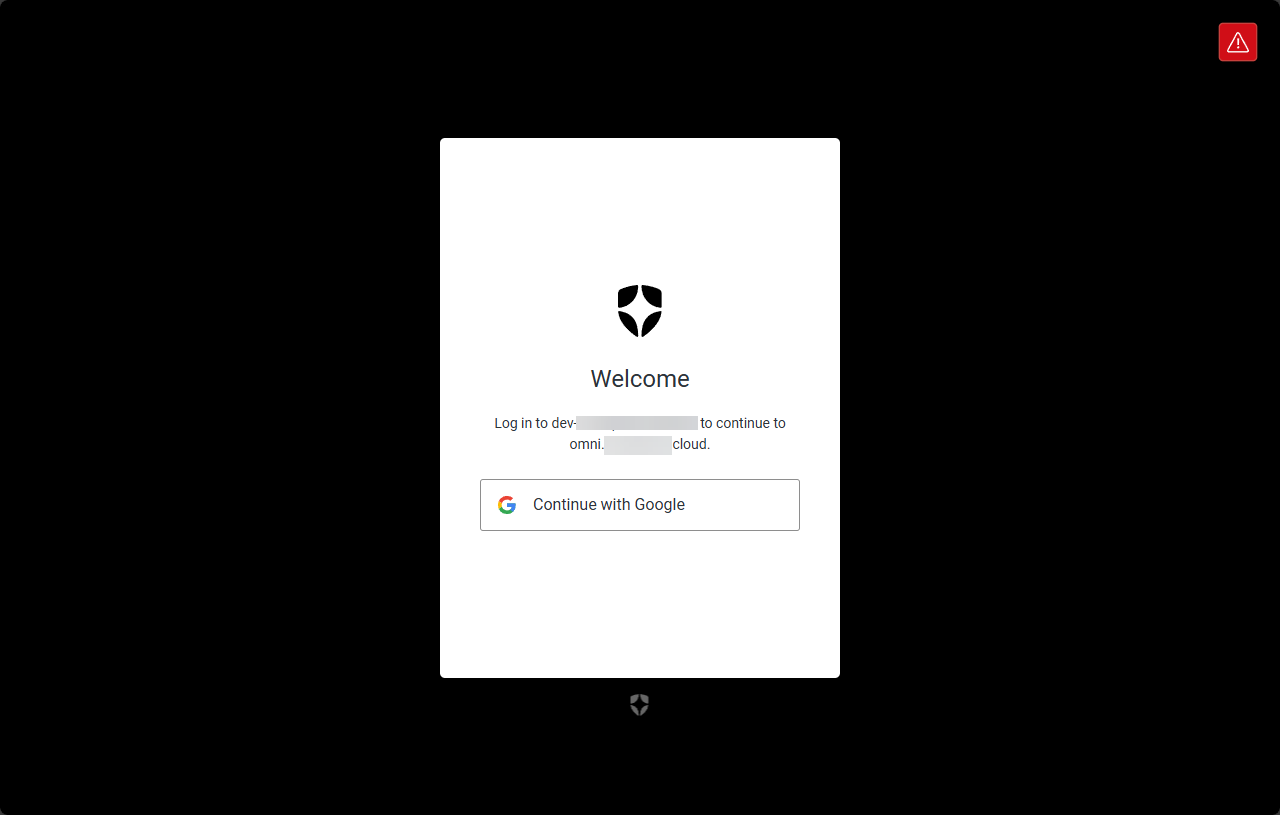
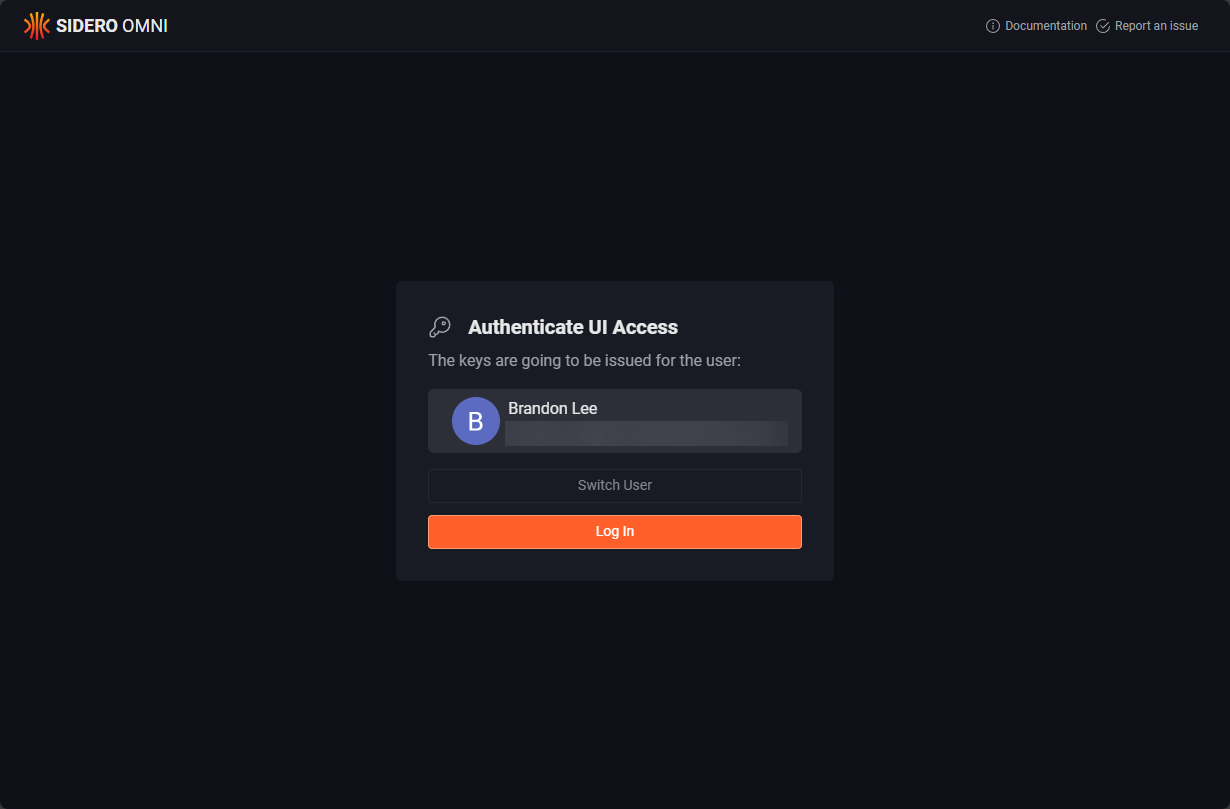
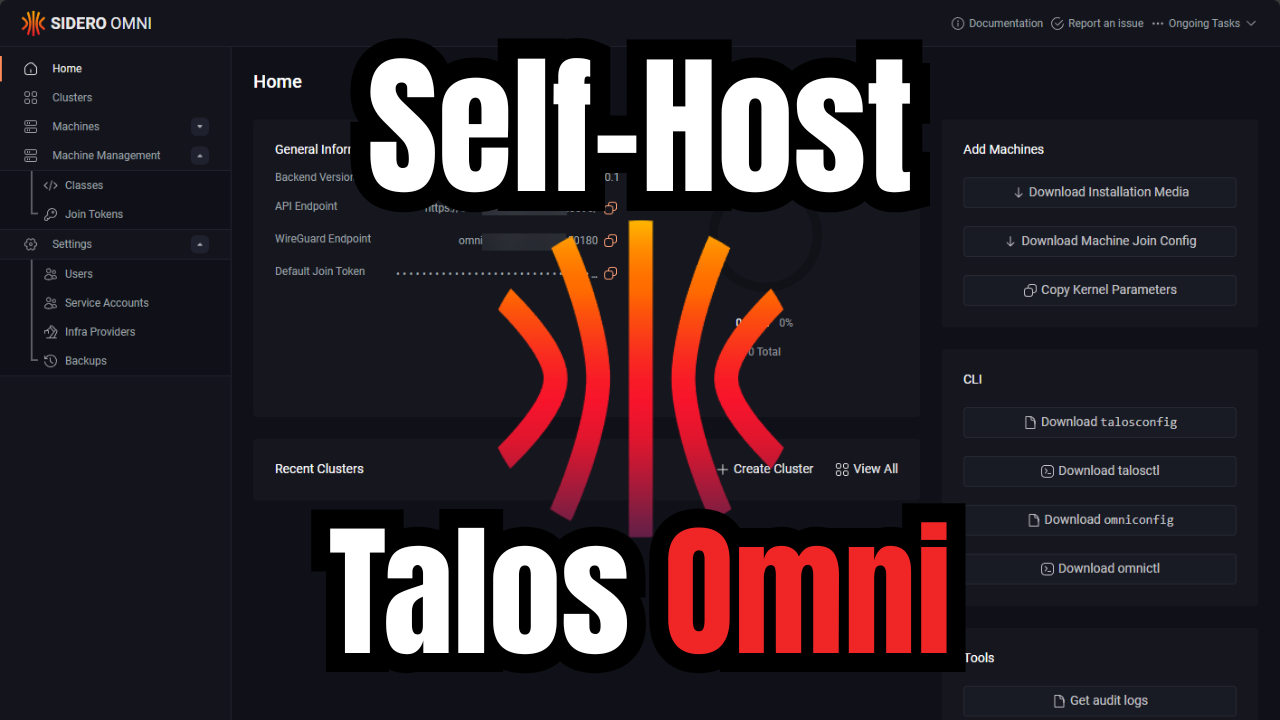
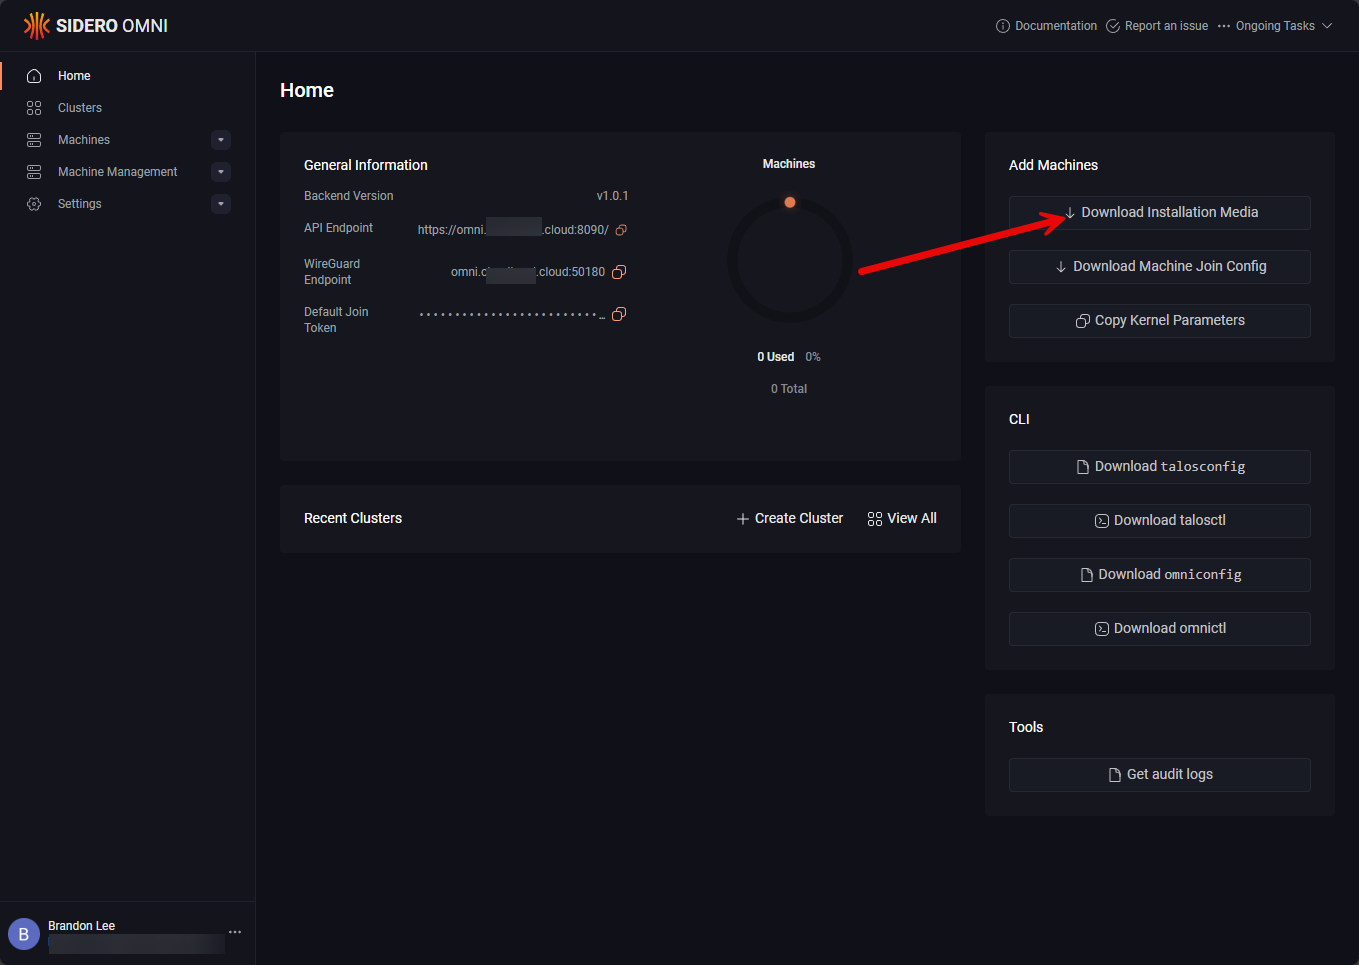
This takes us to the Omni dashboard after logging in. We can get started by downloading the installation media for our Talos Linux nodes.
Wrapping up
Hopefully this guide on how to install Talos Omni on-prem will help you get up and running with a self-hosted version of the Omni SaaS solution. It works great to self-host it and you don’t have to sign up for any kind of SaaS subscription. It works without any cloud connections from Talos, other than the required Auth0 configuration. There may be another way to cut out the Auth0 part, however, in this how to install Talos Omni on-prem guide, I was mainly following the official documentation from Talos. Let me know if you have played around with running Talos Omni, and if you are using Talos Linux Kubernetes in your home lab.
Google is updating how articles are shown. Don’t miss our leading home lab and tech content, written by humans, by setting Virtualization Howto as a preferred source.
About The Author

That domain all along the article has to be a public one? The DDNS ones are still valid for this ?
dmtsou,
I believe as long as the domain is publicly accessible, it should work.
Brandon