Create chaos in our home labs, on purpose? Is that a crazy idea? Well, it could be, but if you are into platform engineering and SRE type skills and want to do the same thing that Netflix, Google, and others have done to improve their environments, you may want to introduce chaos engineering. What is this? It might sound crazy, but intentionally causing failures in your environment helps to validate your design and resiliency. What’s so cool is that we can bring this same type of testing and tooling into the home lab. Let me show you how with LitmusChaos.
What is LitmusChaos?
LitmusChaos is an open-source toolkit that helps you test how well your Kubernetes applications can handle failures and is great for home lab chaos engineering. It works by running small “experiments” that deliberately break parts of your system. Think of it like shutting down pods, delaying network traffic, or using up CPU. Then it checks if your app keeps running smoothly or recovers quickly.
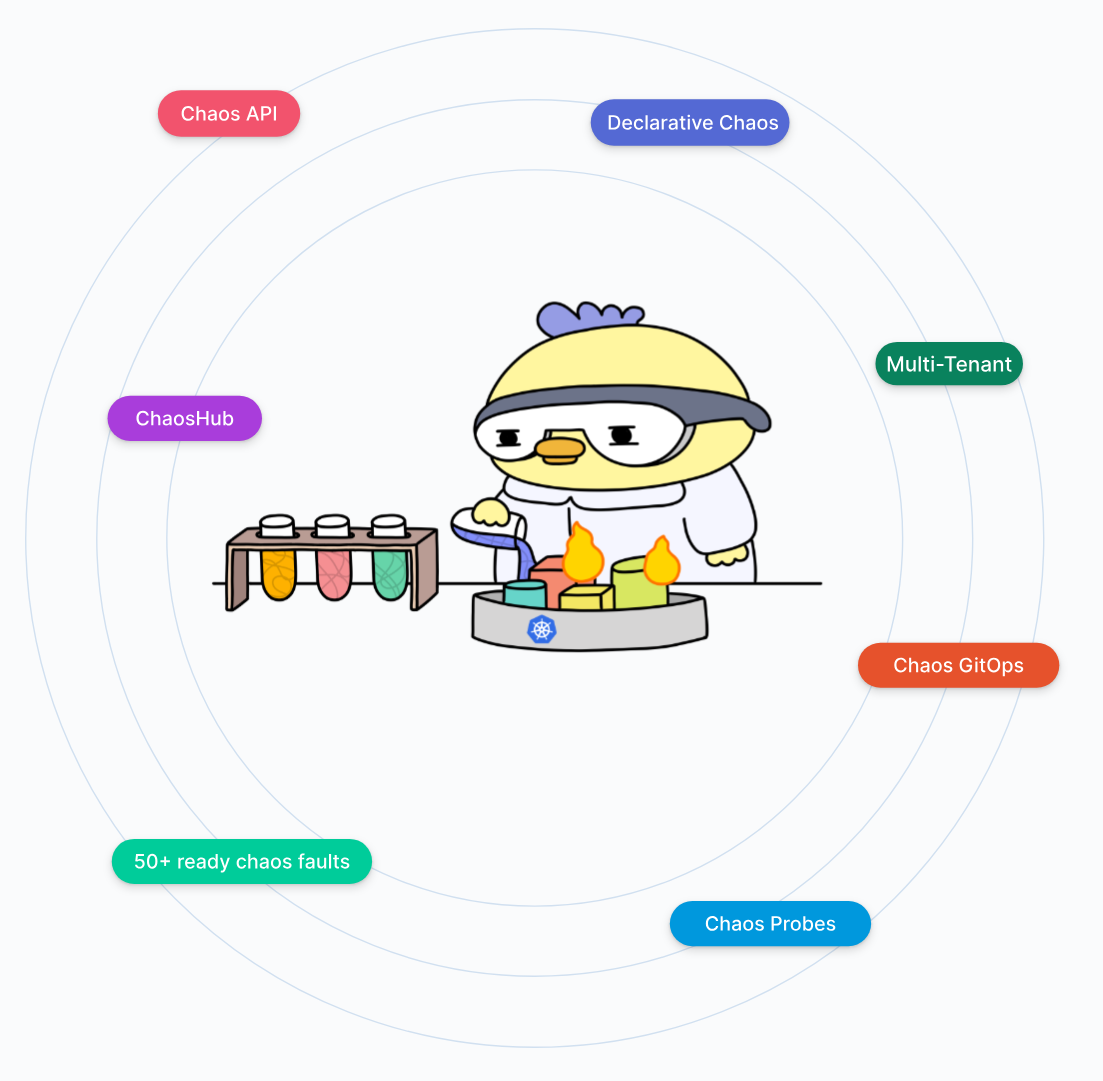
It is built as a native Kubernetes resource. So, LitmusChaos integrates directly into your cluster, allowing you to define tests with YAML files and schedule them alongside your normal workloads. It also uses a shared library of ready-made experiments called ChaosHub, you don’t need to write your own code to start breaking things.
What it includes
At a high level, it has two planes:
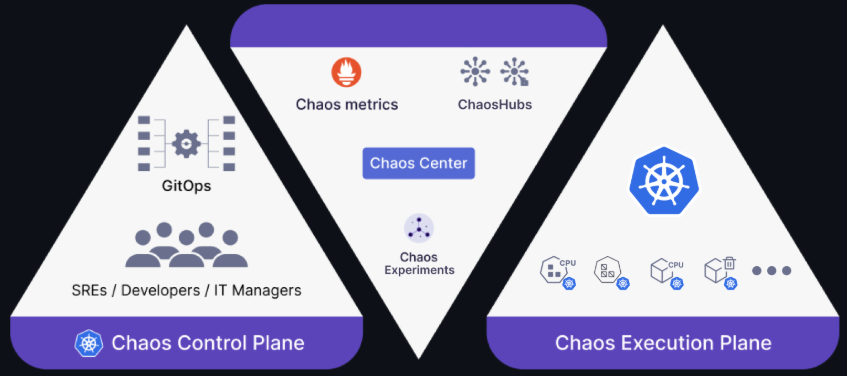
- Chaos Control Plane: A web-based “chaos-center” for designing, scheduling, and visualizing experiments.
- Chaos Execution Plane: A set of agents and operators that run and monitor experiments in your target cluster.
Under the hood, Litmus defines a few custom resources (CRs) to structure chaos workflows:
- ChaosExperiment – this is a template that packages a specific fault injection (e.g., CPU hog, pod delete), its permissions, defaults, and even allows you to bring your own tooling (BYOC).
- ChaosEngine – this is the component that binds a ChaosExperiment to your app or node and tunes how long to run it and what “steady-state” checks (probes) to apply. The Chaos-Operator watches this and triggers the experiment.
- Workflow – It combines multiple ChaosExperiment+ChaosEngine pairs in sequence or parallel for complex scenarios.
- ChaosResult – Records each experiment’s pass/fail verdict, rollback status, and probe outcomes and has a built-in exporter thjat converts these results into Prometheus metrics for monitoring.
You can just pick your experiment, configure a few settings, and let LitmusChaos do the rest. This tool also makes it super cool for anyone with basic Kubernetes knowledge to learn and practice real-world reliability techniques in their own home lab.
What is chaos engineering?
If you have not heard about this term before, Chaos engineering is the discipline of experimenting on a system to build confidence in its ability to withstand failure conditions in production. Instead of hoping nothing breaks, you proactively cause failures with things like CPU spikes, disk I/O throttling, and pod terminations.
Then you monitor how your system reacts against these. This practice helps to prove out the resiliency of your environment. So, it becomes not just a “this is what it is supposed to do”, but rather, this is what we have tested and it is does it. In a home lab setting, this is a great way to learn true Site Reliability Engineering (SRE) techniques.
The origin of the “Chaos Monkey”
The term “chaos engineering” owes much of the meaning to the term to Netflix’s early experiments it carried out to improve their system resilience. This is a super interesting story in case you haven’t read about it. In 2011, as Netflix was migrating its streaming services to the cloud, engineers Nora Jones, Casey Rosenthal, and Greg Orzell introduced Chaos Monkey. This is a tool that randomly terminated production instances during peak hours. See the article here on Wikipedia.
“Knowing that [failures] would happen frequently has created a strong alignment among engineers to build redundancy and process automation to survive such incidents, without impacting the millions of Netflix users.”
By forcing teams to expect and design for failures, Chaos Monkey turned fragility into much better resilience for microservices. Netflix later open-sourced it (alongside its broader “Simian Army” suite) in 2012. The Simian Army project is no longer maintained according to the GitHub repo: GitHub – Netflix/chaosmonkey: Chaos Monkey is a resiliency tool that helps applications tolerate random instance failures.
Introducing LitmusChaos
While Chaos Monkey was built for large deployments at the scale of NetFlix operating with the Spinnaker platform, LitmusChaos is a CNCF-hosted, open-source platform focused on Kubernetes-native chaos engineering. It provides:
- Declarative experiments defined via Kubernetes CRDs
- A ChaosHub library of community-contributed fault-injection tests
- Operators and controllers that automate experiment scheduling and result collection
Because Litmus runs as Kubernetes workloads itself, you can deploy it in any cluster—bare-metal, Proxmox VMs, or even a single-node K3s setup in your basement.
Setting Up LitmusChaos in Your Home Lab
There are a few prerequisites to be aware of and make sure you have, including the following:
- Kubernetes v1.17+
- A PersistentVolume (20 GB recommended, but you can start with something like 1 GB for testing)
- Helm 3 and/or kubectl
Now, let’s look at installing with either helm or kubectl.
1. Install with Helm
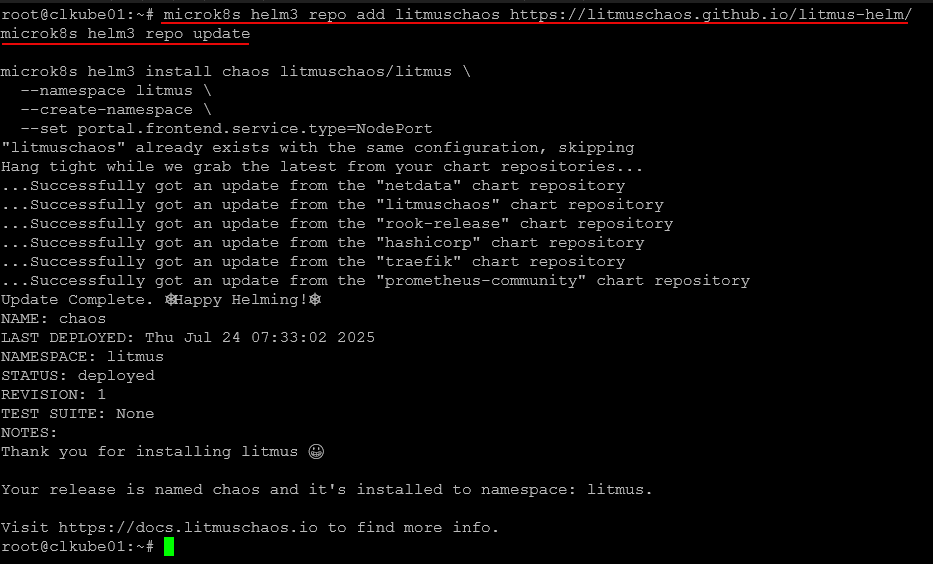
Add the Litmus Helm repository
helm repo add litmuschaos https://litmuschaos.github.io/litmus-helm/
helm repo update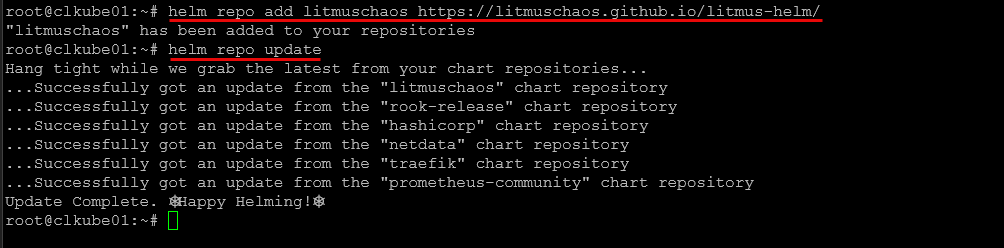
Create a namespace (we’ll use litmus)
kubectl create ns litmusDeploy the ChaosCenter
helm install chaos litmuschaos/litmus --namespace=litmus --set portal.frontend.service.type=NodePort Since I am using microk8s, I tweak the command a bit to use the microk8s helm command.
If you’re on a remote cluster, take out the NodePort setting and instead kubectl port-forward the frontend service Litmus Docs.
***Note*** I had issues getting the mongodb component to come online. As it turns out the helm chart references an old bitnami link URL for the image. I had to run these additional commands:
kubectl patch statefulset chaos-mongodb -n litmus --type='json' -p='[{"op":"replace","path":"/spec/template/spec/initContainers/0/image","value":"docker.io/bitnami/os-shell:latest"}]'

kubectl delete pod chaos-mongodb-0 -n litmus

kubectl get pods -n litmus -o wide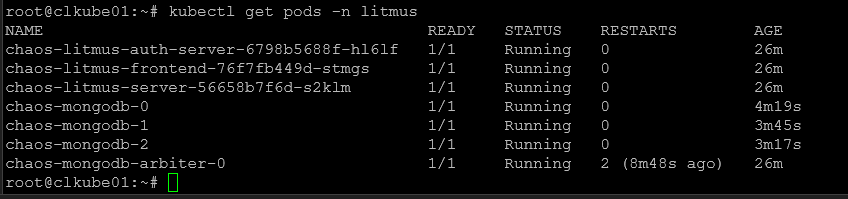
2. Install with kubectl
Install MongoDB (needed by ChaosCenter)
helm repo add bitnami https://charts.bitnami.com/bitnami helm install mongo bitnami/mongodb -n litmus --create-namespaceApply the Litmus manifest
kubectl apply -f https://raw.githubusercontent.com/litmuschaos/litmus/master/mkdocs/docs/3.16.0/litmus-getting-started.yaml \ -n litmus ``` :contentReference[oaicite:2]{index=2}Logging in and changing password
Next, you can navigate and browse to your nodePort. You can find that by looking at pods in a specific namespace:
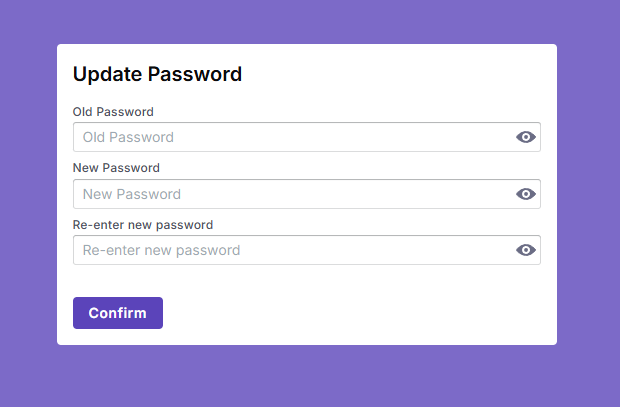
kubectl get pods -n litmusThe default user/pass is admin/litmus.
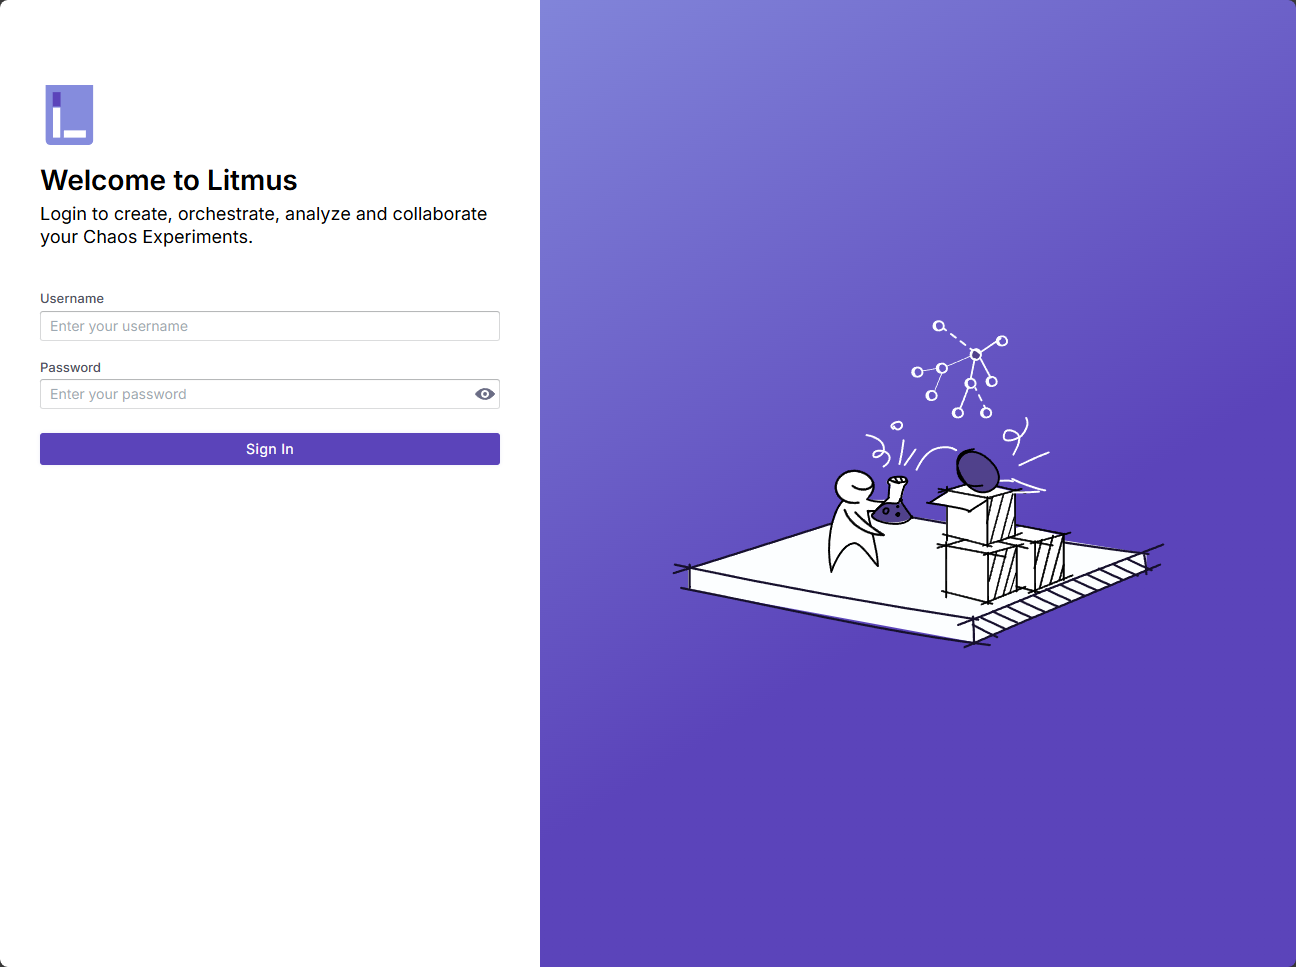
You will be asked to change your password.
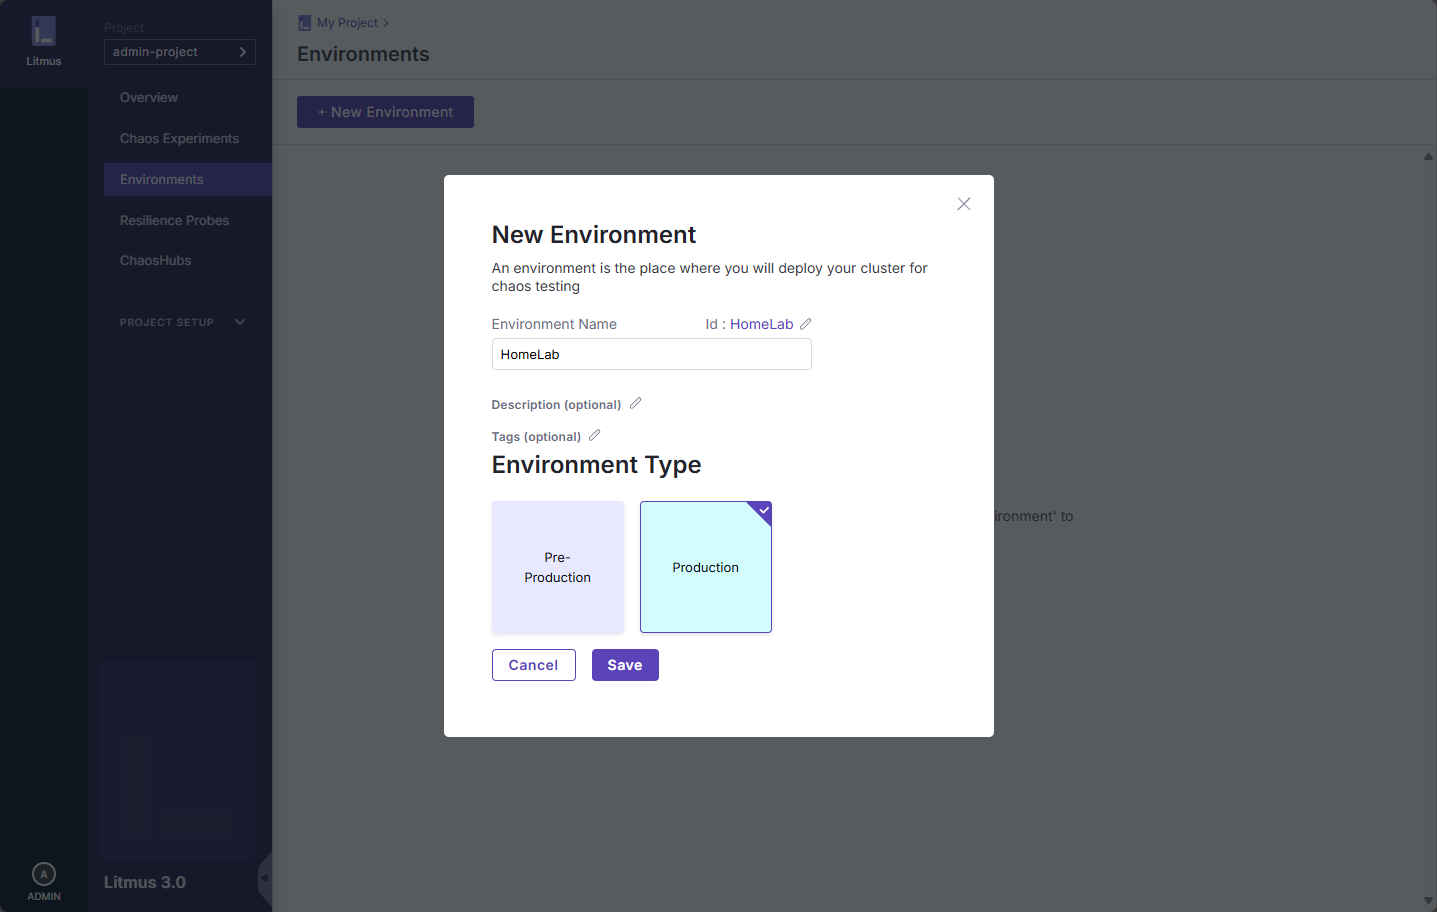
Next, we setup a new environment. You have the choice of preproduction and production.
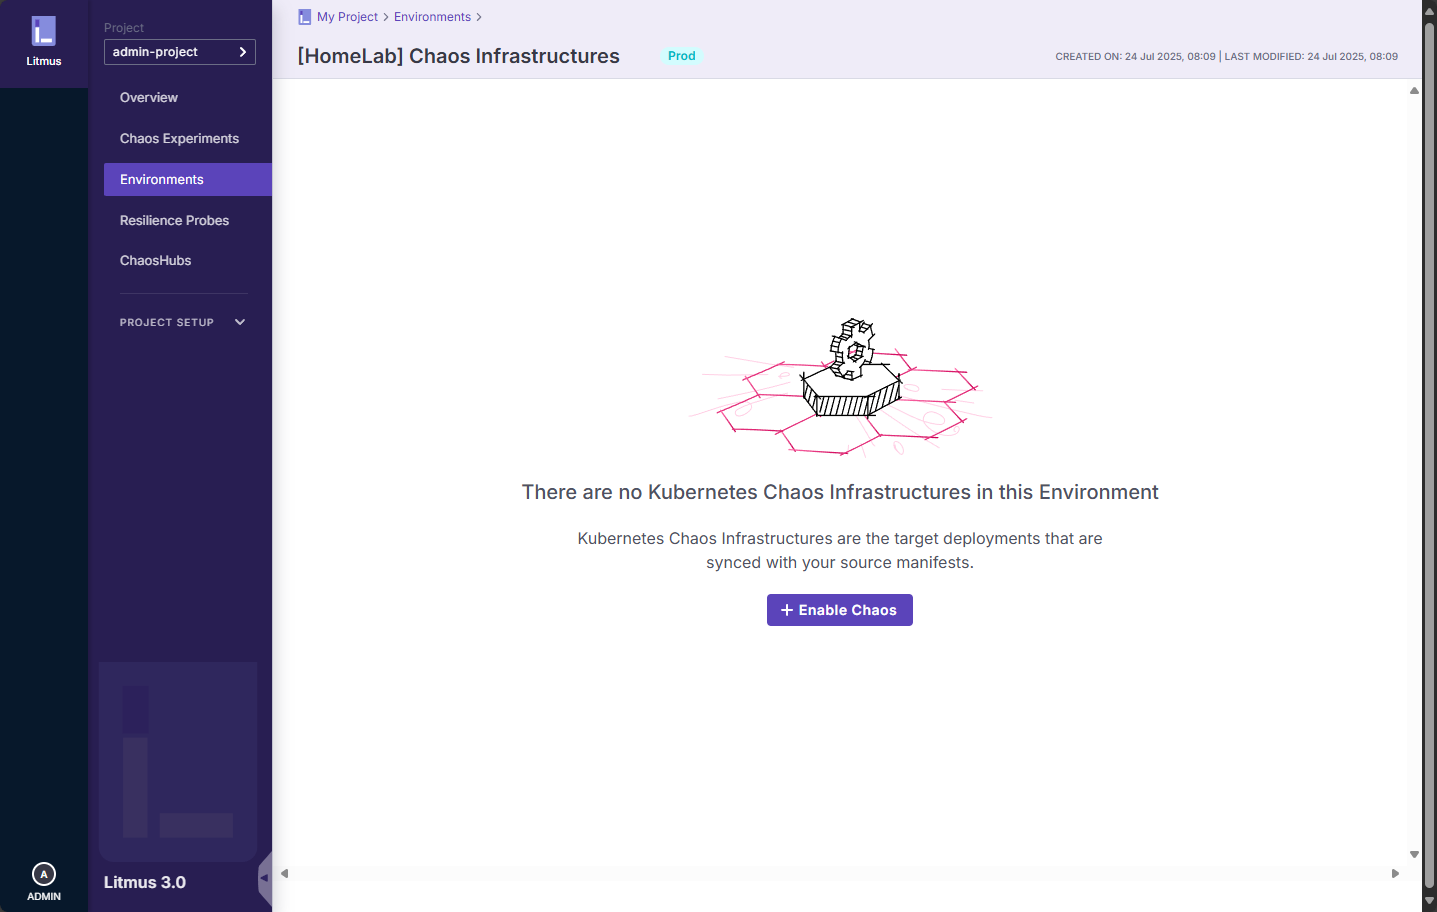
You need to “enable chaos” for your environment. This will generate a YML file that you deploy.
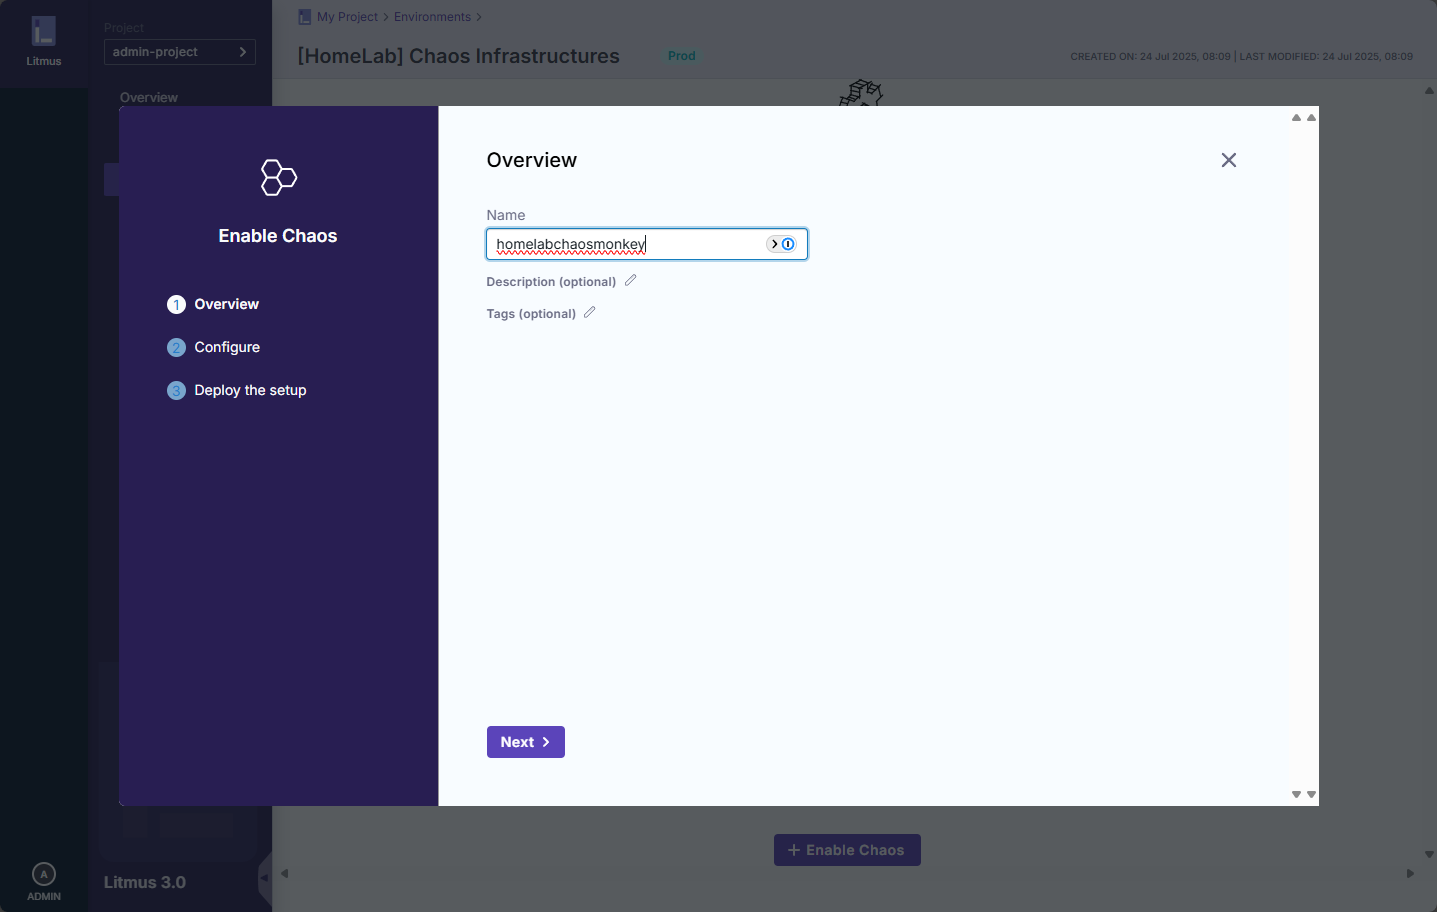
Name your chaose environment.
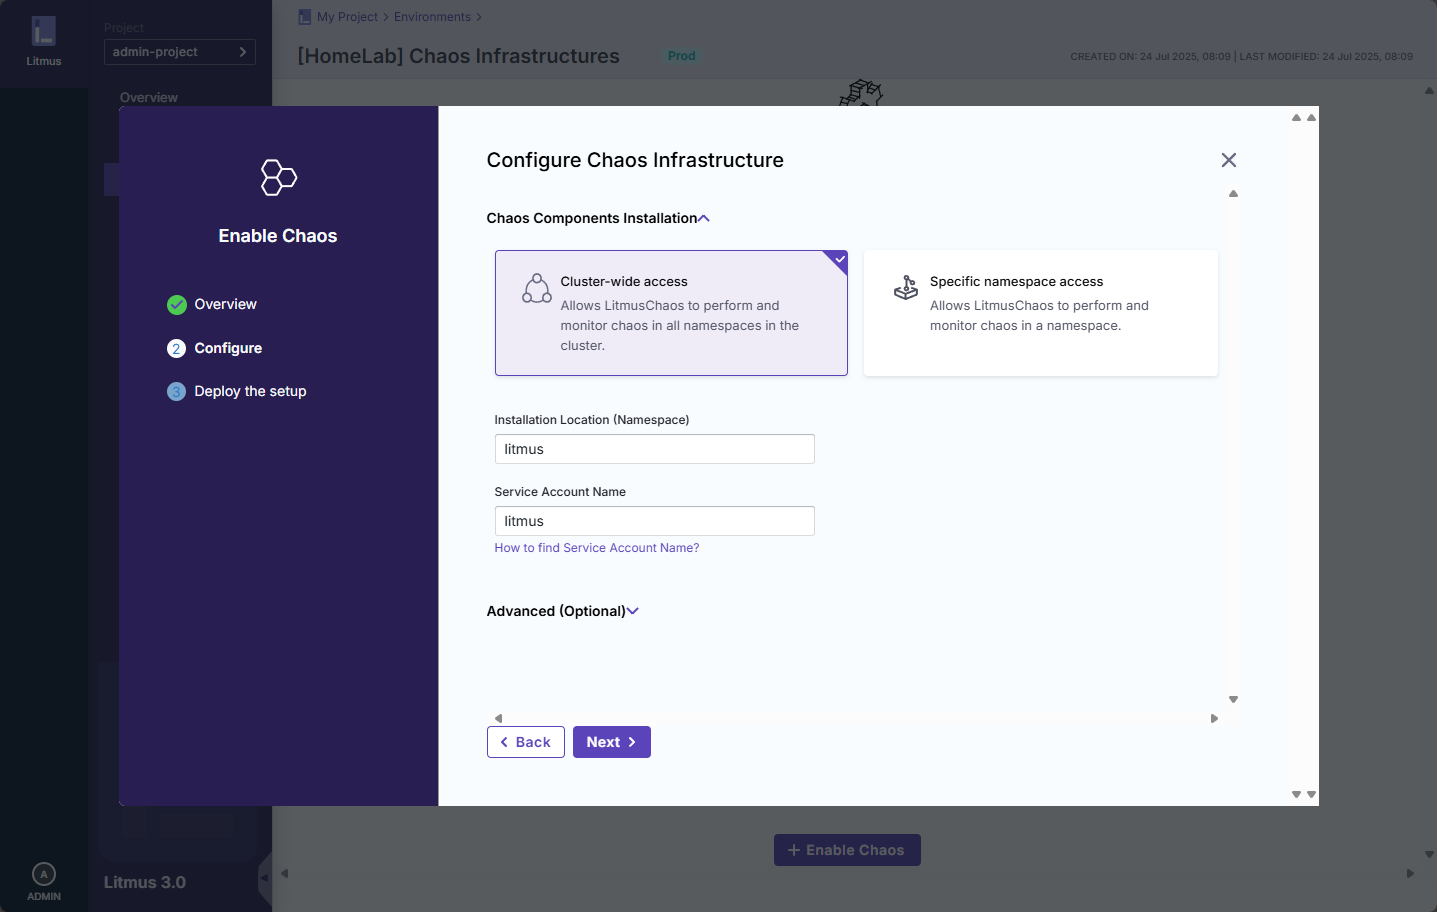
Scope the access of the chaos monkey.
Deploy your infrastructure. Download the YML file.
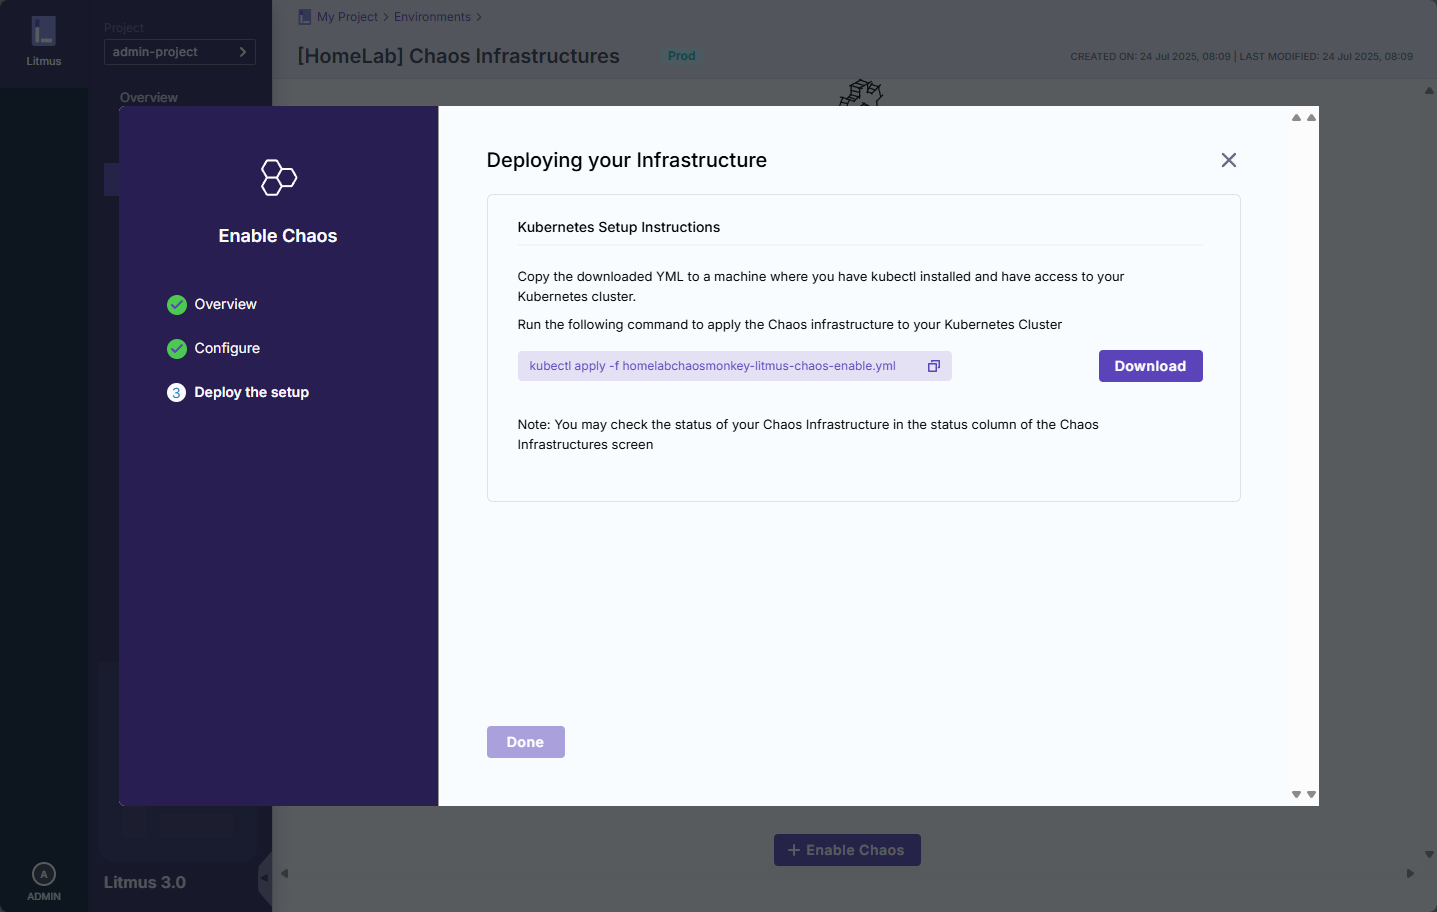
Run the YML file in your cluster:
kubectl apply -f <filename.yml>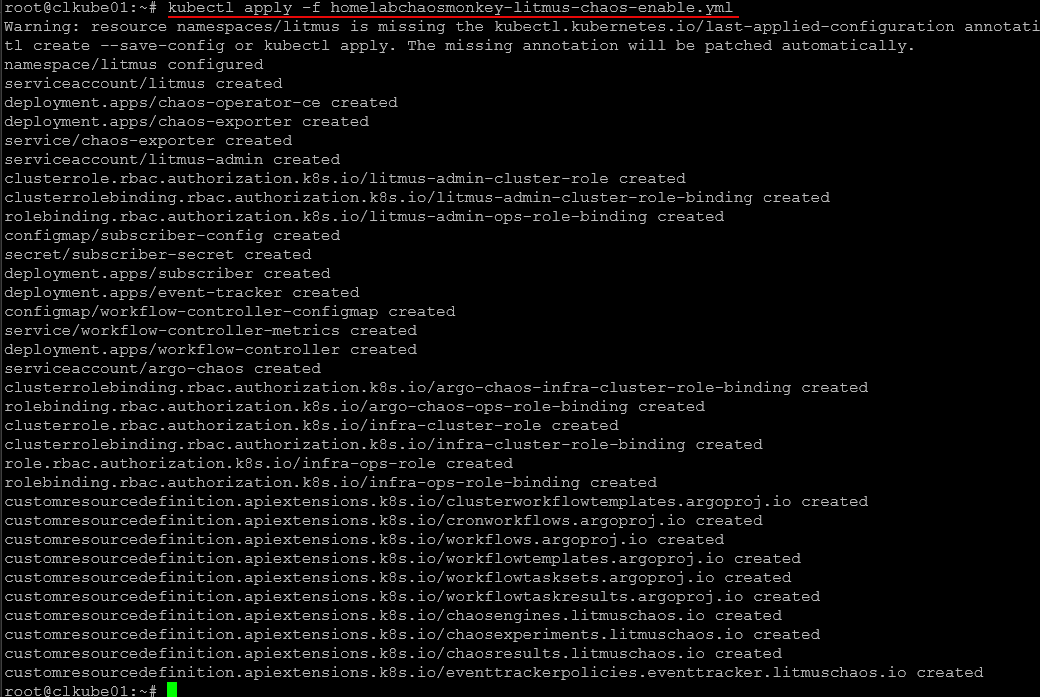
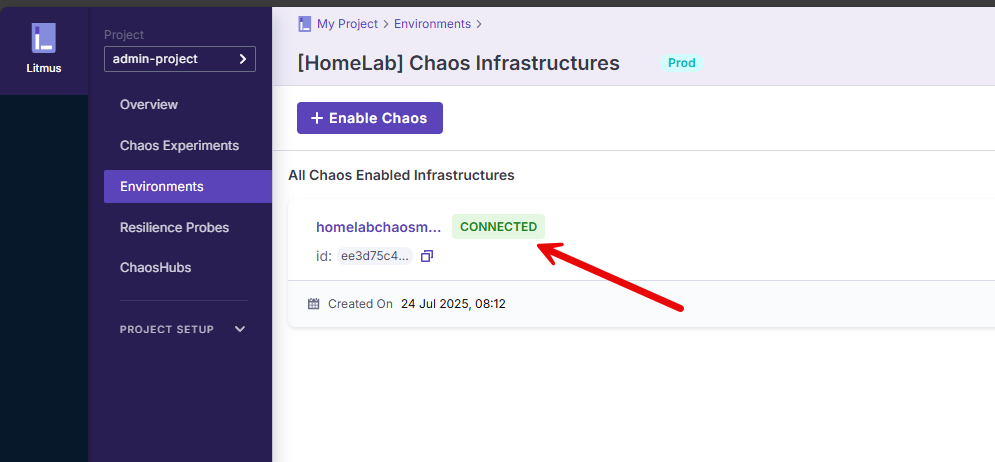
Your environment should show to be connected.
Resilience probes are the mechanism it uses to determine the resiliency of your apps and Kubernetes cluster.
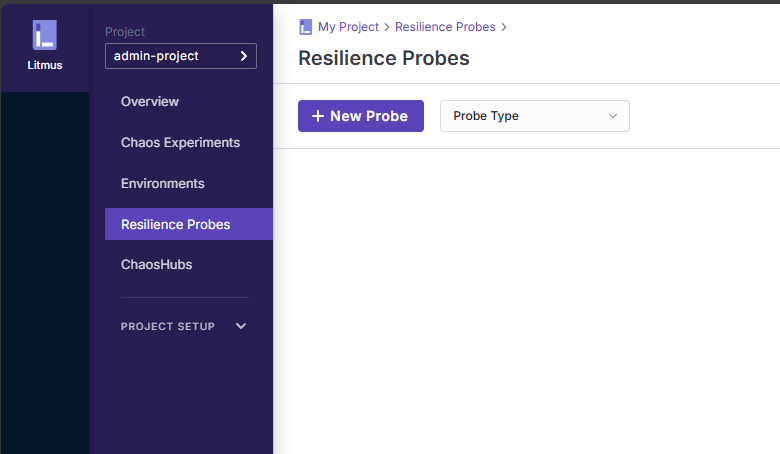
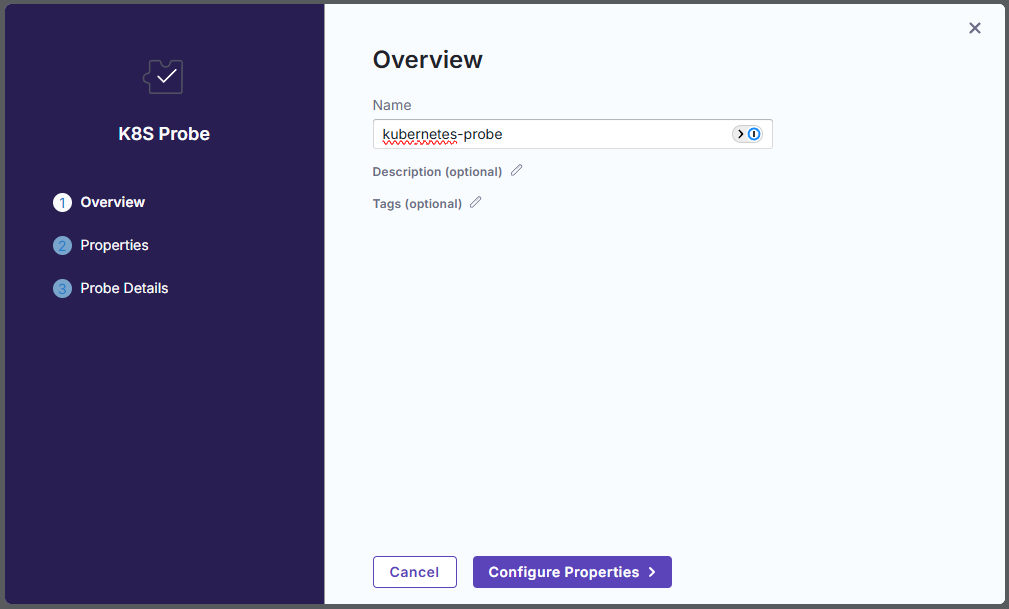
Select the probe type.
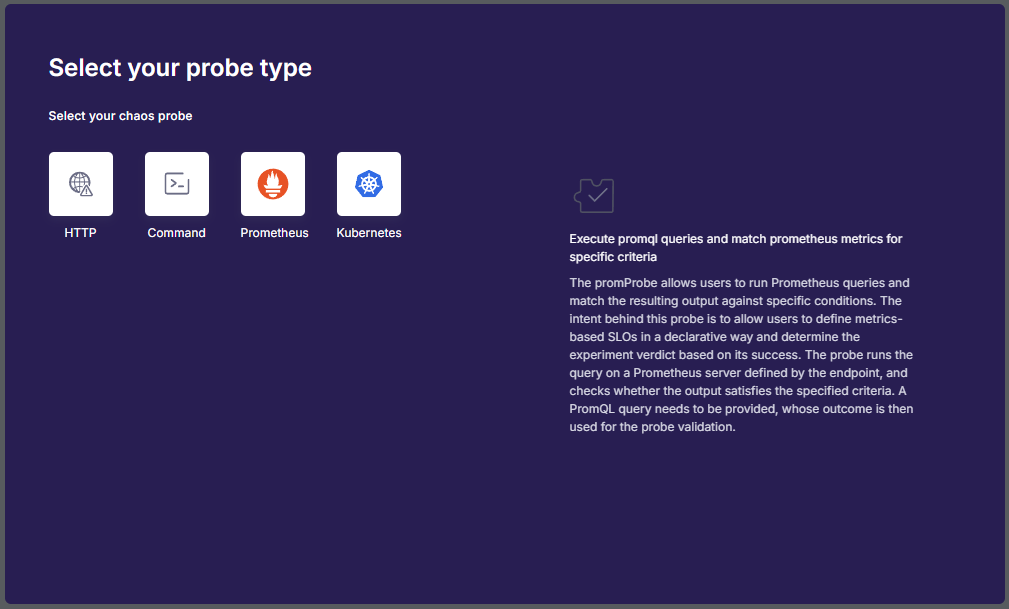
Name your probe and finish out the wizard.
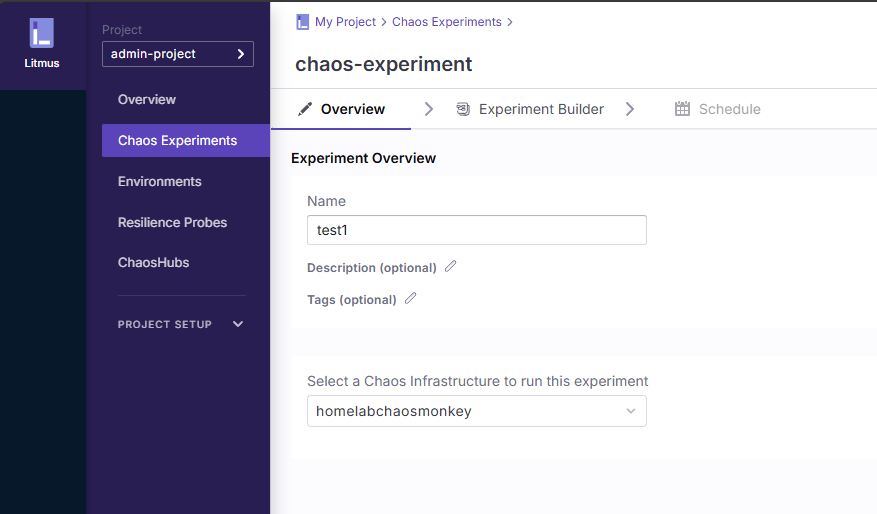
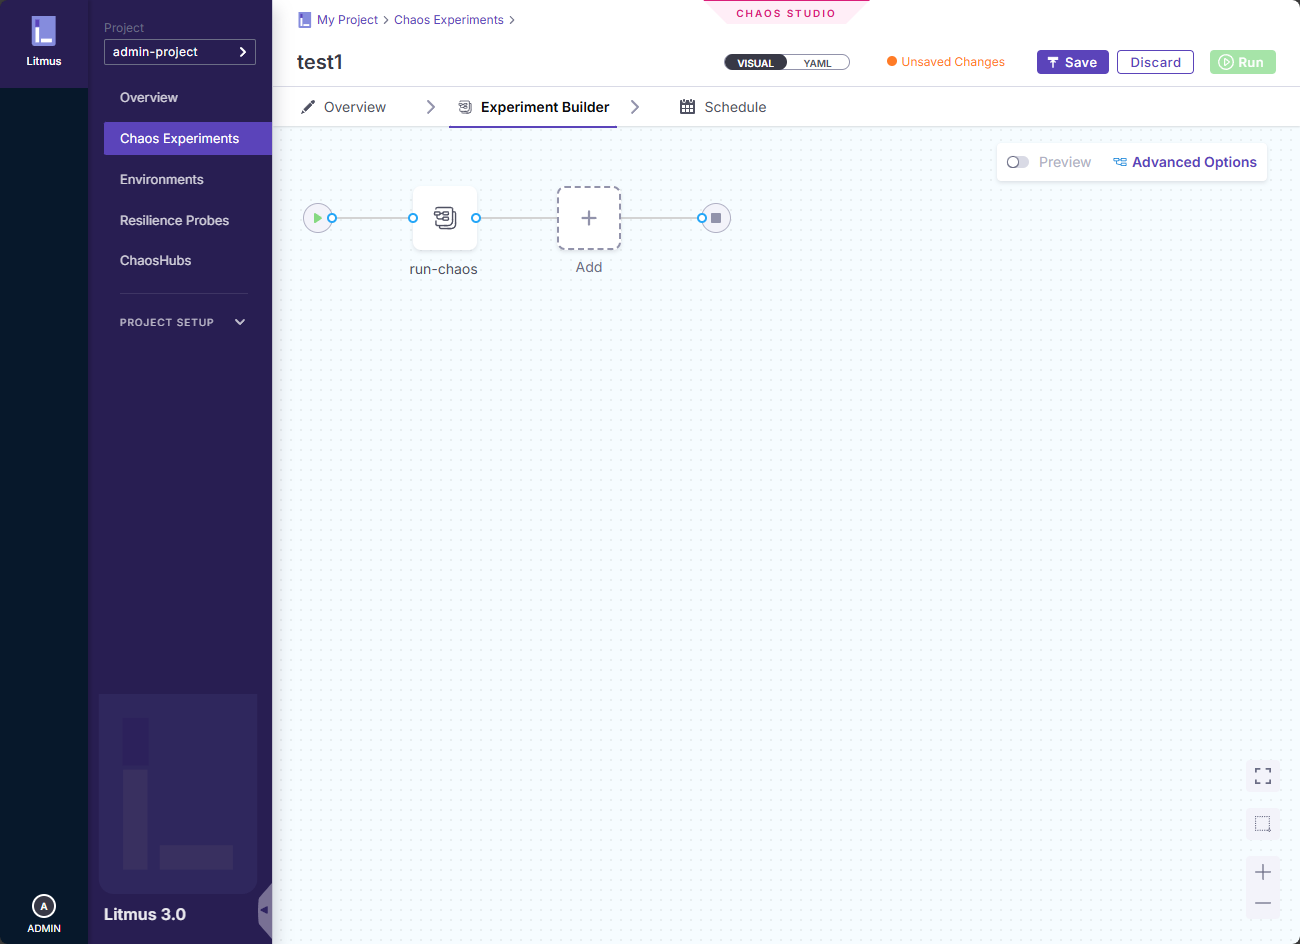
Creeating your first chaos experiment
The Chaos Experiments menu is where you actually build out the chaos experiment.
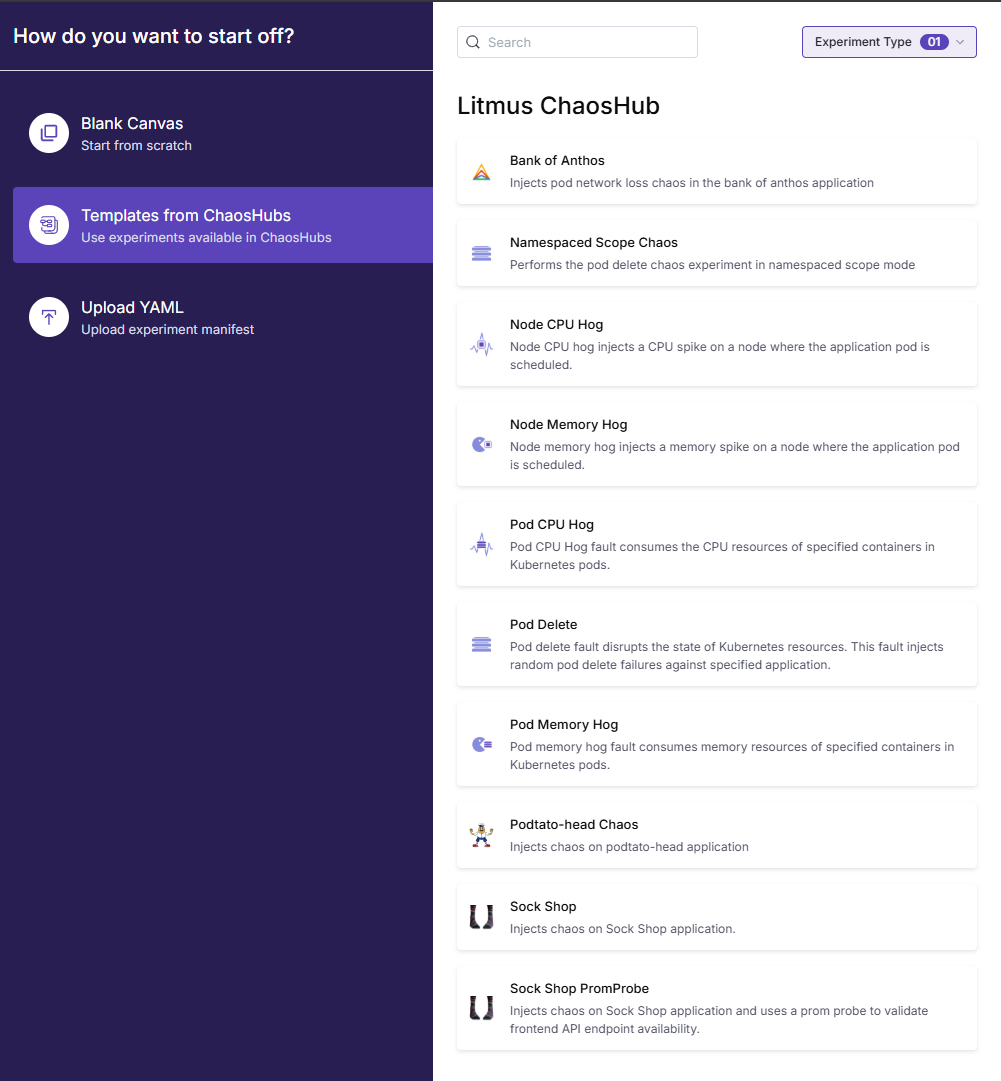
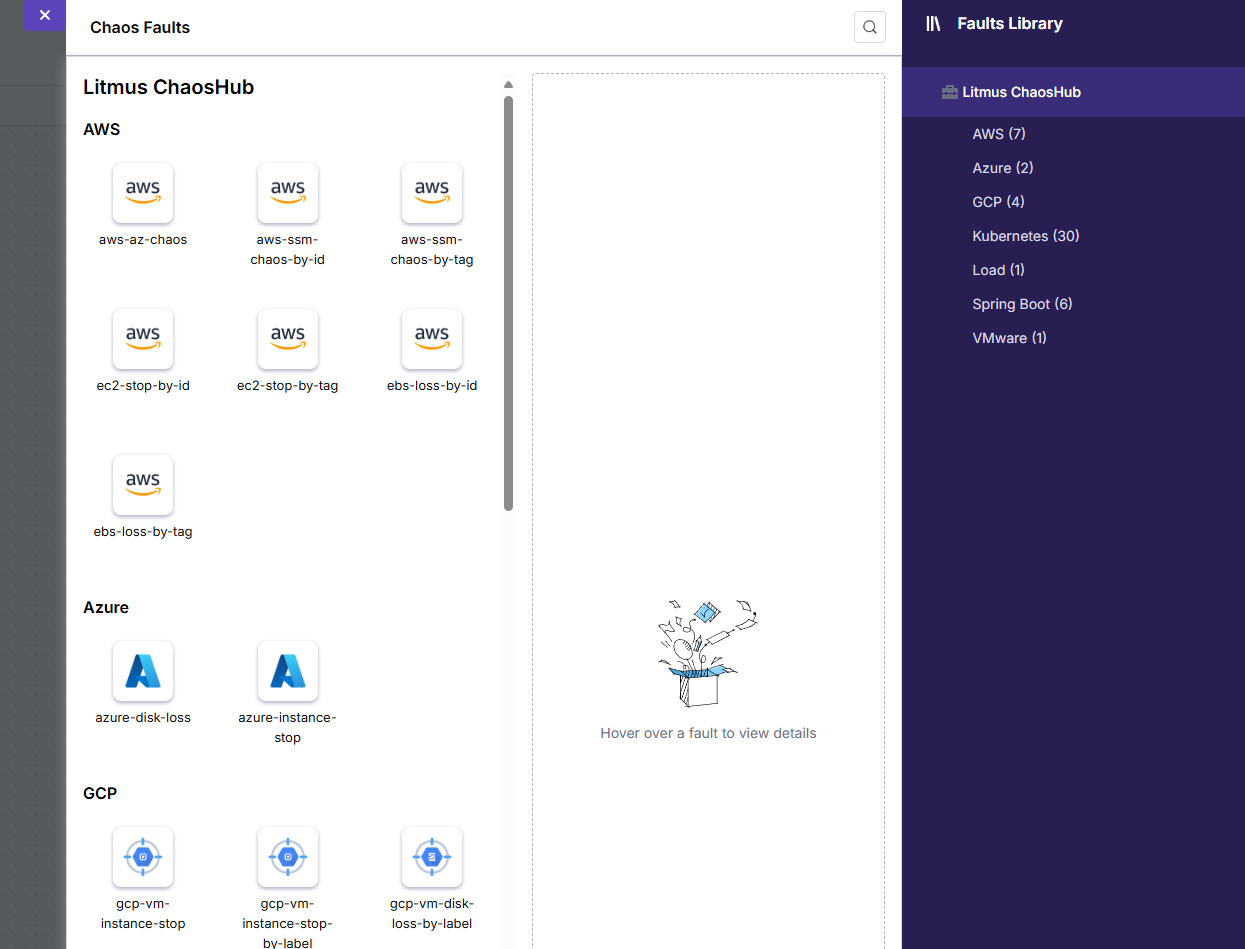
The easy path is using Litmus ChaosHub which has ready-made templates to use for testing resiliency. Many good ones here:
- Node CPU hog
- Node memory hog
- Pod CPU hog
- Pod delete
- Pod memory hog
Here I have expanded the Pod CPU hog so you can see the workflow.

You can also add a faults library of different scenarios.
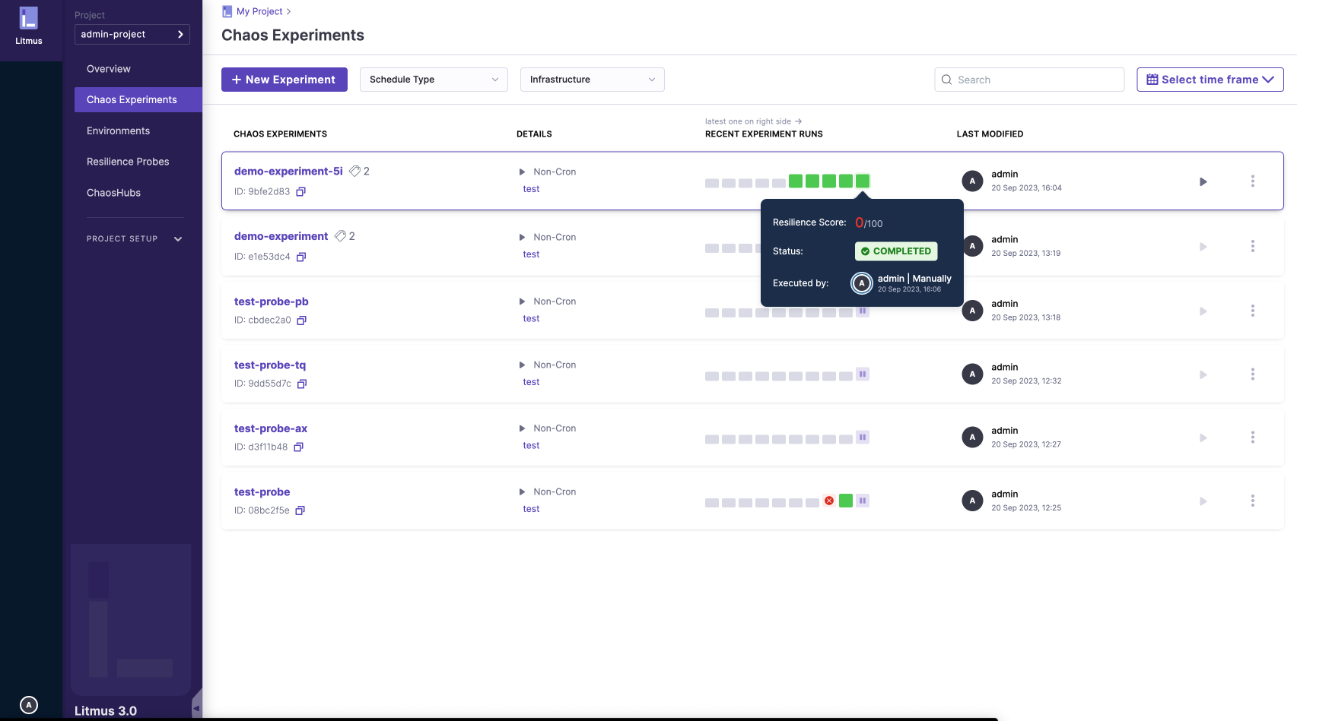
When you run an experiment you will see the results in the dashboard and the resiliency score.
Thats a wrap
I love projects like home lab chaos engineering as I get more into platform engineering and testing resiliency of applications. It is easy to say your app is resilient, but have you tested it? This is a super fun experiment and process to run in the home lab and it is quite a learning project as well. Let me know if you are doing anything like this in the lab and what tools you are using.
Google is updating how articles are shown. Don’t miss our leading home lab and tech content, written by humans, by setting Virtualization Howto as a preferred source.
About The Author