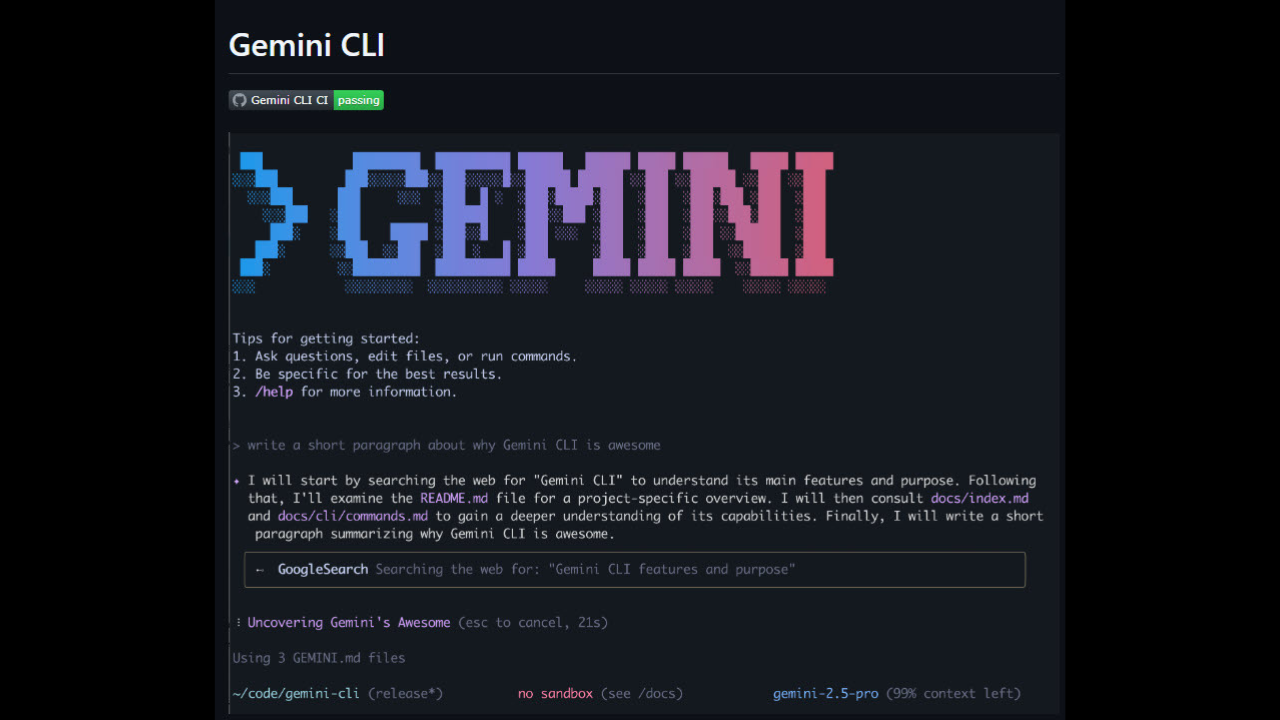
There is new buzz around the Google Gemini platform as Google has taken a major step for devs, sysadmins, and CLI power users. They have released the Gemini CLI. This is a command line interface that brings Gemini’s AI features straight to your terminal. If you are working in VS Code, Git Bash, or Windows Terminal, the Gemini CLI will bring a new level of productivity to devs and others. Let’s see how to install Google Gemini CLI on Windows.
What Is Google Gemini CLI?
The Gemini CLI is an open-source command-line tool developed by Google that allows you to interact with the Gemini AI models using natural language, directly from your terminal. This in my opinion comes as a natural follow up to the kubectl-ai command line tool that Google released just a few weeks back.
Gemini models (formerly known as Bard) are Google’s family of generative AI models. These are similar to OpenAI’s GPT or Anthropic’s Claude. With the CLI, you can:
- Ask questions and get answers inline in the terminal
- Generate and explain code snippets
- Translate commands between Bash, PowerShell, and other shells
- Refactor scripts or infrastructure-as-code files
- Generate commit messages based on your git diffs (using the
gemini commitfeature) - Get inline help when working with complex tools (e.g.,
kubectl,terraform,docker) - Chain prompts together to build interactive workflows
Instead of switching back and forth between a browser tab and your terminal, the Gemini CLI acts as your AI assistant. It is embedded in the tool that you are working from natively.
Why Use Gemini CLI in Your Windows Environment?
For Windows developers, admins, and AI tinkerers, having Gemini available via CLI provides many benefits that can help with productivity and efficiency.
- PowerShell and CMD support: Works with your native Windows tools or WSL
- Streamlined dev workflow: Query, code, and document all in one place
- Scripting assistance: You can debug or generate PowerShell, Batch, or Python scripts
- Git integration: Gemini can help write consistent commit messages using
git diff - Cross-platform compatibility: Once installed, it behaves the same across Linux, macOS, and Windows
Key Features of the Gemini CLI
Here’s a breakdown of what you can do with the Gemini CLI:
1. Run Ad-Hoc Prompts
Just like using ChatGPT or Bard in the browser, you can run prompts from the terminal
gemini -p "Explain how Kubernetes handles pod scheduling"You’ll get a streamed response right in your terminal window.
2. Use gemini commit to Generate Git Commit Messages
If you’ve staged changes in a Git repo, run:
git diff --cached | gemini -p "Generate a Conventional Commit message"This scans your git diff and outputs a commit message using the Conventional Commits format. This is incredibly helpful for keeping consistent commit history in team projects.
3. Piped Input Support
You can feed content from other commands:
cat myscript.ps1 | gemini -p "Refactor this PowerShell script to be more readable"4. Streaming and Interactive Sessions
You can enable streaming mode for faster responses and even use conversational history with --chat mode.
gemini --chatThis launches an interactive shell session with memory, like a terminal-based chatbot powered by Gemini.
5. Custom Prompts and Templates
You can also setup your own prompt templates using .gemini/prompts configuration. This is perfect for standardizing code reviews, documentation generation, or analysis.
How to Install Google Gemini CLI on Windows
Now that we have seen what Gemini CLI can do, let’s install it on your Windows machine. This process supports PowerShell, CMD, or WSL, but we’ll focus on the easiest method for most users: using Scoop or manually downloading the binary.
I really like using Winget for these types of operations. It makes upgrades and other operations extremely easy in the future. First, install OpenJS.NodeJS with the command:
winget install -e --id OpenJS.NodeJS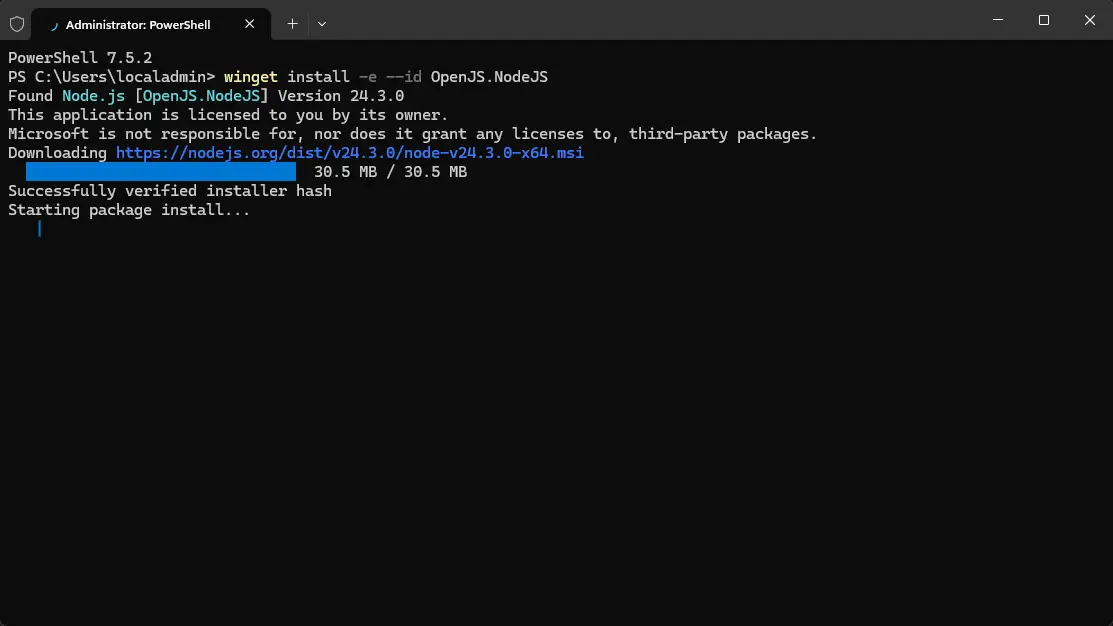
Then, just install gemini using npm install:
npm install -g @google/gemini-cliSetting things up and authenticating
There are a couple of things that will happen once you install Gemini. You will be asked to setup the appearance of the terminal, and then you will be asked to authenticate. So, you will need a Google account.
You will first be asked the appearance of the gemini CLI that you want to set.

Next, it will ask how you want to authenticate.
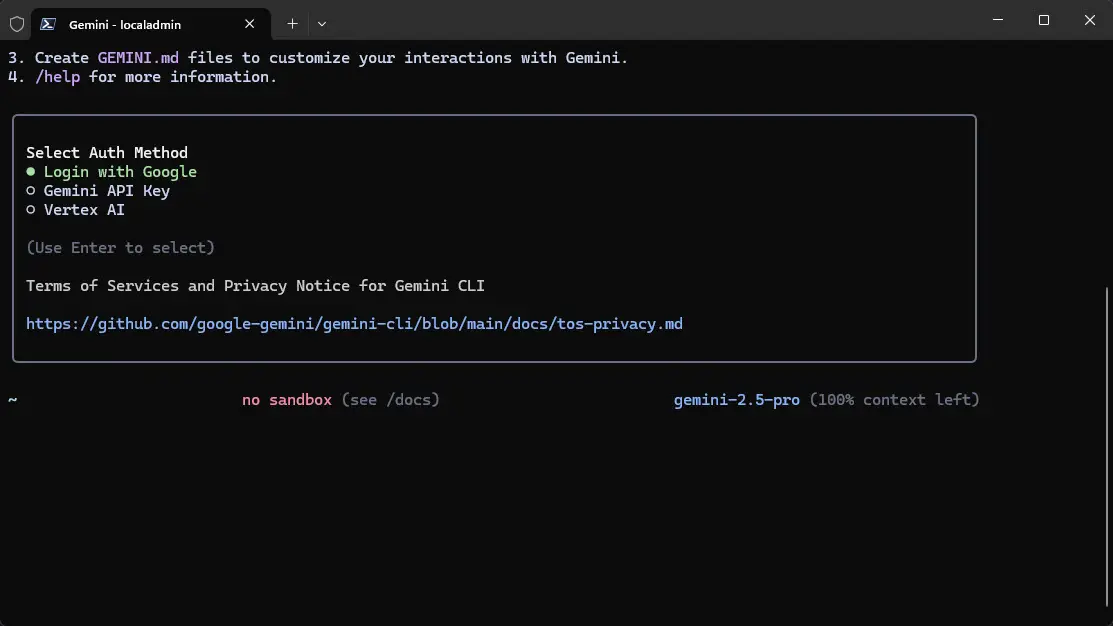
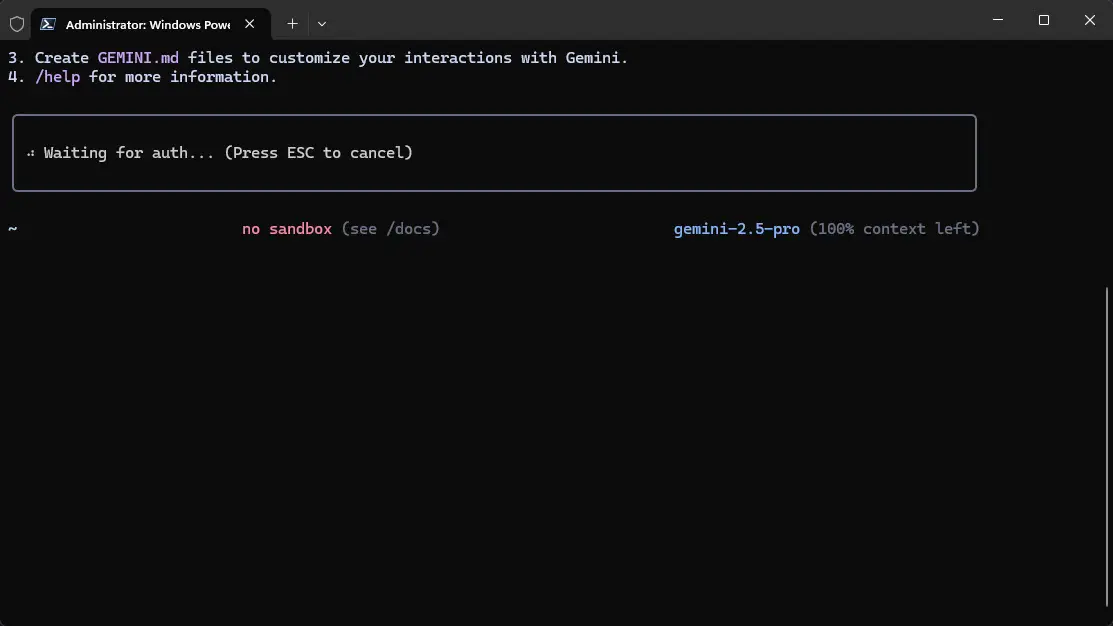
Once you choose Login with Google, it will wait for you to authenticate in the browser session.
You will see a normal Google login prompt launch asking you to select your account.

Once authenticated, you will see the following screen displayed.
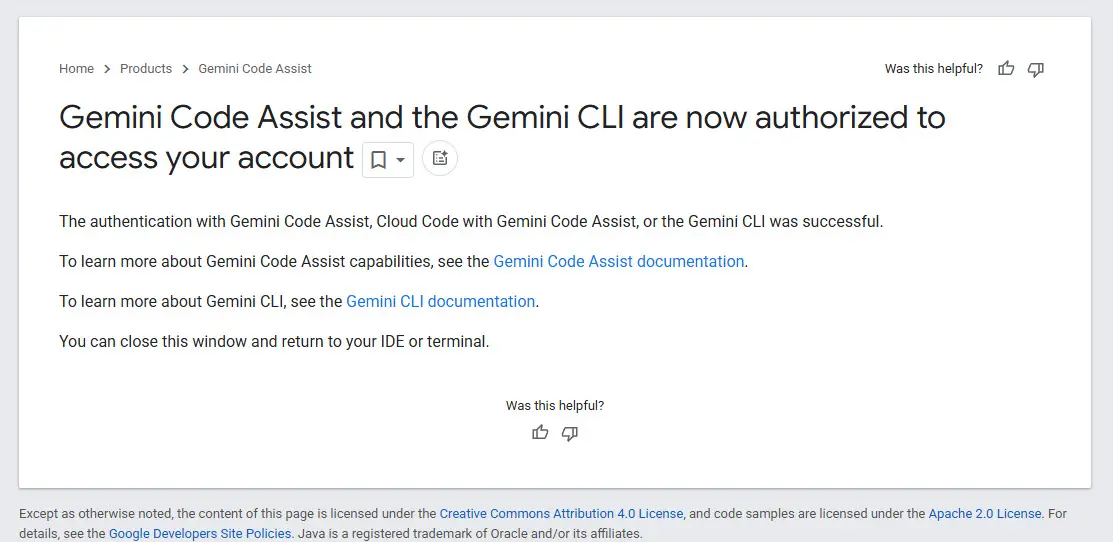
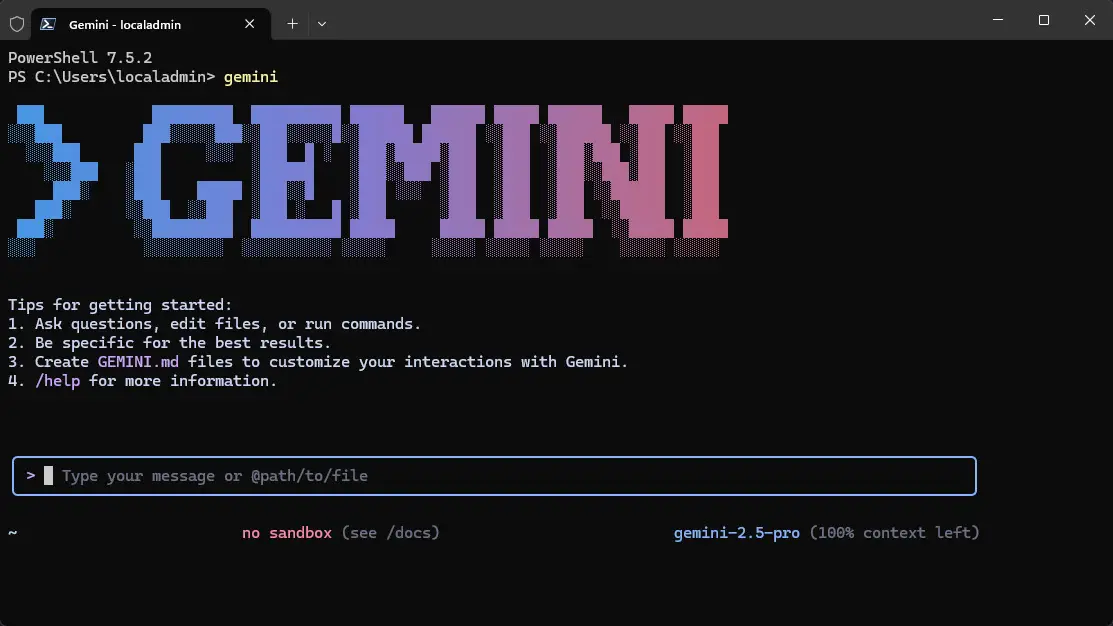
Then, you will be taken back to the Gemini CLI prompt as you are now authenticated and ready to start prompting and chatting.
Useful Dev Examples
Now that it’s installed, here are a few fun and useful things to try with Gemini CLI on Windows:
1. Translate Between Shells
gemini -p "Convert this bash script to PowerShell"2. Explain Infrastructure Code
cat main.tf | gemini -p "What does this Terraform code do?"
3. Generate Batch Scripts
gemini -p "Create a Windows batch script to back up files to a USB drive"4. Ask Gemini to Explain Git Errors
gemini -p "fatal: refusing to merge unrelated histories – how do I fix this?"5. Document PowerShell Scripts
cat script.ps1 | gemini -p "Add inline comments to explain what this PowerShell script does"Pro Tips for Using Gemini CLI Like a Pro
- Add aliases like
alias g='gemini'to shorten command usage - Combine with tools like
fzf,bat, andripgrepfor enhanced terminal workflows - Use
--chatmode for longer sessions, like pair programming - Use
.gemini/config.tomlto customize behavior (e.g., temperature, model version - Try piping code from your editor or clipboard:
Get-Clipboard | gemini -p "Summarize this"
Wrapping up
It is exciting to see where things are headed in the world of AI and AI tools. AI has leveled the playing field in so many ways and continues to astound us with the possibilities. It is also exciting to see how AI is getting “closer” to the tools we use and providing this native integration. We won’t be copying and pasting things much longer between chat windows as the tools are just natively there and we can prompt AI in the tool we are in, like the command line.
Google is updating how articles are shown. Don’t miss our leading home lab and tech content, written by humans, by setting Virtualization Howto as a preferred source.
About The Author


Once i have installed gemini and worked. but suddenly gemini has crashed after the last version update. I have uninstalled node.js and re-installed byrequired shutdown and restart after uninstall and installation. now Gemini is not installed by “npm install -g @google/gemini-cli” command and the terminal shows neverending running process only.
Alok,
Good to note and thank you for sharing your experiences with the installation. I think it is probably going through some growing pains right on the get go.
Brandon