I have written a lot about Docker in the home lab as well as Kubernetes. Both are awesome tools and arguably the enterprise standard. Docker is simple and VERY widely supported. However, in case you haven’t heard about Podman, it is another very strong tool that can be used to run containers in your home lab environment and in a more secure way. I decided to finally spin up a Podman server in my home lab and see how it actually feels alongside the other containerized resources I am running and did this as part of a weekend project. Here is what happened when I did.
What makes podman different from docker
Before we dive into getting a Podman server configured in the home lab, let’s take a minute to understand what exactly makes it different from Docker. With Docker you have a client and a daemon. The Docker CLI talks to dockerd and this is the service that manages everything. If the daemon stops for example, your container management stops.
Podman is different as there is no centralized daemon. When you run a command it interacts directly with the container runtime. The Podman containers are just processes owned by users. This also means that you can run everything without root privileges. This is a huge deal from a security standpoint and one of the biggest security advantages that Podman has over Docker
Another difference between the two is how Podman is integrated with systemd. So, instead of relying on a daemon to restart containers or manage lifecycle, you can just generate systemd unit files and let the operating system handle it. This feels like a much more Linux-native way to handle services.
This also means that you can absolutely build a container host with Podman. You just have to understand the differences so you know how you operate it, which is slightly different.
My podman server setup
For this test, I kept things simple. I started out by cloning from my Ubuntu Server 24.04 template running in my Proxmox cluster. With this template, I was able to have a quick and easy machine up and running in just a couple of minutes with cloud init.
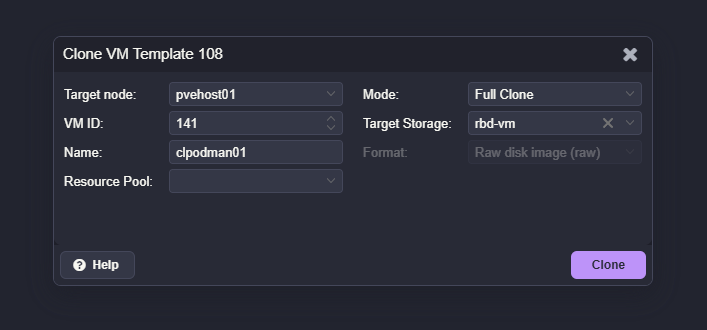
The VM specs were nothing fancy:
- 4 vCPUs
- 4 GB RAM
- 50 GB disk
This is more than enough to host several containers for testing. I treated this VM exactly like I would a Docker host. That was intentional. I wanted to see if Podman could realistically replace Docker in a typical home lab scenario and the steps involved.
Installing podman
Installing Podman was straightforward.
On Rocky Linux or AlmaLinux:
dnf install -y podmanOn Ubuntu:
apt update
apt install -y podman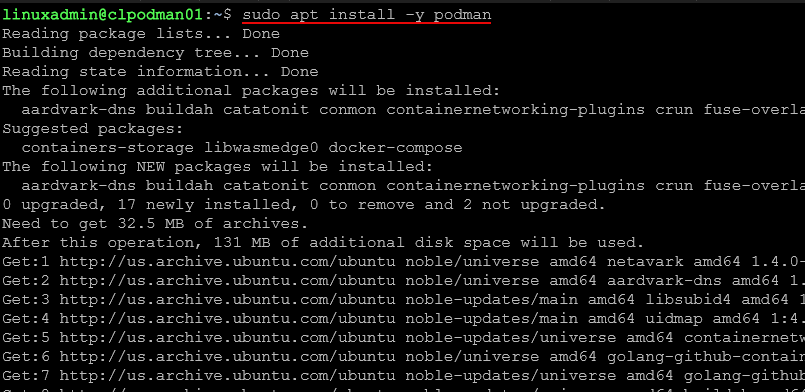
After installation, you can verify it with:
podman --version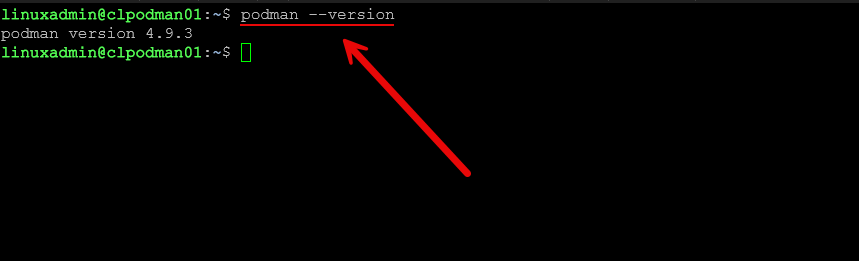
There is no daemon to enable or start. That is one of the first things that feels different. You install it and you are ready to go.
If you want to enable the Podman API socket for compatibility with tools like Portainer, you can run:
systemctl --user enable --now podman.socketThis exposes a Docker-compatible API endpoint over a Unix socket.

Running your first containers
To validate the setup, I started with a simple container.
podman run -d -p 8080:80 docker.io/library/nginx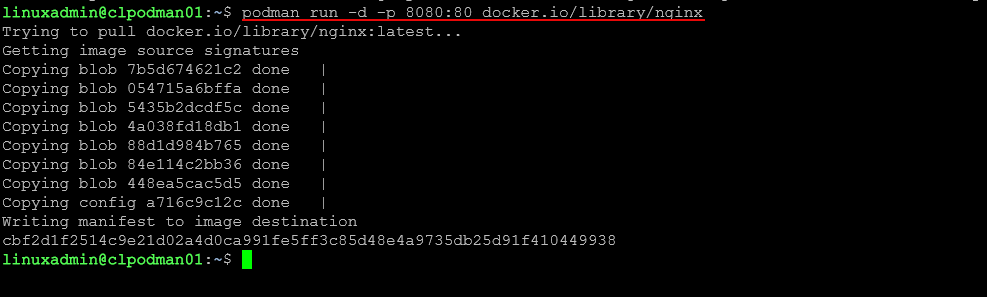
You can then check running containers:
podman ps
And test access in a browser using the VM’s IP address on port 8080.
This felt almost identical to Docker. Most of the basic commands map one to one. That makes the learning curve pretty easy.
Understanding rootless containers
One of the biggest advantages of Podman is rootless containers.
By default, you can run containers as a regular user without needing elevated privileges. This reduces risk significantly. If a container is compromised, it does not automatically have root access to the host.
To use rootless containers, you simply run Podman as your normal user:
podman run -d -p 8080:80 nginxNo sudo required.
There are some networking considerations with rootless mode, but for many home lab workloads, it works just fine.
Using quadlets for container management
This is where things start to feel very different from Docker and for some who may be Linux administrators, much simpler, especially if you have worked with systemd unit files. Instead of relying on docker-compose or a daemon, Podman uses systemd. Quadlets are a newer and cleaner way to define containers using systemd unit files.
They are:
- INI-style (not YAML)
- Section-based
- Key=value pairs
- Parsed by systemd + Podman’s Quadlet generator
A Quadlet file is placed in a systemd directory and describes how a container should run. First, create a directory:
mkdir -p ~/.config/containers/systemdNow create a Quadlet file:
nano ~/.config/containers/systemd/nginx.container
Example contents:
[Unit]
Description=NGINX Container

[Container]
Image=docker.io/library/nginx
PublishPort=8080:80

[Install]
WantedBy=default.target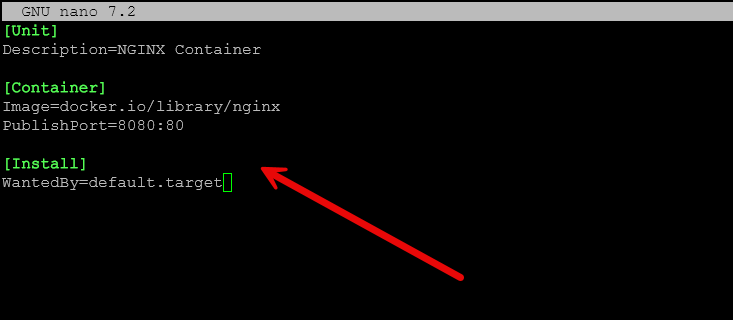
Reload systemd:
systemctl --user daemon-reexec
systemctl --user daemon-reload
Start the container:
systemctl --user start nginxBelow I am also checking to make sure it started.

Enable it at boot:
systemctl --user enable nginxThis is a big shift. Instead of managing containers through a daemon or compose file, you are managing them as services. Once you get used to it, it feels very clean and predictable.
Comparing quadlets to docker compose
At first, Quadlets feel maybe easier to understand than the YAML formatted syntax of docker-compose. You are writing individual service definitions instead of a single YAML file.
There are some advantages:
- Native integration with systemd which probably feels more natural to Linux admins
- Automatic restart handled by the OS so you don’t worry about restart policies
- Clear service management with systemctl – again feels natural
- No additional tooling required – it is just built-in
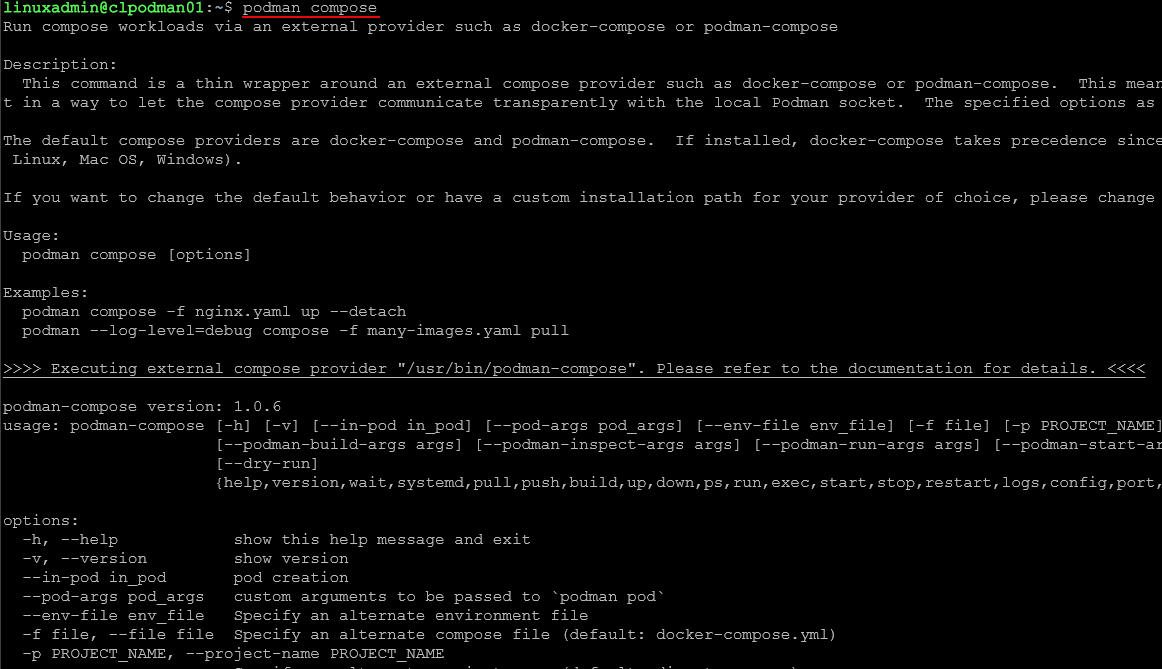
There are also tools like podman-compose, but Quadlets feel like the more native and future direction for Podman.
Connecting portainer to podman
One of the questions I had going into this was whether I could still use familiar tools like Portainer.
The answer is yes, with a small tweak.
When using the socket, ensure that you have started the Portainer container with the following Podman flag:
-v "/run/podman/podman.sock:/var/run/docker.sock"To use the socket, ensure that you have started the Podman rootful socket:
sudo systemctl enable --now podman.socket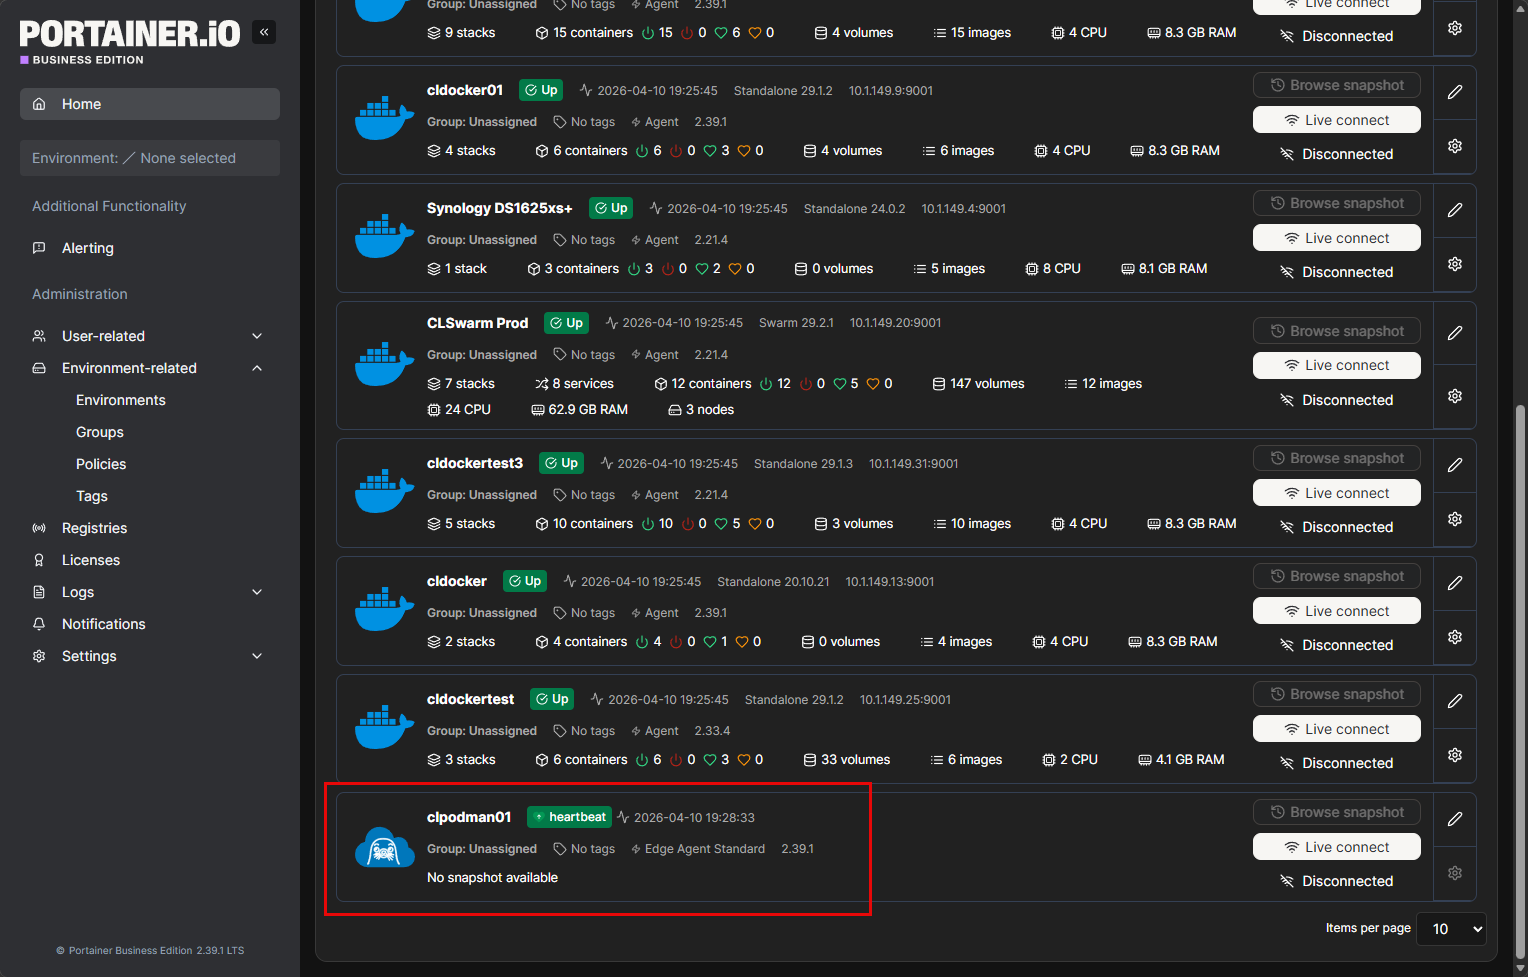
This is not quite as seamless as Docker, but it works well enough for basic management tasks.
Things that stand out to me about Podman
There are a few things that stand out when using Podman that surprised me I think and comparing it to Docker. Podman has a lightweight feel about it. There isn’t a daemon consuming resources or another layer you have to troubleshoot. Rootless containers are a huge win as well for security. Docker can do rootless containers, but Podman makes this feel like the default which is great to have out of the box.
I think the systemd integration is a powerful feature as well since once containers are defined as services, they will act like any other Linux service. And, I like having systemd manage these kinds of things rather than relying on restart policies with Docker and other gotchas there.
Also, the command line experience is very familiar since most if not arguably all the docker commands are the exact same by just switching out podman for docker at the CLI.
A few things to get used to?
There are definitely a few things that take a bit of a mindset shift to get used to with Podman. Not having the daemon makes you think about how you handle container lifecycle. You are not interacting with the central service anymore.
Also quadlets and systemd are a shift from being used to docker and docker-compose. Also, one of the hurdles I think that has always been there and is still felt today is the lesser tooling available for Podman. Even tools that “work” with Podman like Portainer still feel a bit less fully featured than with Docker. But, I think this is to be expected.
Wrapping up
Building a podman container host server for the home lab was an interesting experience for me. It is not just a simple drop in arguably. It does require a bit of a shift from the mindset and tooling and how you configure things. Even with that said though, I was surprised at how usable it actually was and the learning curve really isn’t that steep if you already have a good solid understanding of containers and are already using Docker in general. I do think there are some real advantages to the systemd integration and rootless architecture by default. How about you? Are you running Podman in your home lab? I would love to know in the comments.
Google is updating how articles are shown. Don’t miss our leading home lab and tech content, written by humans, by setting Virtualization Howto as a preferred source.
About The Author