One of the best projects that you can build in the home lab in my opinion for learning and just overall fun is a Proxmox cluster (or any other hypervisor cluster that you pick). It gives you hands on experience with clustering, distributed storage, networking configuration for multiple nodes, and automation that feels very close to real-world infrastructure. But there are definitely some mistakes you can make along the way that can make standing up a cluster much more difficult than it needs to be. Take a look at these 5 mistakes I made building my Proxmox cluster and learn from my pain so you don’t have to!
Not using standardized nodes from the start
This is one that I started out not really thinking would be a big deal all in all, but it turned into a bigger issue than I realized. Usually if you are like me, your idea kind of morphs and grows along the way. This is probably the biggest mistake I made early on building my Proxmox cluster.
I “thought” that I could just start building my cluster with a mix of different mini PCs that would have different CPUs, memory configs and different types of storage. Well, like always I think I will be happy with just a hodge podge of hardware. The amazing thing about Proxmox is that it covers up a lot of different issues with hardware just because it works well. But, with a cluster, it is always best when all the nodes in your cluster are the same. This eliminates any discrepancies in performance, etc.
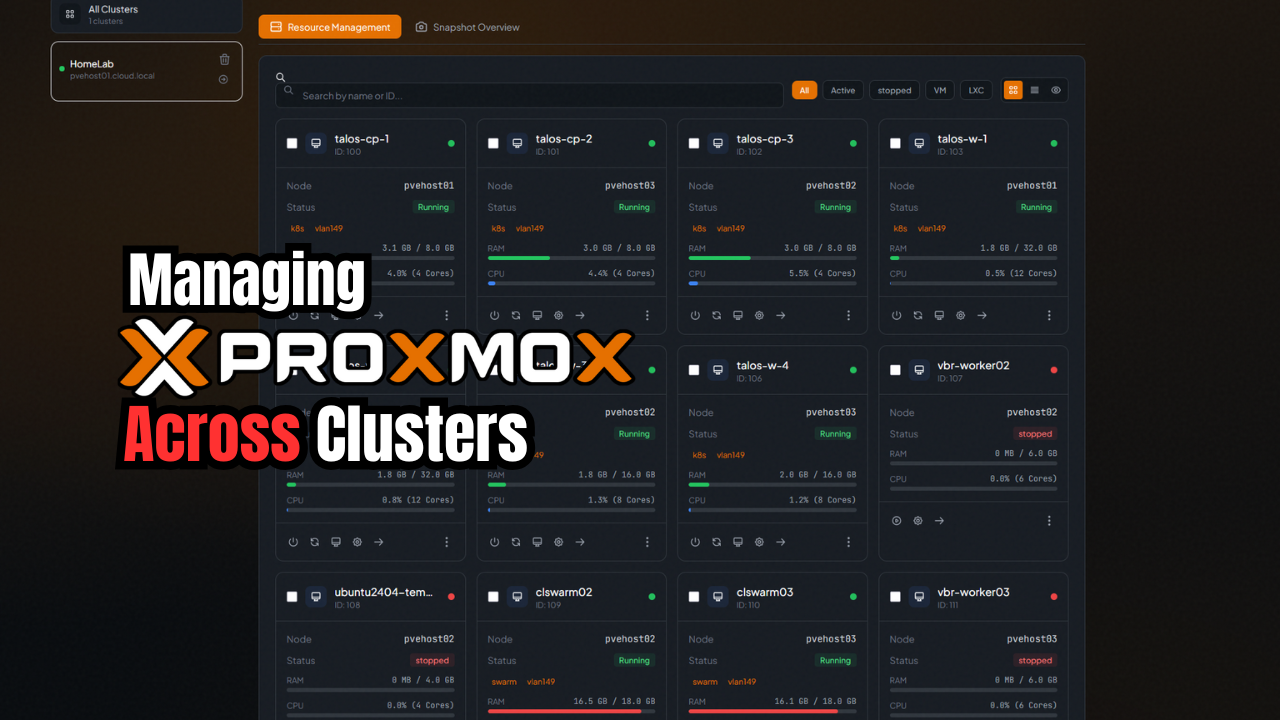
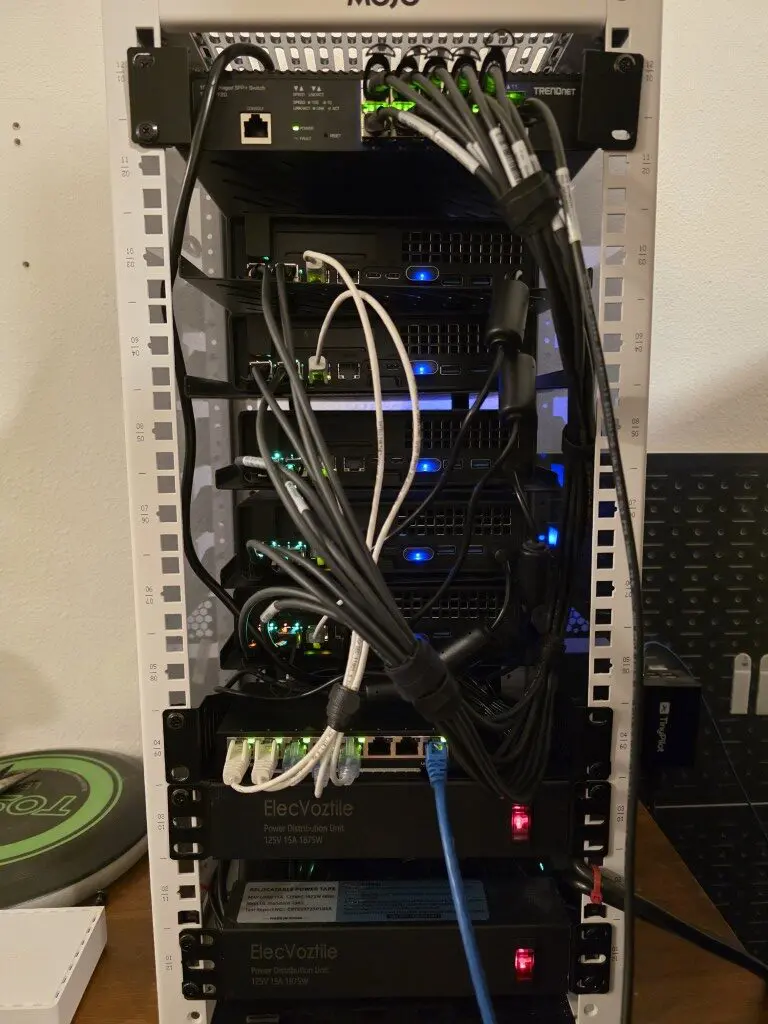
Below, you can see that initially I was running different mini PCs for cluster nodes:
When your nodes are not standardized, you start to see differences in behavior that are hard to explain. Some of your nodes may perform better than others under load. Others may struggle with certain workloads. Your storage performance may vary widely between nodes if these aren’t consistent.
Also, I decided to introduce Ceph and this surfaces issues even more quickly between your nodes. Ceph expects even more consistency. When your OSDs are backed by drastically different hardware, performance will be very uneven. Then also your slowest host will impact the overall performance of the rest of the cluster.
I also noticed issues between hosts trying to balance workloads. If a node has more CPU or memory than another, you will naturally gravitate toward putting workloads there. So, this will defeat the purpose of having a balanced cluster.
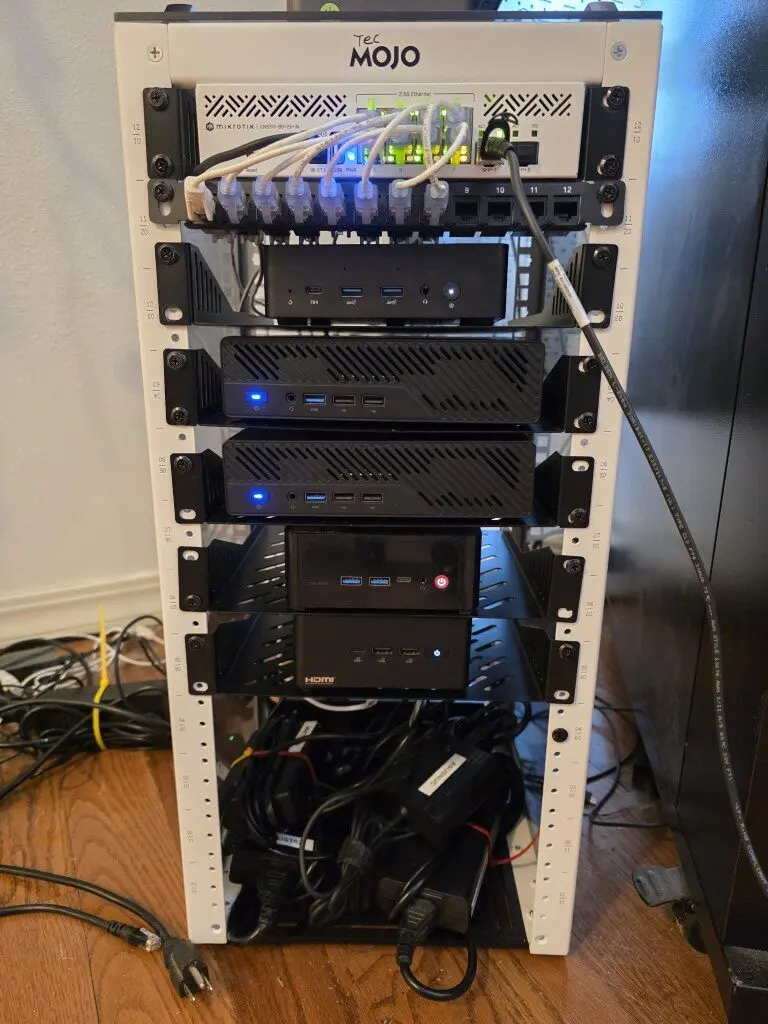
The fix for me was moving toward standardized nodes in my cluster. After I took a step back from initially building the cluster with various mini PCs, I decided to standardize on the MS-01 mini PC with barebones units.
This gave me:
- Similar CPU classes
- Matching memory configurations (somewhat, I still have discrepancies in nodes and especially due to RAM prices, I won’t be able to justify evening those out)
- Consistent disk types and layouts (I still had work to do on this front, but in general this was a true statement with the same nodes)
- Identical network capabilities – with the same hardware, you have the same speeds and links to work with
Once I went to the same model of mini PC across the board, everything got to be more predictable and better from a performance perspectie. Performance stabilized, troubleshooting became easier, and cluster behavior felt much more “clean.”
If you can, build your cluster with identical or near-identical nodes from day one, if you are building a cluster. I know we typically just use what we have to save money and that is fine too. You can still learn. But for me, I usually wind up spending more in the long run since I will try to resolve the issue later and do what I should have done in the first place when I wanted to build a serious cluster.
Check out my post documenting my Proxmox Ceph cluster here: I Built a 5-Node Proxmox and Ceph Home Lab with 17TB and Dual 10Gb LACP.

Not implementing out of band management right from the start
This is one of those things that doesn’t seem super critical until you really need it. When I first built my cluster, I relied on “sneakernetting” a TinyPilot connection between each of the cluster nodes. This “worked”, but it was very inconvenient and cumbersome and it caused troubleshooting and just provisioning things to be way more difficult than it should have been.
There were times when:
- A node would not boot correctly
- Networking was misconfigured
- A system config change caused an issue I needed console access for
- I lost connectivity after making a change
When something like the above happens when you don’t have out of band management, you have to physically go to the machine and this is not always convenient. I have gone to a mini rack configuration as I have detailed as of recently. So, the mini rack isn’t quite as easy to get around in like a standard 19 inch rack. So, plugging and unplugging KVM connections isn’t super easy.
If I had a recommendation to make it is to avoid the mistakes I made in not thinking about out of band management before building the cluster. If I would have thought about integrating this as part of the initial cluster node loads, it would have saved me a lot of headaches along the way and given me a means to connect to the console of each node in the cluster.
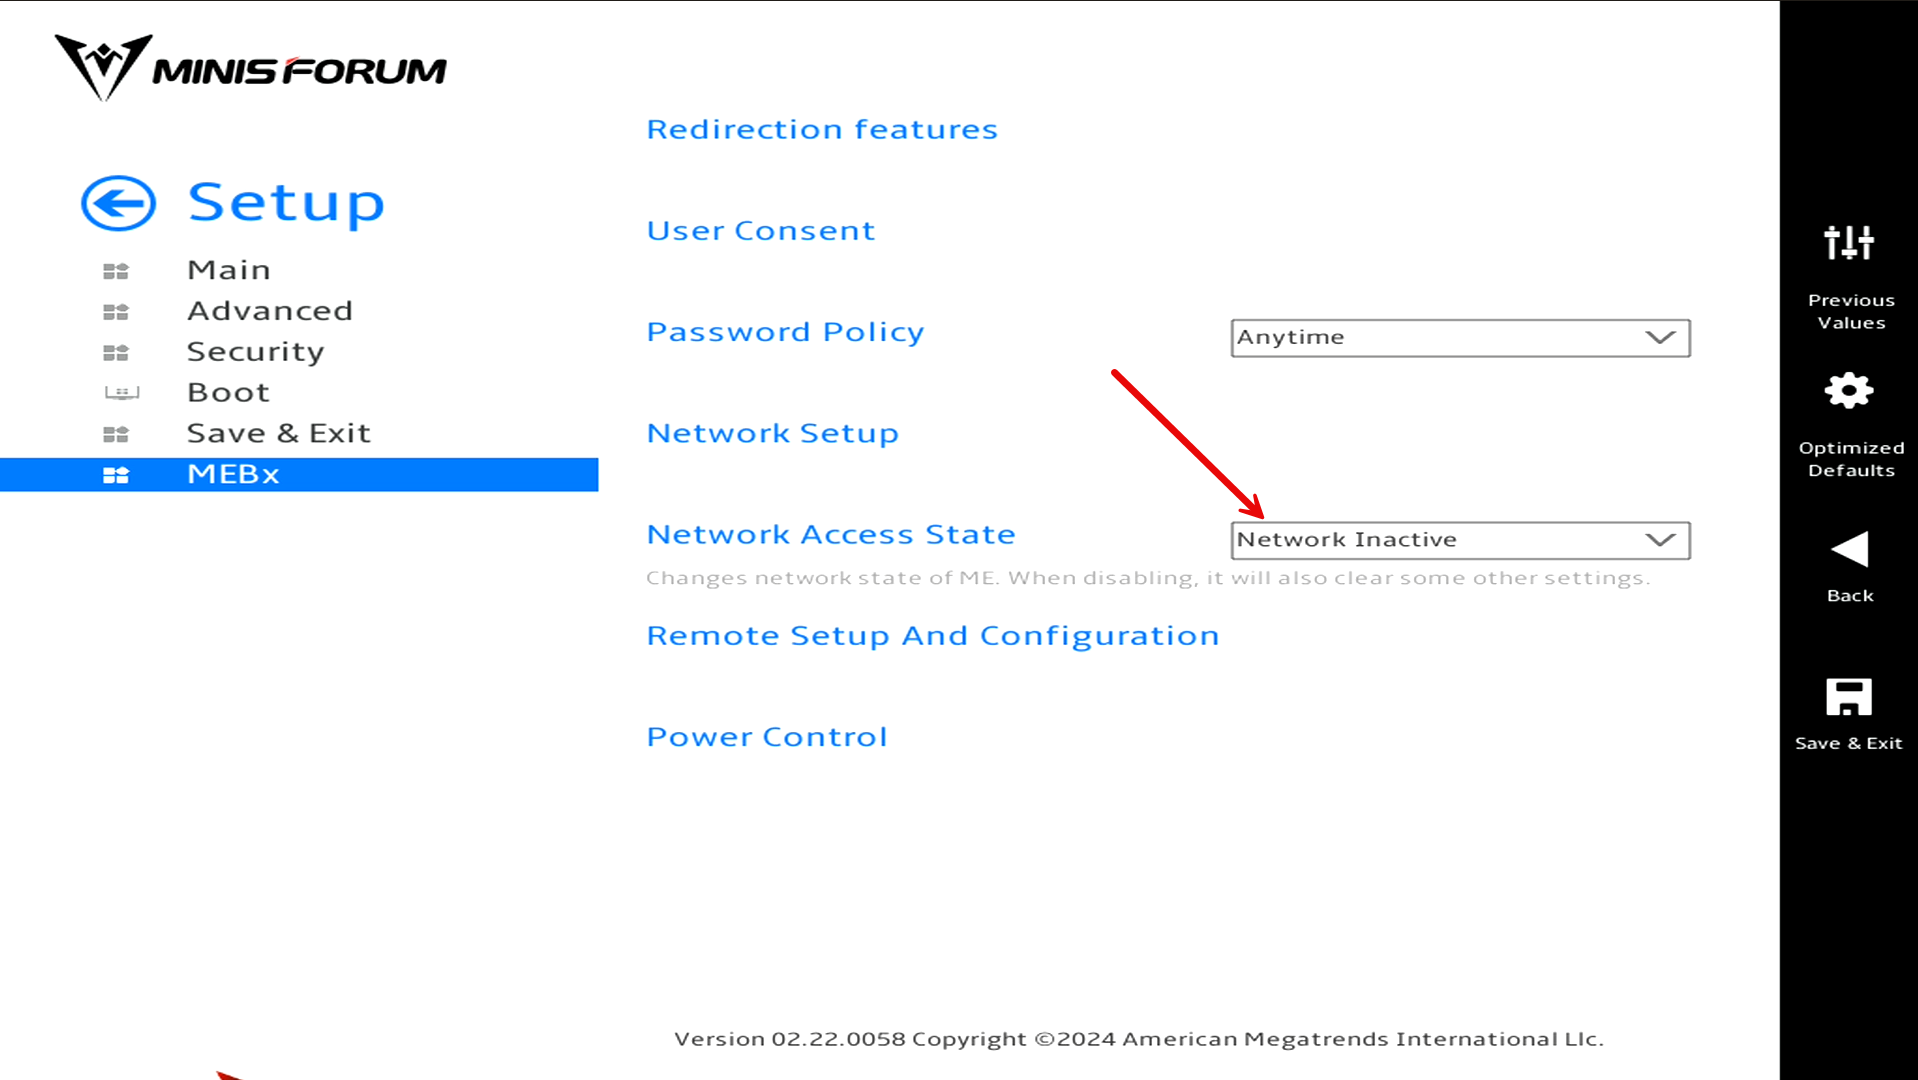
Also, with my vPro setup, I had to go back and think about how to plumb in the networking for the vPro interface using one of the 2.5 GbE connections on the MS-01. So, this would have been easier if I had accounted for that on the outset.
If I were building my cluster setup again, I would make out of band management part of the initial design, not something I bolt on later.
Check out my detailed post on implementing vPro for my Minisforum MS-01s:
Not using enterprise drives or 10 gig networking with Ceph
Ceph has been another great addition to my home lab Proxmox cluster. When I first deployed Ceph, I tried to make it work with consumer-grade SSDs and standard networking. It technically worked,and the performance was “acceptable” but it was not as good as I expected for NVMe drives.
Ceph is very sensitive to both disk performance and network throughput. With consumer drives, I ran into issues like:
- High latencies under load and with writes
- Lack of power loss protection
- Low write performance
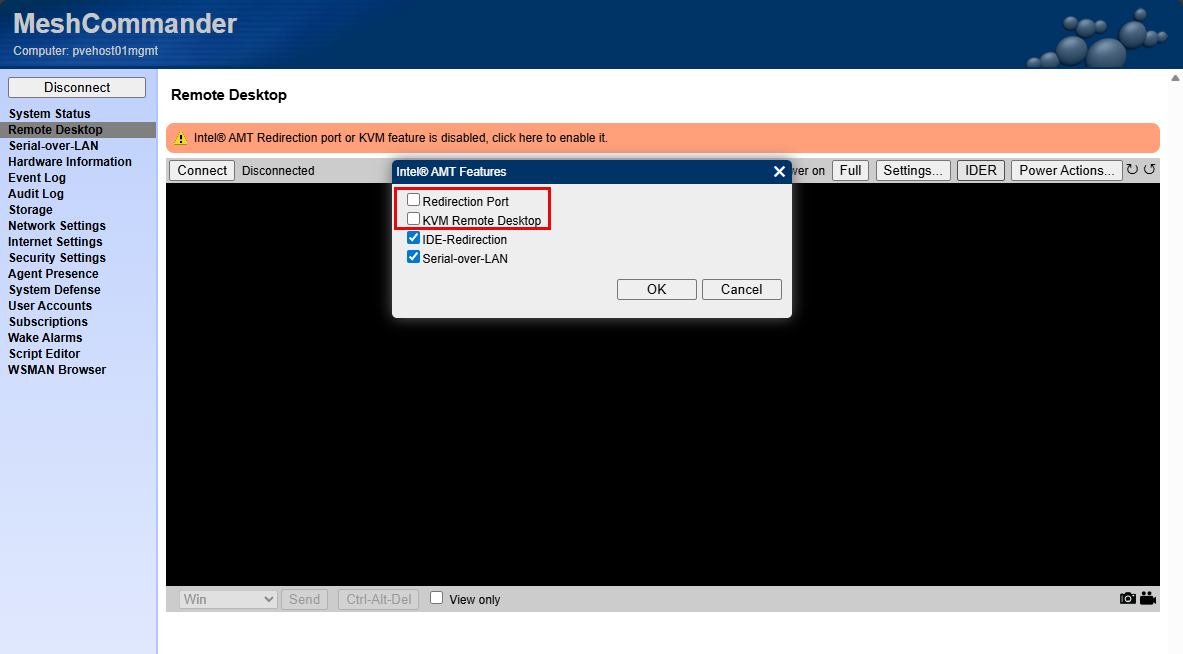
But after I install Micron 7300 MAX drives and replaced the consumer drives, performance was absolutely insane for both reads and especially writes since latency went down tremendously.
Also, on the networking side, running Ceph over slower links (less than 10 GbE) was a bottleneck. You could “feel” this especially if there was a rebalance operation. Once I upgraded to better drives and moved to 10 gig networking, the difference was night and day.
I captured the performance numbers before and after. Ceph really shines when:
- You have low-latency, high-throughput networking
- Disks can handle sustained write workloads
- Hardware is consistent across nodes
This does not mean you cannot experiment with Ceph on lower-end hardware. You absolutely can. But if you are expecting great performance or planning to rely on it heavily, investing in the right hardware is worth it. If I could go back, I would either start with simpler storage or make sure I had the right hardware in place before I added Ceph to my cluster.
Check out how I achieved almost 1 million IOPs after installing the Micron 7300 MAX drives and LACP 10 gig networking: Consumer vs Enterprise SSDs in the Home Lab: I Benchmarked Both in Ceph.
Being careless with jumbo frames and not splitting networks from the start
Another mistake that I made that caused myself a LOT of grief was being careless in implementing jumbo frames and thinking through how traffic was being routed. Networking is one of those areas where small mistakes can have big consequences. So what happened?
Well, when I first enabled jumbo frames, I did not fully validate end-to-end support. I assumed that quickly setting MTU to 9000 on my switchports, Proxmox network interfaces was enough. But I wasn’t thinking through the fact that I without thinking enabled jumbo frames on all my Linux bridges, including ones that VMs were connected to. Then I started having all kinds of issues with certain types of traffic like backups and migrations.
At first I didn’t think much about just enabling jumbo frames on everything. But, I wasn’t taking into consideration inter VLAN routing that was routing through my firewall (not enabled with jumbo frames) and so TCP streams were getting fragmented and retransmitted.
Keep in mind that every device in the path needs to support and be configured for jumbo frames:
- Switch ports
- Network interfaces
- Virtual bridges
- VLAN configurations
If even one part of the chain is misconfigured, you can get strange issues like:
- Intermittent connectivity
- Packet drops
- Performance degradation
- Hard-to-diagnose timeouts
Also, to go along with this, I made the mistake of not separating networks out early on. Make sure you think through your network design so that you have separate VLANs for storage traffic, cluster traffic, and VM traffic. If you don’t, it can create unnecessary contention in your network traffic and make performance unpredictable.
The path forward for me after making the mistakes initially was the following:
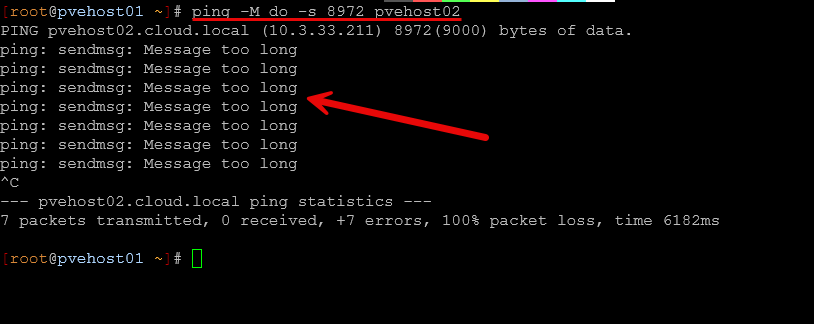
- Verifying jumbo frames end to end using tools like ping with large packet sizes
- Separating traffic using VLANs or dedicated interfaces
- Keeping Ceph traffic isolated from general VM traffic
- Using consistent MTU settings across all nodes
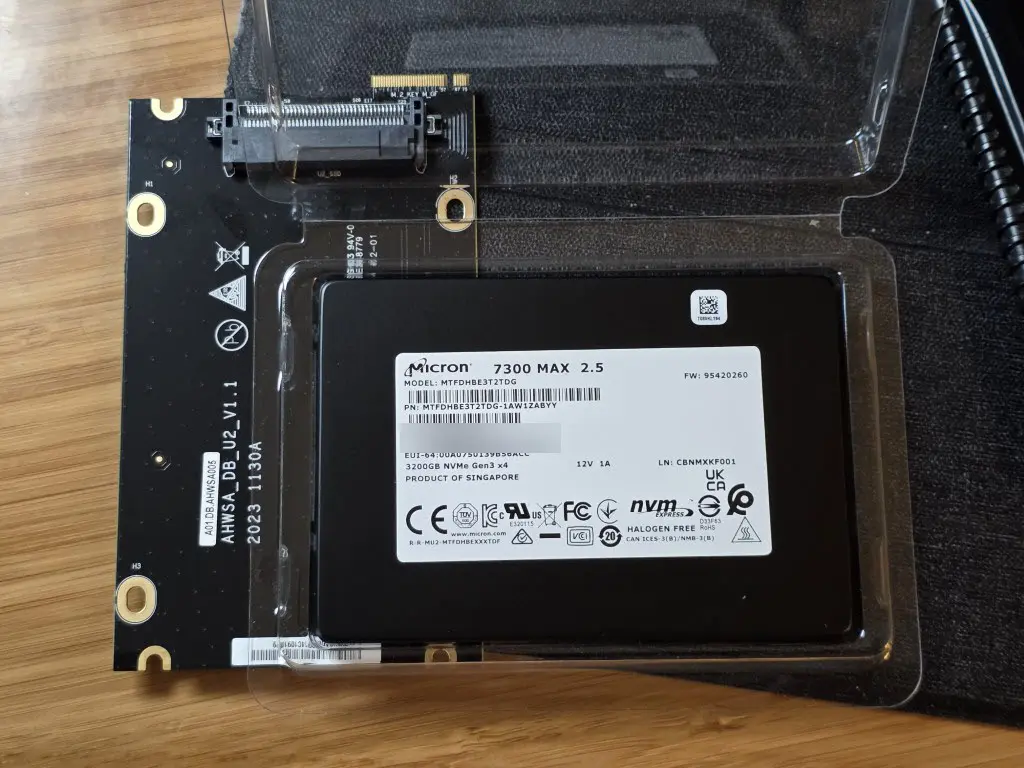
Below is an error I received when jumbo frames was misconfigured during a VM migration:

If you are going to use jumbo frames,make sure to validate everything carefully. And if you can, design your network segmentation from the beginning instead of trying to retrofit it later. It is always much easier to do it this way instead of trying to reroute traffic after you have your “production” workloads running and trying to do this without being disruptive.
Thinking I could easily change things later
This is probably one of the most common mistakes any of us make that leads to unnecessary technical debt and it creates problems that you will have to deal with later, usually in a compounded way.
Early on, I am bad about telling myself that I could “just change it later” if something was not quite right. Whether it was networking, storage layout, or node configuration, you just assume you can always go back and fix things without too much effort. But that is not really how it works. Once your cluster is running workloads, especially with shared storage like Ceph, making changes and trying not to be disruptive becomes much more difficult.
So think about where I was with my first stab at the current mini cluster. I had all different makes and models of mini PCs. I had different networking capabilities between them, and I hadn’t segmented out the networks. All the while, I had moved over 23 virtual machines as I was anxious to get off VMware. But doing things quickly without thinking through them leads to major challenges:
- Renaming or restructuring networks
- Changing MTU settings across the cluster
- Rebalancing or redesigning Ceph pools
- Migrating from one storage layout to another
- Standardizing nodes after the fact
These changes are possible, and I did them, but they involve maintenance windows, planning, sequencing things, data migration at times, and the risk of disruption.
I found myself spending a lot more time reworking things than I would have if I had planned them more carefully upfront. The lesson here is not that you need a perfect design from day one. That is not realistic and most of us see things that we want/need to change.
But you should take extra time to think through the core decisions to make about compute, storage, and networking and do the best you can to think through how you would want to design it if you only have one shot at doing it. Remember changes can always be made, but they may not be easy.
Wrapping up
Building a Proxmox cluster is one of the best ways to learn modern infrastructure and have high availability in the home lab. However, there are definitely mistakes you can make along the way and those are part of the learning journey. But, if you can avoid some of the common ones up front this is always better. Hopefully the details of some of the Proxmox cluster mistakes I made along the way will help you to keep from repeating these same ones that I made. How about you? Have you had mistakes that have been learning experiences with your Proxmox cluster? Do tell us in the comments.
Google is updating how articles are shown. Don’t miss our leading home lab and tech content, written by humans, by setting Virtualization Howto as a preferred source.
About The Author