When thinking about projects in the home lab, most of what I know my mind goes to is software projects and cool solutions that I want to implement that adds features, capabilities, etc. But also maintenance operations can take our time as well. However, outside of deploying new software, there is the physical side of the home lab that quietly gets ignored. Dust will build up inside servers, Cables turn into spaghetti, airflow suffers, thermal paste dries out, UPS batteries age, etc. If you are like me, I keep telling myself I will deal with it later. But, usually all it takes is just being able to set aside time on a weekend to tend to a few of the physical things that can benefit the lab. Let’s look at 5 hardware projects that are practical and realistic that you can knock out in a single weekend.
1. Annual dust blowout and hardware inspection
I like to do this at least once a year. Every server, mini PC, switch, and NAS device in your rack is constantly pulling in air. That air carries dust. Even in a clean office, dust builds up inside heat sinks, fan blades, and across vents.
Once a year, I usually try to plan a controlled maintenance window and power things down one at a time (if you have a cluster this becomes much easier). Then use compressed air to blog out heat sinks, fans, and vents. Hold fan blades while blowing air so you don’t overspin them. Take your time on this and do things right. Remove plates and other guards that will prevent getting the dust out. Then reinstall everything.
I really think that if you only do one thing on this list, this is the one that I would definitely recommend for your hardware. While you have your mini PCs or servers apart, take the time to inspect everything and make sure things look good. Look for loose cables, dust caked in the corners of hardware, swelling components or anything that looks off.
I use a similar USB air duster that I got off Amazon. These are relatively cheap and will last you for several years.
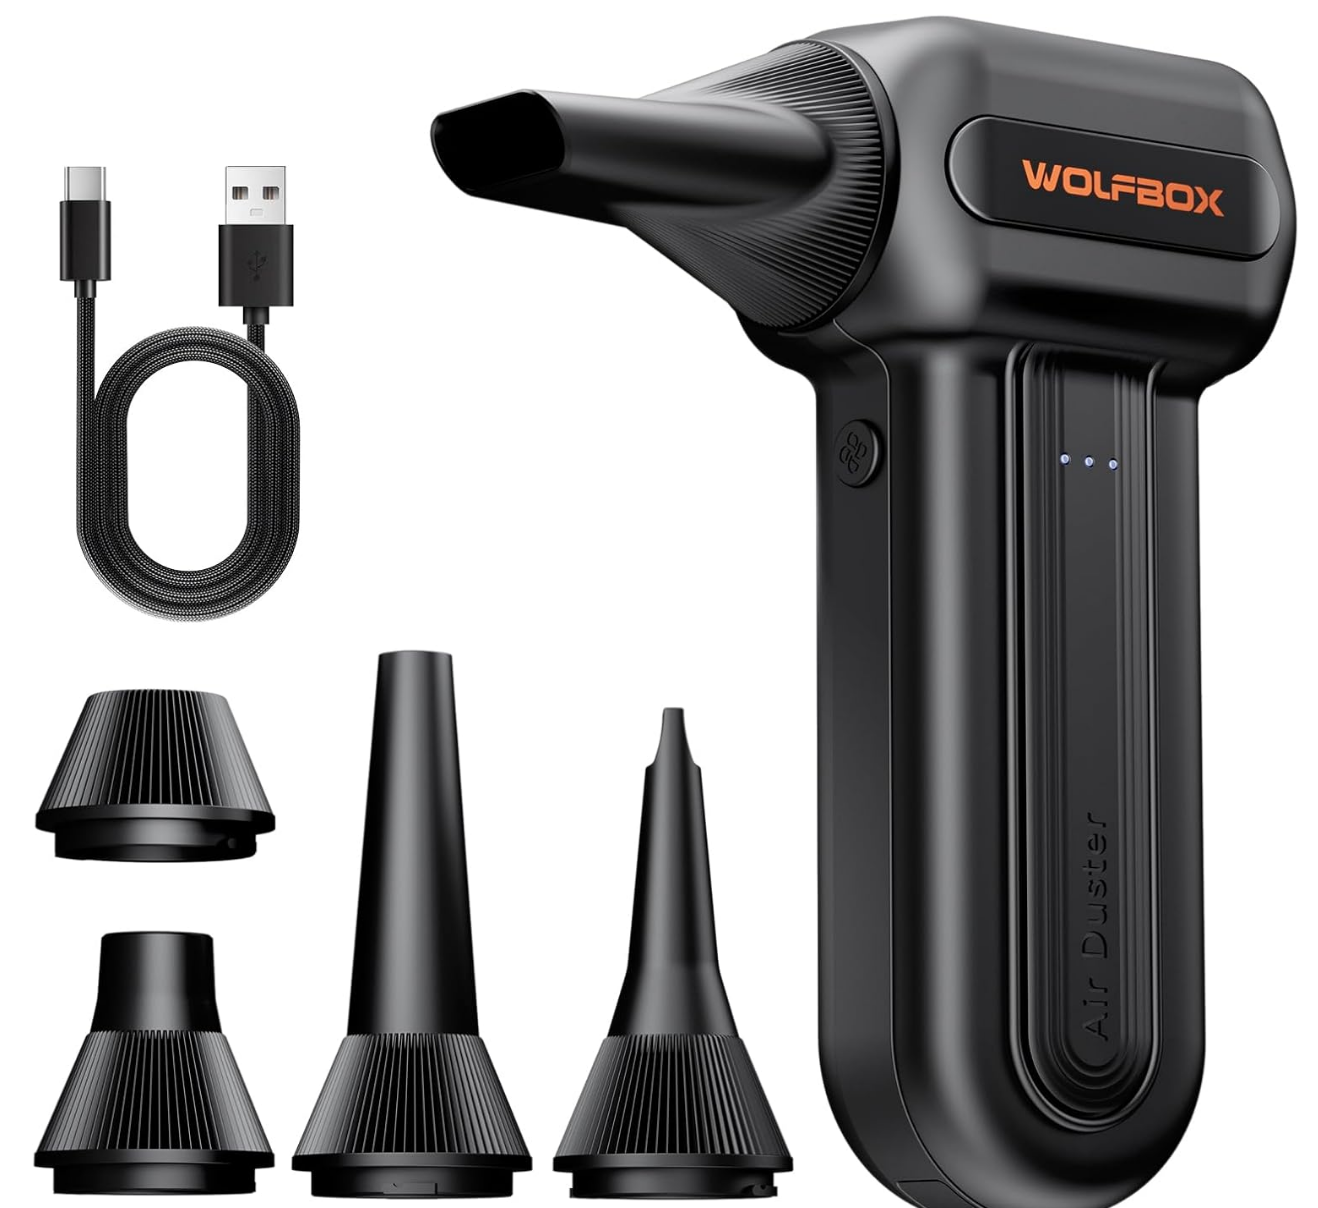
The benefits of this are really profound. You will be surprised at just how much dust can build up in even compact systems. Dust restricts airflow. Restricted airflow will increase temperatures on all the components and increased temperatures can shorten the lifespan of your equipment and make fans ramp up unnecessarily.
2. Reset your cable management the right way
Cable management always starts clean. Then it slowly falls apart. You need to move a cable, change an uplink, and think you will get back around to getting it patched in with the right length, etc. But, this never happens. You add another DAC cable, test another VLAN, and six months go by and it looks like spaghetti.
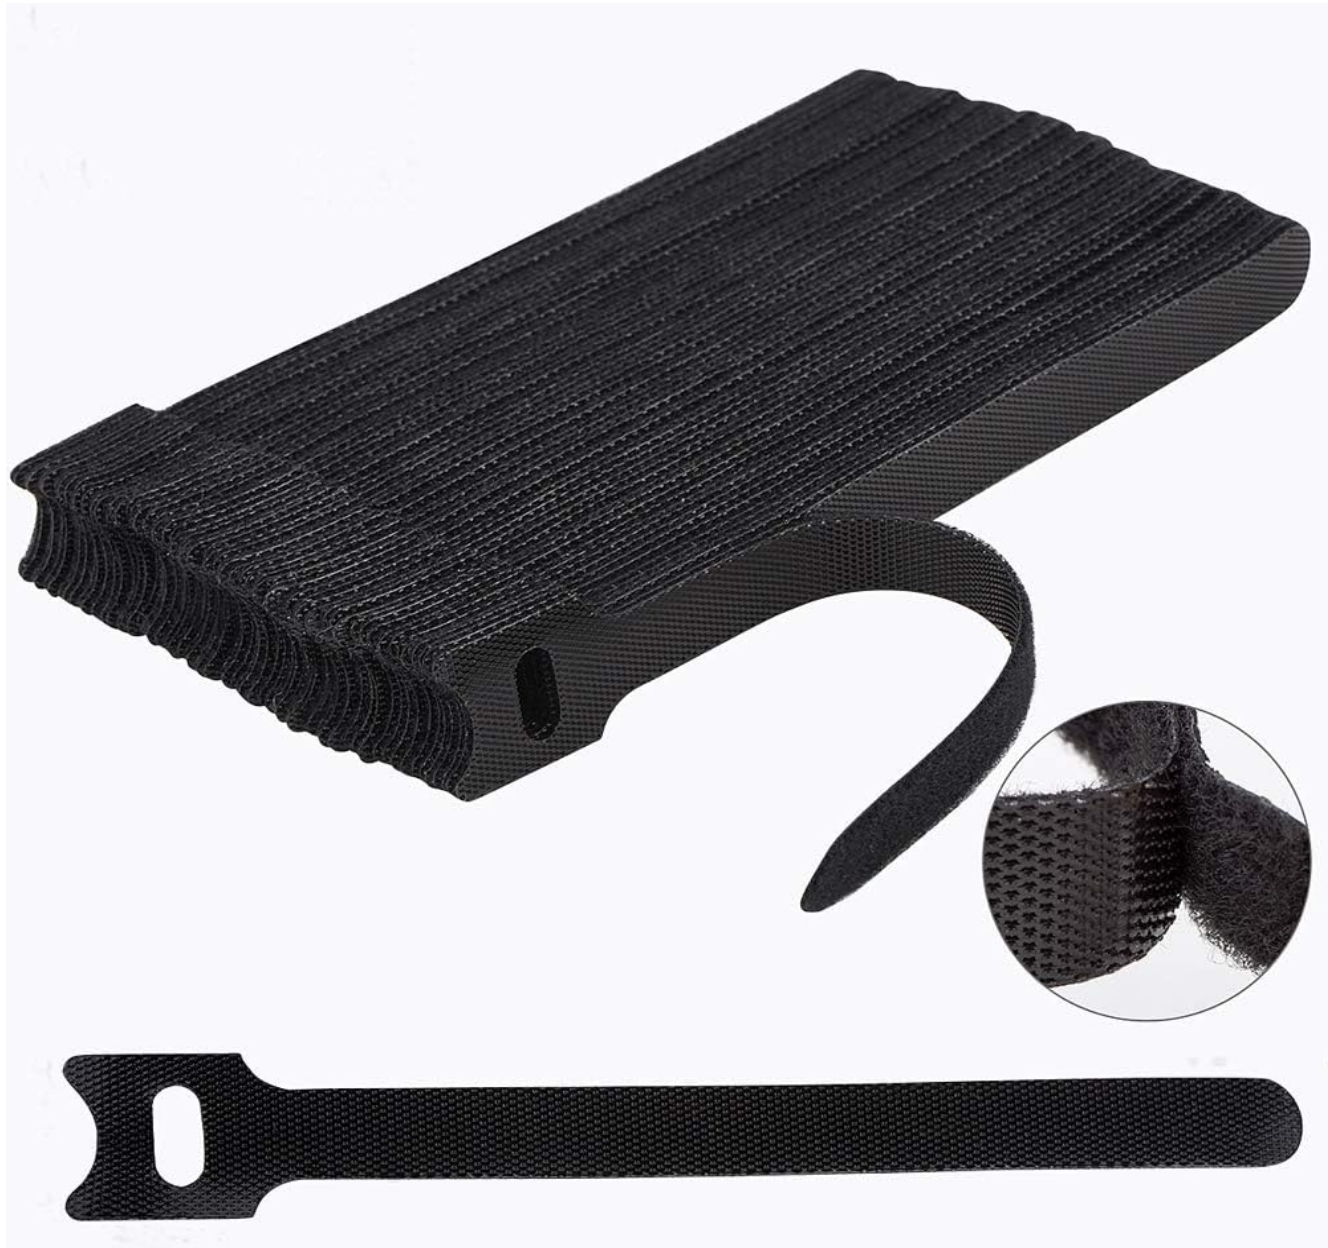
Take a weekend and clean things up properly. Unplug and reroute one device at a time. Use the proper length cables. Use the “slim run” cables when you can as these look better and are easier to have more cables in a small area without things getting cramped. Use Velcro ties and not zip ties. When you use zip ties these get hard to manage and things are not easily changed.
If you run multiple networks such as management, storage, cluster, and migration, label both ends of every cable clearly. That small step makes troubleshooting much easier later on.
Good cable management is not just about aesthetics. It also helps to improve airflow. It reduces accidental disconnects from happening and it lowers stress when you need to make changes quickly. In compact racks especially like a mini rack, airflow and cable discipline are directly connected. This is one of those projects that makes your lab feel better almost immediately.
3. Replace thermal paste on older nodes
This is one most home lab builders never think about. I know I didn’t for quite some time. If you have nodes that are two to four years old, especially with compact systems like mini PCs that tend to run warm, the factory thermal paste between the CPU and heatsink may start to dry out.
When this happens, it doesn’t transfer heat nearly as well. This leads to even higher CPU temperatures under load and more aggressive fan “ramp ups”.
If you are already powering down for dust cleaning, this is a really good time to replace thermal compound. Remove the CPU heatsink carefully, clean off the old past with alcohol and a lint free cloth. Then, just apply about a small pea-sized amount of quality thermal paste and reseat the heatsink evenly.
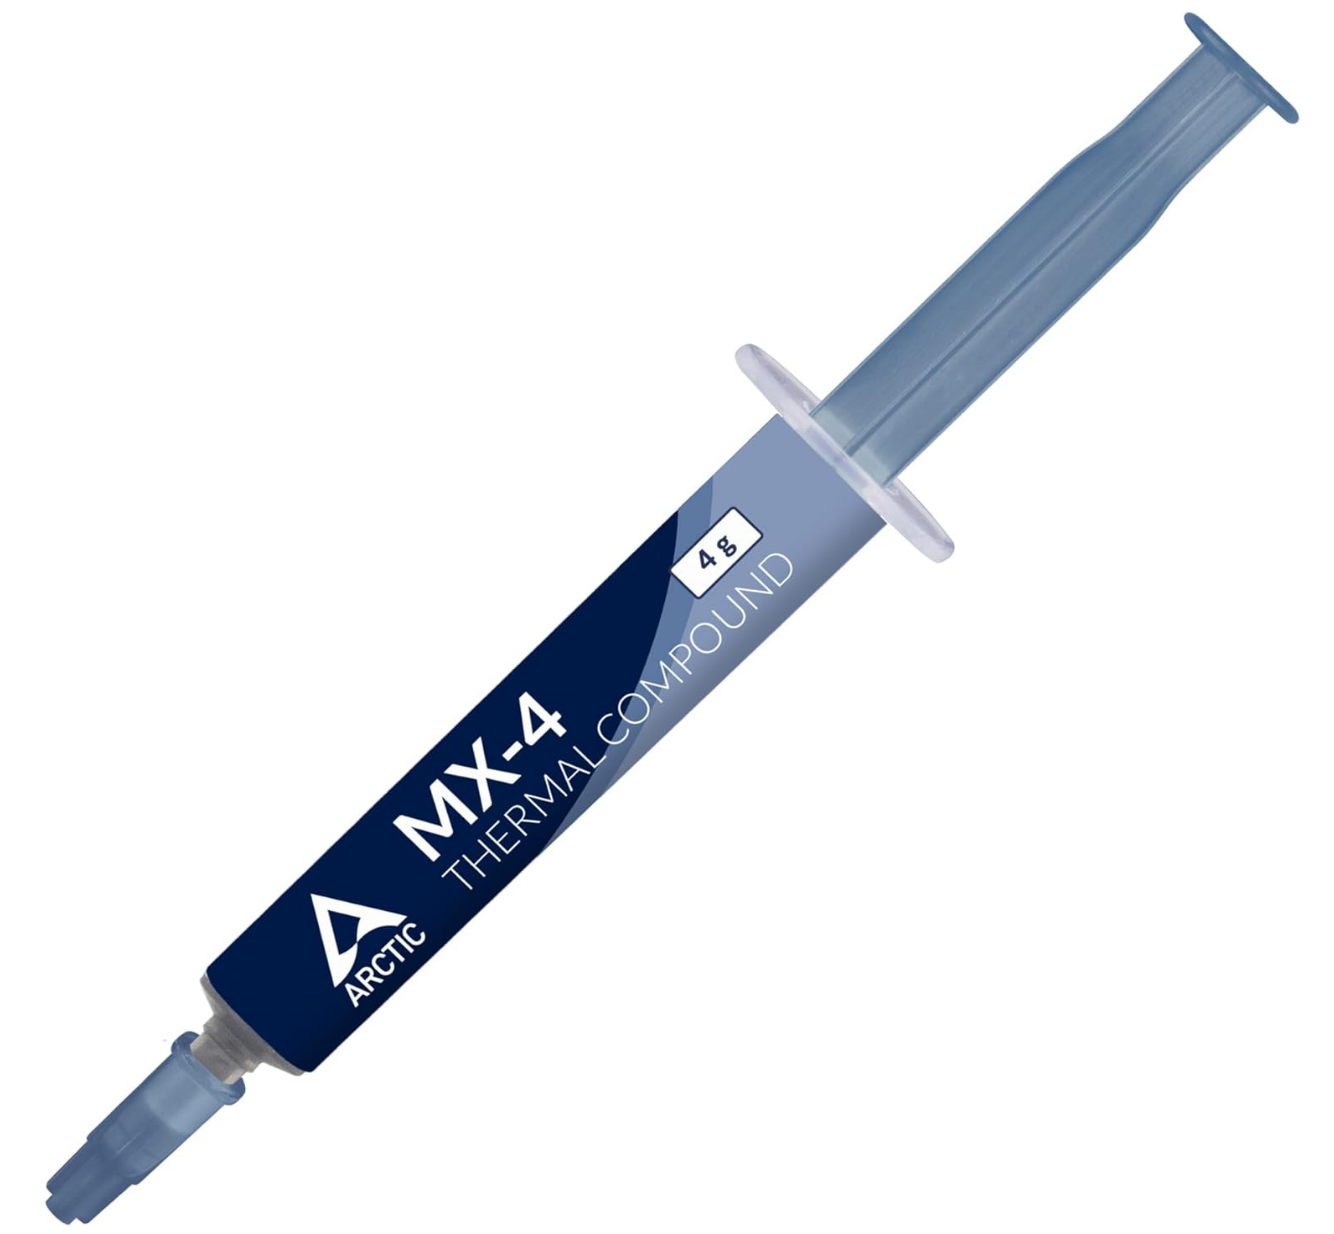
I like to use the MX-4 thermal paste and what I recently used for my builds this past year:
You don’t need to be extreme about it. Just do it cleanly and methodically. In super high density lab setups where nodes sit close together, better thermals translate into more stable performance and quieter operation.
This is a small physical upgrade and maintenance task that can definitely make a noticeable difference in the efficiency of your home lab nodes and keeping everything cooling properly and running within the designed thermal spec.
4. Reevaluate airflow and rack layout
It is also a good time when you are already perhaps cleaning up the cabling in your lab to evaluate it for airflow in general. Most of us don’t sit around thinking about airflow design in our home lab. But we should do this more often.
Take a step back and look at your rack from a thermal and cooling perspective. Ask these types of questions:
- Is hot air exhausting properly?
- Are intake vents blocked by cables?
- Are your hottest devices stacked tightly together?
- Is your switch sitting directly above a heat source?
Then, think about doing the following:
- Add blanking panels if you have open rack spaces
- Improving rear clearance
- Consider adding a small exhaust fan if your rack area traps heat
- Reposition your hottest nodes to allow better convection.
The great thing about this project is that it does not require buying anything. It just requires thinking about your rack as a physical airflow system instead of just a stack of devices.
5. Test and clean up your UPS and power setup
This is honestly one that I haven’t done a good job with either that I am trying to revisit. Power is the foundation of your lab. If you have all the high availability in the world, but your power configuration and battery backups are crap, it doesn’t matter how redundant your systems are otherwise, they will go down.
When was the last time you tested your UPS batteries properly?

Most consumer and SMB UPS batteries last three to five years. After that, runtime drops significantly even if the unit still reports as healthy. In a controlled way, test failover by briefly removing wall power and verifying runtime. Check load percentages. Review any battery health reporting your UPS supports.
While you are there, inspect your power distribution units, Are you chaining power strips together? Are you close to circuit limits? Do you know exactly which outlet feeds which device? Label every power cable clearly. Your future self will be thanking you that you did. If you are still using mixed power strips, consider consolidating onto a proper rack PDU.
Clean, organized, and tested power infrastructure helps to reduce the risk of cascading failures during outages and makes future hardware upgrades safer and less stressful.
Wrapping up
These are just a few home lab hardware projects that you can honestly knock out in a weekend or a couple of weekends if you want to tackle everything here, and you have a lot to do. The hardware side of the lab when it comes to dust, cable management, labeling, UPS power, PDUs, and airflow are definitely not the most flashy projects you can tackle, but don’t put it off. Treat it like “spring cleaning” for your home lab and you wil be surprised how much better things will be after you do and your hardware will be much happier and cleaner for it. How about you? Do you tackle these kinds of projects at least once a year or more? Let me know in the comments how you do this and organize it.
Google is updating how articles are shown. Don’t miss our leading home lab and tech content, written by humans, by setting Virtualization Howto as a preferred source.
About The Author