We have all been there with technologies that we are learning for the first time. We don’t know what we don’t know. When I first started building my home lab with Proxmox, was coming from a VMware vSphere background administering ESXi for years. So, I definitely had a head start over being totally green with a hypervisor platform, but what surprised me was just how many of the little things I didn’t know from the start. Proxmox is powerful right out of the box, but the flexibility can also be a double edged sword. If you are like me you didn’t know what little nuances mattered or what tips and tricks might be beneficial from the start. Let’s look at the Proxmox tips I wish I had known before building my first home lab.
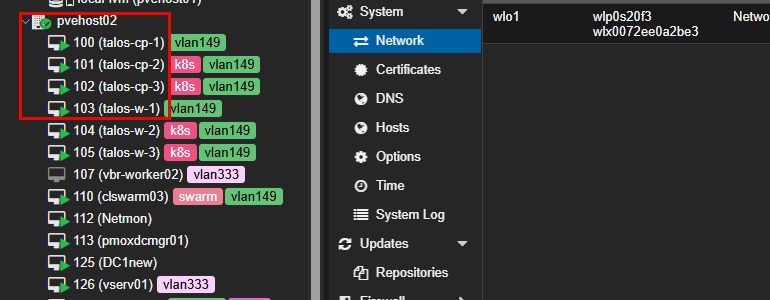
Learn VLAN tagging in Proxmox and don’t overcomplicate it
One of the first things that we should do when learning any hypervisor virtualization platform is learn how to do the basics with networking. If you can focus on one area of your learning for the first couple of weeks when you spin up a Proxmox server, it is networking.
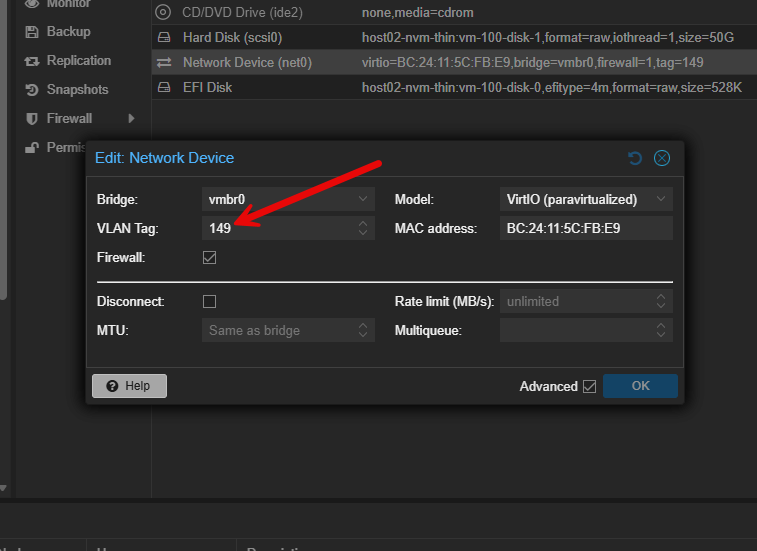
Networking is one of the first places where beginners start to struggle and not understand how to get traffic in and out of where they want it to go. Proxmox actually makes VLANs fairly easy at the most basic level. Arguably, some may not agree with this, but I think at the most basic level, Proxmox allows you to get a VM on a VLAN even easier than ESXi does. With vSphere you have to tag a port group, but with Proxmox you can simply add a tag to a VM.
By in large, the vmbr0 default bridge of Proxmox is enough for most home labbers getting started and it allows getting a few VMs and containers online and able to talk to each other and even across a couple or three networks if you know a little bit about routing.
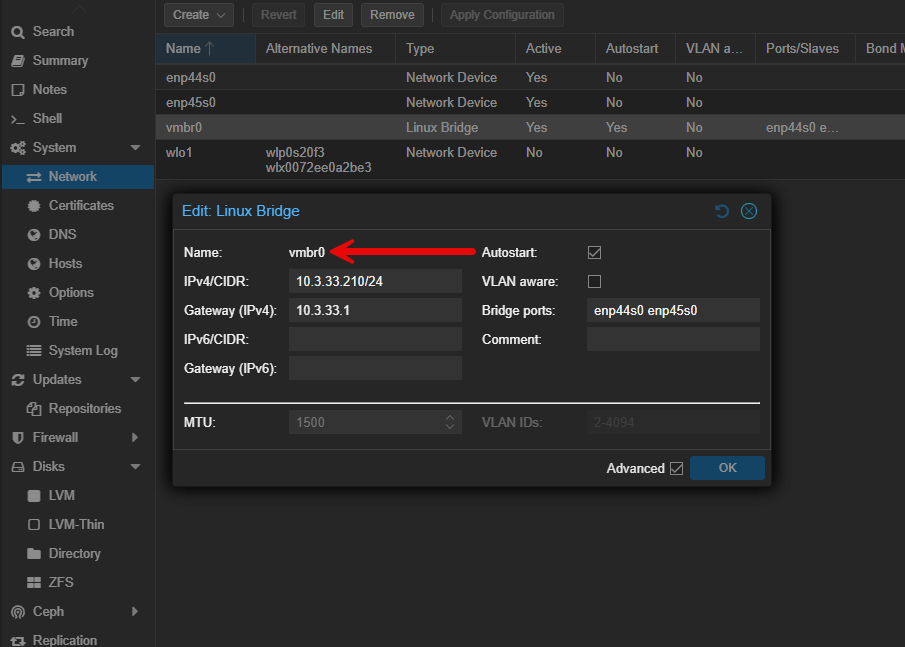
Instead of creating separate bridges for each VLAN, with Proxmox you can simply enable VLANs directly on each virtual machine network interface. There are some advantages I think to creating VLAN aware bridges in some cases, but the point is, you don’t have to.
Create a VM, assign the VLAN tag number on its virtual NIC. That is it. No additional bridges are required.
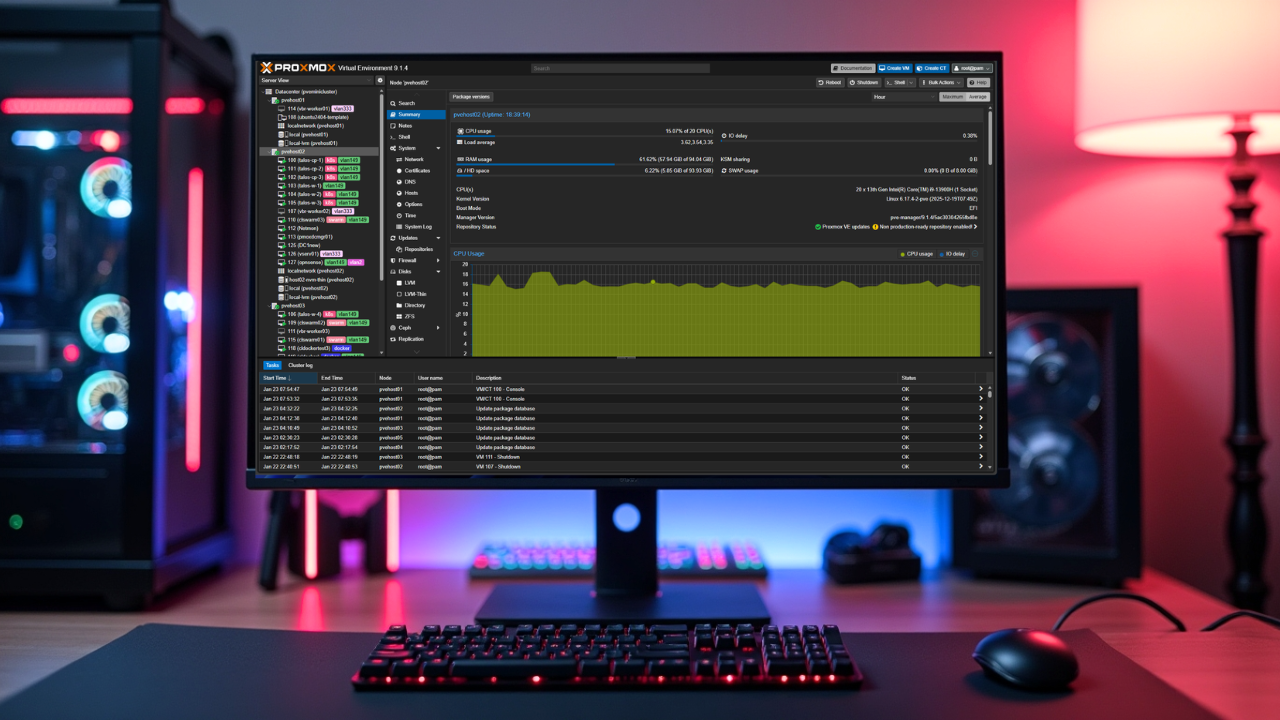
Use VM tags early and actually rely on them
There is a very underrated feature in Proxmox, VM tagging. This is a feature that I think most need to get familiar with earlier. Tags might feel like something you don’t really need, especially if you only have a handful of VMs or containers. But, I think once you cross a threshold of more than a few VMs and containers or you have a wide variation of roles those VMs and containers play, tags are extremely helpful.
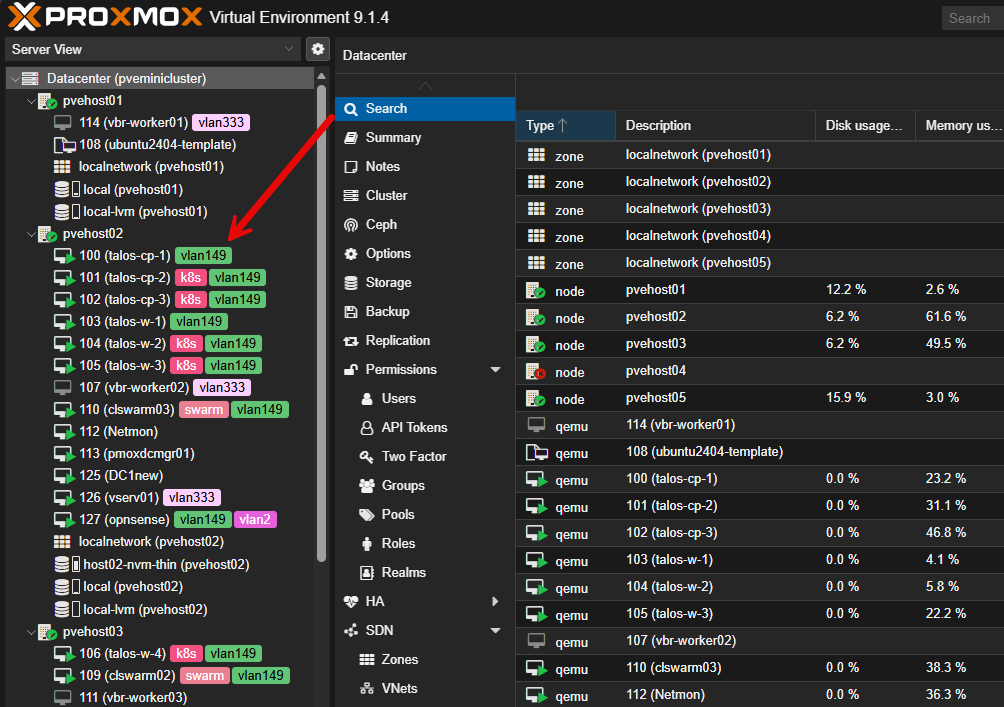
Proxmox tags are something that I think you should get familiar with early on and train yourself to use them. They give you visual queues on what VMs relate to or what services they run or what VLAN they are connected to without having to look at settings. This saves time and effort.
Start with a few small but consistent tags like:
- Prod, test, infra
- Storage, Kubernetes, Backup
- Docker
- Routing
- VLANs, etc
When you use tags, you will find that the Proxmox UI is less taxing mentally.
Name your virtual machines where they make sense
If you have ever come into a role as an admin where a previous admin named things like “server1”, “server2”, “server3”, you realize just how frustrating this can be as you can’t quickly just look and see in the interface what a particular VM actually is.
It is totally fine to do this on test or throw-away resources in your lab that are short lived. However, for anything that is going to be sticking around a while, definitely name your virtual machines something intuitive for looking at later. When you have a good naming convention, you can glance at a VM and know what machine it is, what it does, and what environment it is part of.
Especially when you use this in conjunction with tags as we have described, you have a very visual set of documentation that is right before you in the interface. This helps to avoid confusion and ultimately making mistakes or configuring, deleting, or modifying the wrong resource.
Label bridges and NICs as part of your documentation
I really like how Proxmox allows you to add comments to many of the components and infrastructure like interfaces and bridges. I learned after a while to take the extra minute to add comments to bridges and network interfaces.
If one of your NICs on a mini PC connects to your main switch while the other one connects to a storage network, you will definitely thank yourself later for having the comments to help you quickly identify where things plug in. It just makes troubleshooting and documentation so much easier.
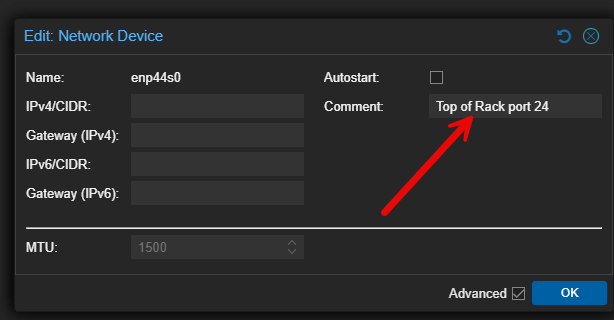
It can also save you from misconfiguring something just because you have incorrectly identified the NIC you need to be working with.
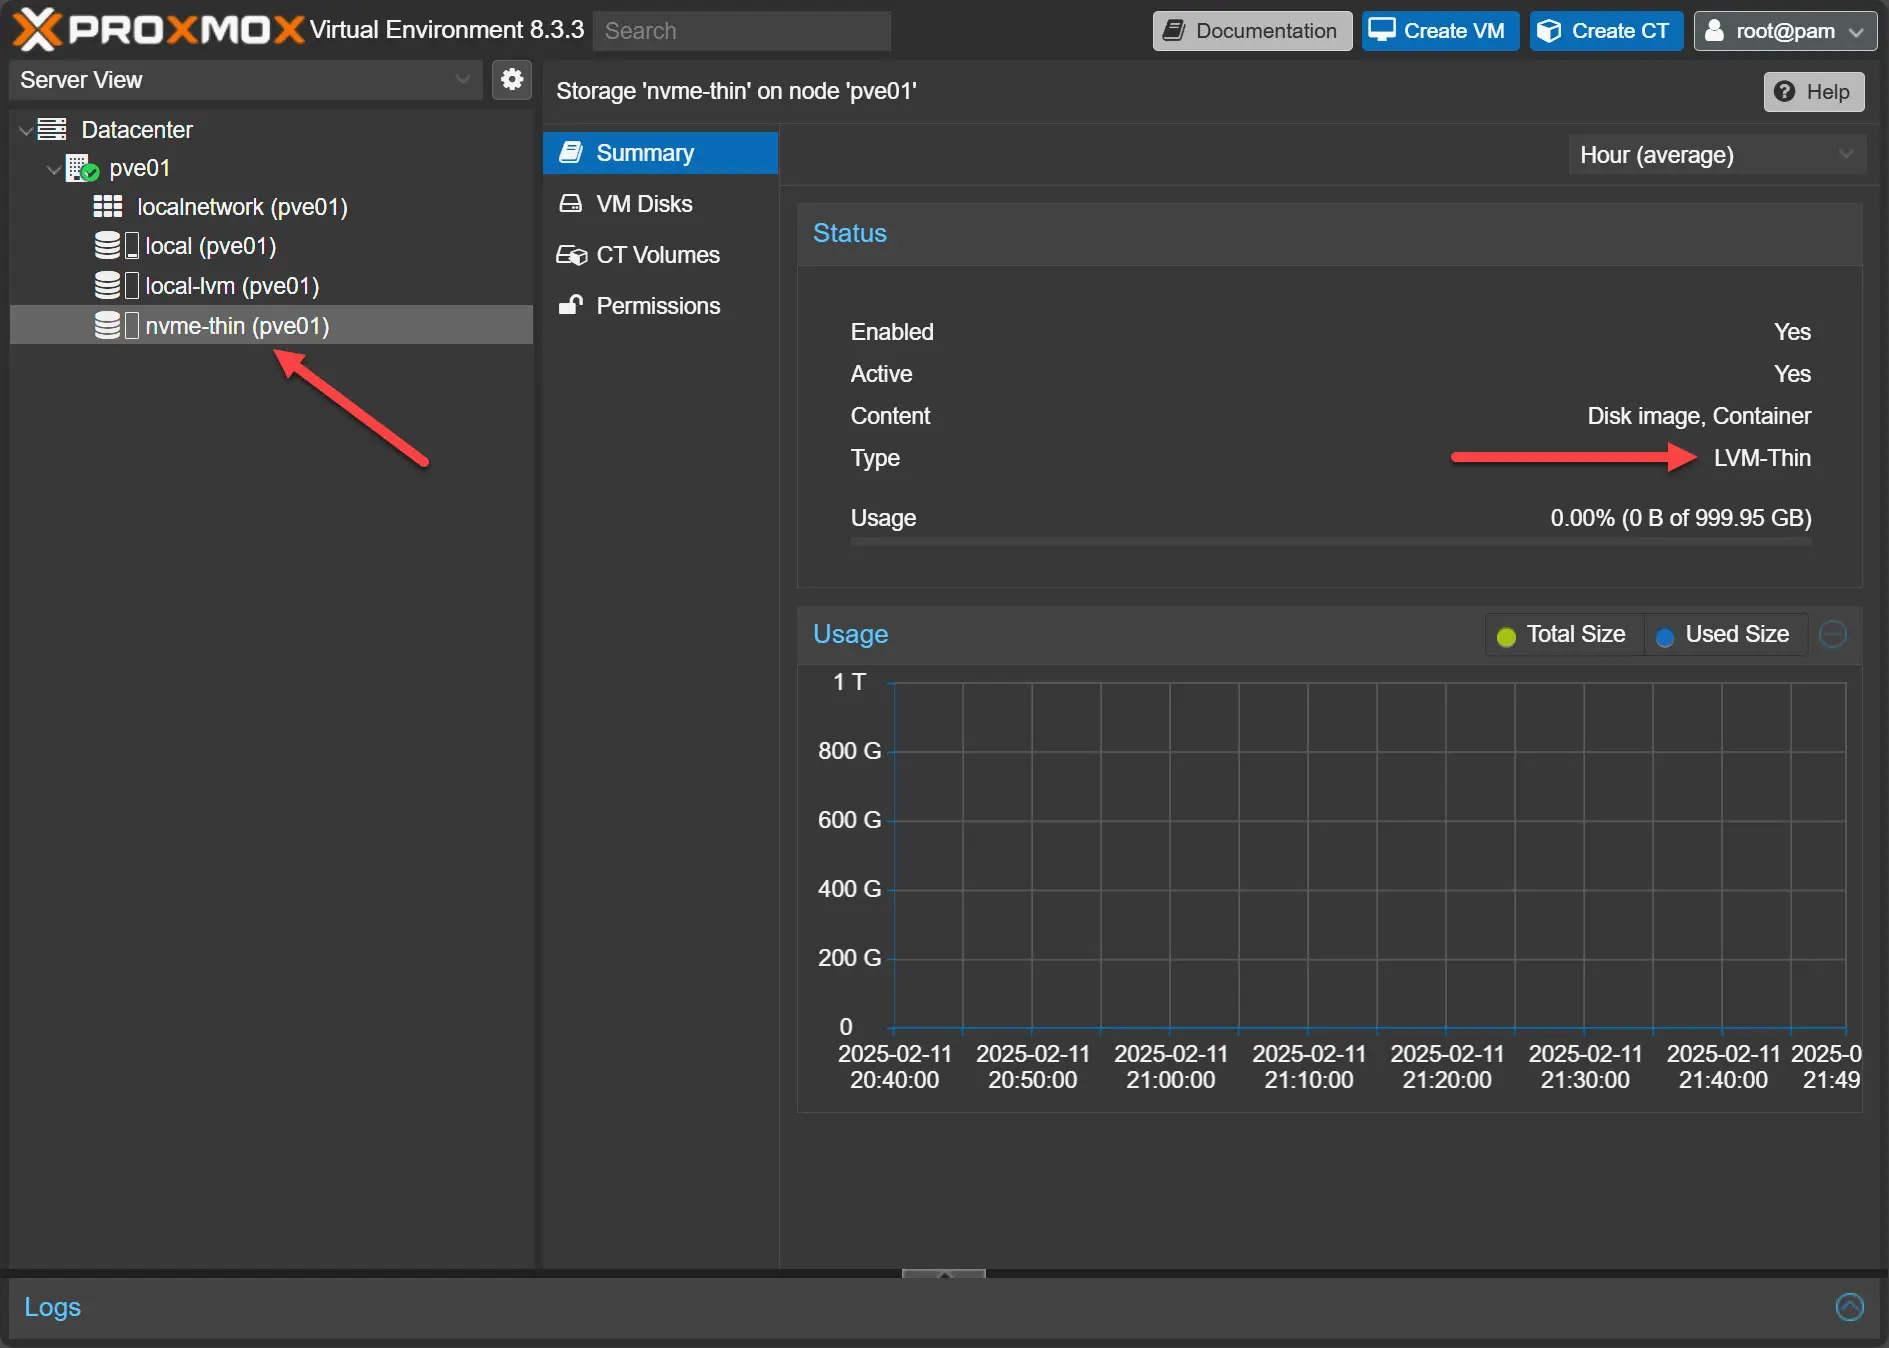
Add an extra NVMe drive and use LVM thin pool storage
Proxmox, like VMware ESXi, comes with the default “datastore1” type storage. In the Proxmox world, it is the local-lvm storage. Most beginners when they are starting out create everything inside this storage. However, this can start to be limiting pretty quickly.
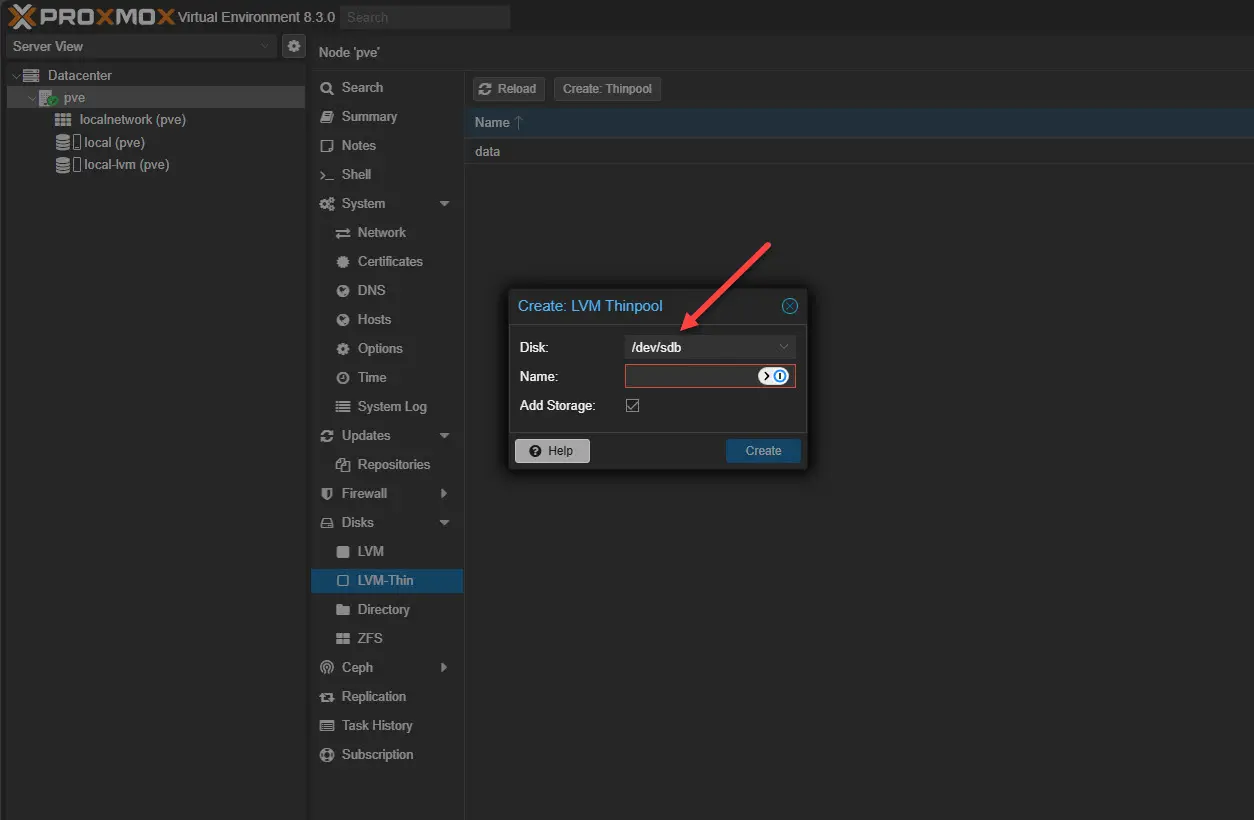
I love using mini PCs with an extra NVMe slot that allows you to add an additional NVMe drive that you can use for dedicated VM storage. Also, make sure you create a thin pool storage on this extra NVMe drive. Thin provisioning allows you to overprovision the storage and really get more out of your storage when it comes to expensive NVMe storage.
The NVMe pool added on the host.
Separate ISO and template storage from your VM disks
Another tip is to separate out your ISO and template storage from your VM disks. Out of the box, you can store everything in the same storage. This includes ISO, templates, backups, and VM disks. However, it helps you to separate this out from a management and efficiency perspective.
Directory storage works really well for ISOs and templates. Then you can use thin pools and block storage for active virtual machines and their disks. Separating these out keeps your primary virtual machine storage cleaner and easier to manage.
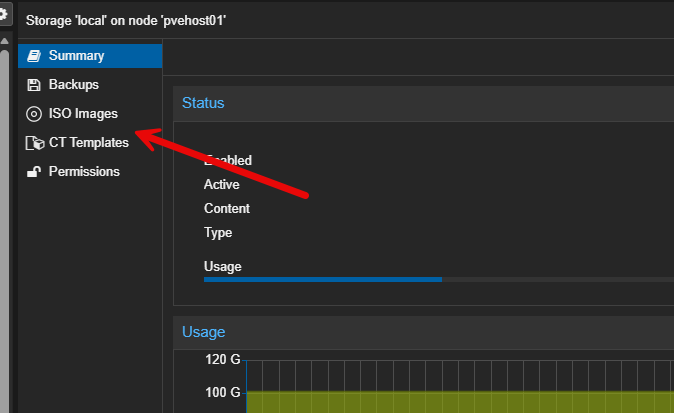
This also helps you to keep backups and restore more predictable, even when your home lab grows beyond a single node.
Start getting familiar with templates and cloning
One of the really great advantages to virtualization is the ability to quickly spin up virtual machines by using templates that you create and then clone from those. Let’s face it, all of us have better things to do than to manually go through the wizards of installing operating systems in virtual machines.
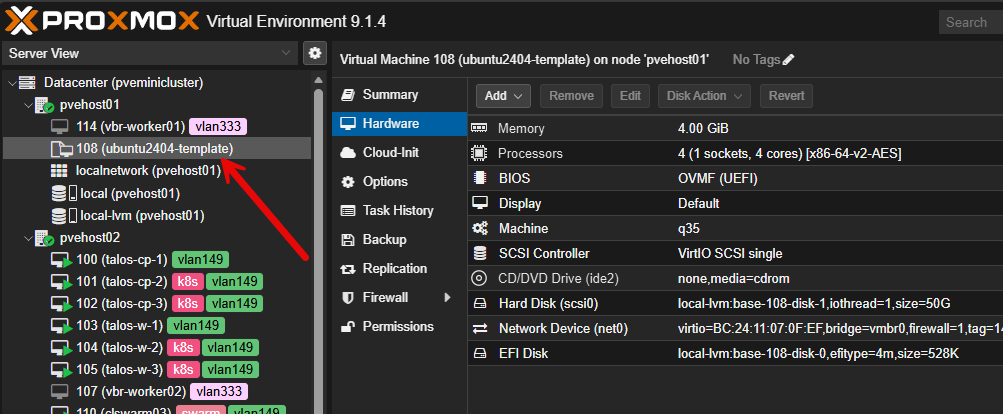
Like VMware, Proxmox also has the concept of a template that allows you to build a clean base virtual machine with your preferred OS for deploying. Then, you can convert the virtual machine to a template. From the template, you can then clone new virtual machines in just a few seconds, especially if you used a linked clone, which uses the same base disk and then just creates a delta disk with the changes from the base disk.
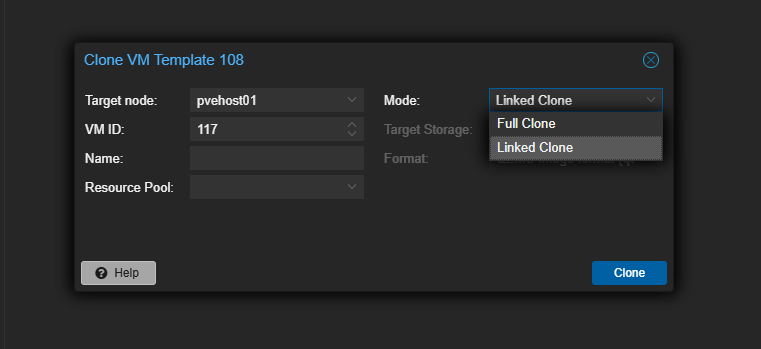
Full clones are best for long term provisioning since each VM has its own full copy of the underlying disks. Each can be valuable tools in the lab though. Full clones are usually the safest choice but they consume more space. Linked clones are faster and use less storage but they can also introduce more complexity.
Get familiar with the concept of using templates early on and cloning from them. This will set you up for more advanced skills and projects like introducing automated template builds into your lab.
Learn how to use snapshots and also their limitations
I know snapshots were one of the first magical things that got me hooked on virtualization. They give you a super easy way to click a button and create a roll back point. If something breaks after you have made the snapshot, you can just roll back to the snapshot. This gives you a sense of confidence and a safety net.
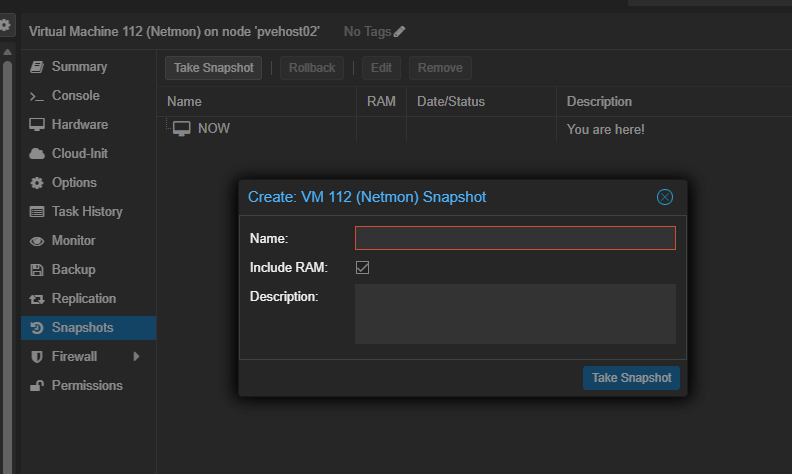
Keep this fundamental truth in mind though. This bites so many when they are just starting out. Snapshots are not backups. They live on the same storage as the virtual machine and they can disappear if the disk fails or something else catastrophic. They are best used for short-lived safety nets when you are performing upgrades, installing driver updates, or some other configuration change.
Use them correctly and they are one of the easiest and safest rollbacks you can do. Use them incorrectly or rely on them as backups and they will bite you.
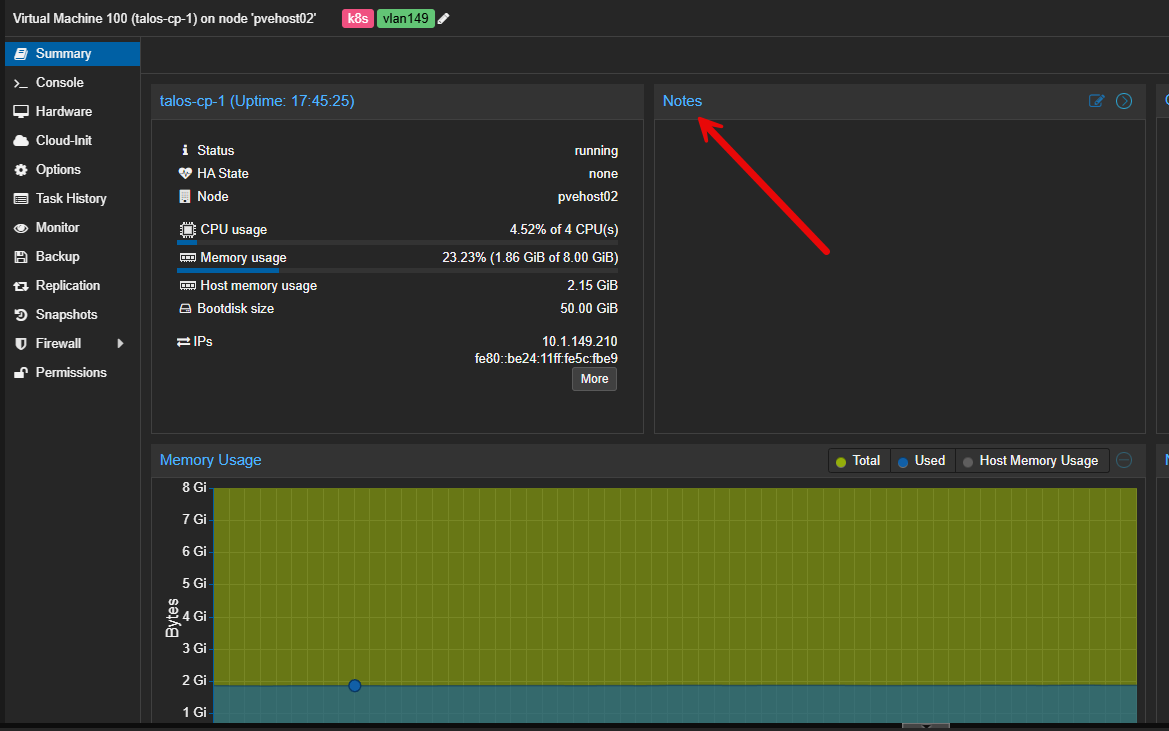
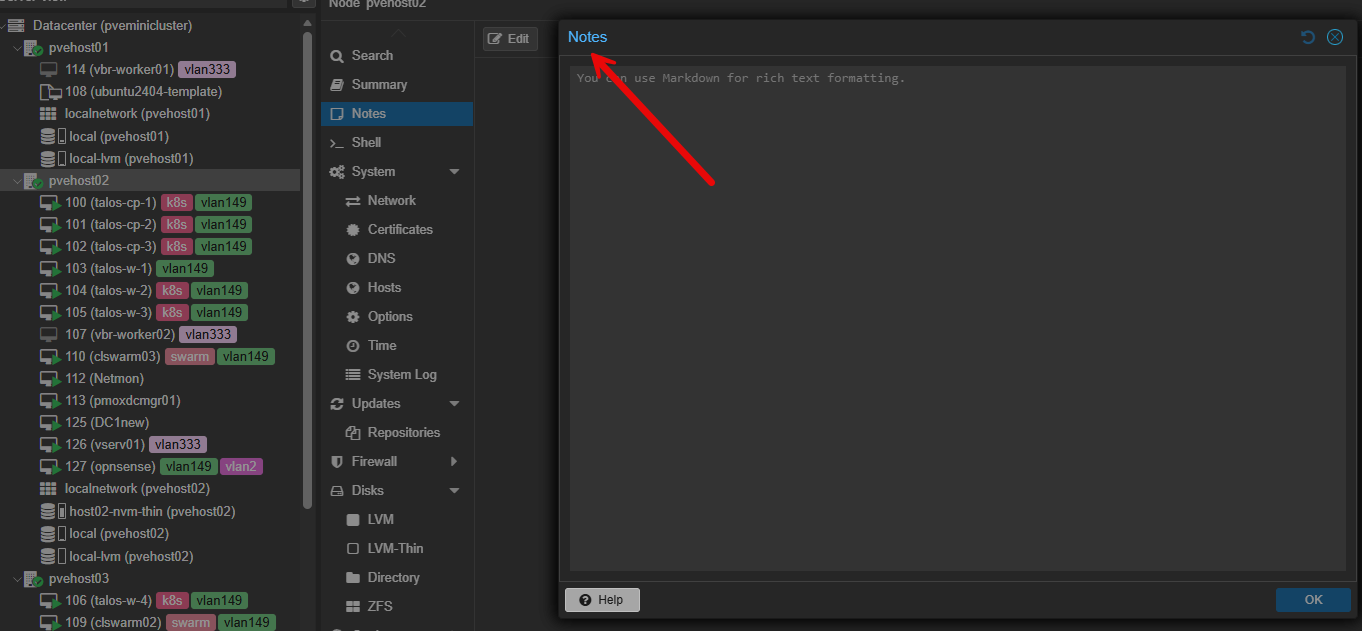
Make use of the notes field on VMs and hosts
How many times have you created a virtual machine or have a certain configuration and wonder, “why did I do it that way?” or what was I trying to accomplish? This is where the Notes field is extremely beneficial. It allows you to leave notes on the object itself to document things that may be hard to remember some time later.
Below is the notes box on a virtual machine running in Proxmox. These also support rich formatting.
You can also set notes for your Proxmox hosts. This is great to detail things about the host that you want to remember. If you are running different mini PCs for each host, you could document which mini PC it is, specs, or really anything else that is helpful.
Look at the task logs instead of guessing what happened
The task logs in Proxmox are super beneficial. Usually they tell you what happened and why. Beginners often miss this and jump straight into searching online or just retrying an action over and over. The task log is your friend when you are troubleshooting.
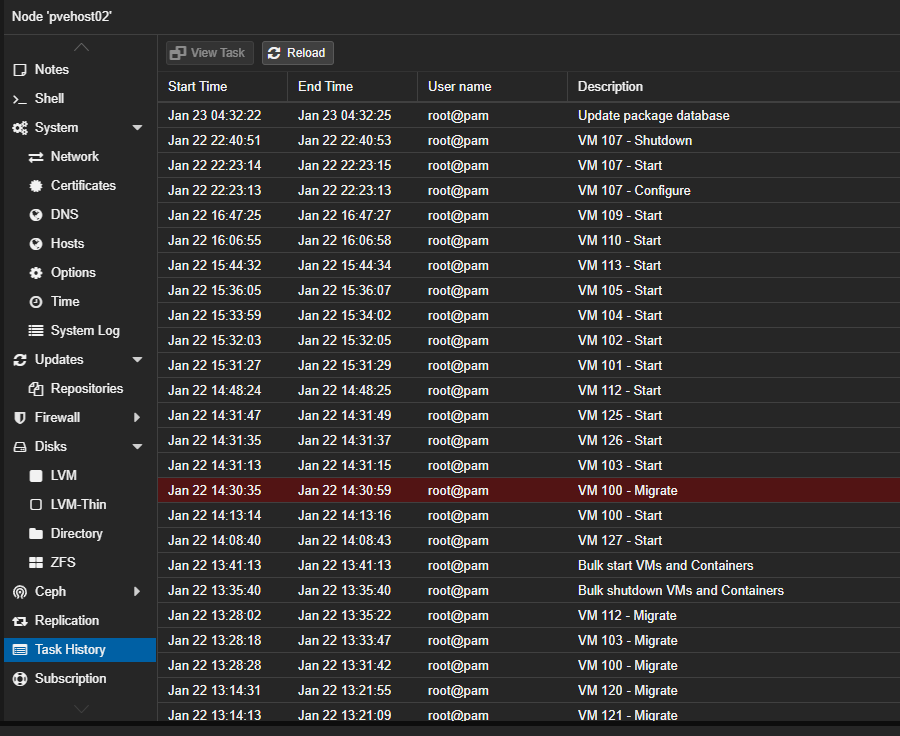
It will also help you will learn faster, troubleshoot better, and gain confidence when you start understanding what is happening underneath the hood.
Plan for growing past your one node if you start with one
Another helpful Proxmox tip for building your first home lab is to plan for growth, even if it never happens. This way, you are prepared, if you decide to add more nodes in the future. Ask, yourself questions like:
- Where will backups live?
- What happens if I add a second node?
- How would I migrate VMs if I had to evacuate this host?
You do not need to build everything upfront. You just need to avoid thinking or building in a certain way that that boxes you in later. Even things as simple as consistent storage naming across nodes makes future expansion easier.
Do not rush into setting up a cluster just because you can
Proxmox is amazing in the fact that it has clustering built in and all the enterprise type features that you need from day one if you want to run multiple Proxmox nodes. However, it doesn’t mean you HAVE to cluster just because it is there and available.
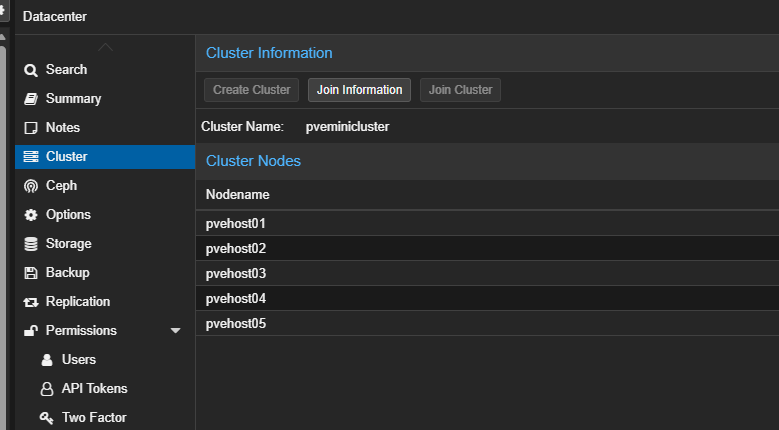
You can actually learn most everything about Proxmox just from a single node. When you add a second node, clustering does make sense because you have a reason for it. The point is, don’t just add clustering which adds complexity if it doesn’t solve a problem you currently have.
Wrapping up
These are just a few of the beginner tips to pass along for those just getting started running Proxmox in a home lab. These are things I wish I knew before building my first home lab on Proxmox and hopefully these tips and tricks will help you out as well. What tips do you recommend? Is there a specific thing that you learned that you wish you had known earlier with Proxmox? Do share in the comments!
Google is updating how articles are shown. Don’t miss our leading home lab and tech content, written by humans, by setting Virtualization Howto as a preferred source.
About The Author


The key resource I wish I’d know about when I first started dabbling with Proxmox is the Proxmox VE Helper-Scripts. There is a wealth of useful stuff on there, including automating adding IP address tags to instances.
Richard,
Great shout on this resource! Definitely is a wealth of things there that make Proxmox easier for configuration and lifecycle activities!
Brandon
I’m sure you learned more due to not using them 😉
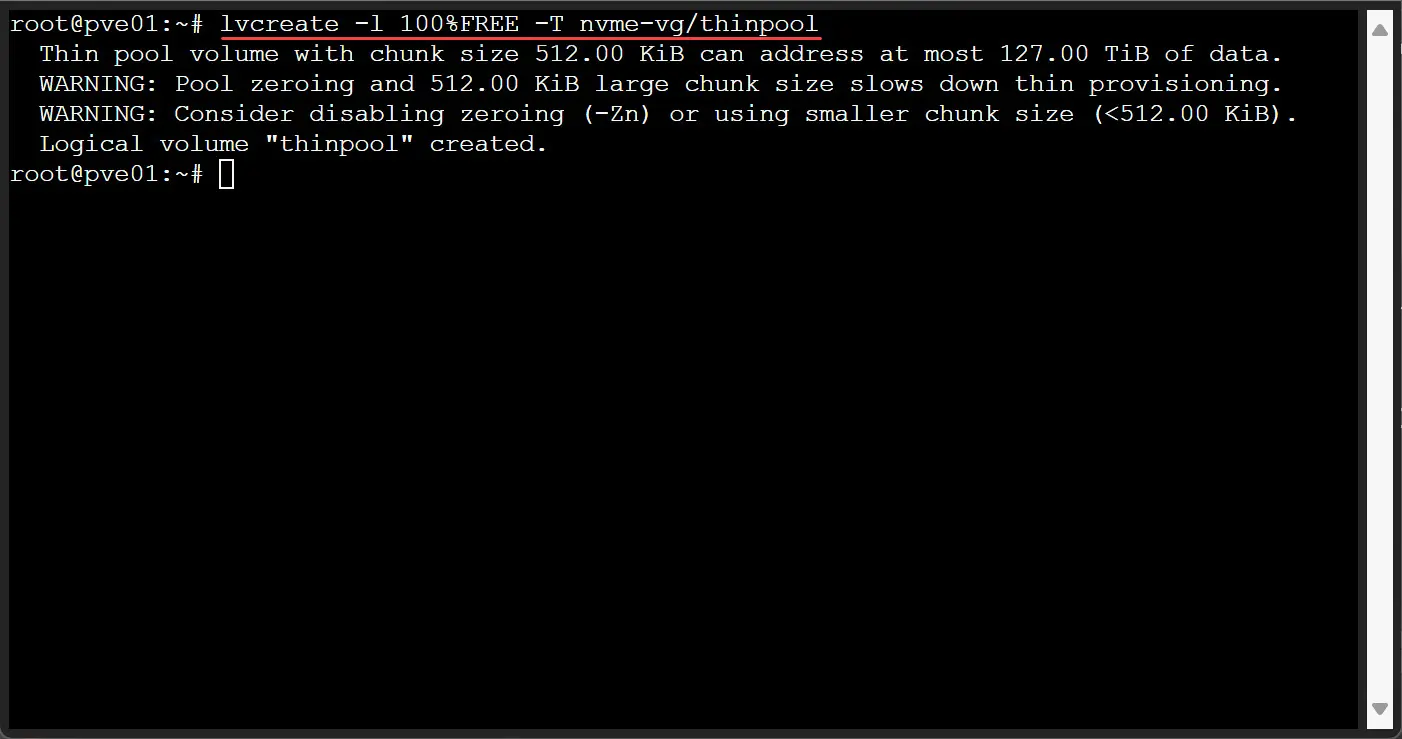
Please don’t give a thin pool 100% of the VG’s space. You need some of that to rescue yourself if it ever gets full. PVE usually leaves 16G unallocated for example.
Yes this is a good point Impact, the screenshot was me playing around in the lab. It is best to leave 5-10% free on production storage. If you have created at 100% you can shrink with lvreduce -L -16G nvme-vg/data
Brandon
You actually can’t shrink a thin pool.
Add an extra NVMe drive and use LVM thin pool storage – Thats exactly what I do. 2nd NVME is used as thin pool where all my VM / LXC disks are stored.
Home Labs are DEAD. With the continuing price increase for RAM, Nvme SSDs, Etc we cannot do upgrades and therefore we will sell off our entire home lab since IT hardware has become a Joke.
Lars,
Don’t say that! haha, I know the feeling though, seems like the big players are making it VERY hard to self-host things. However, I am willing to bet many will still be willing to spend even more to self-host. Let’s hope this AI bubble bursts soon so things can get back to normal.
Brandon
We are hoping. Thanks..