Backups are never the “fun” part of a home lab and honestly it may be one of the last things you think about. I know for me the most exciting and fun parts of a home lab are virtualization, Docker containers, automation tools, DevOps processes and much more. It is so easy to forget about protecting your data. And, you might initially say to yourself that you don’t need to backup a home lab. But if you are like me and have lost a config, had a corrupted storage volume, or accidentally deleted a virtual machine, you know how painful it can be. A solid backup strategy doesn’t have to be difficult. Let’s look at how to build a complete home lab backup strategy for 2025.
Why home lab backups matter
One of the most valuable resources that you can have in the home lab is “time”. I have to generally buy out time for labbing. So I want to make sure I don’t lose this precious time that is spent on projects and getting things configured the way I want them or working through a major new project. I don’t want anything to wipe that all away.
Your home lab might include virtual machines running file shares, test applications, personal media libraries, Docker hosts, or even important automation projects or AI projects. Losing that data means hours or days of rebuilding.
Hardware failures are still one of the top causes of data loss in home environments. SSDs and NVMe drives can and do fail. Also, the human error element always creeps in. Configuration mistakes or home labbing way too late like I do 🙂 can wipe out data in seconds.
And even malware or ransomware can encrypt or destroy files if you aren’t isolating networks properly. This one is an edge case I think in the home lab as typically we protect and don’t expose home lab resources like we would our general LAN, but again, isolation is key and we need to think about all possible disaster scenarios.
A good backup strategy helps you recover quickly from any of these events. And, no surprise, the strategy should be similar to how you would protect a production data environment.
The 3-2-1 rule for home lab backups
There is an industry standard for quite some time on how to protect your data when it comes to backups. The 3-2-1 backup best practice is still referenced today. Some even extend and build on this (that is for another discussion). However, let’s look at what this backup method includes.
In general, here is what it means:
- 3 copies of your data
- 2 different types of media
- 1 copy stored offsite
In a home lab, what might this type of backup strategy look like? Well, a simple example of backing this up might look like this:
- Your primary VM storage on a local SSD or NVMe drive
- You store a secondary copy stored on a NAS device or external drive
- You store a third copy stored offsite in the cloud or at another physical location that preferably is not in the same physical space of your home lab
Following this rule makes sure that even if your main hardware fails or your home experiences a disaster (fire, tornado, hurricane, flood, etc), you can still recover your data from another location.
Step 1: Backup your virtual machines
Most if not all that run a home lab, are going to be running at least 1 virtual machine, and likely many more. No matter what hypervisor you are using, whether this is Proxmox, VMware, or another hypervisor, you need to start your backup strategy with VM-level backups.
Most platforms that I can think of that most use for home labs have either built-in or third-party tools that allow you to take these backups of your VMs and makes this process easier. Here are a few of the options:
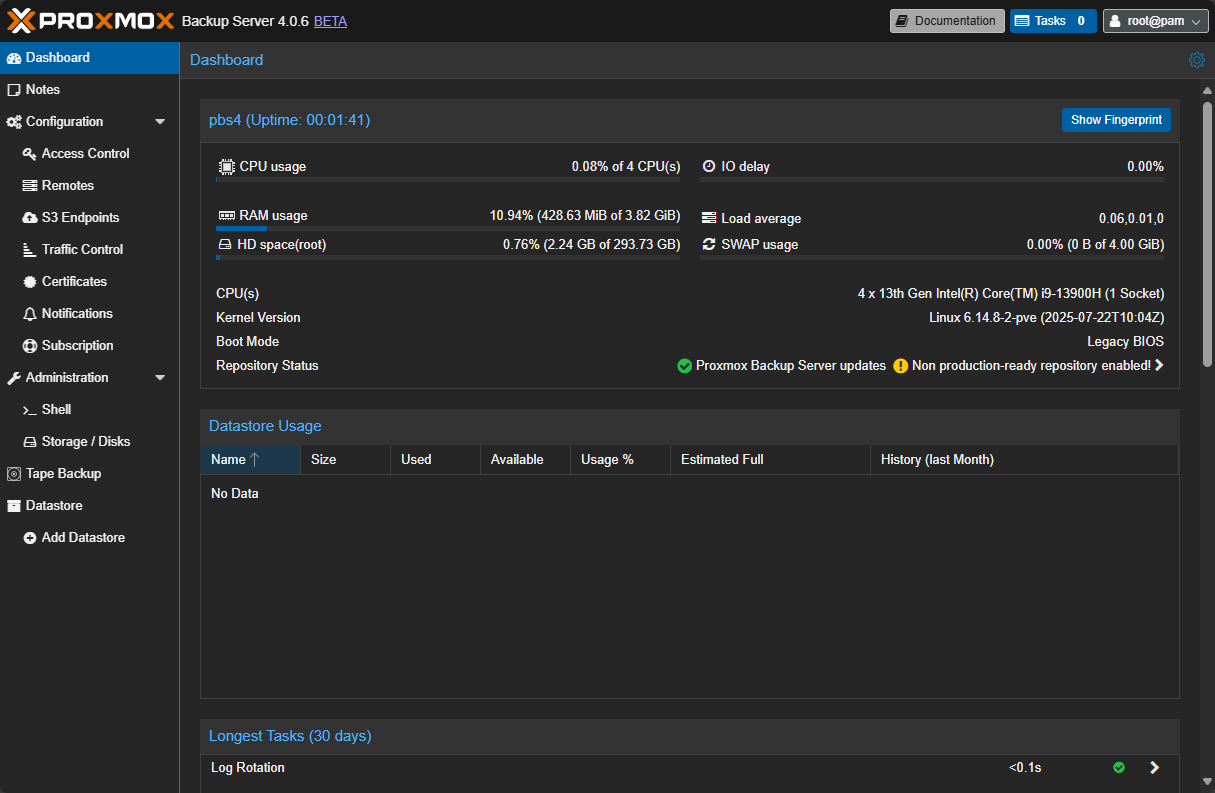
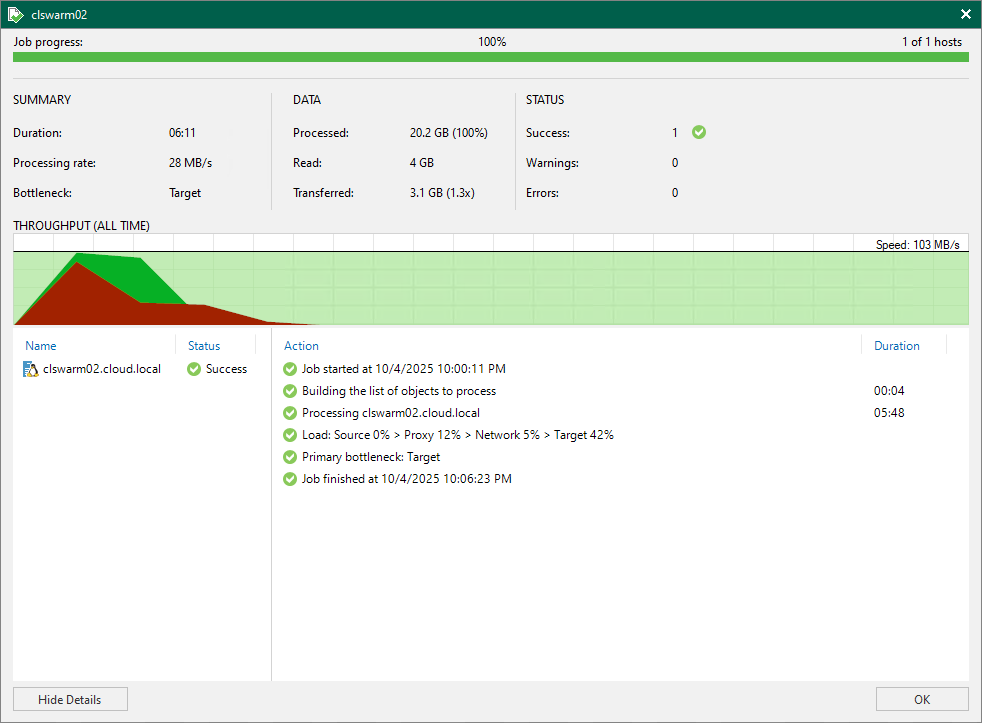
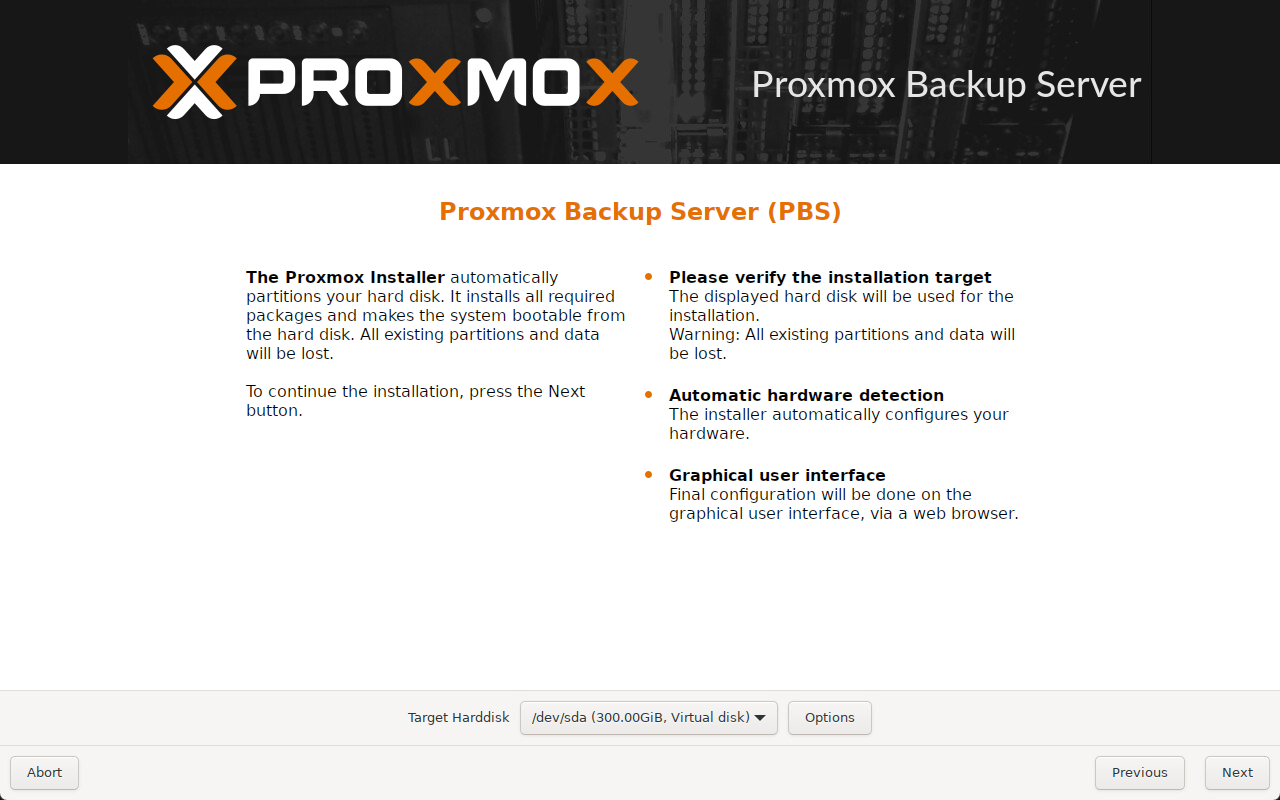
Proxmox VE: Proxmox Backup Server (PBS) is the go-to choice here. It integrates with most storage solutions and it supports things like deduplication, encryption, and incremental backups. You can also back up to another Proxmox node, NAS, or even cloud storage. Proxmox has gained huge traction with third-party backup vendors. Just about all the major backup vendors have added support for Proxmox.
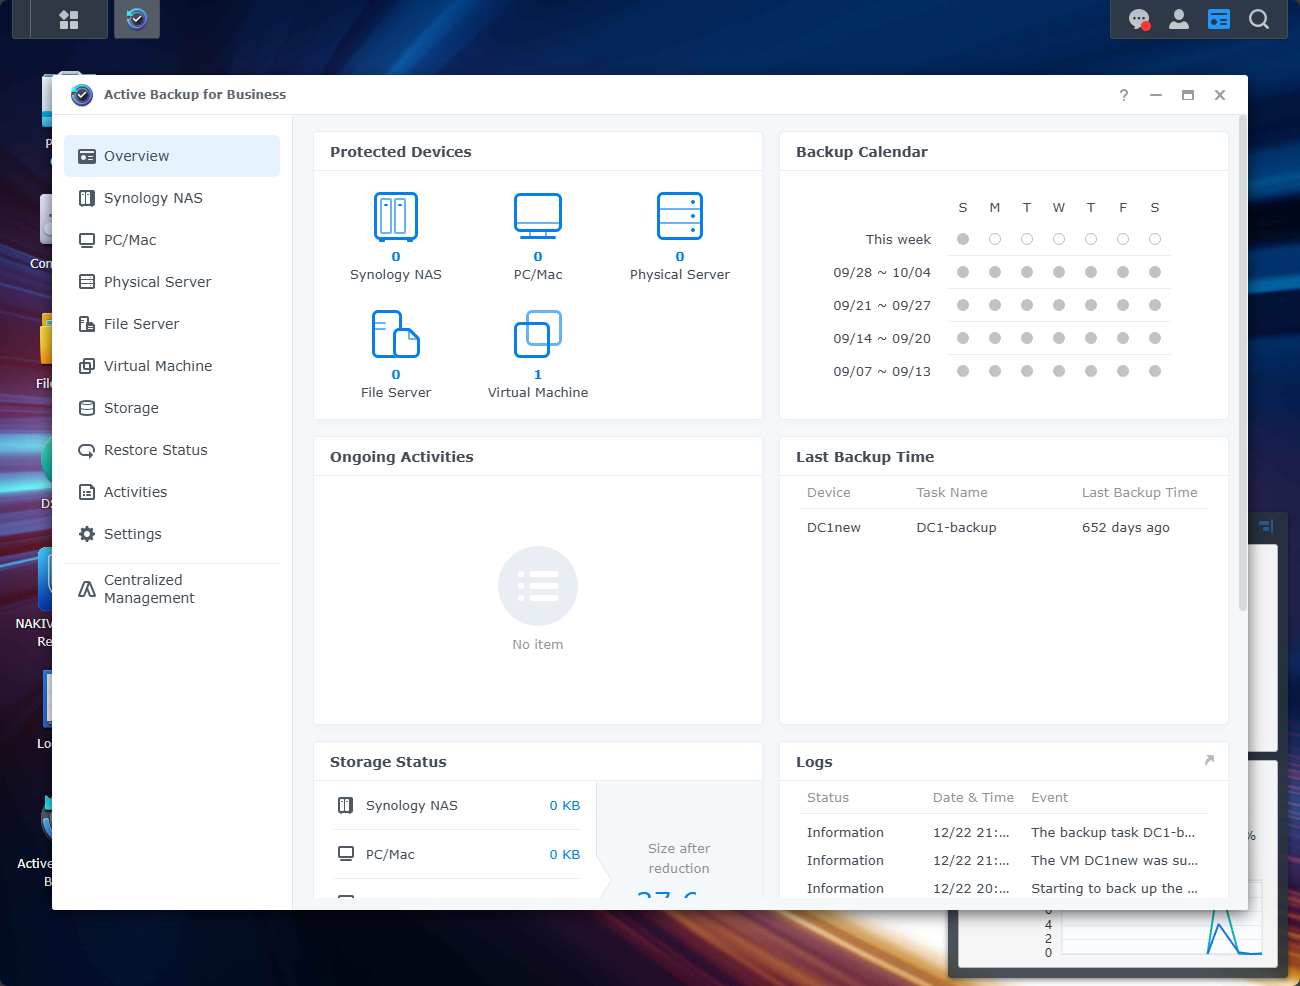
VMware ESXi: VMware has arguably the longest list of supported backup vendors. For ESXi, NAKIVO Backup & Replication is one I use that supports agentless VM backups. It also allows you to run directly on Synology and QNAP NAS devices. Veeam Backup & Replication Community Edition is another popular solution for small environments. The Community Edition allows you to backup 10 VMs.
Hyper-V or KVM: Hyper-V has Windows Server Backup integration. But many prefer using a dedicated backup solution (which most are much better than WBS) like Veeam. Synology’s Active Backup for Business which you get free with a Synology also backs up Hyper-V.
When setting up your VM backups, remember to schedule incremental backups instead of full backups each time if your solution supports these. Incremental backups are much faster and consume much less space since they only copy changed data blocks.
Step 2: Back up your Docker containers and configuration files
Most these days are running some number of containers as well. Don’t forget about your persistent Docker container data and configuration files. You will most likely use a bind mount on your Docker host to store persistent data. Be sure to backup this data.
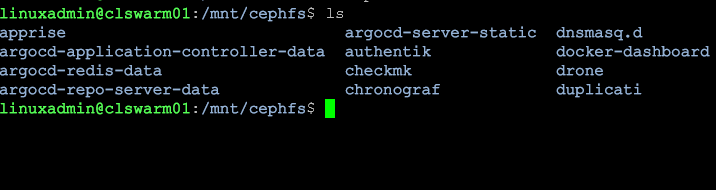
If you have a VM-level backup you will likely have a copy of your persistent bind mount data as well. This is usually just a folder somewhere on your Linux host. However, don’t make a mistake I made when assuming this. I was using CephFS storage that creates a software-defined mount. VM-level backups don’t contain these folders.
I came very close to losing data making assumptions with this type of configuration. I instead had to install a Linux backup agent on my Docker hosts using CephFS storage. From the host level it was able to “see” the data and back it up.
For Swarm or Kubernetes clusters, make sure you back up etcd (for Kubernetes) or your Compose files and secrets for Swarm. Configuration-as-code makes it easier to rebuild from scratch if your environment goes down.
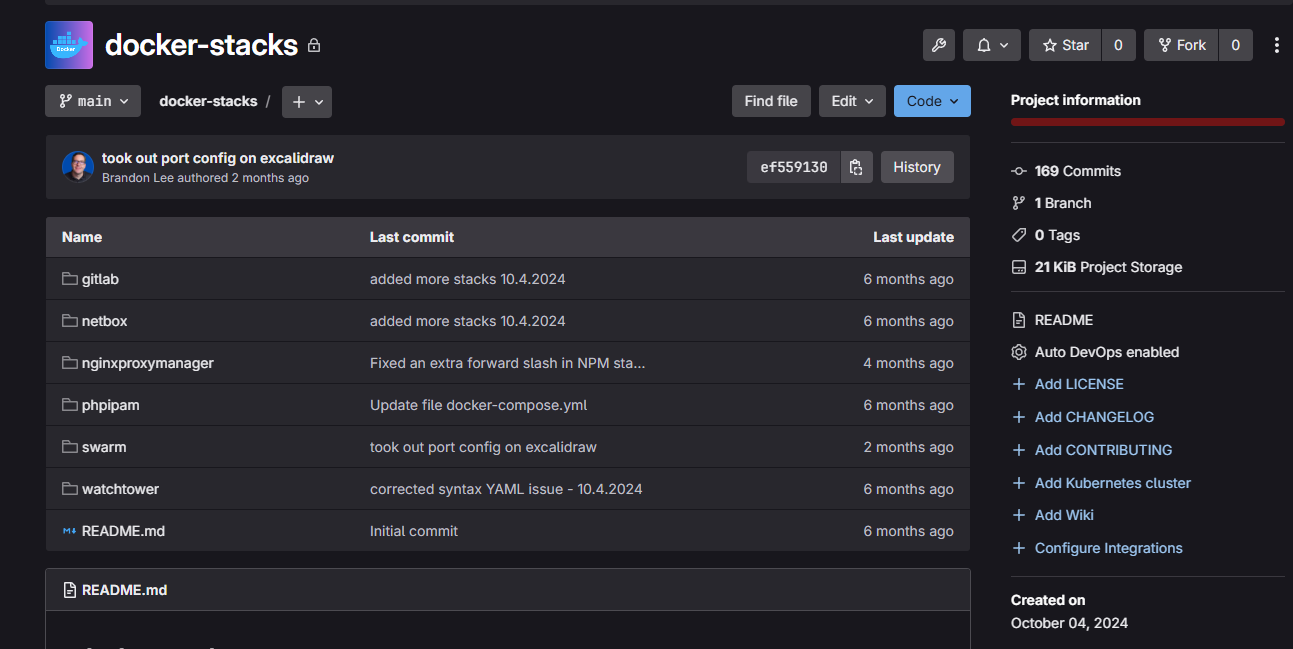
I am a huge advocate of keeping everying in a Git repository for all your Docker Compose files. That way, even if something happens locally, you can quickly clone your environment and redeploy your containers. This, I think, is the beauty of containerized workloads as they help even in times of disaster recovery.
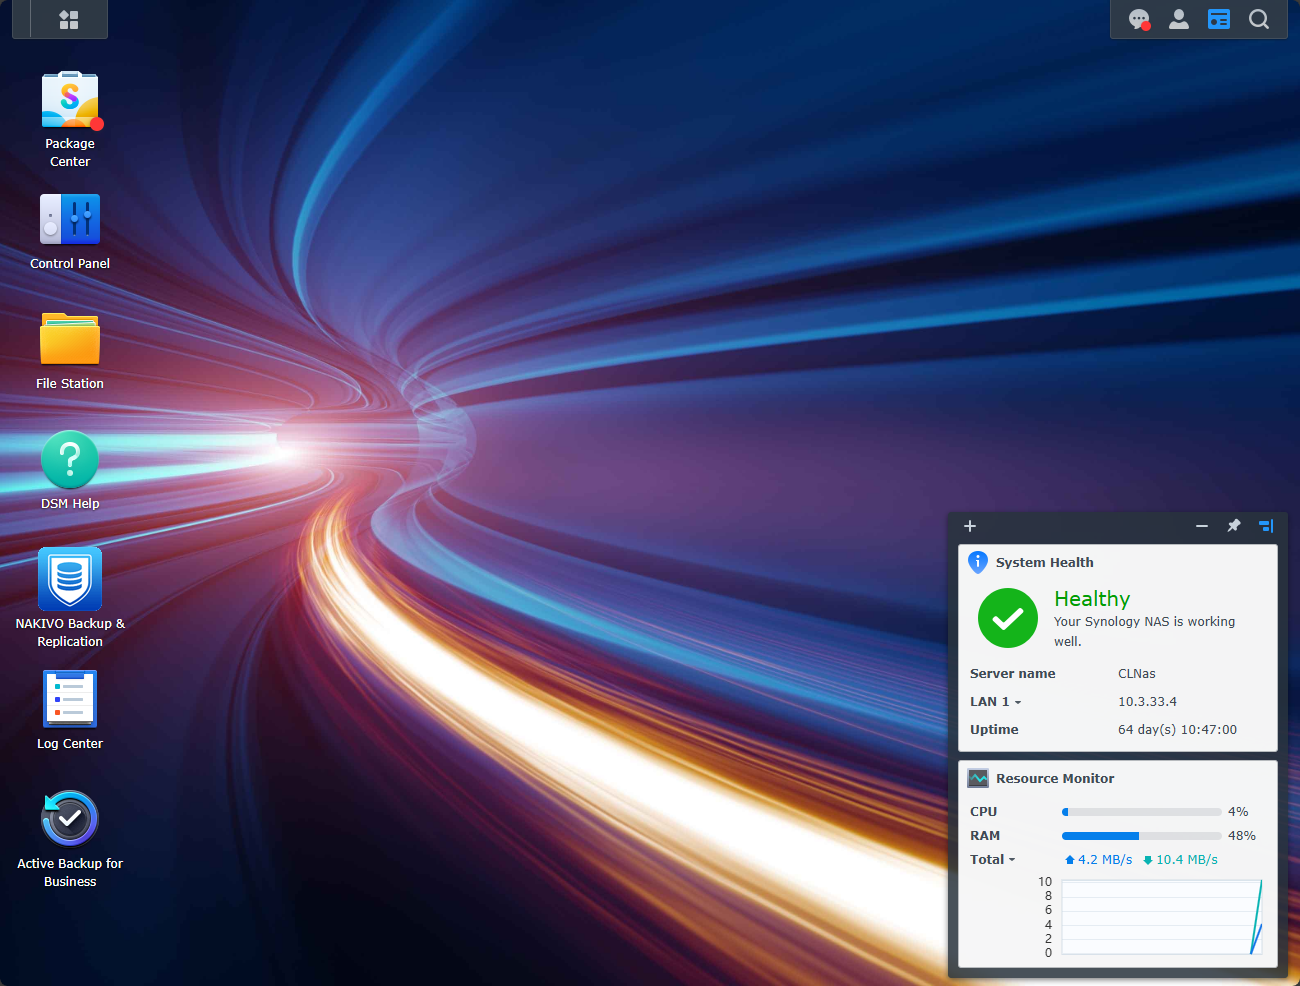
Step 3: Use your NAS as your local backup target
A NAS is one of the best investments you can make for your home lab, and especially for backing up your data. Most NAS devices are quiet and power efficient (for the most part although many now have very powerful CPUs that may not be as efficient).
There are many great options out there, much more than a few years back. Before it was Synology, and a couple of others. Now, there are newcomers like Ugreen, Terramaster, Aoostar, and many others.
Here are some ideas to use your NAS effectively for the purpose of backups:
- Create a shared NFS or SMB folder for your backups
- Configure your hypervisor to back up directly to that folder
- Schedule automatic replication between two NAS units if you have two
If you run Proxmox, you can even mount your NAS share as a backup datastore for Proxmox Backup Server. Many NAS devices also support snapshot replication, allowing you to roll back quickly to a clean version of your data if something goes wrong.
Step 4: Add immutability to your backups
There is no question that a growing trend for backups is making them immutable. Immutability if you haven’t heard that term before simply means a flag is set on your backup files or other files for that matter that makes it where they cannot be modified or deleted for a defined period of time. This flag protects against ransomware, accidental human-error situations, and automated scripts gone wrong.
How can you enable and use immutability for backups? Note the following examples:
- S3 object storage with versioning and retention policies (for example, Backblaze B2 or Wasabi) has immutability
- Synology Active Backup with immutable snapshots
- NAKIVO Backup & Replication with object lock support
- Restic or Rclone configured with immutable flags on your destination
Immutable storage is one of the best defenses you can have for your home lab backups to make sure that data does not change or get deleted for some reason, either intentionally or accidentally.
Step 5: Automate your backups
Backing things up manually or when you remember to do it, is very dangerous. If you are like me, my memory is definitely not good enough to remember to back up my home lab data as it should be. Automation makes sure you have backups that happen consistently. Most backup solutions that you can make use of today have some type of scheduling built in.
These also can rotate your retention and even notify you if something happens that needs attention, like a backup failure. So, make use of these built-in features and capabilities for scheduling.
Proxmox backup server allows scheduling and so do third-party solutions like Veeam, NAKIVO and Synology Active Backup.
Step 6: Keep an offsite copy
This is the “1” in the 3-2-1 backup rule. When you store a backup locally, that is a great start. However, if your house burns down or something else catastrophic happens, this is where the offsite backup comes into play.
Here are some options that I have used in some way or another:
- Use Backblaze B2, Wasabi, or AWS S3 for cloud storage
- Set up Rclone to sync your backups to a remote bucket
- Replicate backups to a friend’s or family member’s NAS using rsync over SSH
- Use Tailscale or Twingate to connect to remote storage endpoints
Also, as a note, Proxmox Backup Server 4 has native S3 storage targets built into the solution.
Replica VMs
If you have another building or friend’s house with another virtualized environment, you can also replicate your VMs to another environment and have these as warm standbys. Replication helps to protect you from a complete site failure. That “site” may be your house. If you have a detached garage, you could setup a mini PC or two there with Proxmox to receive replica VMs from your “primary”.
Step 7: Test your restores
This is a big one that honestly, even in enterprise environments, I don’t see this happen as much as it should. If you can’t restore the data that is contained in a backup, it is worthless. Testing your backups on a regular basis is one of the most important steps in your backup strategy.
Make sure to schedule a weekend project every quarter or 6 months to test restoring your backups. This allows you the opportunity to make sure the VMs boot, the persistent container data isn’t corrupted, etc.
A backup is worthless if you can’t restore from it. Testing your backups regularly is one of the most important steps in your strategy. Schedule quarterly or monthly test restores for your most critical systems.
Document your restore process so that if something does go wrong, you can restore your data quickly without guessing what to do.
Step 8: Plan for versioning and retention
All of us generally have limited space to house backups. That means you most likely can’t keep “everything forever”. Instead, you are going to have to decide “how much” backup data you will keep for your workloads. The key is to have a balanced approach so you have enough recovery points without consuming unnecessary space.
Here is just a suggestion that I have used before:
- Daily incremental backups (kept for 7 days)
- Weekly full backups (kept for 4 weeks)
- Monthly backups (kept for 3–6 months)
You can adjust depending on how much your data changes. Most backup software supports rotation policies automatically, so your oldest backups are pruned on schedule.
Step 9: Document everything
When you think about backups and disaster recovery, it might be easy to forget about documentation since we are most of the time laser-focused on the data and what we are backing up. However, in those “break glass” moments when everything “hits the fan”, make sure you know what to do to get things back up and running. Document things like:
- Where backups are stored
- What creds or encryption keys are needed
- How to restore each system
- What data goes where
- Etc, etc
Trust me. This saves huge amounts of time when you have the stress of recovering your data. Keep a text file or even a Git repository with:
- Locations of backup targets
- Retention policies
- Restore commands
- Contact information if using shared storage or remote systems
Having a backup plan is just that – a plan. It’s more than just technology. Make sure that plan is written down.
Read my post here on home lab documentation: How to Document Your Home Lab (The Right Way)
Bringing everything together
A complete home lab backup strategy is a combination of MANY different things, including technologies, documentation, and validation. Below is just a simple blueprint of how you might use what we have talked about together in a seamless backup plan:
- Back up your VMs using tools like Proxmox Backup Server or third-party solution
- Back up Docker volumes and Compose files with third-party solution or Duplicati, etc
- Store docker compose code in a Git repo
- Store your local backups of data on a NAS
- Sync to immutable cloud storage for “offsite” storage
- Automate everything with scheduled jobs
- Test your restores regularly
- Document everything
Wrapping up
When you create a backup plan for your home lab like we have discussed, it will be a plan that honestly would be good enough to use in a production enterprise environment. All of the ideas are the same when you apply it in either use case. Also, when you setup your backups like this at home, you will be learning and getting the fundamentals down for production environments. Let me know what you are using in your home lab environment. Do you have a 3-2-1 backup strategy? What tools are you using?
Google is updating how articles are shown. Don’t miss our leading home lab and tech content, written by humans, by setting Virtualization Howto as a preferred source.
About The Author


I need to revisit my backup strategy in lab for sure. Nice post.
Thanks Johnny!
Brandon
I always recommend backing up the contents of virtual machines rather than their images. The first time you try to restore on a newer host OS version and run into compatibility issues you’ll wish you’d just backed up the data itself. It also lets you migrate that data from inside one type of VM to another or to a simpler container.
Michael,
Great points here. A VM image is definitely problematic in many situations where data is involved. Almost always needs a hybrid approach if you want to have both data and VM backups. I think containers solve a lot of this though as easy as they are to spin and you just worry about your data. Thanks again Michael!
Brandon