When I say that my home lab has changed over the years, that is definitely an understatement. It has gone through several iterations of build outs. Most of the upgrades I have made have been incremental upgrades like swapping out a switch or adding more memory to a host. However, there have been a few upgrades that have completely reshaped the way I build and run my lab environment. Looking back, there are five home lab upgrades that really changed everything for me. They improved what I could do with the lab and how much I enjoyed using it.
1. Moving to 10 GbE networking
I can’t tell you how much of a shift that introducing 10 gig into my home lab was. It fundamentally changed what I could do and the types of infrastructure I could host. The normal things that were just “good enough” with gigabit like file copies all sped up with 10 GbE.
After introducing 10 GbE, moving VMs from one host to another was blazing fast. Copying ISOs up to my virtualization hosts dramatically sped up. And shared storage performed like it would in the enterprise – iSCSI and NFS storage.
Switching to 10 GbE allowed me to really seriously experiment with software defined storage. This was something that I couldn’t really do in a performant way with 1 GbE. So, I was able to run things like VMware vSAN and Ceph storage without any issues. It also gives you the bigger network backbone to upgrade your Internet connection or firewall past 1 GbE.
The upgrade wasn’t cheap when I upgraded a few years back. But now, the market has matured A LOT when it comes to 10 GbE. Affordable 10 GbE switches and even mini PCs with built-in 10 GbE ports are now available for cheap.
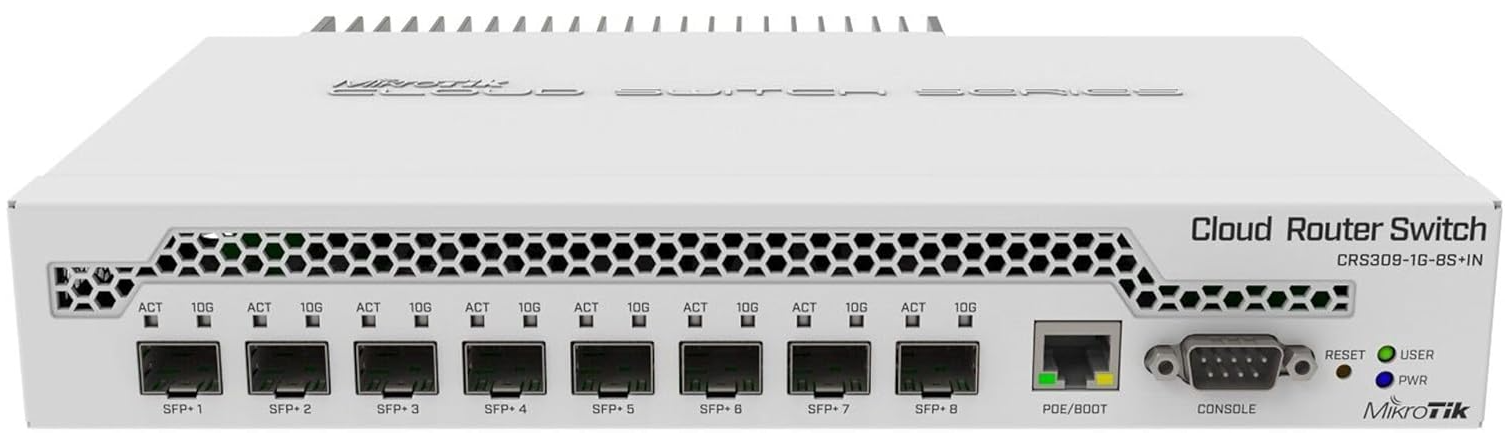
Take for instance a great switch for 10 GbE in the home lab. The Mikrotik CRS309-1G-8S+IN provides 8 SFP+ ports along with a single 1 GbE port for around $239.
- https://geni.us/OSuwb (affiliate link)
Ten gig will take your home lab to the next level in terms of performance and throughput. In my opinion it is no longer a luxury, but a requirement once you get to a certain point.
2. Moving from full servers to mini PCs for virtualization nodes
The next major change was moving from full servers to mini PCs for virtualization nodes. You may say, “upgrade”? Wouldn’t this be a downgrade. Well, in terms of sheer horsepower, yes and no.
I was using older enterprise grade Supermicro servers in my home lab that served me very well for many years. However, due to power consumption and heat, I decided the time was right to go to mini PCs.
Over the past 5 years I would say, mini PC options have exploded! In terms of capabilities, processing power, RAM capacity, storage options, etc, there are many options. So I found that it wasn’t a limitation any longer to go to mini PCs. Not only were these dramatically more efficient than my old Supermicros, they were much faster and newer processors.
Mini PCs allow you to have things like:
- 128 GB of RAM
- Multiple NVMe M.2 slots
- High speed multi-core processors (uniform procs with Ryzen)
- Power efficiency (some more than others)
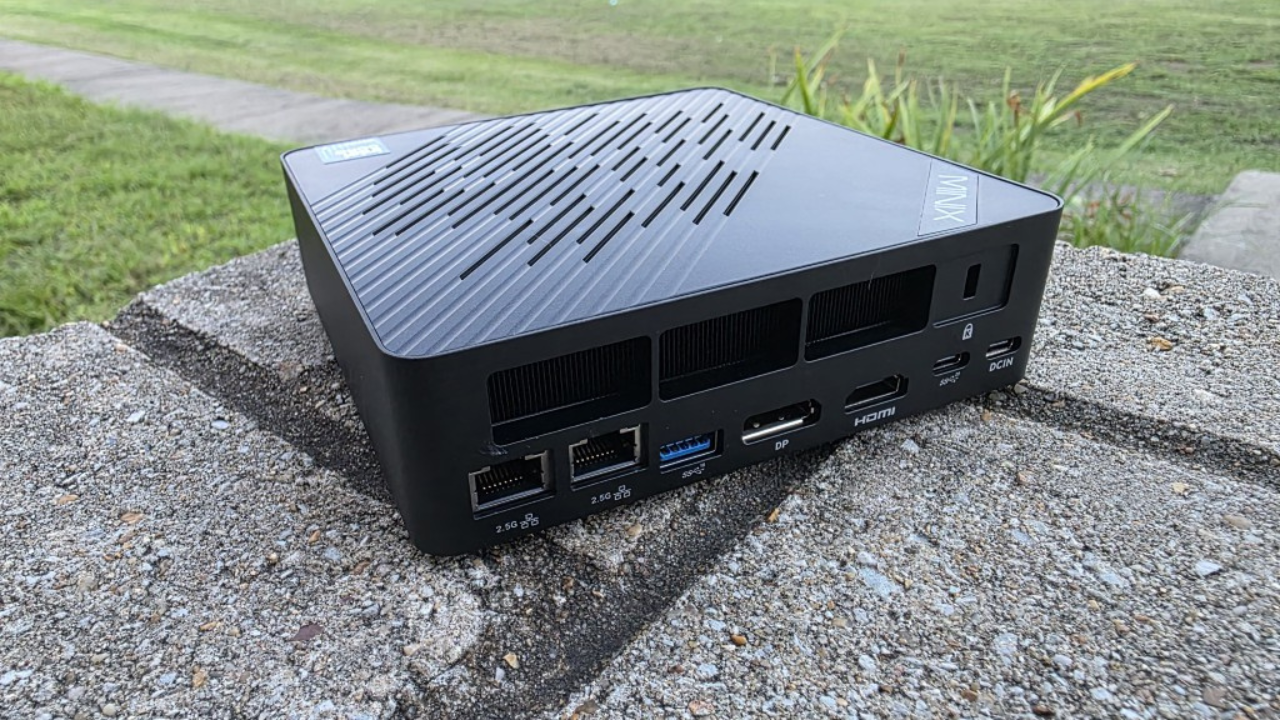
There are a couple of really good Mini PCs that I would recommend, one AMD, and one Intel based. First is the Ryzen-based Minisforum MS-A2:
- https://geni.us/HzwrN (affiliate link)
Next is the MINIX Elite EU715-AI:
- https://geni.us/zs83Eif (affiliate link)
You can check out my review of the EU715-AI here: MINIX Elite EU715-AI Review The Mini PC Designed for AI and Home Labs.
If you have been wondering if mini PCs would serve you well if you are used to enterprise servers, know that I had the same concerns. However, I can say yes they can after being up on mini PCs now for the past 3 years or so. I would say the one weak point still is remote management capabilities compared to enterprise servers.
3. Migrating to open-source virtualization
For many years, VMware vSphere was my hypervisor of choice. You could say, I was definitely a VMware “fanboy” and loved the technology. VMware was what got me excited about virtualization all the way back in 2004. I still think “toe to toe” there isn’t another hypervisor that can touch it.
However, post Broadcom buyout, customers have seen they don’t need all the bells and whistles that VMware by Broadcom provides. They just need basic virtualization capabilities. Now that Broadcom is forcing many other solutions on customers that they may not want or need, many have looked at open-source virtualization solutions.
For me in my home lab, that has been Proxmox VE Server. I have tried out many of the other solutions out there. At the end of the day, Proxmox has ticked all the right boxes for me. Right out of the box, it provides you with clustering, HA, and backups. These, I think, are the cornerstone capabilities that most want and need when it comes down to it.

For home labs this is liberating. You no longer are tied to license changes, restrictions, EULAs, or other vendor changes that happen on a whim. Instead you can build your lab on top of technology you control.
Check out how to use the Proxmox migration tool to migrate from VMware to Proxmox: Proxmox New Import Wizard for Migrating VMware ESXi VMs.
4. Adding shared storage with Ceph
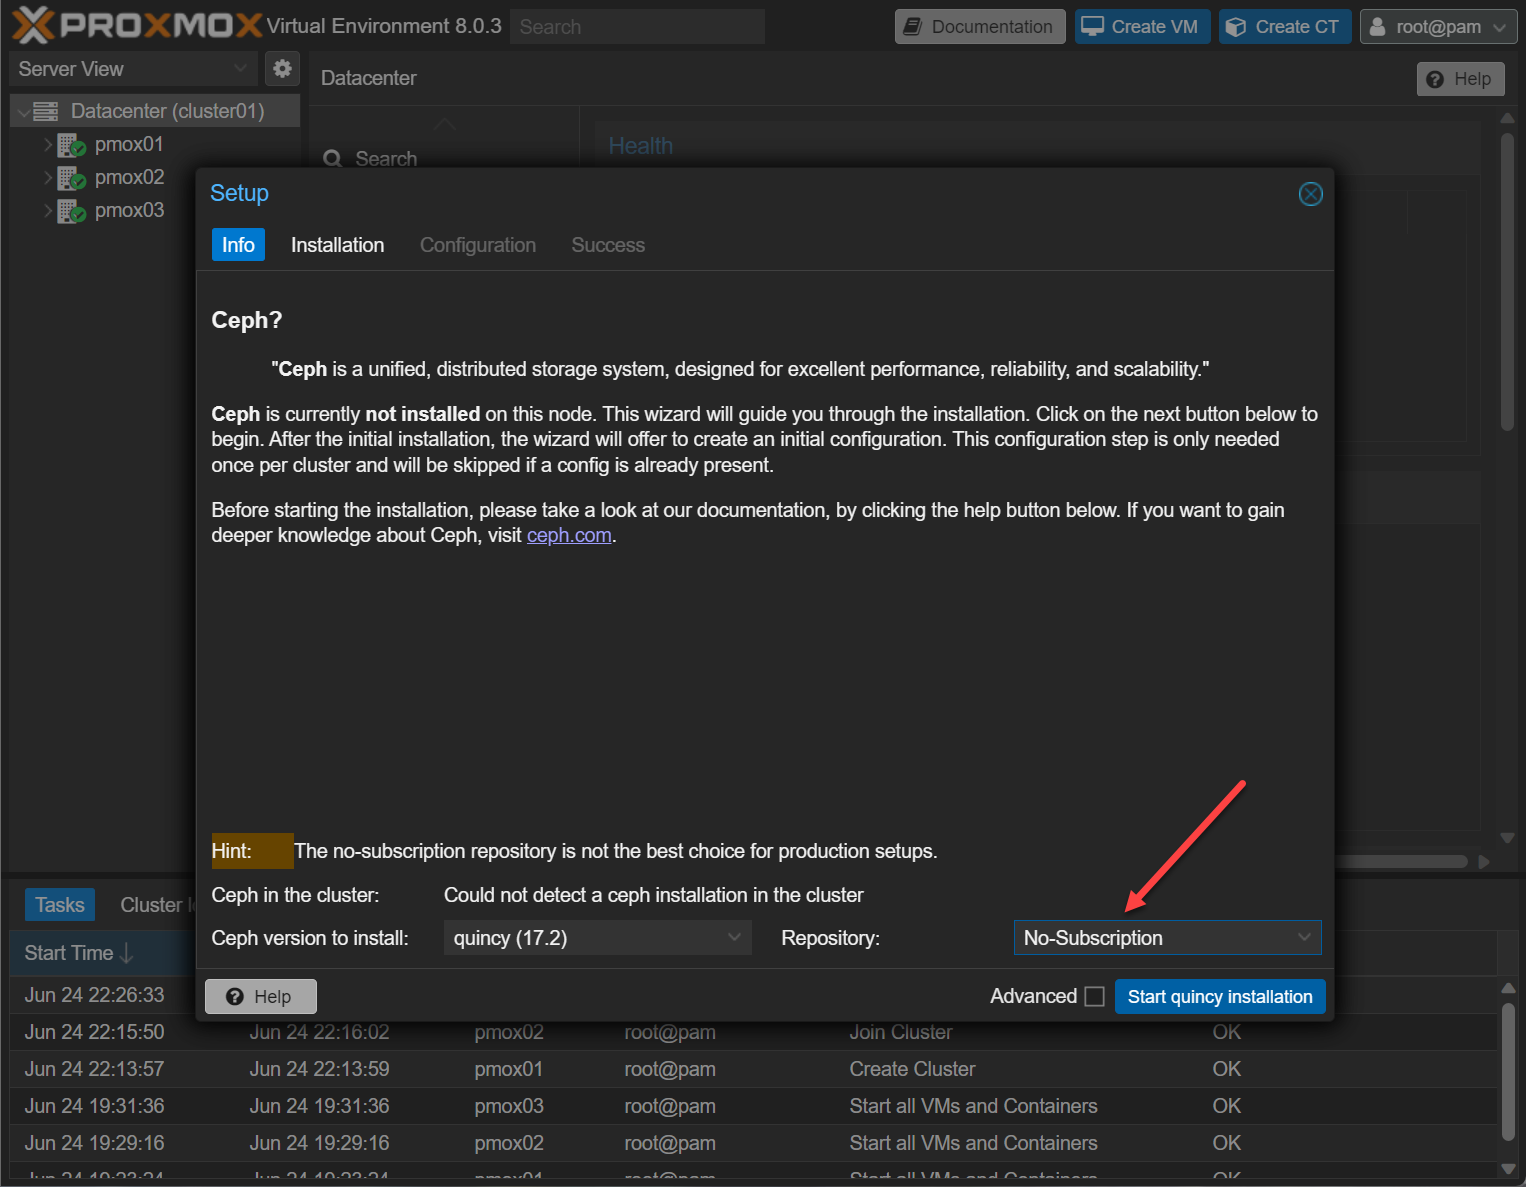
This upgrade dovetails into my change from VMware to open-source virtualization. The move to shared storage via the open-source software-defined storage of Ceph. What is really incredible about Ceph is that it is totally free. It provides a powerful HCI storage solution that is natively built into Proxmox.
With Proxmox, you have access Ceph as part of the storage configuration from the Web UI. The wizard helps you configure all the components of Ceph that are needed. The fourth big upgrade that changed everything for me was finally getting shared storage up and running with Ceph. Before Ceph, I relied on single-node storage servers or NAS devices to serve up NFS or iSCSI targets to my virtualization hosts.
Also, if you want more performance, it scales with the number of nodes and drives you add. Ceph does take some time to learn and configure correctly. But once it’s up and running, it will change the game for your lab. Outside of Proxmox, I am using Ceph with CephFS for Docker Swarm and Kubernetes storage in the home lab and it has been working great.
I have written quite a few walkthroughs on Ceph storage configurations. Check this one out:
5. Embracing containers and container orchestration
One of the upgrades that I have been most excited about over the past couple of years is the transition to a mostly containers. Do yourself a favor and “upgrade” your lab from all VMs to running containers. Don’t get me wrong, VMs are still needed and equally awesome. But when you use them effectively with containers, you will be unstoppable with the types of infrastructure you can spin up.
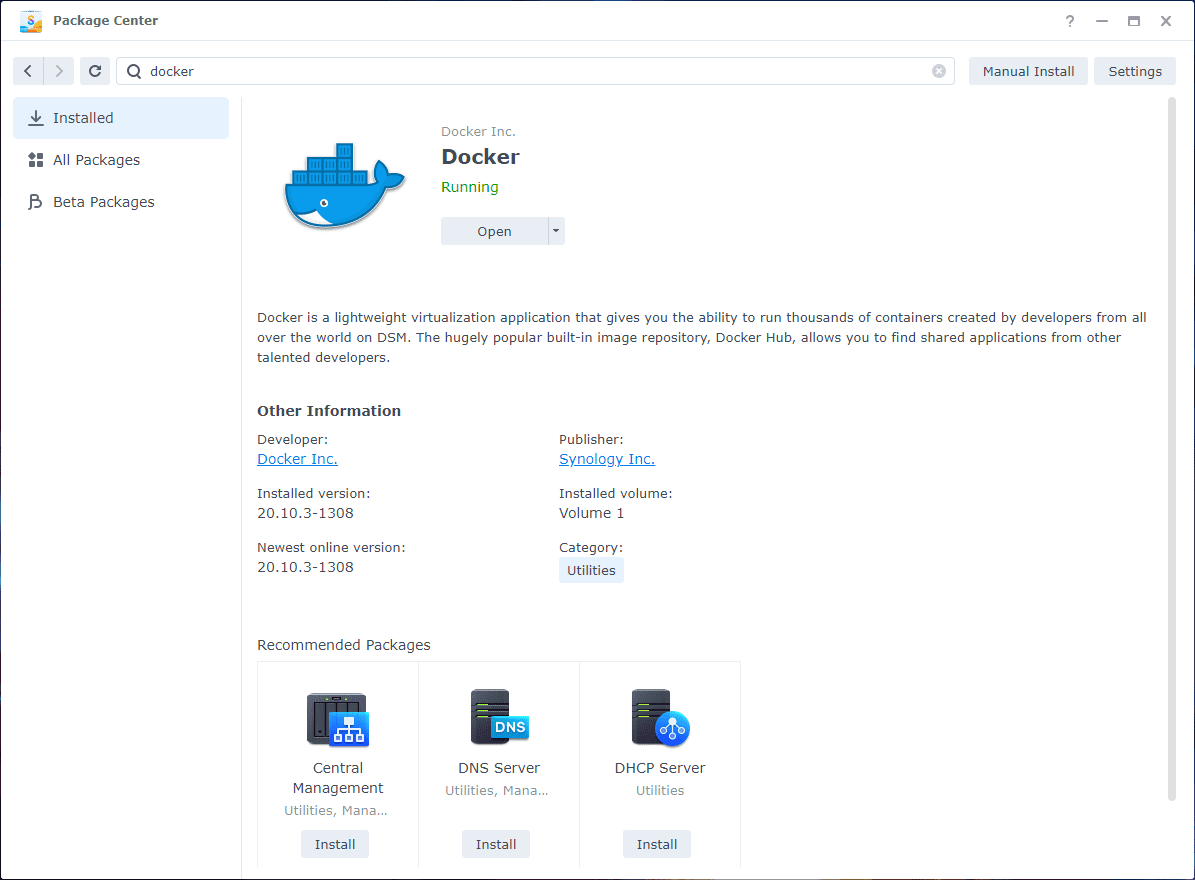
For home labs, containers provide an extremely efficient and easy way to spin up new services. You can do this without having to spin up full VMs and struggle with dependencies and prerequisites. With my home lab, I have experimented with Docker standalone hosts > Docker Swarm > and Kubernetes. All three have their place and so this is why I run all three.
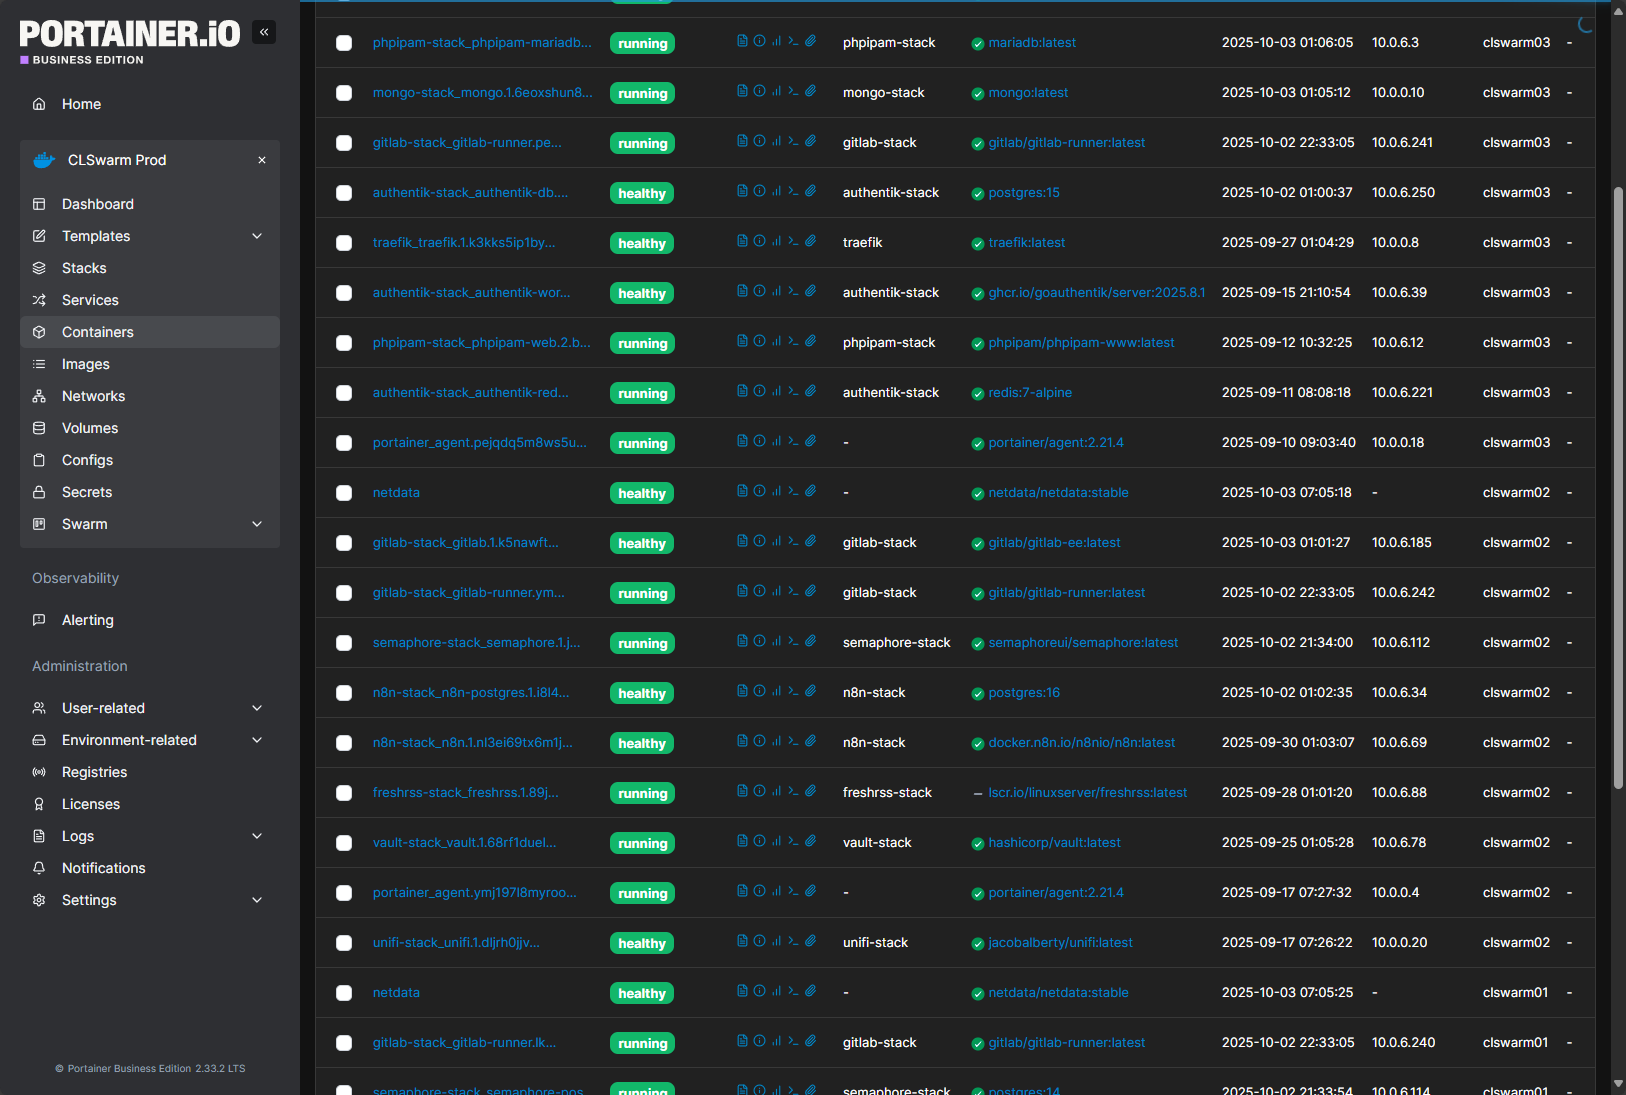
When you jump to using container orchestration, it forces you to learn about persistent storage for containers, network overlays, and ingress controllers.
Check out my Mikrok8s beginners configuration guide here: Install Microk8s: Ultimate Beginners Configuration Guide.
Video Guide
Wrapping up
Looking back on my home lab journey, these five upgrades were turning points that made my lab environment much stronger. Moving to 10 GbE opened up new possibilities and performance. It makes things like software defined storage possible. The switch to mini PCs has saved cost on electricity and means less heat in my lab space. Migrating to open source virtualization with Proxmox gave me flexibility and control over my lab without being affected by Broadcom shenanigans. Contrainer orchestration is a total game changer. Do yourself a favor and put it on the quick list of your upgrade priorities. What about you? Are you upgrading your lab in terms of hardware or software technologies?
Google is updating how articles are shown. Don’t miss our leading home lab and tech content, written by humans, by setting Virtualization Howto as a preferred source.
About The Author

Love the list. I need to get up to 10 GbE in the home lab environment. 1 Gb/s has been holding me back from doing several things like HCI.
I like the MS-01 the best.
lots and lots of containers!
What kind of upgrades did you make to your home lab?