
With most running Proxmox or leaning towards running Proxmox in the home lab for the foreseeable future, running Docker containers on top of a Proxmox environment is a given. Proxmox is an enterprise-grade virtualization platform. Docker is still the defacto standard to run application containers. Combining the two is definitely a powerful combination, but many run into confusion about doing this the “right” way. Should you or can you install Docker directly in Proxmox? Should you use LXC or a full virtual machine? Let’s look at the best practices for running Docker on Proxmox and see what pitfalls to avoid.
Is Proxmox a good platform for running Docker containers?
Yes, it is. Proxmox supports many different virtualization solutions. It supports Linux containers (LXCs) and can also run virtual machines on the same hardware. Docker fits really well into Proxmox since it has these options for hosting applications.
With Docker containers, you can run containerized apps for automation, media servers, CI/CD processes, monitoring, etc. Running Docker also allows you to have a clean separation of services. You can spin up a dedicated VM or LXC to serve as a Docker host. I have found this definitely helps to keep your environment organized and prevents a single container from consuming all system resouurces.
The wrong or not so good way to run Docker on Proxmox
Let’s talk about a common mistake or something that you may not want to do. Installing Docker directly on the Proxmox host may be tempting as you can do it. Doing this however can lead to problems and potential conflicts and issues.
When you install Docker, it does several things that could lead to issues with your Proxmox networking:
- Docker changes system network configurations
- Manipulates iptables rules
- It can interfere with the bridges and virtual networks Proxmox uses for VMs and LXCs
- It also complicates updates and recovery because now your host is responsible for running both Proxmox and Docker workloads
- If you ever need to rebuild or update Proxmox, you risk wiping out your containers or configuration.
The much better approach is to run Docker inside a VM or an LXC container that’s dedicated to it. This isolates Docker from the Proxmox host. It also gives you more control over resources, and makes backups simpler and disaster recovery more seamless.
If you must run Docker directly on top of your Proxmox host, note the steps below as guidance for doing so.
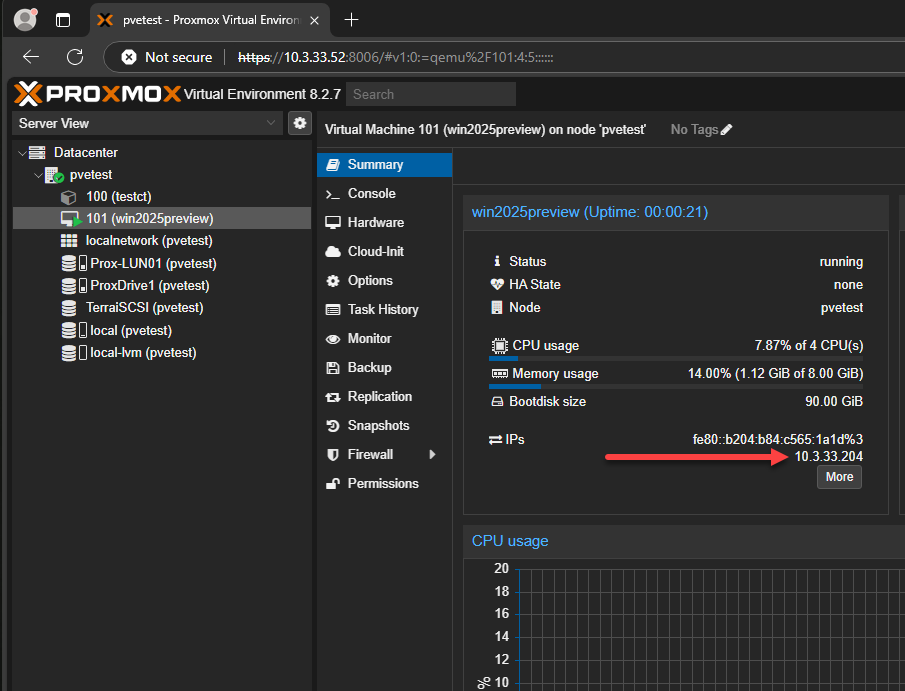
Option 1: Running Docker in a virtual machine
Running Docker in a VM is arguably the most robust option. You can spin up a full virtual machine based on Ubuntu Server, Debian, or Rocky Linux for the base OS for example. Then you can install Docker and Docker Compose on the VM as the Docker host.
Advantages:
- Full kernel control and compatibility with all Docker features
- Easy to back up with Proxmox VM snapshots or Proxmox Backup Server
- Isolation from the host system
- Easy to move or clone to another host
Disadvantages:
- Slightly higher resource usage due to the full OS overhead
Best practices for Docker in a VM:
- Use Debian or Ubuntu Server – Both work well with Docker and are well supported. I tend to use Ubuntu Server as it has tons of documentation, support, etc.
- Add QEMU guest agents for better integration and statistics reporting. This allows you to see network and other information of your Docker host.
- Use virtio network adapters for best performance
- Create a dedicated disk for Docker volumes mounted to
/optor/srvso your application data is separate from the OS - Back up volumes using rsync, restic, or Proxmox Backup Server by including that second disk. You can also use things like Duplicati to pull your container volume data and back this up to another location.
Option 2: Running Docker inside an LXC container
With Proxmox, LXCs are very attractive from a resource perspective to run apps and host various resources. These share the Proxmox host kernel. This makes them blazing fast and efficient. There are a few configuration tweaks you want to note with running Docker in an LXC and Docker host in general.
Advantages:
- Extremely lightweight and fast to start
- Minimal storage footprint
- Great for small apps, web services, or dashboards
Disadvantages:
- Some Docker features may not work (depending on kernel modules)
- Not all images work as you would expect in shared kernel environments
- More effort to configure correctly
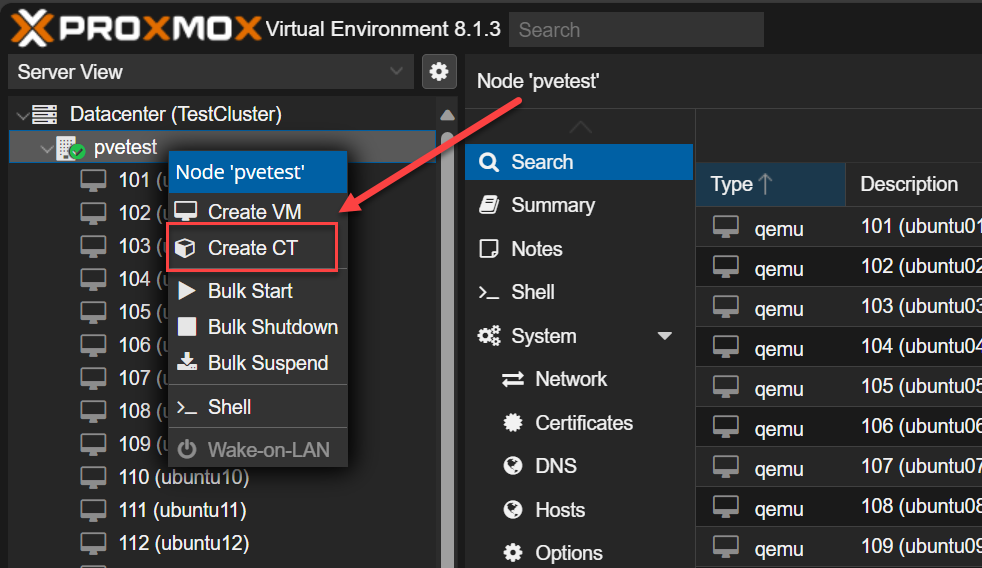
How to set it up correctly:
- When creating the LXC, enable nesting and keyctl under “Options”
- Use a Debian or Ubuntu LXC template
- After creation, install Docker using the official convenience script or package manager
- Verify cgroup v2 support and that
overlayandaufsmodules are available on the host - Map persistent storage from the host to the LXC using Proxmox volume mounts or bind mounts to /opt/appdata
This setup works great for lightweight apps like Nginx Proxy Manager, Dozzle, or AdGuard Home. However, if you run into kernel compatibility issues or unusual permission errors, moving those containers into a VM will likely solve the issue.
Proxmox networking when running Docker containers
Networking can get tricky if you don’t plan ahead. Both Proxmox and Docker use bridges. As we mentioned earlier, conflicts can happen if you let Docker create its own bridge networks that overlap with Proxmox’s management network. This is why it is recommended to run Docker in an isolated environment inside an LXC container or a virtual machine.
If you must run Docker on top of Proxmox, keep these things in mind:
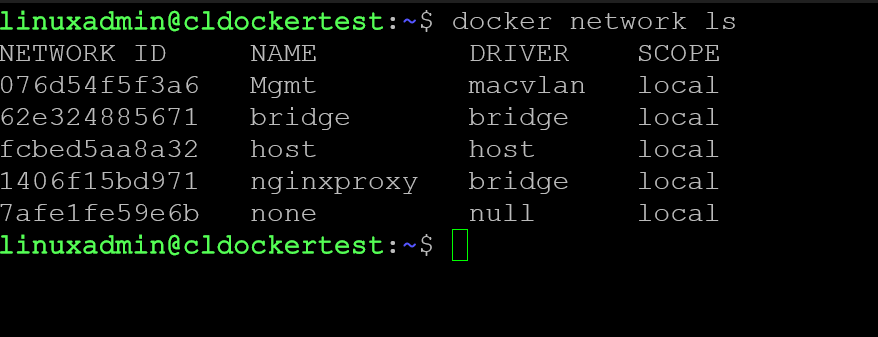
- Keep Proxmox’s default bridge
vmbr0for VM and container traffic - Use macvlan or ipvlan drivers in Docker to attach containers directly to your LAN if needed
- Disable Docker’s iptables modifications by setting “iptables”: false in /etc/docker/daemon.json if it conflicts with Proxmox’s bridge rules
Another option is creating a dedicated bridge in Proxmox (like vmbr1) just for Docker networks. You can then attach your Docker VM’s virtual NIC to this bridge. This will give you allowing full control over IP assignment and VLAN tagging.
Check out my Docker networking tutorial: Docker Networking Tutorial: Bridge vs. Macvlan vs. Overlay for Home Labs.
Docker storage considerations and best practices
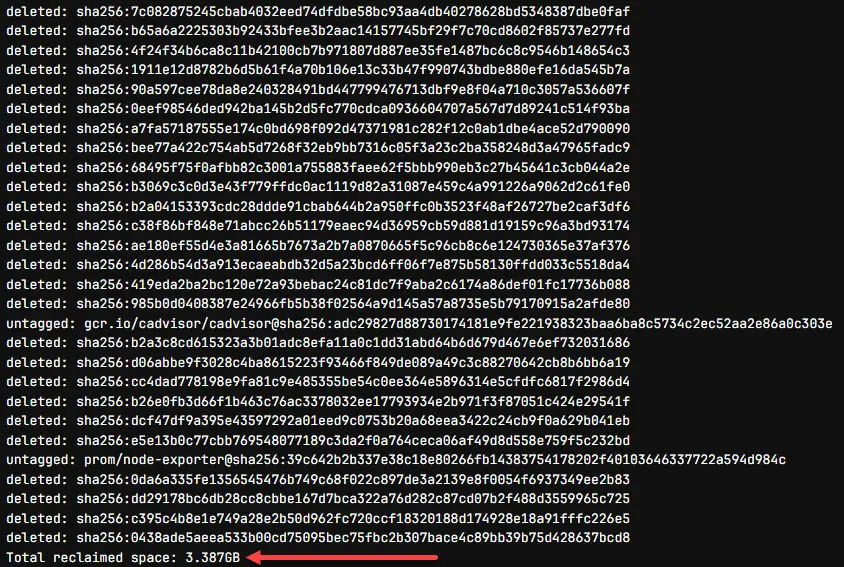
One of the topics in general that can be confusing and a point to learn in general is Docker storage. By default, Docker keeps data under the directory /var/lib/docker. This works by default, but this will leave it sitting on your system disk. You need to keep in mind that if you have it on your system disk, the storage can grow unchecked. You can leave it like this, but be sure to give attention to your housekeeping tasks. See my post on the docker prune command: Docker Prune Automating Cleanup Across Multiple Container Hosts.
One recommendation is to mount a separate disk for your Docker persistent data and then just mount it as something like /opt/docker or /srv/docker. In Proxmox, you can attach a secondary virtual disk or bind a CephFS or NFS share to that directory.
This layout makes it simple to snapshot, migrate, or back up your Docker data without having to mess with the rest of the system. It also prevents your main OS volume from filling up due to large image layers or logs.
Backup your Docker environment on Proxmox
This is a subject that needs to be addressed with careful thinking. There’s a common misconception that you can just back up containers and call it done. The truth is that the container is disposable. What matters are your volumes, configurations, and images.
You can back up Docker environments on Proxmox in several ways that makes sense.
- VM snapshots – If Docker runs in a VM, you can take full Proxmox snapshots or backups with Proxmox Backup Server. This captures both OS and data disks.
- Volume sync – You can use rsync, rclone, or restic to back up your /opt/docker directory to a NAS or cloud location
- Git repository – Store your Docker Compose files and environment files in a private Git repo. This can act as your blueprint for recreating the environment quickly. See my post here about backing up your home lab: Ultimate Home Lab Backup Strategy (2025 Edition).
- Portainer backups – If using Portainer, you can export your stack configurations and settings on a regular basis
The best setups combine VM-level protection with volume-level copies. That way, if you ever rebuild your VM, you can restore data and bring containers back online with the single command:
docker compose up -dDefinitely monitor
Like any technology monitoring your Docker containers helps you to catch performance issues and any other bottlenecks if these come up. Proxmox already gives you a decent dashboard for the host itself. There you can monitor CPU, memory, disk latency/usage, etc. However, container-level visibility means you need additional tools for that job.
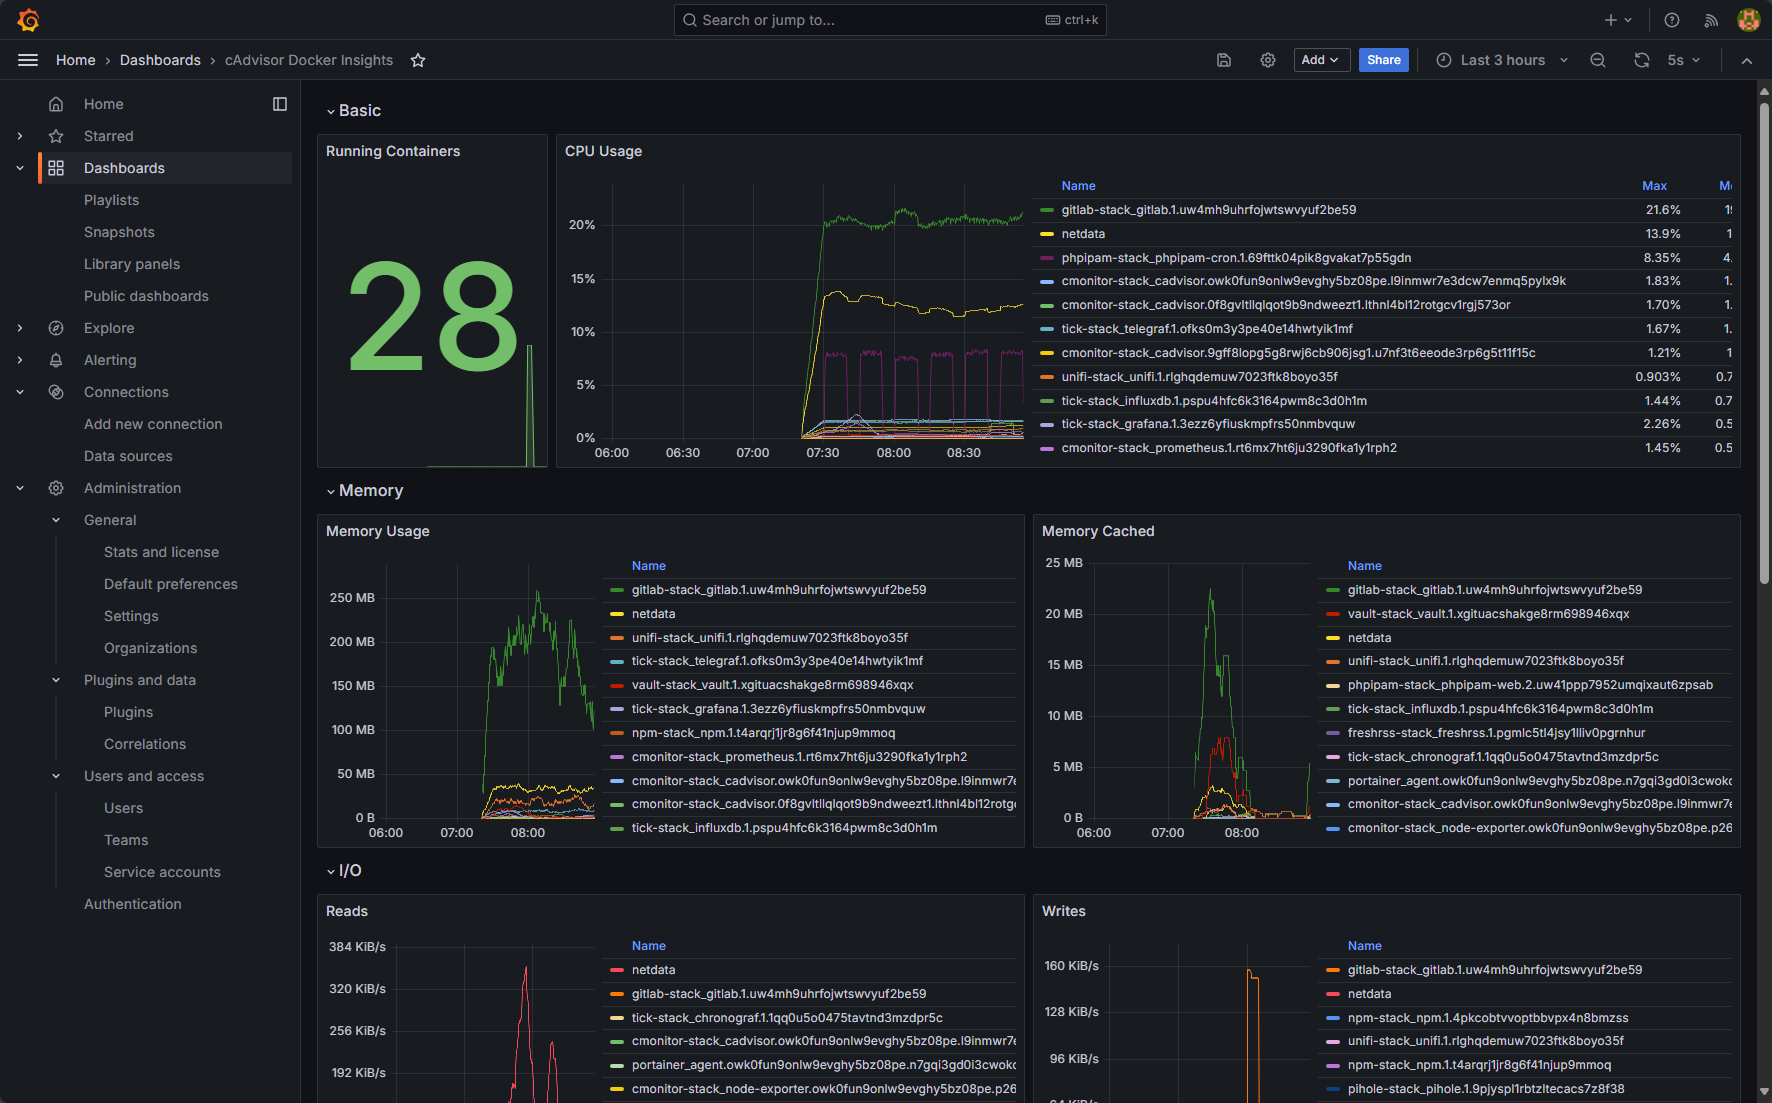
If you want to go the open-source route, you can use cAdvisor and Node Exporter inside your Docker environment. These tools allow you to export metrics to something like Prometheus. Then you can visualize them in Grafana. I have a full tutorial on how to set this up here: Docker Container Monitoring with cAdvisor Node Exporter Prometheus and Grafana.
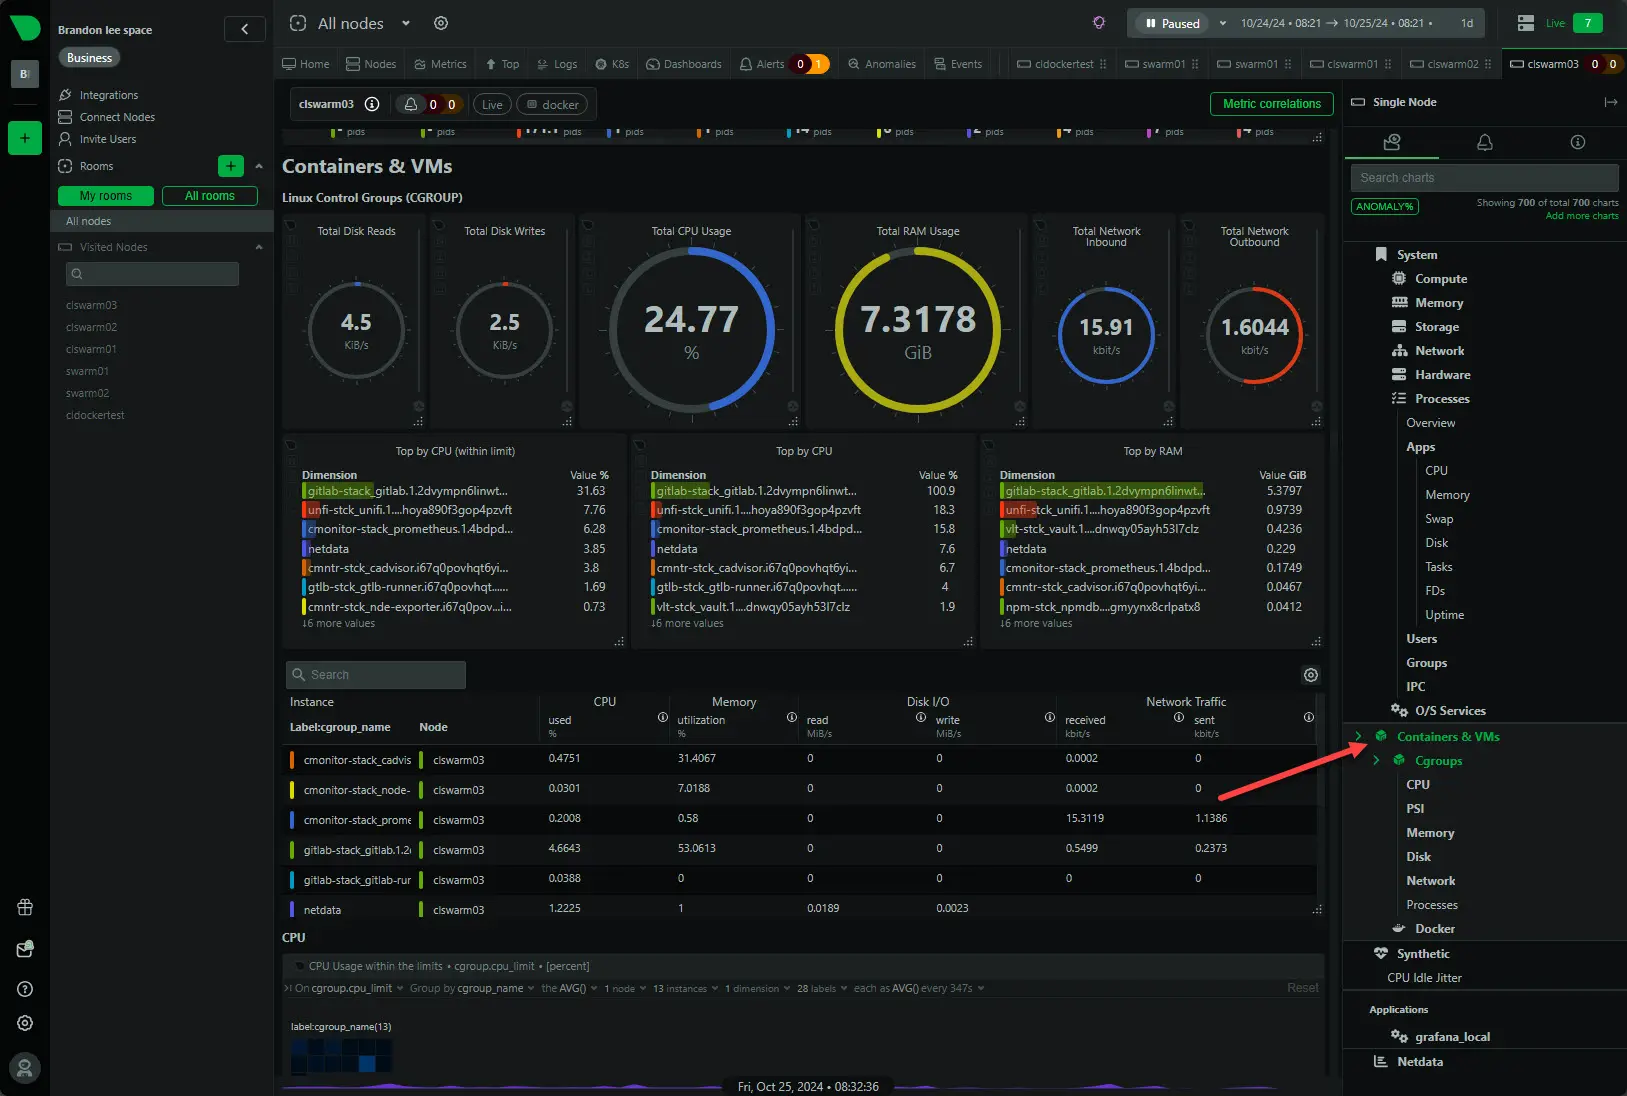
For a commercial solution that has a home lab license, I use Netdata, which monitors both the Proxmox host and Docker containers at the same time. You can check out my overview of Netdata here: Netdata Docker Monitoring for Home Lab.
Recap of the common mistakes to avoid
Just to review, note the following common mistakes that are often made with running Docker with Proxmox:
- Installing Docker on the Proxmox host – Can cause network and update conflicts. Also, this makes it much more difficult to backup and recover a host/containers
- No persistent storage – If you don’t use bind mounts for persistent data, your data disappears when containers are recreated
- Improper or no backups – Snapshots without volume copies aren’t enough. You need to include persistent directories
- Overlapping bridges – Plan your IP ranges to prevent Docker’s default subnet from colliding with your LAN addresses if those overlap
- Not monitoring – Without visibility on your Docker host and for the containers themselves, you won’t know when a container is resource-hungry or unhealthy or when disk space might be getting low
Video overview of how to install Docker on Proxmox
Wrapping up
Both Docker and Proxmox are amazing tools for the home lab and allow you to self-host and learn many other different technologies, services, and applications. These tools can complement each other. However, as we have explored, there are definitely some things you want to keep in mind and mistakes to avoid when running both in parallel. The good thing is that Proxmox has a couple of resources in virtual machines and LXC containers that make great Docker container hosts. Using these and noting the pros and cons of each will allow you to use both to their full potential and run containers without issue. How about you? What are you using in Proxmox to host your Docker containers?
Google is updating how articles are shown. Don’t miss our leading home lab and tech content, written by humans, by setting Virtualization Howto as a preferred source.
About The Author


Great article, Brandon, thank you! I’m just about to start learning Ansible and was thinking of deploying a few Docker containers when I never deployed them on Proxmox. Will use the VM route.
Btw you have a duplicate unfinished paragraph there:
“Networking is always an area where it is best to plan ahead. Both Proxmox and Docker use bridges. You can get into a situation where conflicts can happen if you” – just need to delete it.
Keep it coming!
Jan,
Thank you so much for your kind words and glad the post is helping with some ideas and sparking projects in the home lab. Also, thank you for the heads up on the unfinished paragraph, my proofreading wasn’t on point yesterday 🙂
Brandon
I need to get more into Ansible for home lab projects.
I am running docker containers in a Kubernetes cluster which I have running on Debian VMs hosted in Proxmox. For container storage I’m using rook-ceph. I then backup the VMs to PBS. It’s not great for visibility into what I’m backing up but it’s taught me a lot about K8s and has been extremely convenient to quickly spin up new docker containers and get them networked with my VM based services.
Cole that is great. What Kubernetes distro are you using? I am also using rook-ceph which has performed flawlessly in my lab.
I went with a vanilla Debian setup. 3 workers and 1 control plane. Eventually I’ll expand that to 5 workers and maybe a redundant control plane. Vanilla K8s as well. It’s been surprisingly easy to upgrade. Only annoying thing was disabling swap on the nodes permanently. I had to set a parameter in /etc/default/grub to force systemd to stop bringing swap back from beyond the grave. Rook has been great but I will confess I know practically nothing about ceph under the hood.
Cole,
Very nice! Just out of curiosity was there a reason you went vanilla K8s? Just wanting to get the full experience? I also ran a full vanilla k8s cluster for a long while, but then got fascinated by the tiny variants and led me down a never ending road of trying different things. I’m pretty intrigued at the moment with Talos and have been playing around with it and Omni in the lab. Do keep us posted on your K8s adventures, definitely cool stuff.
Brandon
>The much better approach is to run Docker inside a VM or an LXC
>container that’s dedicated to it
it’s an absolute bad idea to recommend docker inside LXC, as this has issues very often. just as now
https://forum.proxmox.com/threads/docker-inside-lxc-net-ipv4-ip_unprivileged_port_start-error.175437/
plase, do NOT recommend that
also see
https://bugzilla.proxmox.com/show_bug.cgi?id=4712
Roland,
Good points and resources you have cited here. I agree. There are definitely caveats to doing this. I personally don’t run Docker in LXC and prefer VMs. However, I do think for learning purposes, it can serve a purpose since LXCs are easy to spin up. I ran a test Kubernetes cluster in LXC containers for a while and it worked, but you definitely need to know the hurdles and limitations up front.