Sometimes it is hard to know where to start when building a home lab. It can be overwhelming with all the choices and services that you know you may need to run in order to have things run smoothly. Over the years I’ve learned that before you go too far down the rabbit hole of self-hosting, there are a few core services that should always come up first. They build the foundation for the rest of your lab. Let me take you through the handful of services that I bring up first and why each of these matter.
Level setting on “services”
Before I dive in, I want to detail what I mean by a “service”. We aren’t really staying on a specific level of the OSI model. But I use the term “service” here a bit loosely as a specific “thing” that you stand up in your home lab to make things work. That’s it.
So keep this in mind. I may be using the term service here a bit loosely but I think this will make sense to most.
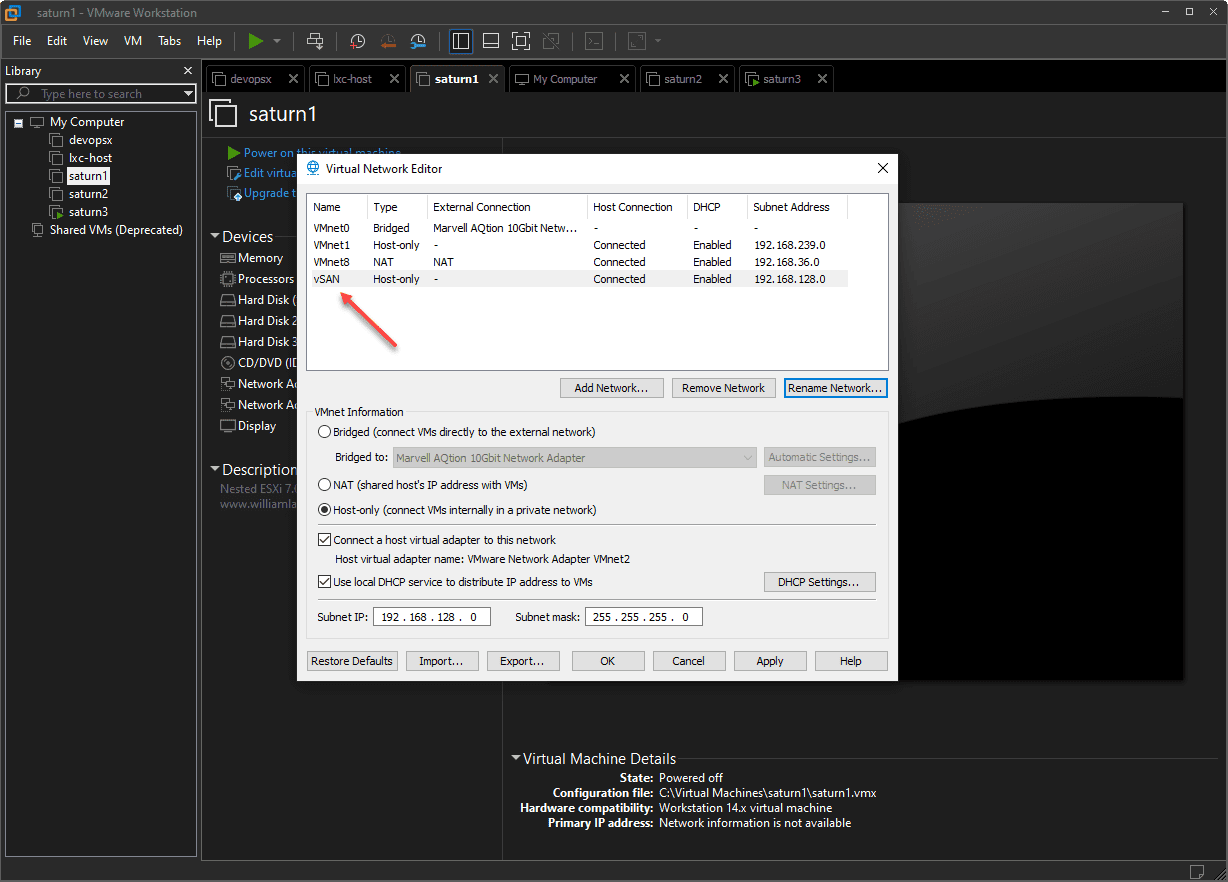
1. Layer 2 switching and Layer 3 routing
The first couple of services that I think are absolutely necessary as the core foundation of your home lab are layer 2 switching and layer 3 routing. If you buy a prosumer router at your local retail store, you are essentially getting a router and switch in one small package. So it will do routing and switching for you.
You plug devices into it and it switches between them, but it also can route traffic from your local network out to the Internet. This type of setup is fine for beginners. As you progress and grow, you will still need to give attention to this aspect.
Most will have some type of managed switch (at least 1). Then they will probably have a router/firewall they self-host, think pfSense or OPNsense.
See how I use VLANs to isolate Docker and Proxmox services:
2. DNS is arguably one of the most important
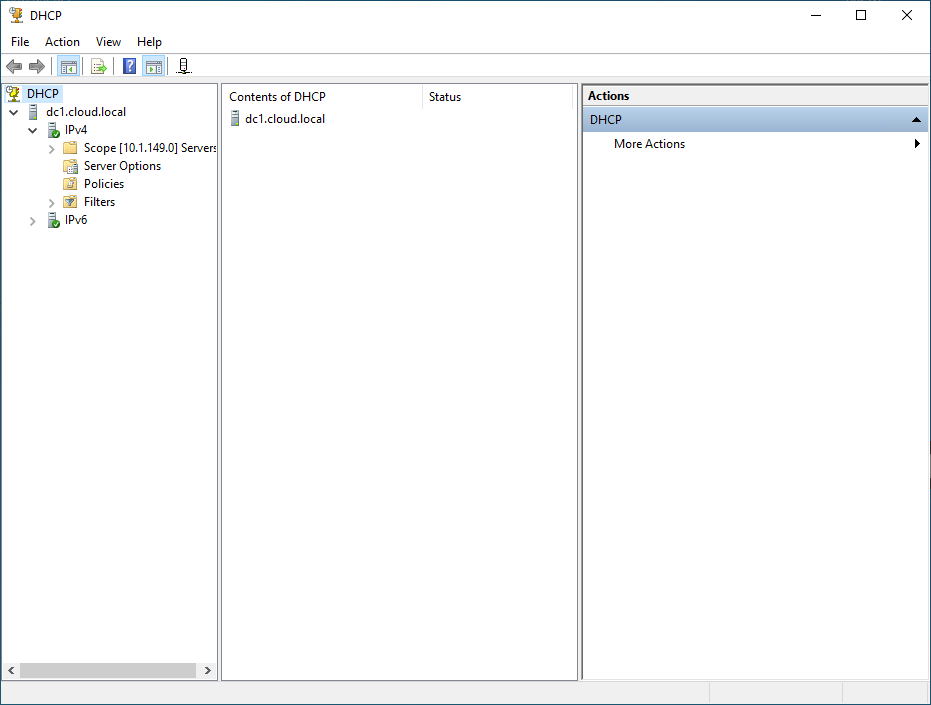
The very first service that I spin up in the home lab is definitely DNS. Can you operate a home lab without DNS? Yes you could, but it would be painful. DNS as you probably already know is the “phone book” of your home lab, or any other network where it maps friendly names with the IP addresses they are configured with. That way you can reference a friendly server name like server1.mylab.home instead of 192.168.1.100.
You might be able to easily remember a few IP addresses for certain servers, but as things grow and you spin up more and more VMs and containers, you will thank yourself that you have DNS running.
Every single time I start a new lab build, DNS is the service I go to first. Without good DNS, everything else becomes a mess. Typing IP addresses may work for one or two machines, but as soon as you have multiple services and subnets, you need human-readable names. DNS gives you that, and it makes your environment easier to manage in the long run.
With services like Let’s Encrypt, you can also automate SSL certificates. One of the prerequisites for this is that you need to have working DNS for domain validation.
What options are there for DNS?
There are actually many great options for DNS in the home lab environment. The most basic is to simply use the DNS resolver built into your router or firewall. There are open-source firewall solutions like OPN sense and pfSense that include things like an Unbound DNS server. UniFi gateways have DNS functionality built in.
If you want to have more control over your DNS resolution, even including things like blocking ads, malware, telemetry domains, and other unwanted traffic, you can use a solution like Pi-Hole or AdGuard Home.

Technitium is also a great choice as a fully featured DNS resolver that allows granular control over DNS queries. If you are into building out or emulating enterprise type services, Windows Server DNS is also a great choice if you are running Microsoft Active Directory.
Whatever solution you decide on for DNS, the important part is getting it up and running first in your home lab. It allows everything else to fall into place with your other services and self-hosted apps.
More ideas. See how to totally control DNS in your lab environment:
3. DHCP gets your addressing squared away
Provisioning IP addresses in your home lab is another task that can be handled manually. But, it is a pain to have to setup and document, AND remember all IP addresses that are used in the lab and which ones are free.
DHCP or Dynamic Host Configuration Protocol is purpose-built to take care of this for you. When you setup a DHCP server, as clients are attached to the network, either by wired or wireless connections, the DHCP server hands out an IP address to those clients as they request these from the network.
And, of course, the DHCP server keeps track of the IP addresses that are used and knows which ones are available so you don’t have to keep up with these. If you want certain servers or other resources to always have the same IP address, you can also setup something called a reservation that ties a specific IP address to a specific MAC address (hardware address) of your client.
This way, that client always gets that same IP address and importantly, no other client or device gets it. So, the address is earmarked so to speak for that particular device so that only it can be configured with it.
Enterprise DHCP setups like Microsoft Windows Server running integrated with Active Directory can also keep DNS updated with the hostname to IP address mapping and do this automatically. So in that sense, your DHCP server works closely with your DNS server.
How do you run DHCP?
Well, even most consumer-grade devices like consumer routers and firewalls and even the router/modem from your ISP run DHCP on the LAN side so that all devices get an IP address from the modem/router when they are connected.
If you configure something like pfSense or OPNsense, these have DHCP built-in as well, as do UniFi devices. Really any modern server OS or network device usually has the capability to become a DHCP server if you want them to assume that role.
The key takeaway is that DHCP plus DNS gives you a reliable foundation for your IP addresses and name resolution. Without these in your lab, thing will feel very manual and harder to manage as well as unpredictable.
Want to know how to configure Windows Server DHCP when you have different VLANs in play?
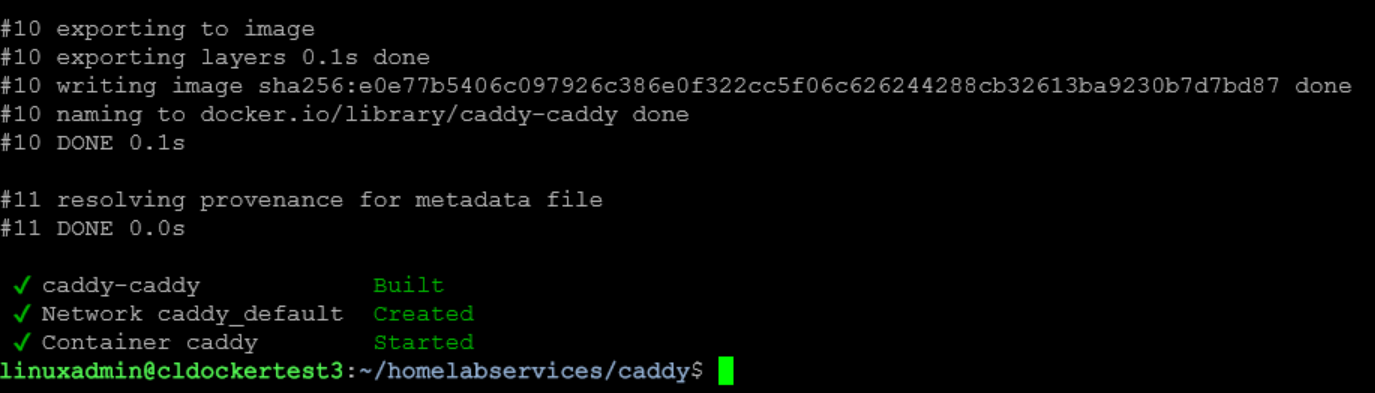
4. Reverse proxy provides access for your containers
Once DNS and DHCP are running, the next service I always spin up is a reverse proxy. By default this will mean that you will need to have your Docker host up and running as these typically run as containers. The reverse proxy gives you a single point of access for all your applications and services running in Docker. However, they can also proxy services for physical hosts, servers, or other containers running on a different host. Instead of remembering ports and IPs, you can route everything through hostnames.
There are a few great options for reverse proxies in the home lab. Nginx Proxy Manager is beginner-friendly with a clean web UI. It integrates with Let’s Encrypt and makes it easy to publish services with HTTPS using a GUI.
Traefik is another popular choice, especially if you are running Docker or Kubernetes. It is my favorite currently. It can automatically detect containers and route traffic without manual configuration. Caddy is a modern alternative that automatically issues certificates and has a simple configuration format.
By standing up a reverse proxy early on in your home lab, you avoid messy port forwarding and can standardize how you access your services. It also provides a foundation for security since you can enforce HTTPS, also add authentication, and filter traffic through one layer.
5. Others to mention
After my core critical networking services are up and running, getting your monitoring services in place provides visibility as part of your foundation. This way, all the other pieces you put in place are monitored and visible so you know if something goes down or stops working.
Also, don’t forget your security services. This for most is rolled into their Layer 3 and Layer 2 setups. Your router/firewall will most likely provide the security services you will run in the lab environment. Spinning up multiple VLANs to separate out different kinds of traffic should also be part of your build.
Why these services come first
Layer 3 routing, layer 2 switching, DNS, DHCP, and reverse proxies may not be flashy tech, but they provide the foundation for everything else. Without DNS, you are stuck typing IP addresses. Without DHCP, you have to manually assign IP addresses and keep up with everything by hand. Without a reverse proxy, you end up with a mess of forwarded ports and inconsistent access.
By putting these services in place at the start, the rest of the lab builds on top of them. Deploying containers, setting up VMs, and experimenting with things like Kubernetes all become much easier.
Personal workflow
When I bring a new node online, I start by pointing it at my DNS and DHCP service so it falls under the same system as the rest of the lab. Then I set up DNS entries or DHCP reservations for it so that it has a friendly name and predictable IP. Next, I make sure I get a reverse proxy stood up with an HTTPS URL so that I can start adding my Dockerized services behind it.

This workflow ensures that even the first test VM or container fits neatly into the environment. It keeps things organized and saves me time when the lab grows.
Video
Wrapping it
If you are planning a new home lab or reworking your current Proxmox setup, start with the basics. The first services I always spin up in any home lab are my routing, switching, DNS, DHCP, and reverse proxies. They may not be the projects that get the most attention, but they are the ones that make everything else work as you would expect and provide the foundation. With these in place, you will spend less time troubleshooting the basics and you will have time to experiment with the more advanced tech you want to learn.
How about you? What services do you spin up first?
Google is updating how articles are shown. Don’t miss our leading home lab and tech content, written by humans, by setting Virtualization Howto as a preferred source.
About The Author

I tried the DNS service (via PiHole) to provide readable names for my services at first, but I eventually came across the Heimdall service and decided that adding my other services to this start page of sorts precluded the use of said names this reverting to links directly to LAN IPs.
Striker3034,
Thank you for the comment! Heimdall is a great homelab dashboard that I have used myself. I would still recommend having DNS running in a lab environment as it will help you build on top of things in the future as you want to scale out or get into more advanced hosting or SSL certs.
Brandon
In my workflow there is also another part: document it.
You can track down positions, connection, services, secondary addresses (e.g. for multiple containers)
Using netbox as my source of truth, and slowly making bindings to use it as a source of automation (e.g. populate dns entries)
My two cents
Murray,
Definitely. Great shout out for documentation as part of services to stand up. I like Netbox as well. What are your workflows on Netbox? You are using to populate DNS entries?
Brandon