
When looking for cheap but robust network switches for the home lab, there is always one name that seems to make it on most lists and that is Mikrotik. They have basically become the de facto switch outside of Unifi devices that server as the core networking for many serious home labs. There is a good reason for this. They are great switches in terms of performance, features, and price. However, at the same time, if you have ever worked with a Mikrotik switch, they can be frustrating for those that use them for the first time. Let me share some Mikrotik switch tips in the home lab that I have learned with experimentation.
Understand RouterOS vs SwOS on your Mikrotik switch
One of the first Mikrotik switch tips in the home lab that I would like to highlight for those that may be intimidated by Mikrotik RouterOS (which is intimidating in terms of features and config), is that there is the choice of choosing between two different operating systems for your hardware. If your hardware is the CRS line of switches, these can run either RouterOS or SwOS.
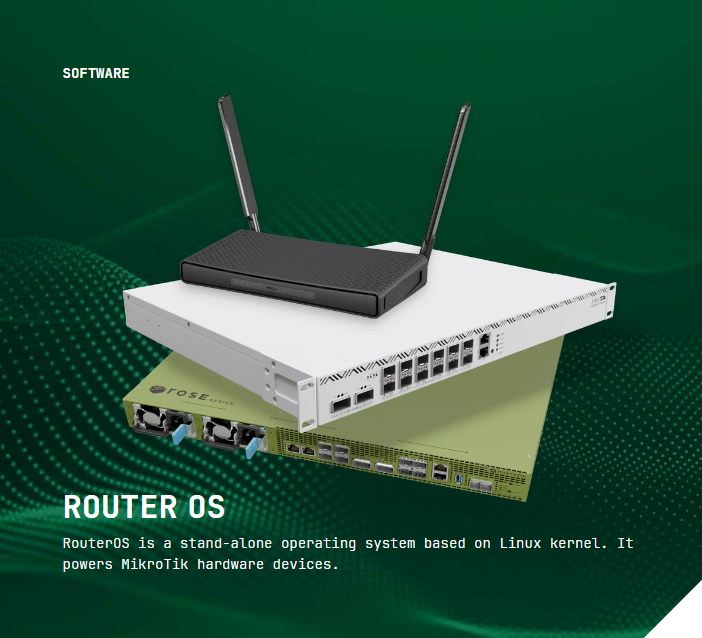
Most have heard of RouterOS when it comes to Mikrotik, but not SwOS. Let’s give a quick overview of the differences between them. RouterOS turns your switch into a fully featured network device that can do routing, firewalling, scripting, queues, and very advanced VLAN configuration. The number of features is impressive and also intimidating at the same time. While RouterOS is powerful, it does introduce a lot of complexity, especially if you are just wanting to sling packets.
You will find all kinds of threads on Mikrotik forums on the net where ones are simply trying to do something simple in RouterOS like create VLANs and they are having issues: How to VLAN? – SwOS – MikroTik community forum.
Now when we look at SwOS, this is the opposite philosphy to RouterOS. It is designed to be simple and focused specifically on switching. The interface is very light and straightforward. Unlike RouterOS, SwOS VLAN configuration is super easy.
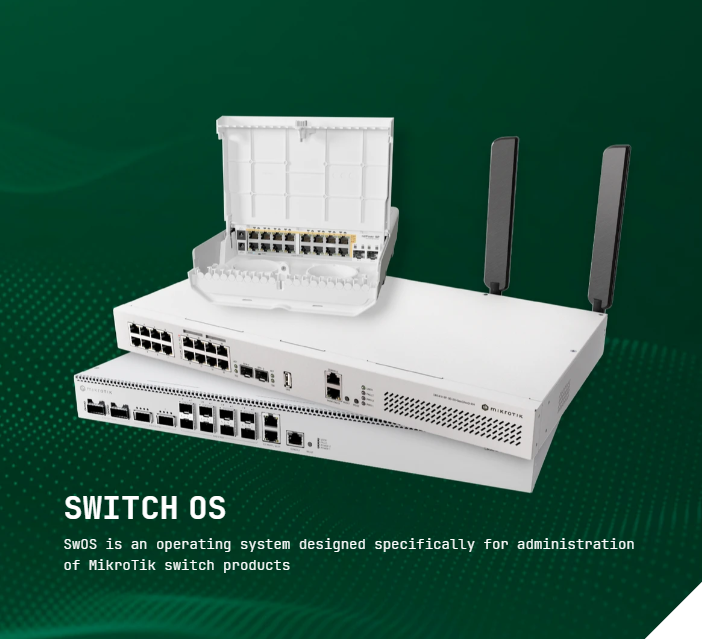
Here is what the Mikrotik official documentation says about SwOS: SwOS is an operating system designed specifically for administration of MikroTik switch products.
SwOS gives you all the basic functionality for a managed switch – wire-speed Layer 2 switching for Ethernet frames, including IPv4, IPv6, and other non-IP traffic, it offers advanced features such as monitoring, port-to-port forwarding, broadcast storm control, ACL rules (MAC/IP/port filtering), VLAN configuration, traffic mirroring, bandwidth limiting and even adjustment of certain MAC and IP header fields.
For I would say most home labs and what they are wanting to use the Mikrotik switches for, SwOS is the better default choice. Most will already have a dedicated router or firewall, so there is a lot of features in RouterOS that simply won’t be used and again adds the complexity. So, turning on SwOS instead of running RouterOS makes sense.
More detail on SwOS
I think most will fit into this category. If your goal is simply to move traffic between hypervisors, storage systems, and Docker services, SwOS is the OS that will allow you to do this in the easiest way. The way you create VLANs is intuitive. Ports and configuration behave like most would expect coming from other platforms. Hardware offload is also set to the default behavior, running on the switch chip and not the CPU.
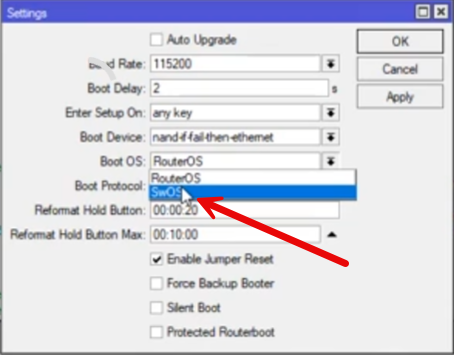
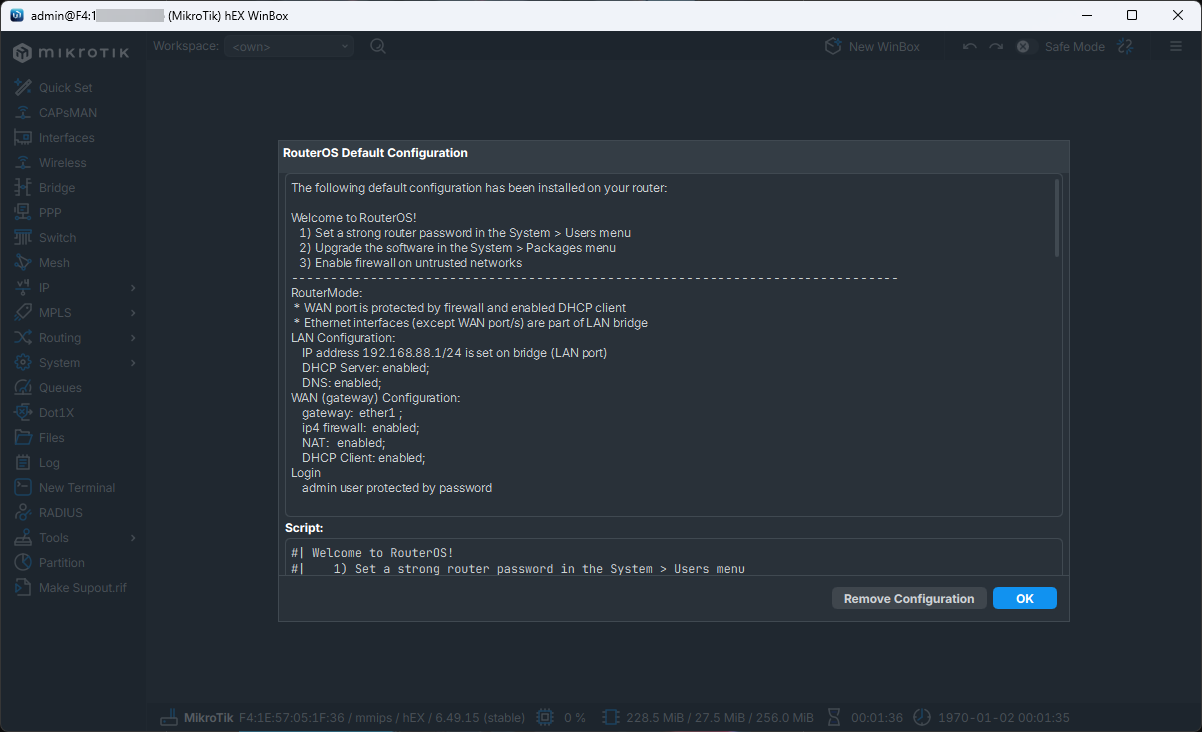
You can switch from RouterOS to SwOS under Settings > Routerboard and then select SwOS under the Boot OS dropdown.
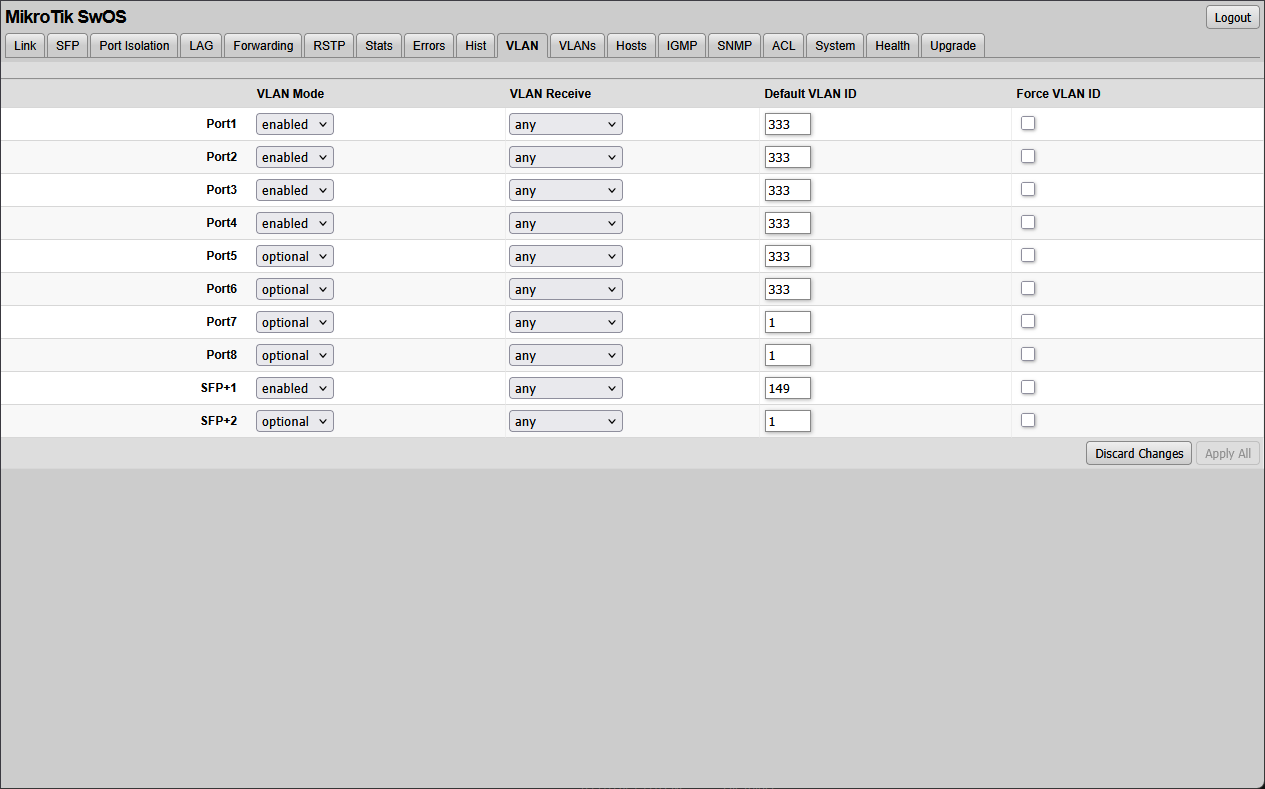
Below is setting up new VLAN IDs under VLANs in SwOS.
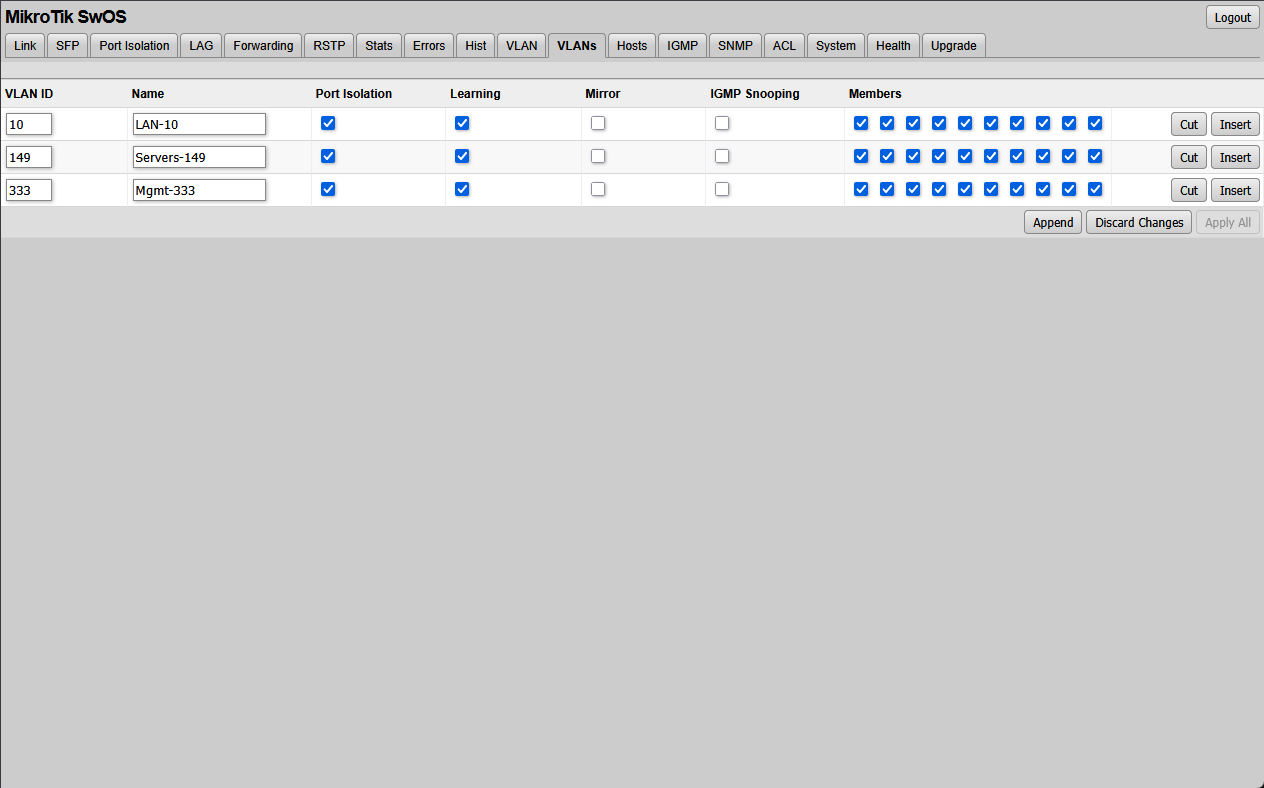
Under the VLAN tab, you can set the VLAN mode and VLAN Receive setting along with Default VLAN ID.
It also helps with the mental load of managing the network in your lab. With SwOS, you don’t feel like you have to learn an entirely new platform or configuration language just to make the network work. This type of simplicity makes it easier to grow your lab without the network getting in the way.
More detail on RouterOS
RouterOS is powerful enough to replace multiple devices if used carefully. It allows you to experiment with inter VLAN routing, firewalling, and advanced traffic control directly on the switch. For learning purposes, this is fantastic.
The downside is that RouterOS exposes many internal details that other platforms hide. Bridge configuration, VLAN filtering, and hardware offload are all tightly connected. A small change can have large performance implications.
In a home lab, this is not necessarily a bad thing. It forces you to learn how switching and routing actually work. However, it does mean that RouterOS should be approached with intention. If you choose it, accept that there is a learning curve and that the switch is no longer a fire and forget device.
Winbox should be your primary configuration tool for RouterOS
WinBox is MikroTik’s native configuration and management tool that is designed for devices running RouterOS. It provides a fast and lightweight GUI tool that allows you to see and configure the device. With Winbox you can literally see and touch all areas of config with your Mikrotik switches.
WinBox allows you to see bridges, ports, VLAN membership, interface counters, and hardware offload status. This makes both setting up a new device and troubleshooting one in production or your lab much easier. In a home lab, WinBox helps keeps you from making a mistake in the configuration, and it gives you visibility into how traffic is actually flowing through the switch.
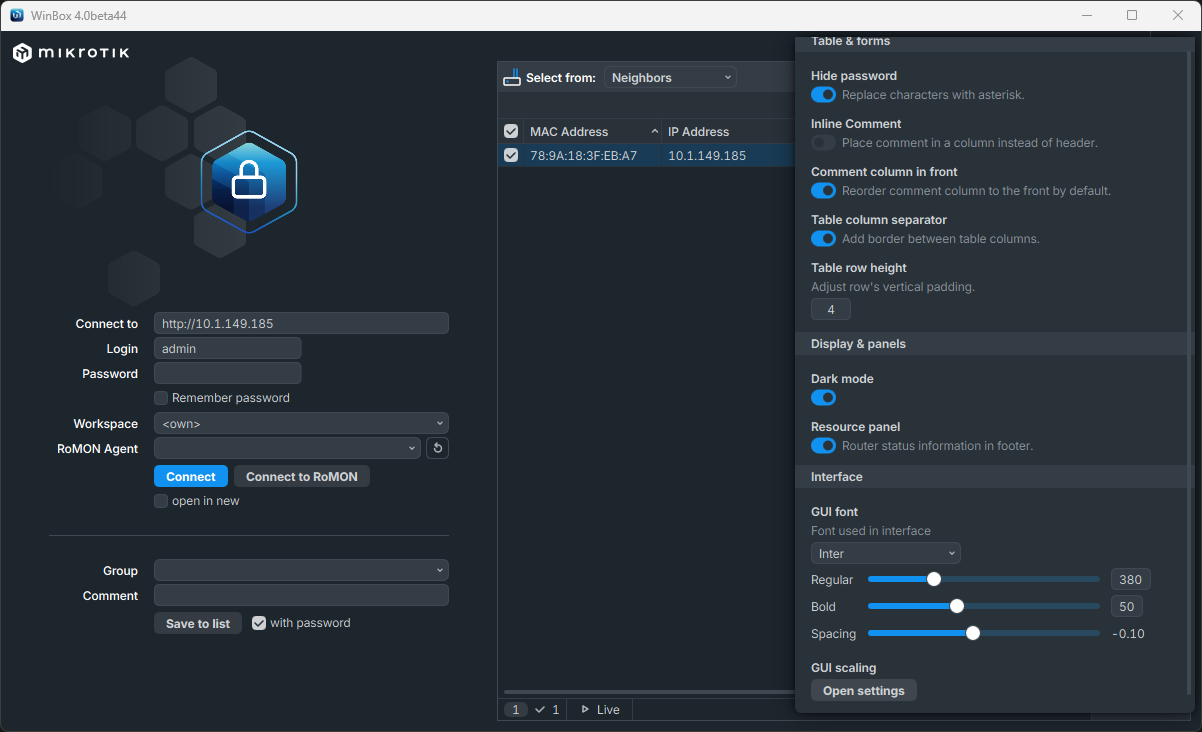
I really like the beta version of WinBox. It is a much slicker interface and even has dark mode built in natively. Pretty cool.
We all have seen this where GUI tools make it much easier to quickly spot issues if you can click around an interface without having to issue a lot of commands. Interface counters, link states, and VLAN membership are all visible at a glance.

Command line configuration is still powerful. But getting yourself familiar with WinBox right from the start will help you moving forward.
Don’t do things to affect hardware offload
It doesn’t matter whether you use RouterOS or SwOS, you want to make sure you are taking advantage of hardware offload. This is the key to getting the best performance you can expect from a MikroTik switch. When traffic stays on the switch chip, latency will be low and throughput will be the best it can be. When traffic falls back to the CPU in the switch, performance will be majorly impacted.
In RouterOS, certain configurations disable hardware offload. What are examples of these that can affect your performance and cause it to use the CPU instead of hardware offload?
- Adding forward chain firewall rules to filter VLAN to VLAN traffic
- Applying firewall rules to a bridge interface
- Enabling connection tracking on traffic that should be switched
- Enabling bridge firewall filtering
- Using bridge NAT
- Enabling connection tracking on the bridge
- Applying packet mangling rules to bridge traffic
- Multiple bridges for VLAN separation instead of one VLAN-aware bridge
- Mixing VLAN filtering methods inconsistently
- Forgetting to enable VLAN filtering on the bridge
- Using legacy VLAN configuration alongside bridge VLAN filtering
To avoid these pitfalls, do the following best practices:
- Use a single bridge
- Enable VLAN filtering
- Define VLAN membership explicitly
- Keep routing off the switch unless you fully understand the impact on performance
In a home lab, the safest thing to do is to keep switch configurations as simple as possible. Let the switch do the switching and let routers route. If you need advanced features, make sure you understand the performance hit before enabling them like some of the things we have mentioned above (firewalling, etc).
Do not turn your switch into a firewall by accident
Going along with the above, RouterOS includes a full firewall feature set, which can be tempting to use everywhere. In a home lab, this often leads to unnecessary complexity though and probably isn’t needed if you already have a firewall in the environment.
Below is a look at default firewall settings on a Mikrotik switch.
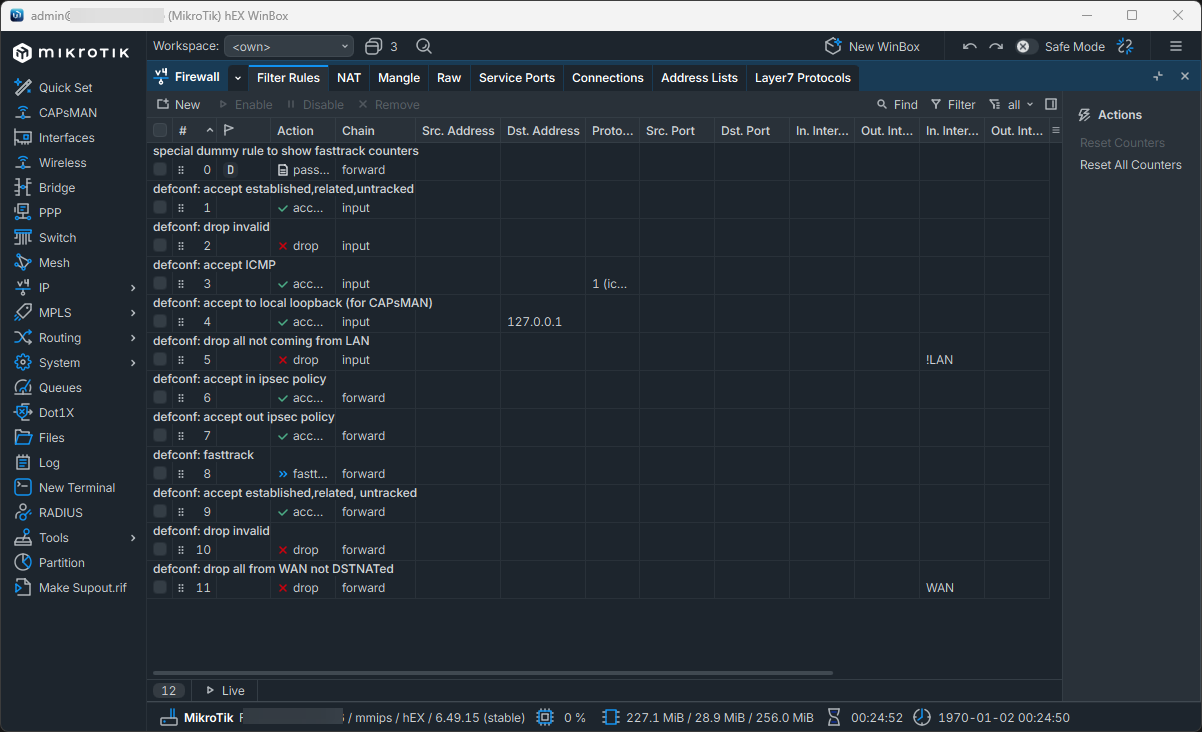
Every firewall rule adds processing overhead and increases the chance of traffic hitting the CPU. Unless there is a specific reason to filter traffic at the switch, keep firewalling on dedicated devices.
Keep VLANs simple with your Mikrotik switches in both RouterOS and SwOS
VLANs are where many MikroTik users get stuck often times. The platform is very picky about how VLANs are handled, especially in RouterOS.
The easiest approach for configuring VLANs in RouterOS is to use a single bridge with VLAN filtering enabled and define VLAN membership. Avoid creating multiple bridges unless you have a specific reason to do that. This keeps traffic paths predictable and it doesn’t affect your hardware upload as we mentioned in the section above.
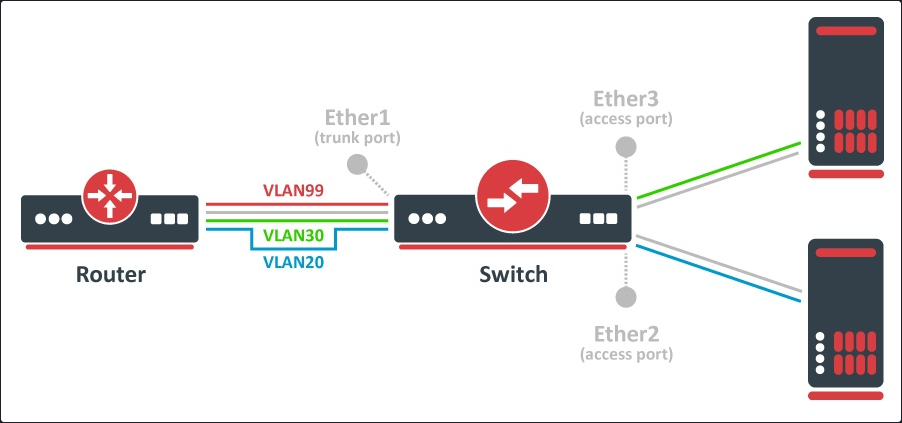
In SwOS, VLAN configuration is simpler and more familiar. Ports are assigned to VLANs in a way that is very familiar with traditional managed switches. For many home lab scenarios, as I have already mentioned, I would probably use SwOS for configuration.
Wrapping up
I really think in my honest opinion, Mikrotik switches are some of the best switches for the home lab in terms of price point and features you get with them. They can do enterprise level functions for you. If you are intimidated by RouterOS, you can also switch over to SwOS which is an option that many may not realize they have if they are running one of the CRS series switches.
Get familiar with winbox with your Mikrotik switch as it is the go to tool for configuring your Mikrotik switch and it has really great features. The new beta 4.x release is really awesome and I love the GUI redesign. Hopefully these Mikrotik switch tips in the home lab will help any who may be struggling to get up to speed. How many of you are running Mikrotik gear in your home lab environment? Let me know in the comments and what tips you can pass along.
Google is updating how articles are shown. Don’t miss our leading home lab and tech content, written by humans, by setting Virtualization Howto as a preferred source.
About The Author


I wish I would have had this guide a while back. I delved into Mikrotik for the first time and man it was a steep learning curve.
jodd14,
It does feel a bit intimidating when you get started, but after just a little bit of playing around with it, you will get a feel for it. Winbox is definitely the tool to learn with RouterOS and it helps visualize everything with the config. Still a learning curve though.
Brandon