One of the first things that you will want to do when it comes to building out your home lab or home network in general to go beyond the basics is to run your own firewall that you have control over. OPNsense is a great option for a self-hosted firewall that you can run on your own hardware or in a virtual machine. It is a derivative of pfSense that comes up as one of the top free options out there. However, there are some hidden challenges and unseen gotchas you may not discover until you have stood it up and start your configuration. Here are five key things that you should know before deciding to go with it over another option.
Brief overview of OPNsense
If you haven’t heard about OPNsense, it is a free and open-source solution you can download and run in your self-hosted environment like a home lab, or use it in a segment of your network to protect specific resources. You can download it here:
1. Web filtering is not included by default
I think one of the big surprises from many that stand OPNsense up to start doing some quick and easy web filtering is that it does not come with a built-in web filter. If you want to block categories of websites and do things like apply parental controls or safe browsing, you can just toggle this on out of the box. OPNsense has a powerful firewall and routing core but web filtering is an add-on feature.
There are basically two choices you have to get this up and going. The first option is to configure the built-in proxy server (which is Squid) and add URL blacklists. This is definitely doable in the OPNsense configuration but it has quite a bit of manual configuration needed for initial config and upkeep.
The second option is to install Zenarmor. This is a plugin that is formerly known as Sensei. It is a next-generation firewall plugin that adds many slick features to the OPNsense platform. After you install it, you can do things like deep packet inspection, application control, and web filtering.

The downside to this plugin is that it is a freemium module that has some basic functionality in the free version. But to do more complex web filtering, you need to have the paid subscription. However, even with the free version, you can block categories like adult content, pornography, and others. It does also require that you have and use more system resources by default.
The takeaway for most here is this. OPNsense is not just a turnkey 2 minute web filtering appliance that you can stand up and walk away. You will need to either plan ahead and install the right plugins or you might need to go with a different solution.
2. Traffic shaping is more complicated that you might think
Like web filtering, many may install OPNsense and think it will be easy to do simple traffic prioritization. As an example, you might want to make sure your video conferencing or VOIP traffic gets priority. OPNsense does have a traffic shaper. but, the configuration process is not that straightforward if you are a beginner with the platform.
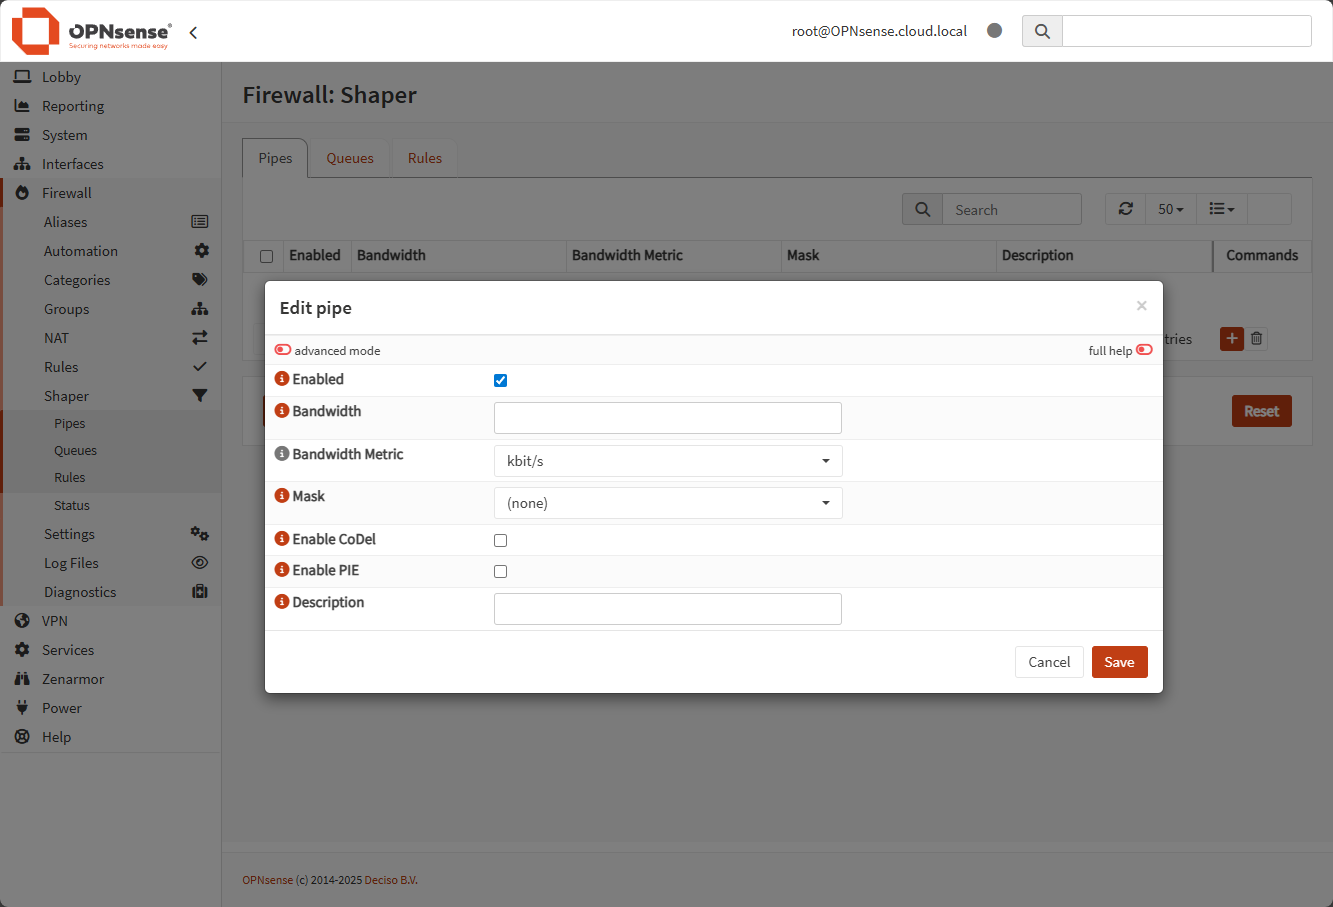
Traffic shaping in OPNsense uses a system of pipes, queues, and rules:
- Pipes – define bandwidth limits
- Queues – handle priorities
- Rules – determine how traffic is matched
Consumer routers often have a simple QoS toggle. So, this very advanced and complicated configuration with OPNsense by comparison will seem confusing to most. It takes trial and error to get used to it and understand how you need to configure priorities.
Many people coming to OPNsense expect simple traffic prioritization. For example, you might want to ensure video conferencing or VoIP gets priority over streaming video or bulk file downloads. While OPNsense supports this through its traffic shaper, the configuration process is not straightforward for beginners.
Documentation is available and there are definitely community guides out there, but compared to what some might be used to, traffic shaping with OPNsense means that you need to know your network traffic patterns and plan your rules accordingly. It is very powerful once you get it installed and working.
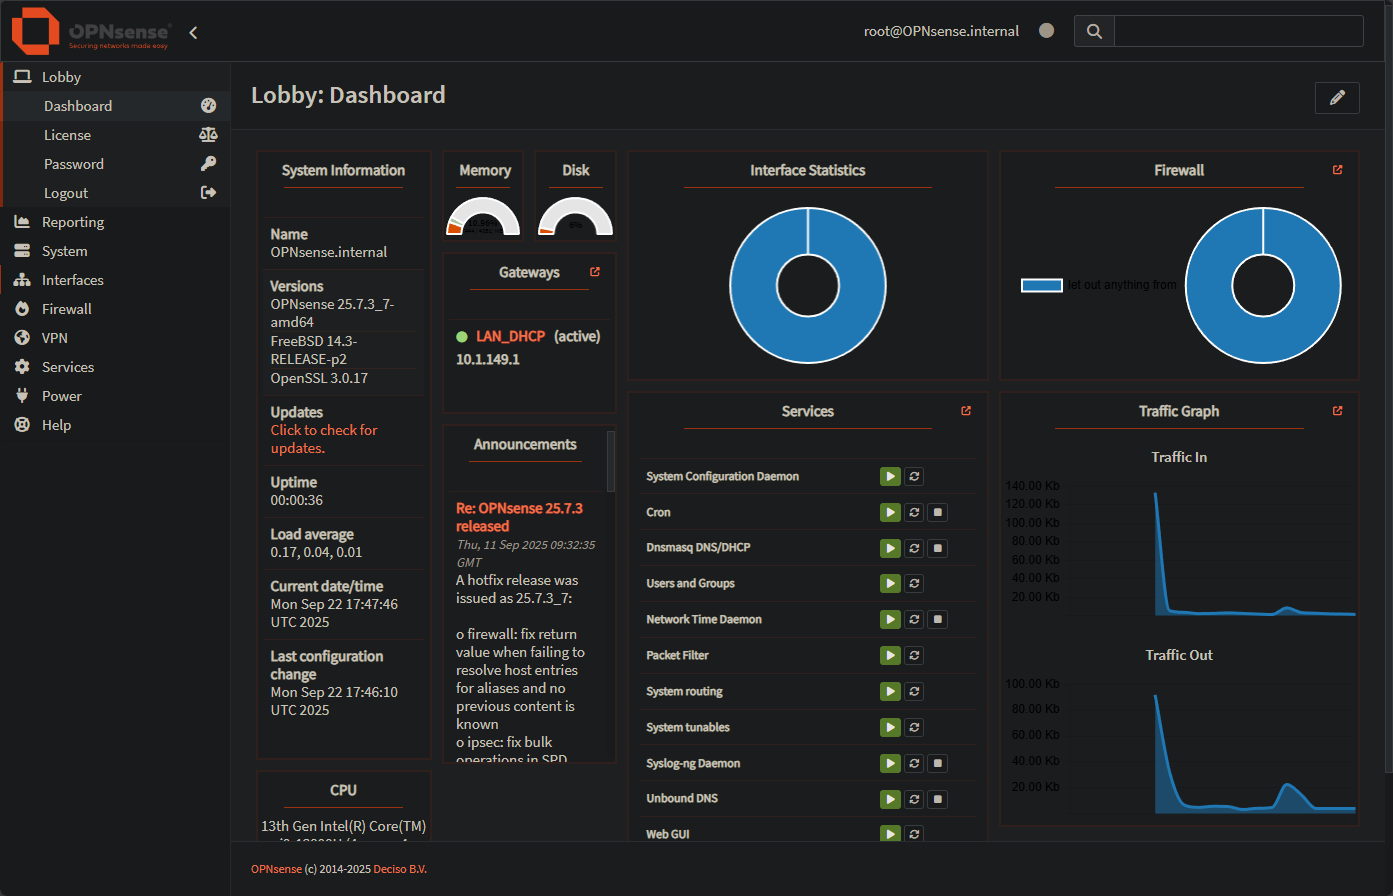
3. Reporting and monitoring are somewhat limited out of the box
Another weak point of OPNsense is advanced reporting and analytics. You do have access to the firewall logs, DHCP leases, and some basic graphs of your traffic, but if you want to have real-time bandwidth monitoring or application insights, you will run into the limitations it has in the platform by default.
IT admins may think they will get full reporting dashboards with historical charts and per-device usage. But in reality you will need to install other plugins that integrate with OPNsense and use external monitoring tools to have that kind of visibility. You can add plugins for Netflow and integrate with open-source solutions like Zabbix, Prometheus, and Grafana.
Also, Zenarmor that we have already mentioned has much better logging for traffic once you have their plugin installed. It can defininitely help to fill the gap in visibility to apps and websites as well as protocols being used in the network. But, again, it is not part of the installation by default.

Just understand if you need detailed reporting, you will not be able to rely fully on the functionality contained in the platform by default.
4. High availability for WAN side requires additional public IPs
There is another feature/limitation of OPNsense that you should know if you want to setup high-availability. OPNsense supports HA through something called CARP (Common Address Redundancy Protocol). This lets you run two firewalls in parallel so that if one fails, another one is waiting to take over.
This is a fairly simple concept to digest, however, when setting up HA with OPNsense in this way, it requires more than one public IP. If you want WAN high availability with CARP directly on your public interface, you’ll usually need multiple public IPs. You can work around this by running HA internally or putting OPNsense behind another device that owns the public IP.
So for the WAN segment we need:
- Firewall A has IP #1
- Firewall B has IP #2
- CARP virtual IP = IP #3
This may not be a configuration that ones will be attempting in the home lab as many residential connections are limited by their ISP. However, if you are planning to run OPNsense in a production environment where you are trying to get the most uptime possible, make sure you check your public IPs and confirm you have the public IPs you need before you implement an HA setup.
5. Plugins are needed for much of the functionality but are not automatic
I think one of the strengths of OPNsense is its modular nature using its plugin system. You can extend the base firewall solution with intrusion prevention (Suricata), DDNS support, Wireguard, Zabbix agent, and many other features, but none of these are included by default.

New users to the platform may think that when they install OPNsense and put it in front of their devices, it gives them an all-in-one security appliance with IDS, VPN, filtering, and reporting. But as we have seen in the sections above, OPNsense gives you a lean base and then you are expected to add the pieces you need. The modular nature has advantages, but it also means you must know which plugins are available and install and configure them.
Wrapping up
OPNsense is a great open-source firewall and router platform all in one. It does offer a lot of enterprise-grade features for free. But you need to be aware of a few things when you stand up the solution. The missing built-in web filtering, clunky traffic shaping, and limited reporting by default can be frustrating for those who haven’t used it before.
However, thanks to a pretty healthy ecosystem of plugins, OPNsense does still deliver on being a great firewall for the home lab or home network in general. How about you? Do you run OPNsense firewall? What gotchas have you run into with the platform? Please do share with the community as we all learn together.
Google is updating how articles are shown. Don’t miss our leading home lab and tech content, written by humans, by setting Virtualization Howto as a preferred source.
About The Author