Storage is one of the coolest projects that you can undertake in your home lab as most apps or services that you want to self-host will have the need to store things. Aside from specific app data, you will likely want to run virtual machines, Docker containers, or other types of resources, your storage makes everything either much smoother or more difficult to provision (if you don’t have the right storage in place). The right storage projects can open up new capabilities for testing and learning. If you’re looking for a weekend project to level up your storage here are five storage projects you can build that will supercharge your home lab.
1. Build a ZFS storage pool with snapshots and replication
There is no question that ZFS has become the storage powerhouse in the home lab and open-source storage world. ZFS has many great features that combines functions of a file system and a volume manager. It gives you things like snapshots, replication, compression, and data integrity checks.
If you haven’t experimented with ZFS as of yet, building a ZFS pool is one of the best weekend storage projects you can tackle.
Digging into ZFS snapshots a bit further, these let you capture the state of your data in an instant without much overhead at all. This means you can roll back a mistake or replicate data to another machine for a way for data redundancy. Also, using ZFS to be the backing storage for your VMs or containers that you run on something like Proxmox, this gives you almost enterprise snapshotting on consumer hardware.
One of the easiest ways to spin up ZFS is running something like TrueNAS SCALE or spinning up as mentioned a storage pool in Proxmox VE natively. You can create a simple mirror of two SSDs to provide lightning fast storage for testing or your lab environment. If you get a ZFS pool configured, you can spin up replication between two machines like a mini PC in the home lab and a NAS sitting somewhere else in your house or another location.
ZFS is natively integrated with Proxmox:
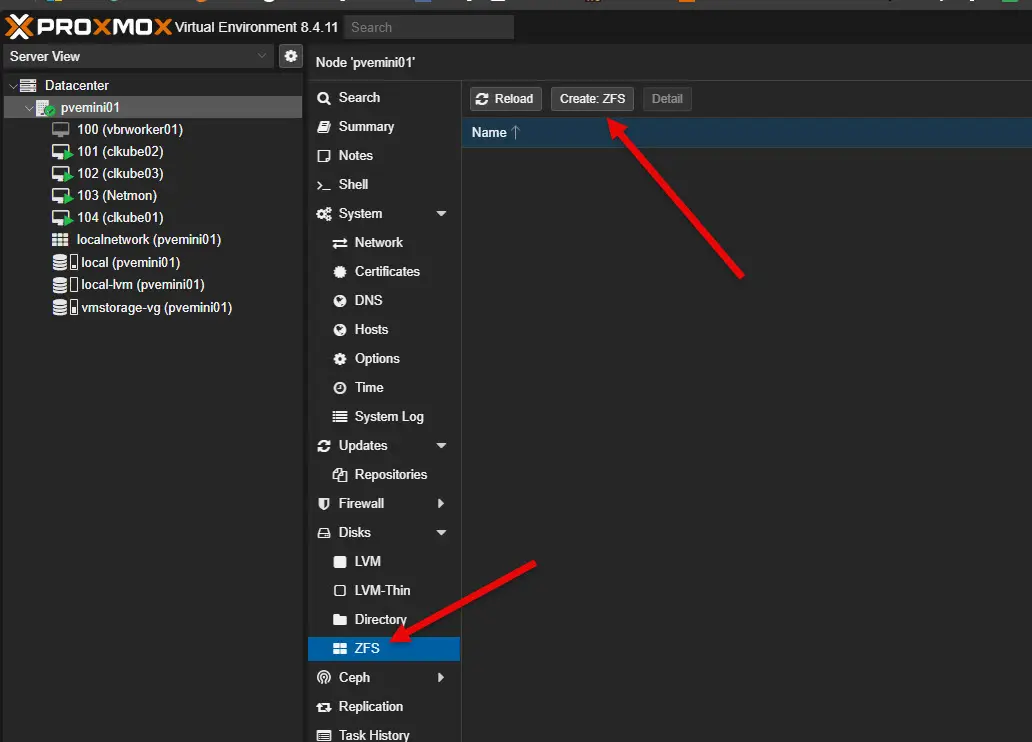
Check out my post covering 5 pooled storage technologies with Proxmox and how these are configured:
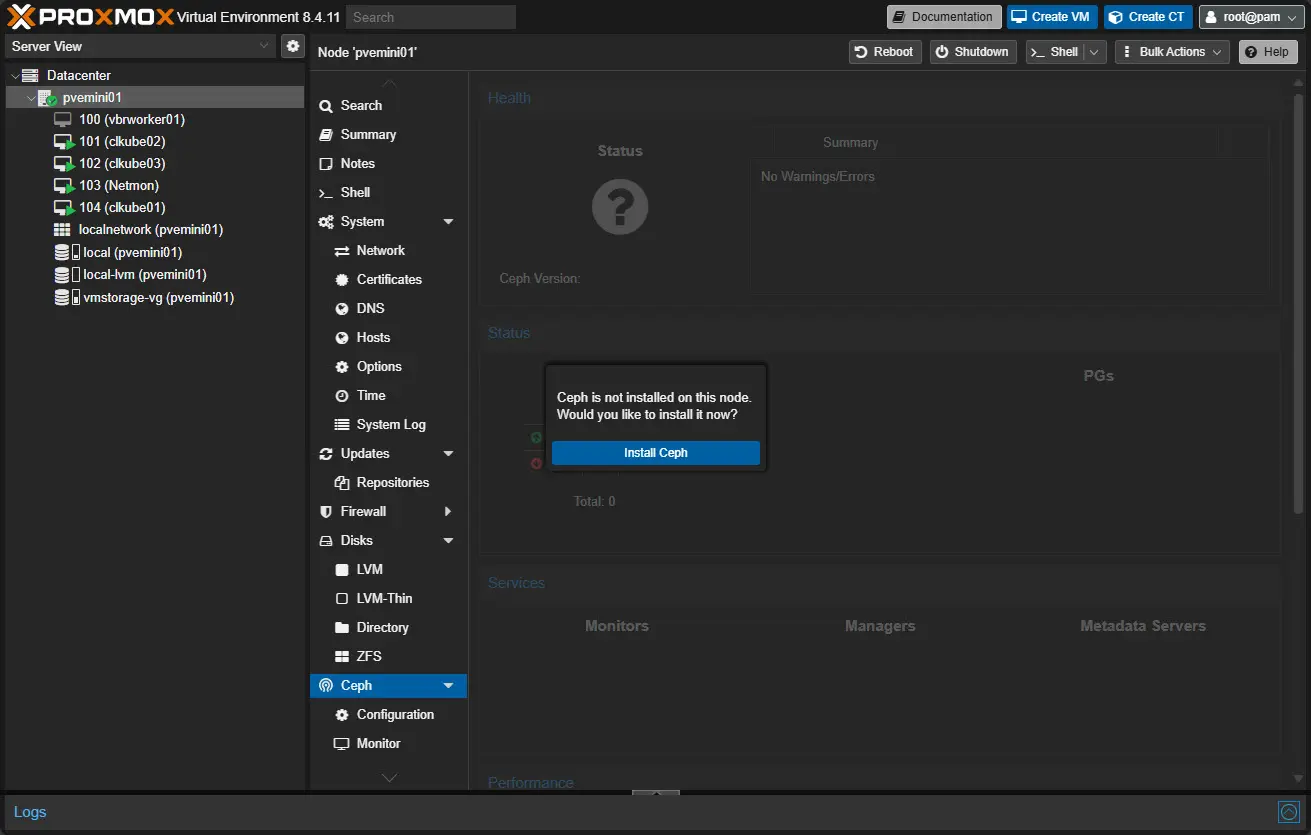
2. Deploy Ceph or MicroCeph for scale-out storage
Man, I am a huge fan of Ceph storage. It is fantastic as a distributed storage platform that powers some absolutely huge organizations. Once you get your feet wet with using something like ZFS storage in the home lab, a great project is deploying Ceph or MicroCeph.
A Ceph cluster allows you to pool together disks across multiple server hosts and present them as a single resilient storage backend for many types of storage like block, file, and object storage.
With Ceph you can lose disks or even whole nodes in your Ceph cluster and things can keep running, depending on your configuration as to how many losses you can have. But the key is, it is configurable, flexible, and is super cool as it means you don’t have to have a dedicated “storage device” like a NAS or SAN.
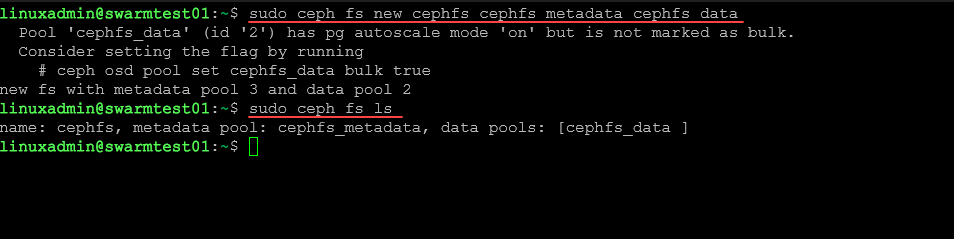
Also, like ZFS, Proxmox has native integration with Ceph storage so you can easily create a storage backend for virtual machines and containers. Also, one of the very cool things I like about Ceph or MicroCeph is that you can layer CephFS on top of Ceph storage and have regular file storage that can be used for file shares or something else.
One of the cool things I am doing with it is using CephFS as storage for my Microk8s Kubernetes cluster as well as a Docker Swarm cluster I have running. This makes getting access to your data easy. You don’t have to login to a pod or container to transfer files, you just access the storage directly on the node and copy files around as needed.
If ZFS is the entry point into advanced storage, Ceph is the next step. Ceph is a distributed storage platform that powers some of the largest cloud providers in the world, but thanks to projects like MicroCeph, it’s now approachable for home labs. A Ceph cluster lets you pool together disks across multiple machines and present them as a single resilient storage backend for block, file, or object storage.
Detailing Microceph for a moment, it takes a lot of the initial complexity out of configuring a Ceph cluster and can be stood up in just a few commands. A fun project for the weekend would be taking three small nodes, like mini PCs and building a Microceph cluster. Then you can mount that cluster to Proxmox or Kubernetes as shared storage. Not only is this fun but it helps give you a great grasp of distributed storage.
Check out my post detailing my self-hosted stack with Docker Swarm and MicroCeph:
3. Set Up a MinIO server or cluster for self-hosted S3-compatible storage
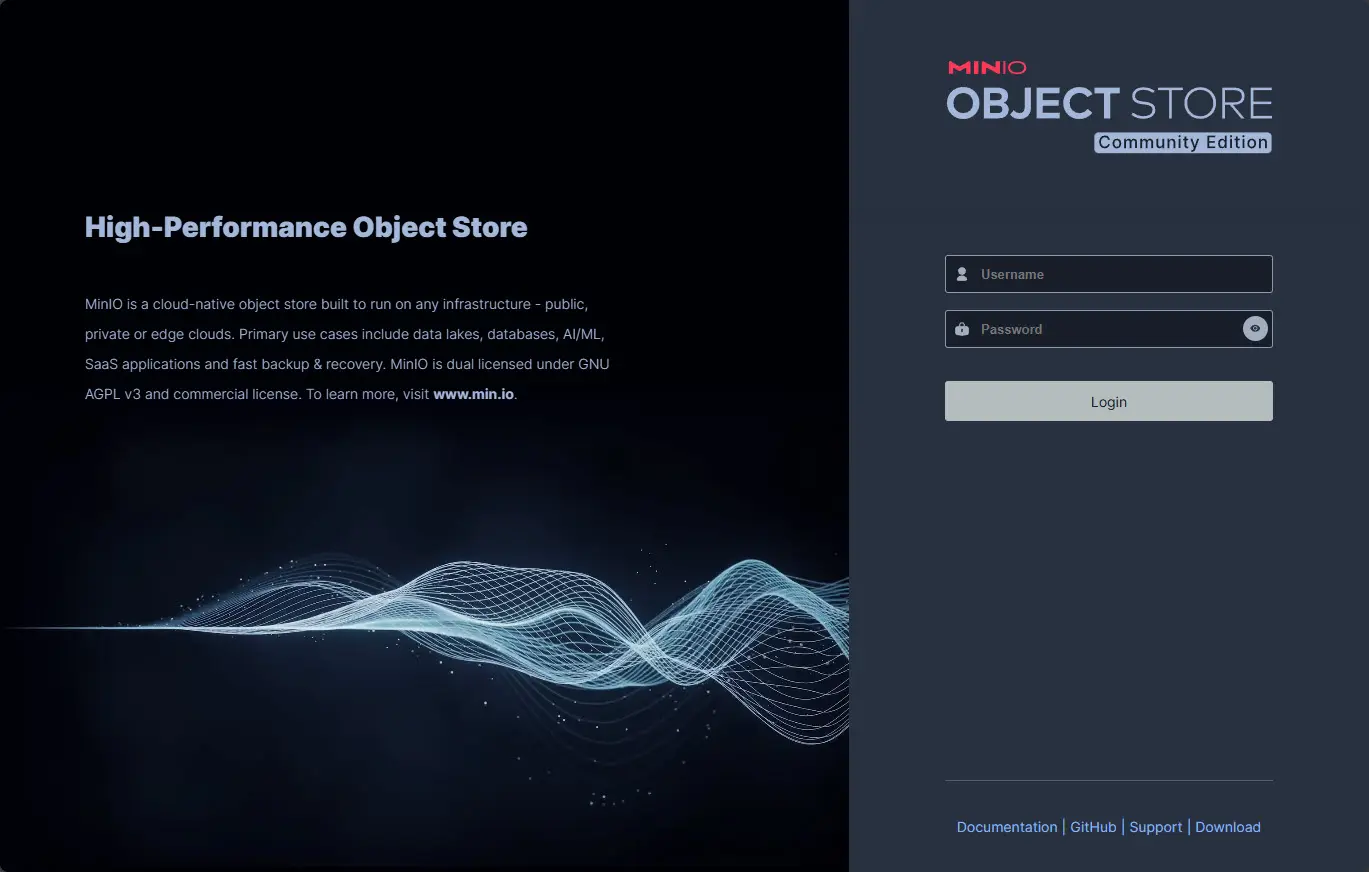
So many solutions these days support backups and storage on S3-compatible storage. Object storage has become the standard in the cloud era that we live in. Services like Amazon S3, Azure Blob storage and Google Cloud storage are the backend storage for storing modern app data. However, this type of storage isn’t just for the cloud. You can build your own S3 compatible storage in your home lab. One of the best ways to do this is by using MinIO.
If you haven’t heard about MinIO, it is a lightweight and high-performance object storage server that allows apps that speak to S3 APIs to speak to it. This means that those types of apps can integrate with MinIO just like it was Amazon S3 native storage.
The cool thing about this is that you can easily spin up MinIO in a container in Docker or run it in Kubernetes if you want. Then, map storage to local or distributed storage. One of the things that I use MinIO storage for in the home lab is backups. I run MinIO on my Synology NAS as a container and use the local storage available to me there as the backend storage. I backup configurations from Portainer and a couple of other apps to MinIO as these have S3 storage compatibility built-in.
Check out my post covering MinIO setup:
Once it’s running, you can connect apps like Proxmox Backup Server 4 that now supports S3 storage, Velero, or even Nextcloud to store backups or files. This project not only adds a powerful tool to your home lab but also gives you real-world skills transferable to cloud environments.
4. Experiment with iSCSI and NFS shared storage
You may have already experimented with iSCSI or NFS shared storage before. However, if not, these are great storage protocols to play around with in a weekend project and stand up for serious services in your lab. These two protocols have long been the workhorse of traditional storage arrays, allowing your hypervisors to connect to shared storage and run multiple VMs and containers in a way that is highly available and allowing clusters to have all the neat features that they do, like live migration, etc.
NFS is super simple to get started with since it is a file protocol that allows you to store things as files, such as your Proxmox or VMware VMs. iSCSI is a bit more complex, but it allows you to present block devices over the network and allows a hypervisor like Proxmox or VMware to treat these like local disks.
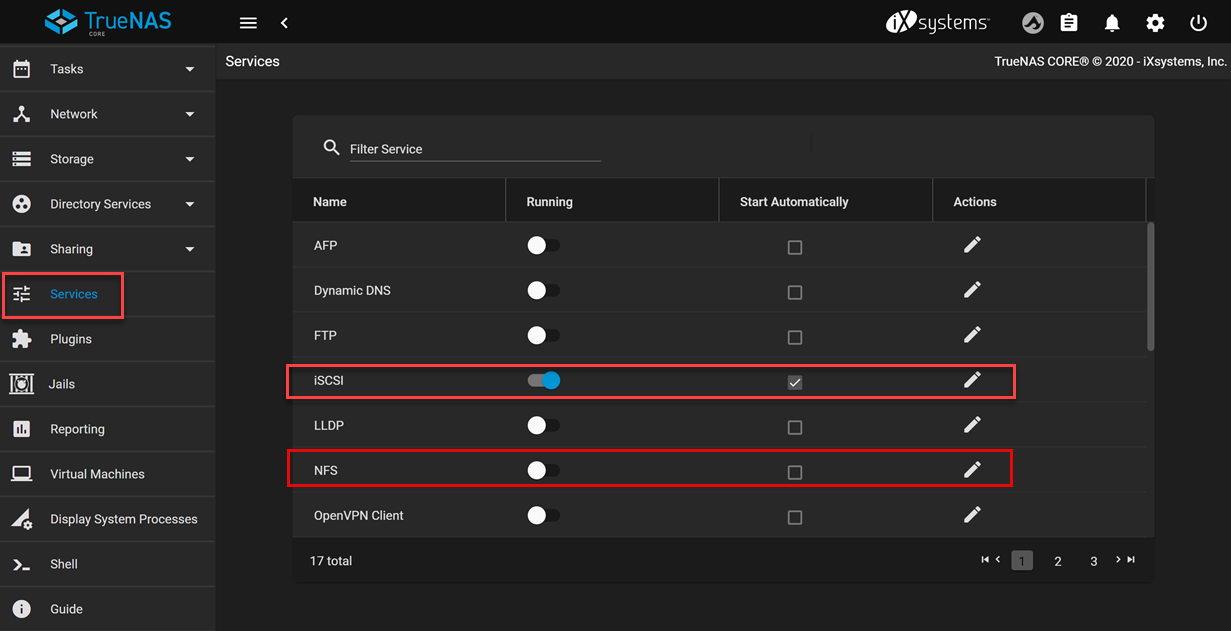
If you would rather go the more traditional route for shared storage for your virtualization stack instead of doing distributed storage with Ceph, you can definitely use NFS or iSCSI. If you setup a TrueNAS SCALE server, you can serve out both NFS and iSCSI targets and then connect your hypervisors to these. This is a great learning project and you gain real-world skills that translate into running storage in production datacenters as well.
Check out my post on getting iSCSI running in Proxmox:
TrueNAS Core also has iSCSI and NFS capabilities as well:
5. Test tiered storage with SSDs and HDDs
Tiering storage is a great way to have the best of both worlds, including speed and capacity. Most of today’s modern NAS devices are using tiered storage with spindles for capacity and NVMe drives for read/write cache.
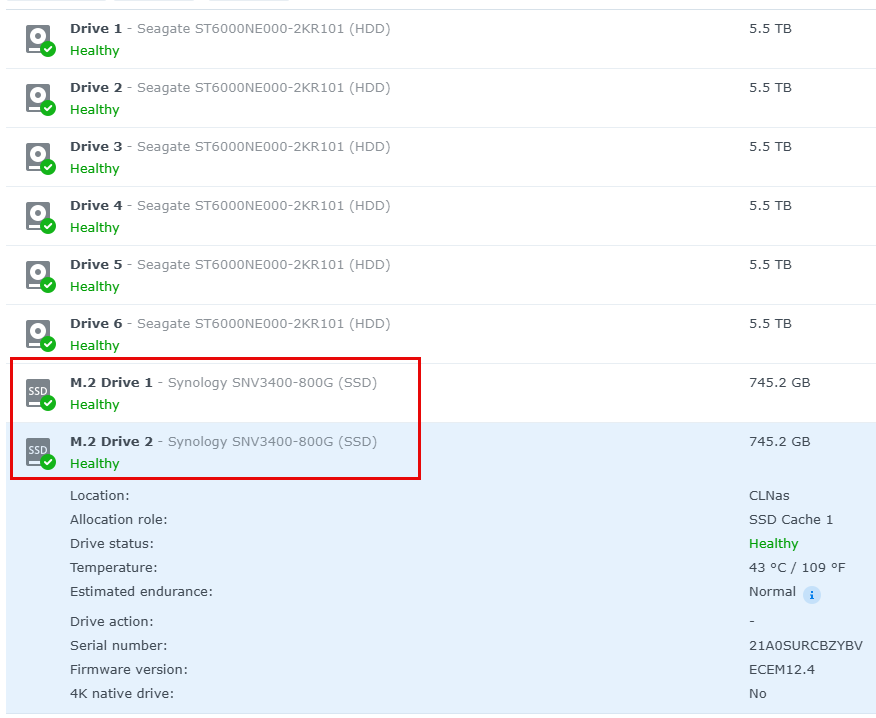
However, outside of a NAS device you can use another storage device running TrueNAS as an example to setup ZFS and a hybrid pool that combines SSDs for caching and HDDs for bulk storage. Again, this gives you the best of both worlds. TrueNAS SCALE makes the setup of these hybrid tiered arrays very easy with caching just simply part of the wizard to create your pools.
In Proxmox, you can even assign different storage classes to VMs or containers. This is super handy as you can make sure VMs running critical databases or other performance sensitive workloads can run on SSD-backed volumes, while less critical workloads might be fine to run on HDD pools. This is a project that helps you to learn about different storage types and how to balance performance and cost.
Wrapping up
I think project-based learning is one of the best ways to increase your knowledge set in a very “hands-on” way and allows you to develop real-world skills. You can start simple with a ZFS mirror and graduate up to building a Ceph cluster. However, Ceph is not really that intimidating any longer since it is built into Proxmox and there are other things like the MicroCeph project that makes this even easier. Let me know what storage projects you are working on and what types of storage technologies make sense in your home lab. I would be very curious to know.
Google is updating how articles are shown. Don’t miss our leading home lab and tech content, written by humans, by setting Virtualization Howto as a preferred source.
About The Author

You could use ceph rgw as s3 object storage. It’s very very useful and efficient than minio.
Mahdi,
Thanks for the comment and that is a great shout. I love Ceph, so much you can do with it. Nice to hear you are using it in this way.
Brandon