Installing VMware Horizon 7.9 Connection Server Step-by-Step
Recently, VMware released Horizon 7.9 which is their latest virtual desktop infrastructure (VDI) product delivering exciting new features for desktop virtualization. Check out the details of the new VMware Horizon 7.9 release here. In this post, we will take a look at the installing VMware Horizon 7.9 Connection Server step-by-step and see what is involved with prerequisites, requirements, etc. Also, we will take a quick look at the HTML 5 Horizon Console in the VMware Horizon 7.9 release. It is really getting fully featured at this point and is getting closer and closer to the old Horizon Administrator tool. Let’s take a look.
VMware Horizon 7.9 Connection Server Requirements
There are a handful of requirements for VMware Horizon 7.9 Connection Server. The following are the hardware requirements listed by VMware for installing Horizon 7.9 Connection Server:
| Hardware Component | Required | Recommended |
|---|---|---|
| Processor | Pentium IV 2.0GHz processor or higher | 4 CPUs |
| Network Adapter | 100Mpbs NIC | 1Gbps NICs |
| MemoryWindows Server 2008 R2 64-bit | 4GB RAM or higher | At least 10GB RAM for deployments of 50 or more remote desktops |
| MemoryWindows Server 2012 R2 64-bit | 4GB RAM or higher | At least 10GB RAM for deployments of 50 or more remote desktops |
These requirements also apply to replica and security server Horizon Connection Server instances that you install for high availability or external access.
What are the supported operating system platforms?
| Operating System | Version | Edition |
|---|---|---|
| Windows Server 2008 R2 SP1 | 64-bit | StandardEnterpriseDatacenter |
| Windows Server 2012 R2 | 64-bit | StandardDatacenter |
| Windows Server 2016 | 64-bit | StandardDatacenter |
| Windows Server 2019 | 64-bit | StandardDatacenter |
It is great to see Windows Server 2019 in the list and is the platform I will be installing the Connection Server on.
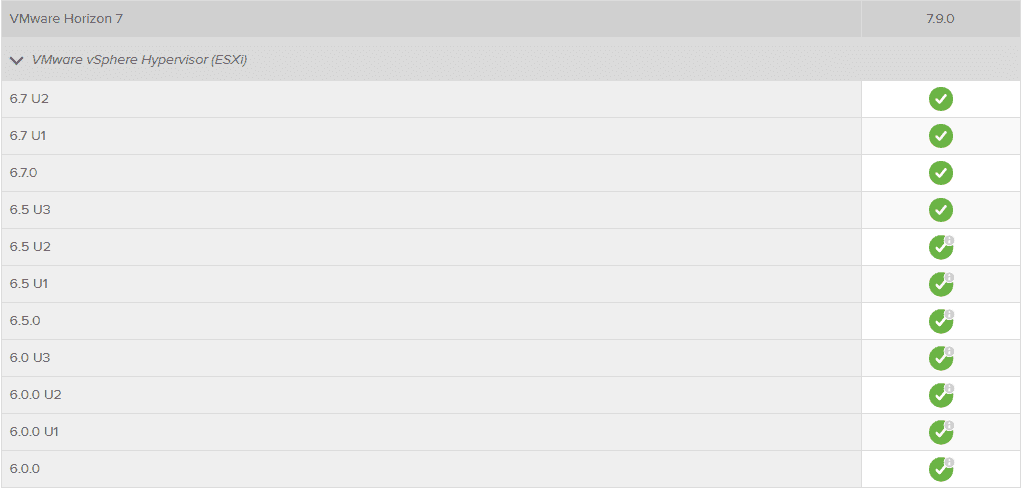
As far as interoperability with VMware vSphere versions, the best resource for that is the VMware Interoperability Matrix. You can use this link to automatically take a look at the compatibility between VMware Horizon 7.9 and VMware vSphere: https://www.vmware.com/resources/compatibility/sim/interop_matrix.php#interop&260=3445&1=
As far as network connectivity, Horizon requires high speed, high performance LAN connections between the Connection Server instances. For replicated Connect Server instances that span across data centers that are connected over a WAN or MAN connection, the Cloud Pod Architecture feature must be used.
Installing VMware Horizon 7.9 Connection Server Step-by-Step
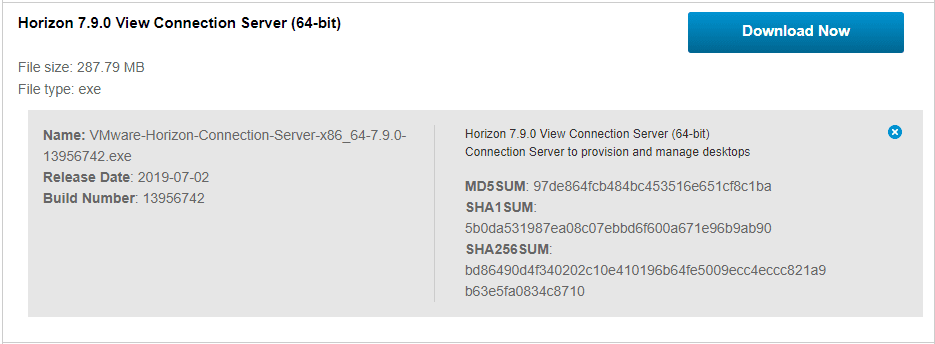
First of all, you will need to pull the download for Horizon Connection Server 7.9. Below is a screenshot from the VMware Download portal showing the details for Horizon 7.9 Connection Server. Note the details:
- File size – 287.79 MB
- Build Number – 13956742
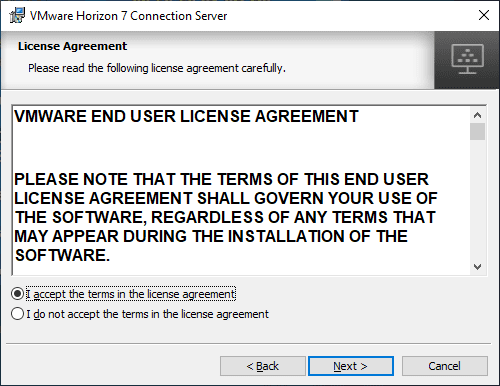
After downloading the Connection Server .exe installer, run the installation file.
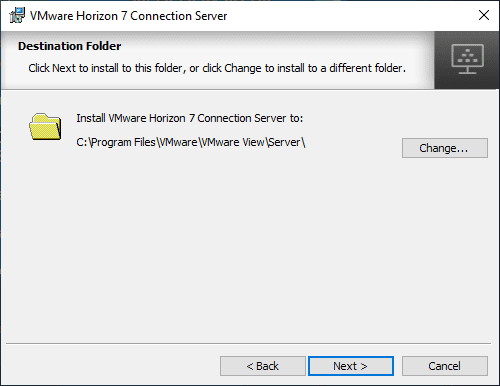
Choose the destination direction for the Horizon 7.9 Connection Server installation.
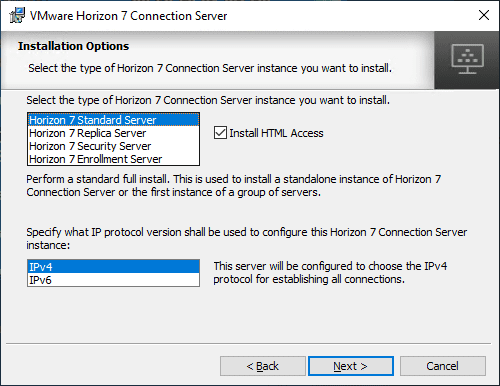
On the installation options screen, you can choose from the type of Horizon 7.9 Connection Server installed, whether you want HTML Access enabled and what type of IP protocol you will be configuring Connection Server to use.
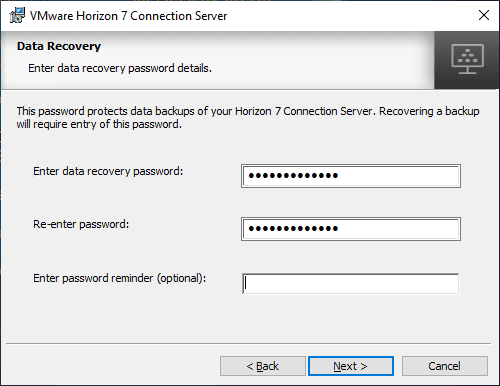
Enter the data recovery password for Horizon 7.9 Connection Server. This password protects data backups of Horizon 7.9 Connection Server. This is the password you would use to recover any backups of the Connection Server.
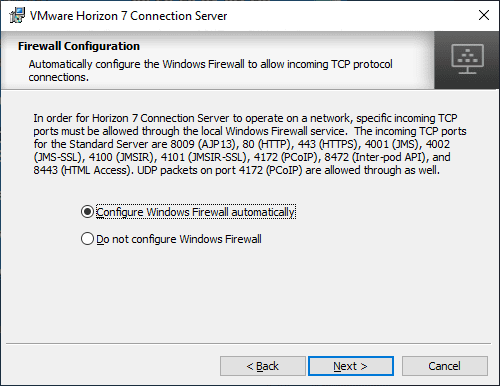
You can choose to allow the firewall configuration for Windows to be configured automatically which is recommended.
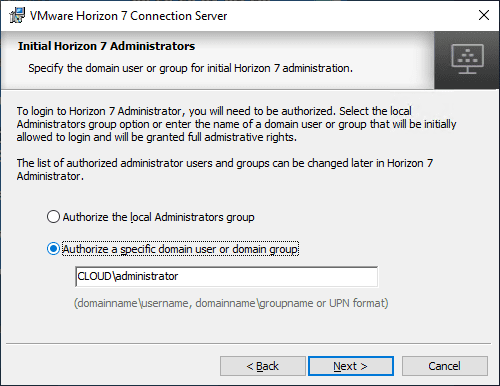
Choose which account or group will initially be configured for Horizon 7 administrator access.
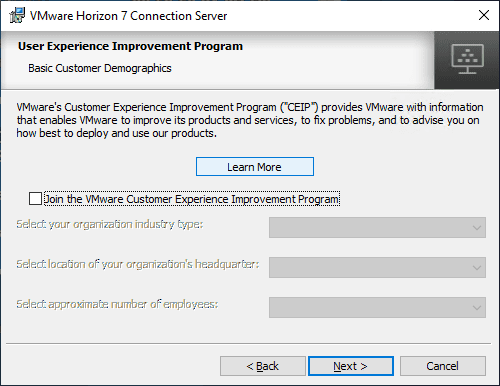
Choose whether you want to become part of the CEIP program or not.
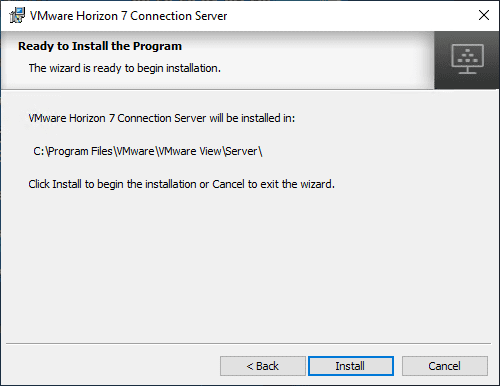
The installation is ready to proceed. Confirm your choices, and click Install.
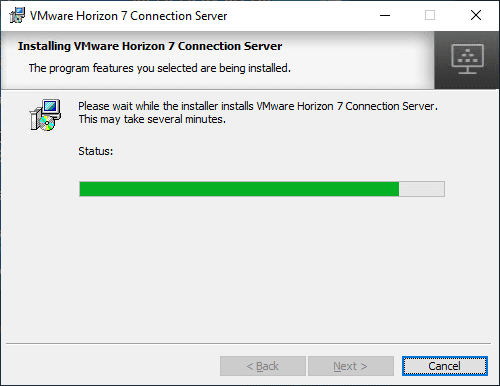
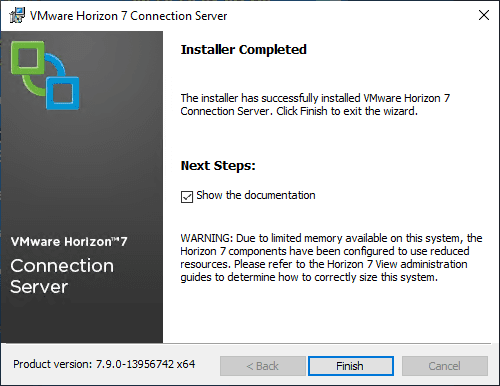
After only a short moment, the Horizon 7.9 Connection Server installation will complete successfully. You can view the documentation, etc.
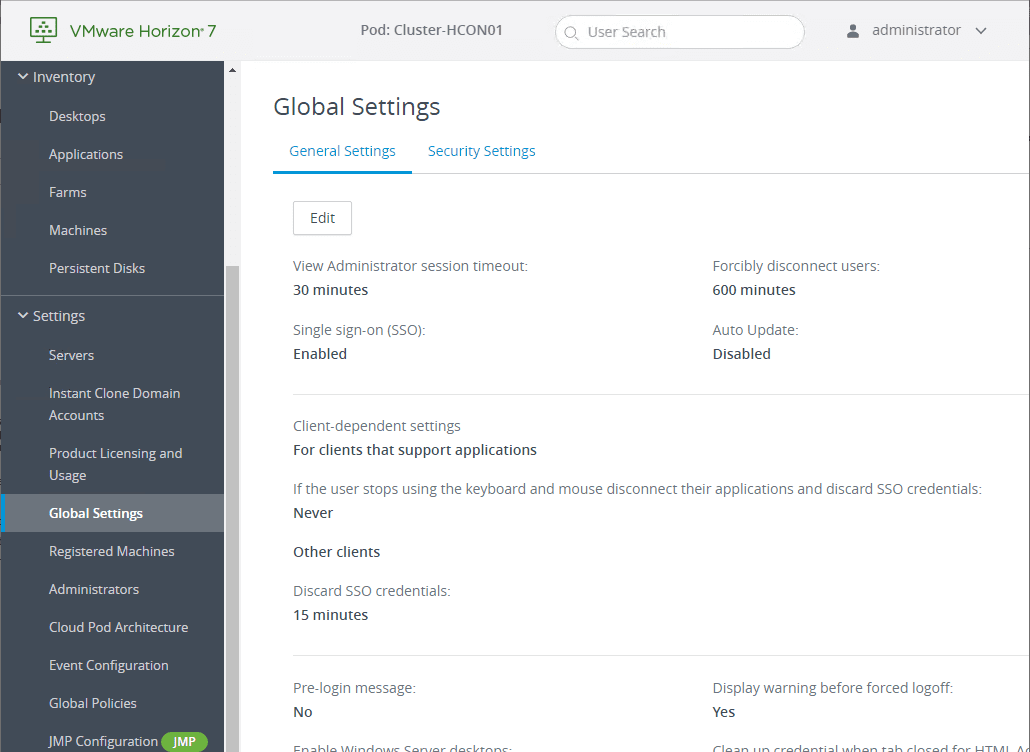
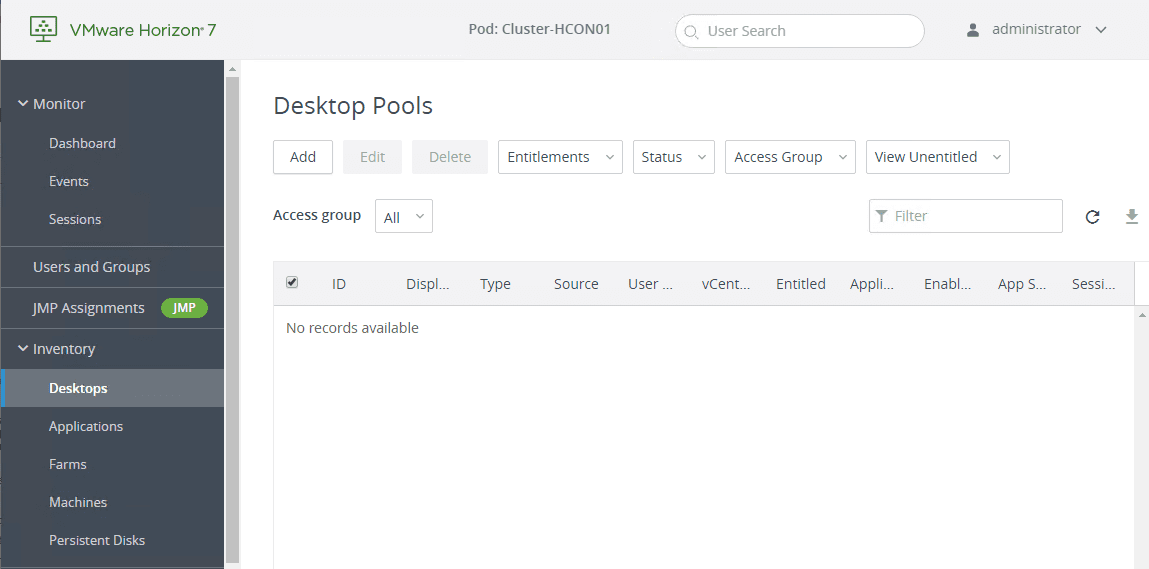
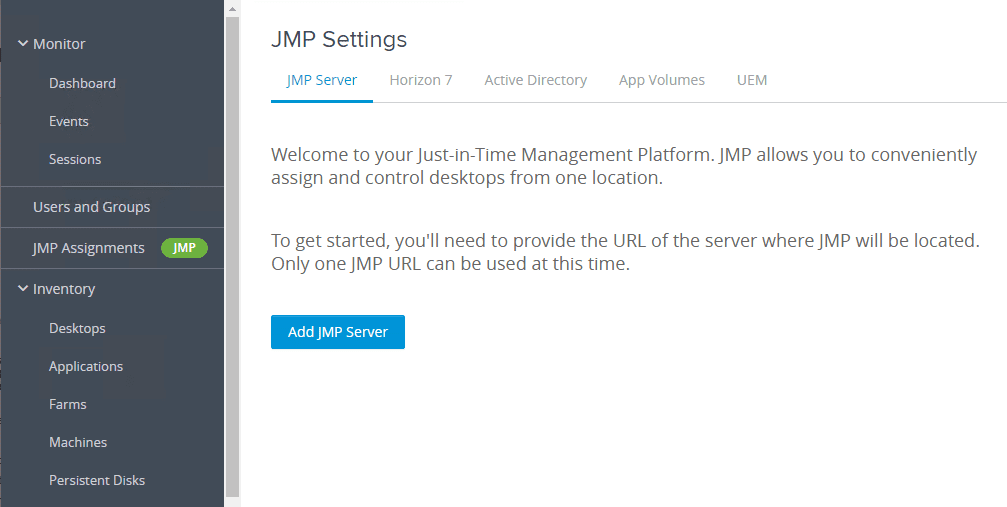
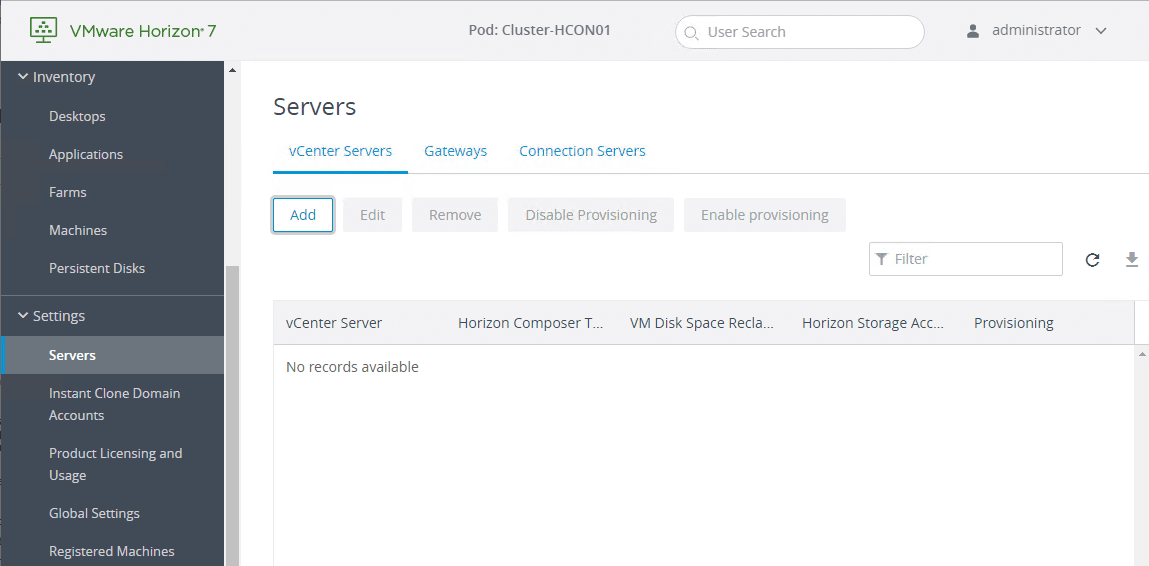
Horizon 7.9 Connection Server Horizon Console
Using the new Horizon Console as opposed to the Horizon Administrator is like a breath of fresh air. I don’t even want to remember the days when we were still having to use the vSphere Web Client Flex version as opposed to the new vSphere Client.
HTML 5 is certainly the direction moving forward and Flash-based clients are deprecated. VMware is feverishly working with each Horizon release moving forward to reach feature parity with the new Horizon Console compared to the Horizon Administrator. Horizon 7.9 Console is the most fully-featured Horizon Console to date. You can do most of the major configuration you would do inside the Horizon Console.
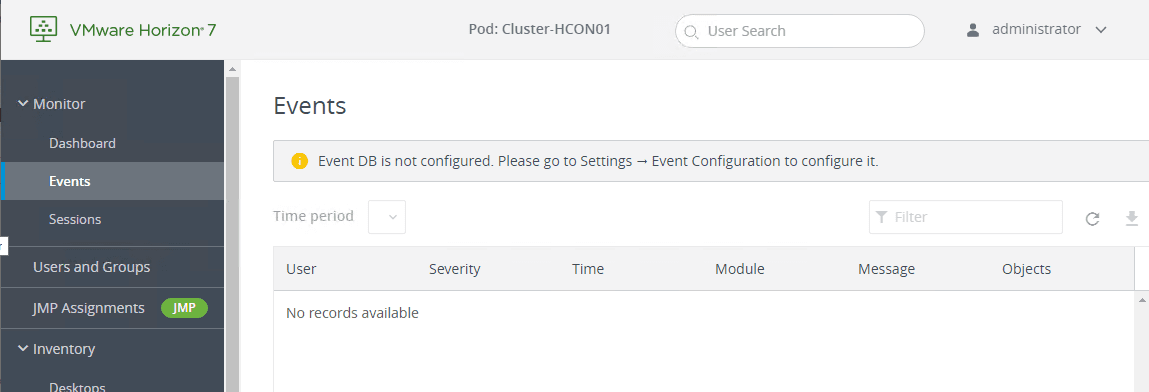
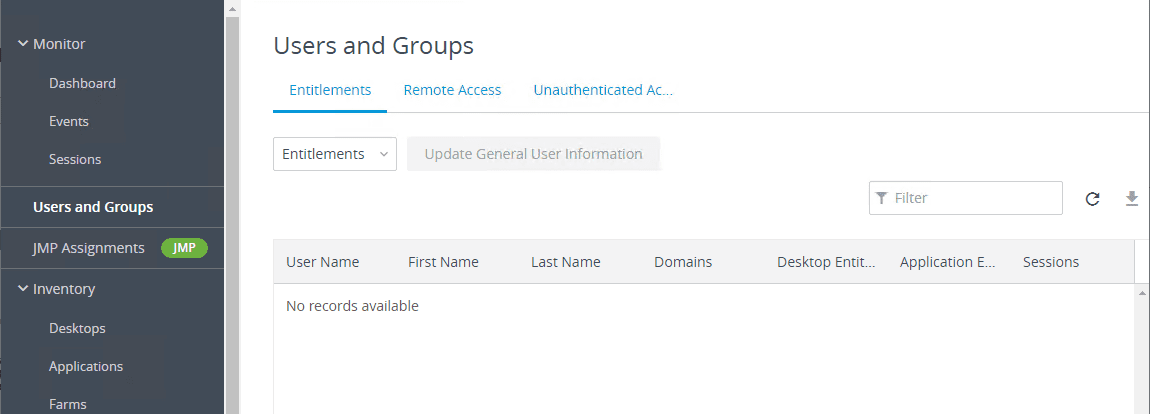
Below are a few screenshots of the Horizon Console and various configuration pages found therein.

Wrapping Up
Installing VMware Horizon 7.9 Connection Server Step-by-Step is as easy as previous Horizon releases with the simple “next, next, finish” process that has been the hallmark of the other releases. Nothing has changed here. However, what has changed for the better is more functionality has made its way to the new Horizon Console. The Horizon Console is going to be for VMware Horizon what the new vSphere Client is for VMware vSphere. It is a game changer and makes administration much simpler and easier.