Create Veeam Isolated Sandbox Virtual Lab
I have written several posts on how to created an Isolated lab environment using the same IP addresses or overlapping subnets. This requires some network trickery to pull off to make the routing work correctly. Veeam has functionality in the Virtual Lab functionality that allows for creating a virtual lab using the same IP addresses that are used in your production network. A lot of the principles are the same. We have similiar components when we create Veeam isolated sandbox virtual lab that we do we manually use virtual routers and isolated switches. However, the Veeam isolated sandbox virtual lab streamlines the process greatly as it spins up a router on the fly with the selected subnets, etc already configured including the netmap and masquerade rules. This is the process that Veeam uses for the SureBackup technology. Let’s take a look.
Create Veeam Isolated Sandbox Virtual Lab
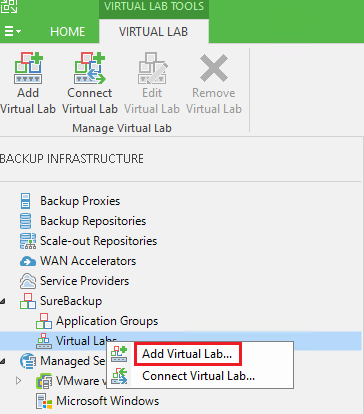
To get to the Virtual Lab setup, we navigate to Backup Infrastructure, SureBackup, and Virtual Labs. Click Add Virtual lab.
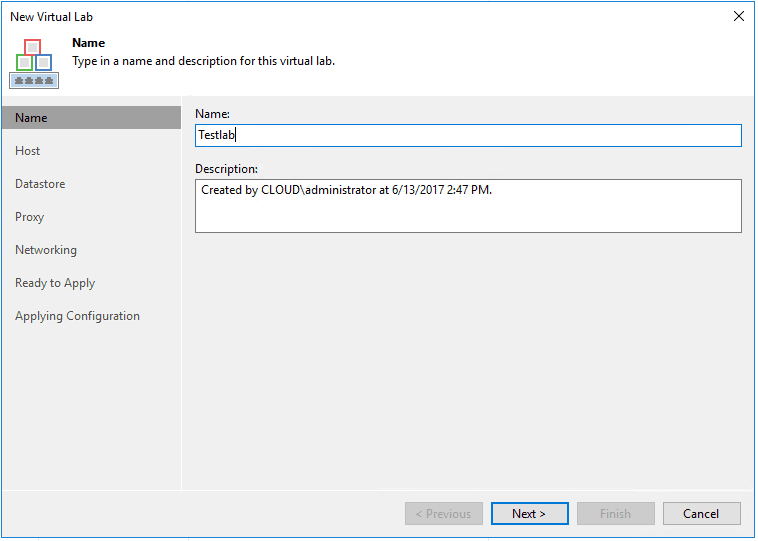
Next, we name the virtual lab. Note the name you configure here is the name of the router appliance that gets added to your VMware inventory.
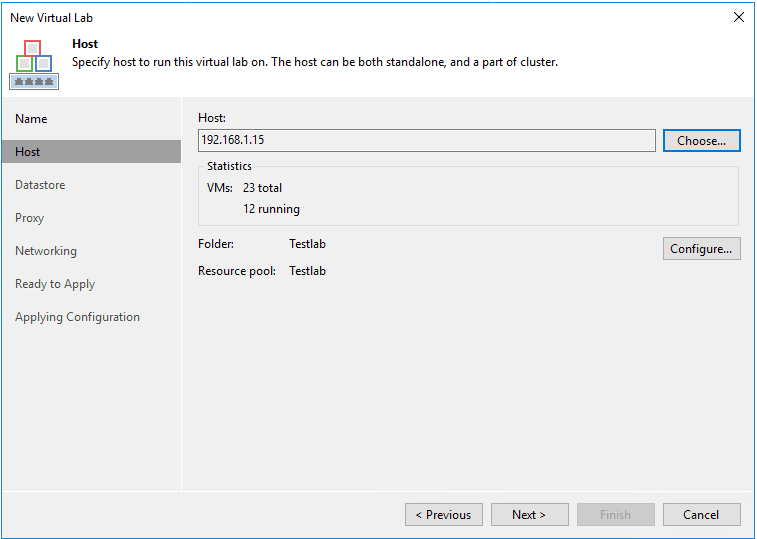
Next, we select the host we want for compute/memory. If you select a resource in vCenter, it will automatically create a folder and resource pool by the same name as well.
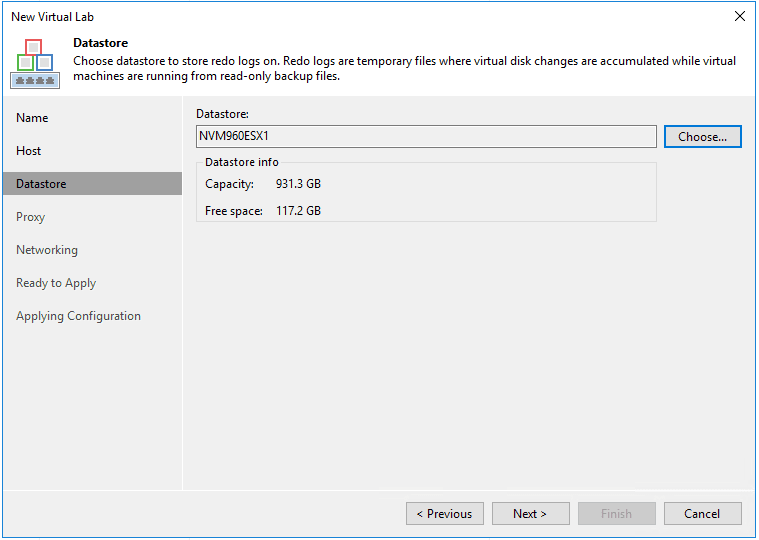
Select storage.
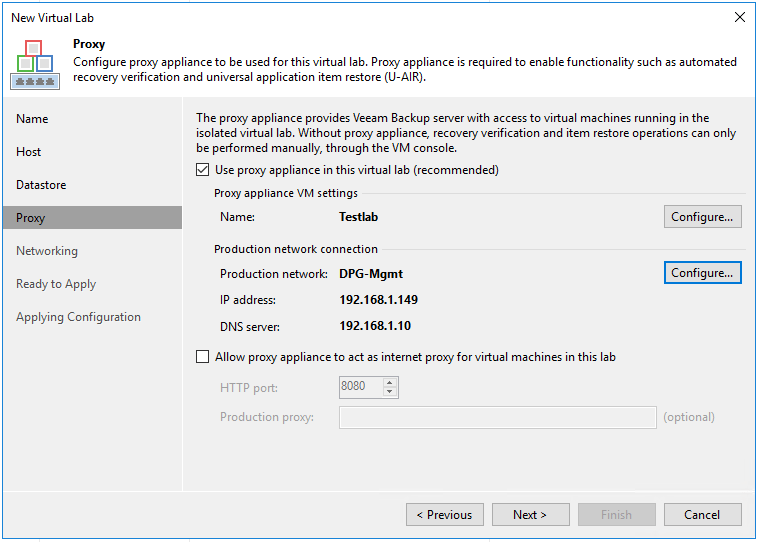
The next configuration we pay attention to is the Proxy configuration. Here we select a Production network and then choose our options for IP address. This is the interface on the Virtual Lab router that actually connects to your production network.
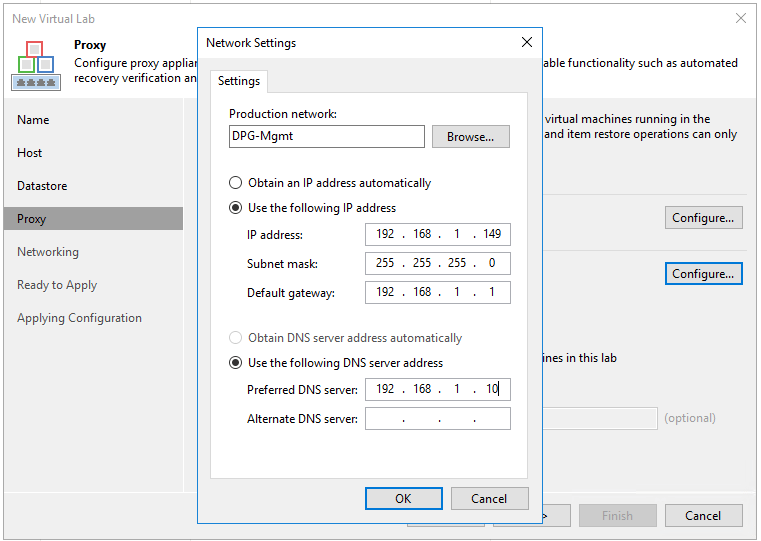
After configuring the settings above, we see our IP address and DNS server addresses configured.
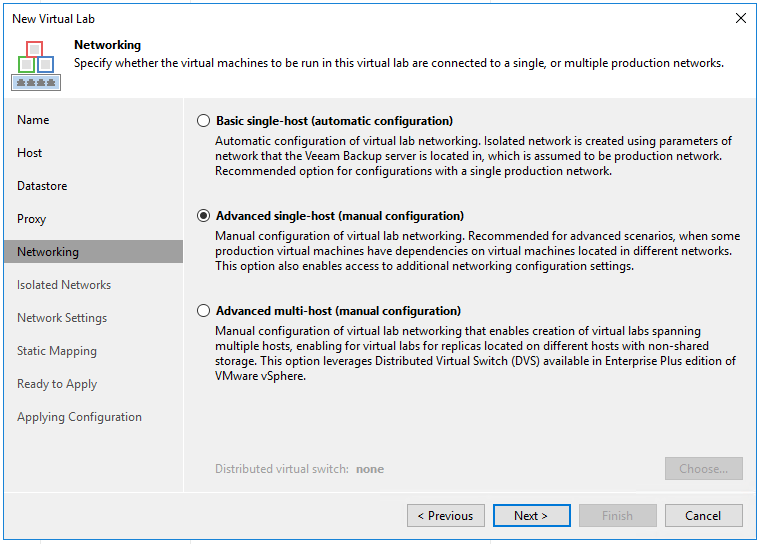
On the Networking screen, we select how we want to perform the configuration. Here I am choosing Advanced single-host (manual configuration) as this allows for more granular configuration.
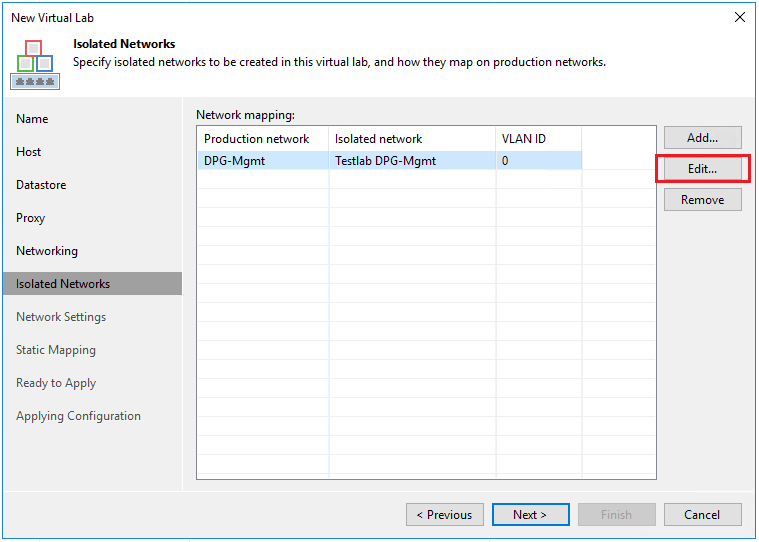
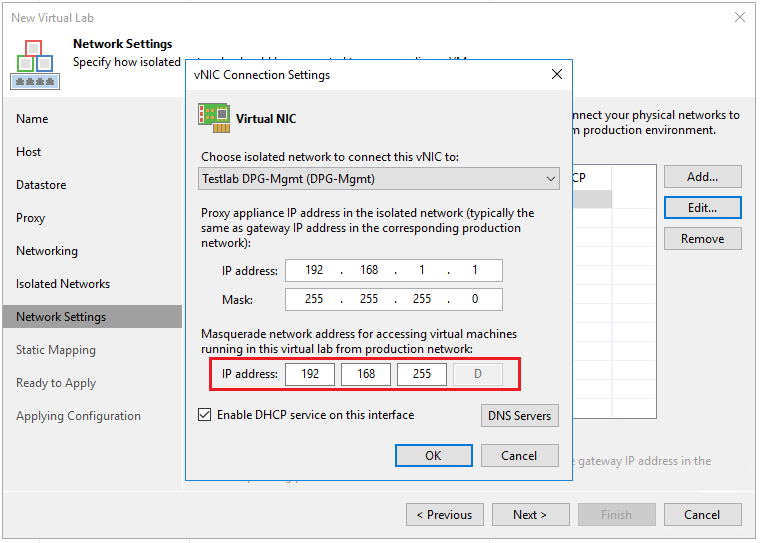
On the Isolated Networks screen, we have important configuration here as this is what will create the isolated environment that our VMs can live on with production IP addresses. If we click the Edit button, we will be able to choose our isolated network and masquerade settings.
Notice the Virtual NIC is connected to Testlab DPG-Mgmt switch. Note the vSwitch that gets created is a standard vSwitch, however, as you see below the name looks like a distributed vSwitch. I am using distributed switches on this host, so the Virtual Lab is simply mimicking the name of the distributed switch that I am using for the production network.
The masquerade network address is important as this is the netmap rule that gets created on the Virtual Lab router that is the address that you connect to from the real outside production network to speak to the internal VM that is running the overlapping IP address.
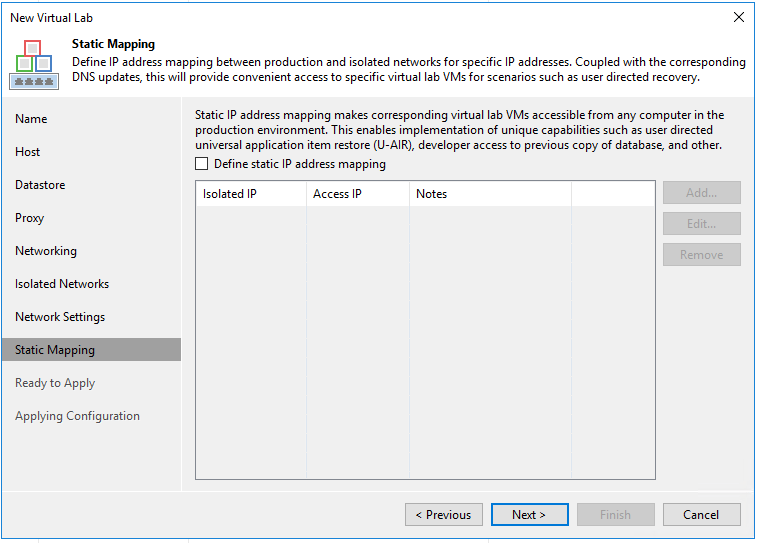
We won’t configure anything on the static mappings however it provides some really unique and cool possibilities. Hopefully another post on this later.
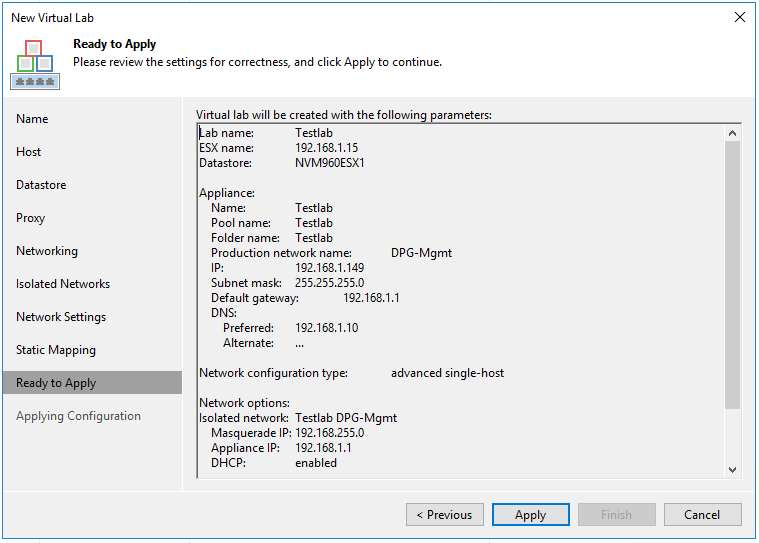
Finally, a summary of our configuration.
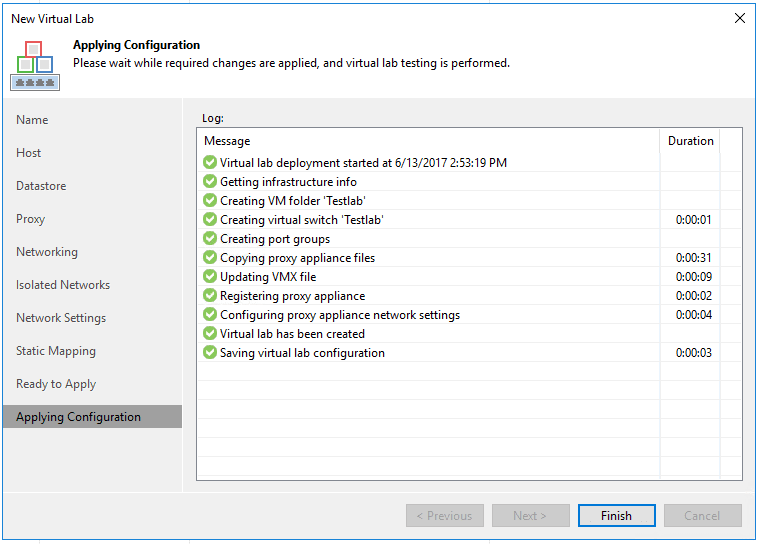
The virtual router is deployed.
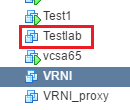
We see the new virtual machine provisioned in vSphere.
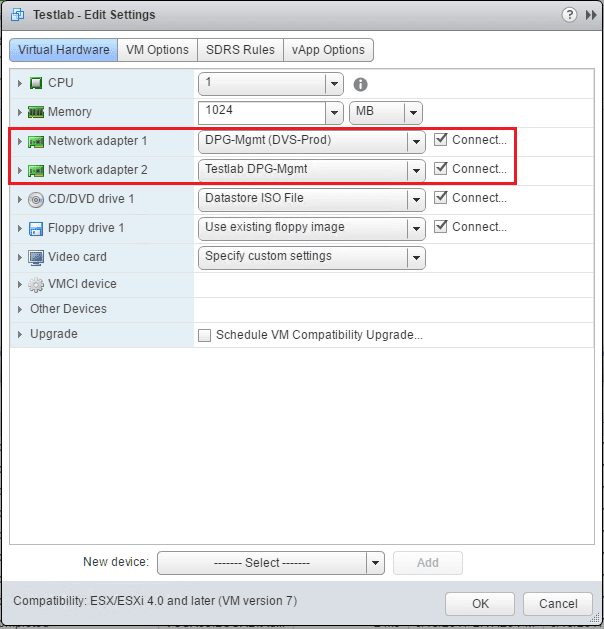
Notice on the VM itself, we see the two network adapters provisioned both to the production and isolated networks.
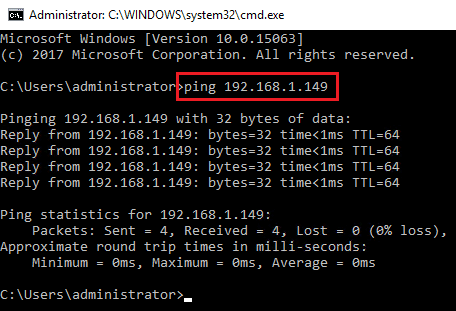
First, I want to test and make sure I can ping the real production IP assigned to the router live production interface. It is successful.
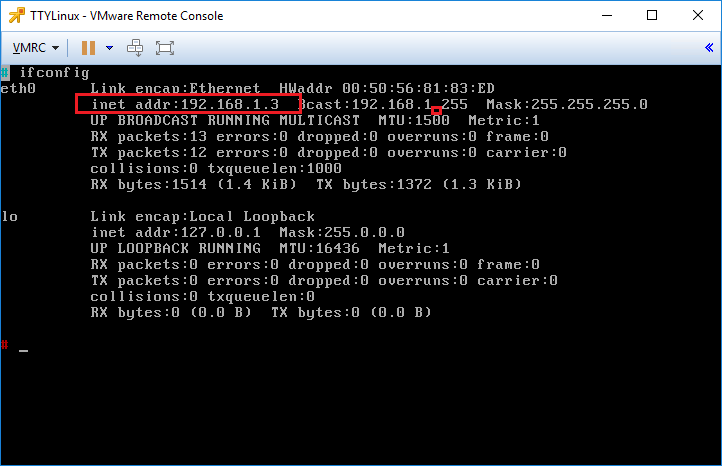
I quickly provisioned a TTYLinux appliance to test pings. The IP it grabbed on the “pseudo” production “isolated” interface was 192.168.1.3.
To test connectivity, I manually added a route on the test workstation to point to the production IP of the provisioned router. The static route directs any traffic for the masquerade subnet to the router IP.
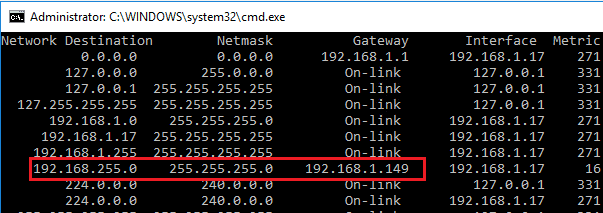
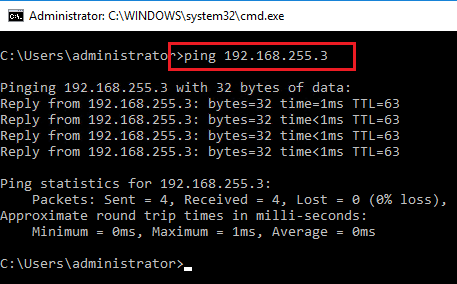
So since the internal isolated subnet is 192.168.1.X, then we should be able to connect to it via 192.168.255.X which is the masquerade subnet. Success!
Thoughts
The process to Create Veeam Isolated Sandbox Virtual Lab using the Virtual Lab functionality is straightforward. The resulting router already has the appropriate netmap and masquerade rules configured. Using this functionality we can provision a lab network fairly quickly even to be used outside of Veeam purposes.