Upgrade ESXi 5.5 Dell Server cluster to ESXi 6 with VUM
In the post today I would like to go through the process to update a Dell ESXi 5.5 cluster to 6.0 using VUM. Updating a Dell Server cluster running ESXi 5.5 to version 6 is really no different that updating a regular cluster, however, the difference is that we will make sure and use the Dell Customized Installer for ESXi 6.0. The customized ISO is just VMware ESXi will customized drivers for Dell servers, NIC cards, RAID, etc. This makes sure that you won’t run into any issues with the update of the host due to drivers in the install.
Process
Let’s take a look at the process to upgrade ESXi 5.5 Dell Server Cluster to ESXi 6 with VUM. First things first, we need to navigate to the Update Manager tab inside of vCenter. Once in the Update Manager tab, click on the Admin View over on the far right hand side. Then navigate to the Import ESXi Image link. You will then be allowed to browse to the ISO file that you would like to import in order to create the upgrade baseline.
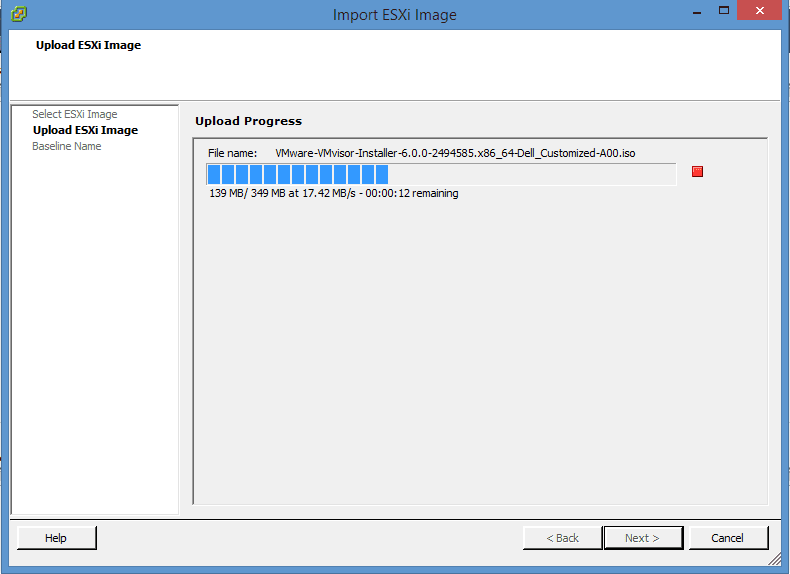
As you can see below we have specified the VMware-VMvisor-Installer-6.0.0-2494585.x86_64-Dell_Customized-A00.iso file which is now generally available via the link found here: https://www.dell.com/support/home/us/en/19/Drivers/DriversDetails?driverId=HJFY8
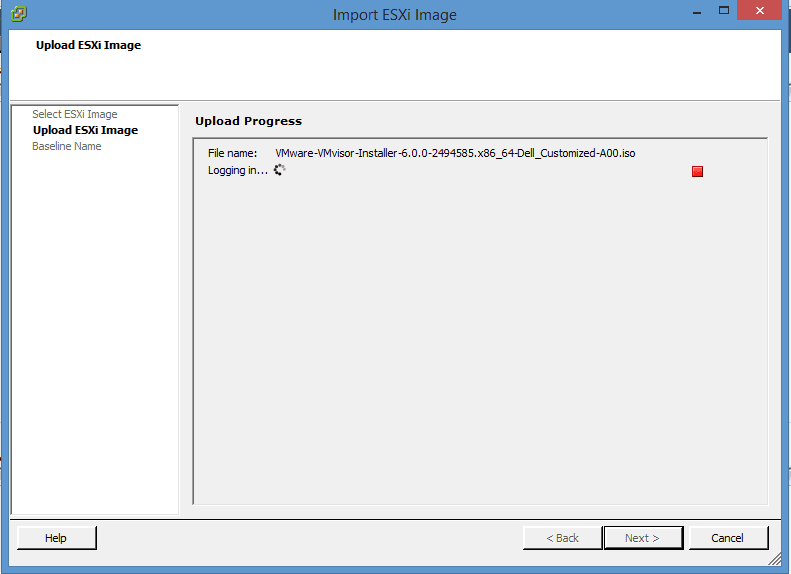
The wizard will begin the import process:

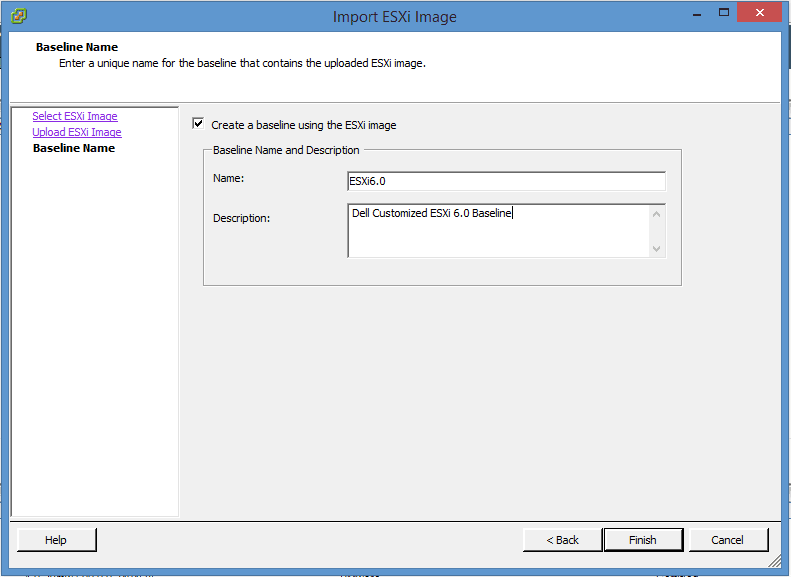
After the ISO imports, part of the import process has you create a new baseline which is what you scan your hosts with to determine the need for remediation to patches or upgrades. As you can see below, I have just named it ESXi6.0 with the description including the Dell Customized information.
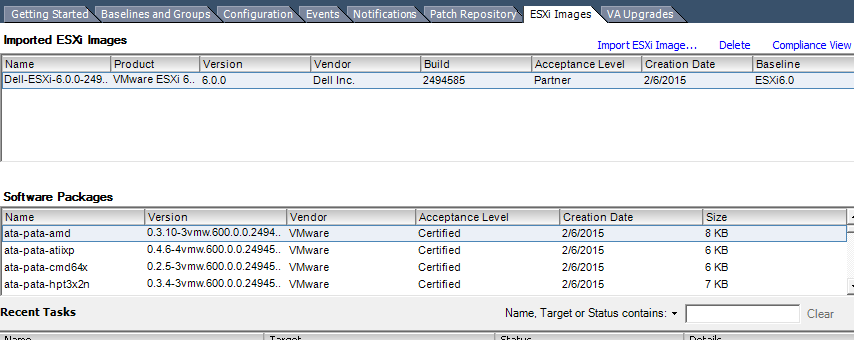
Now as you can see here, you have the Dell ISO listed if you navigate under the ESXi Images tab of Update Manager.
Now we want to attach the image:
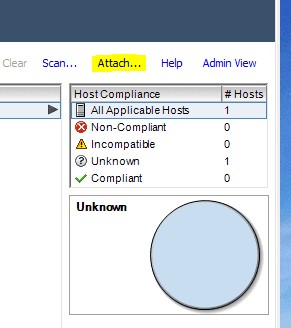
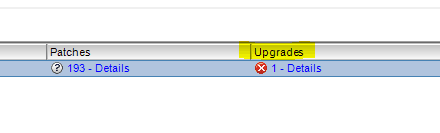
Next click Scan which should show that you have the upgrade to the 6.0 version available.

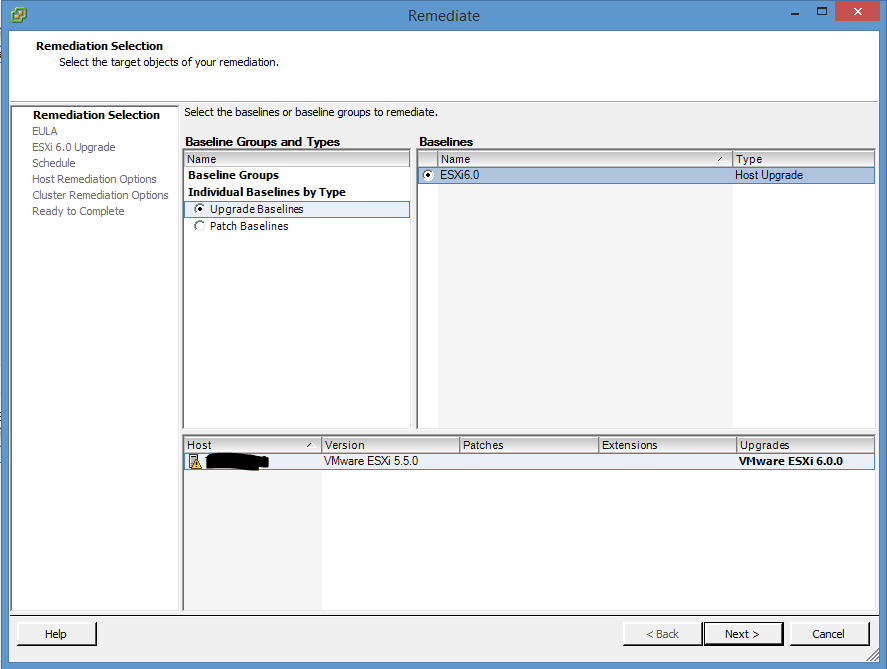
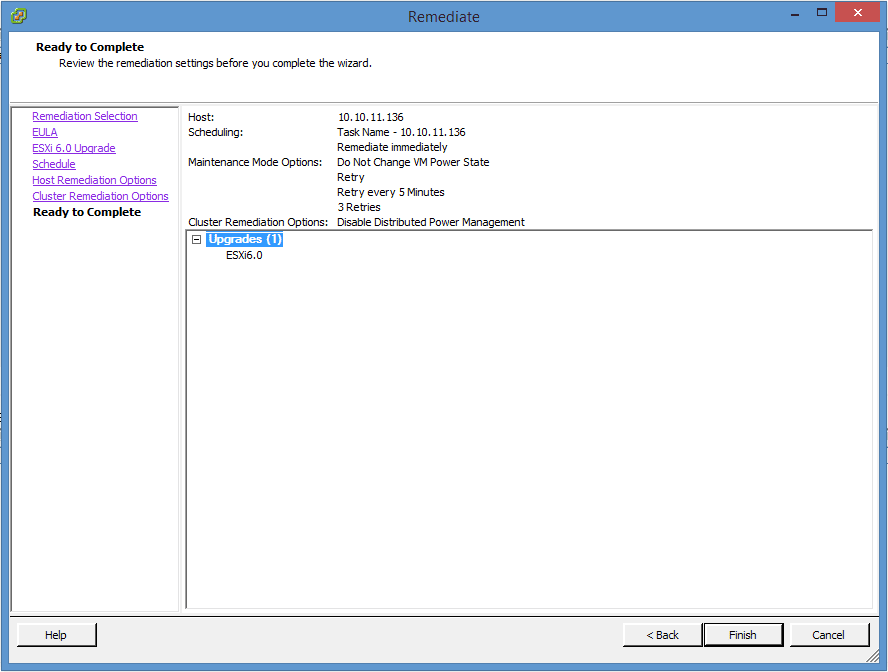
Now we are ready to remediate. The remediation wizard begins with selecting Baseline Groups and Types which as you can see below we have selected Upgrade Baselines which shows our newly creately Dell customized baseline. Then we select the Baseline over in the right hand pane.
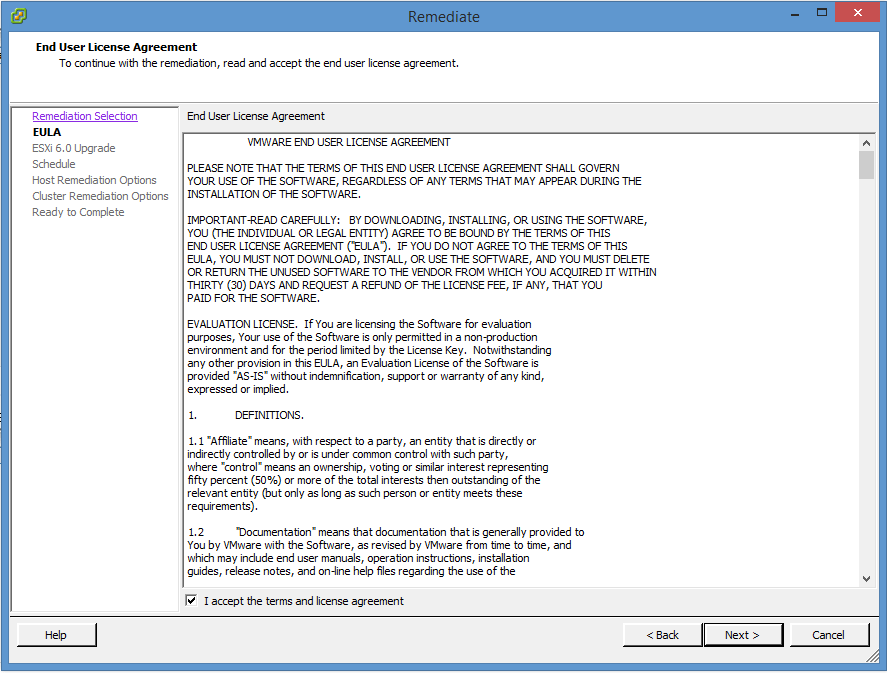
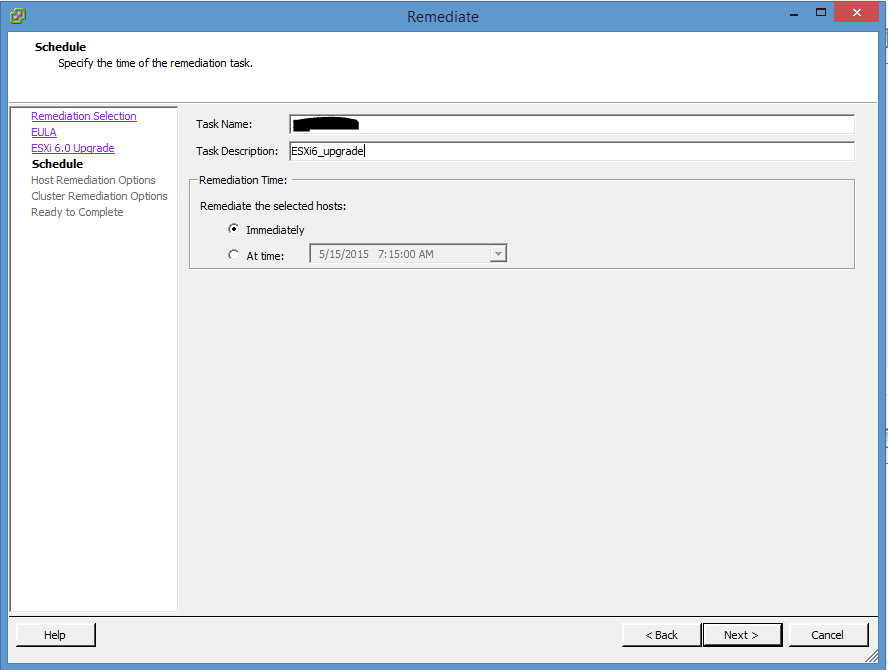
Here we create a task name for the upgrade task:
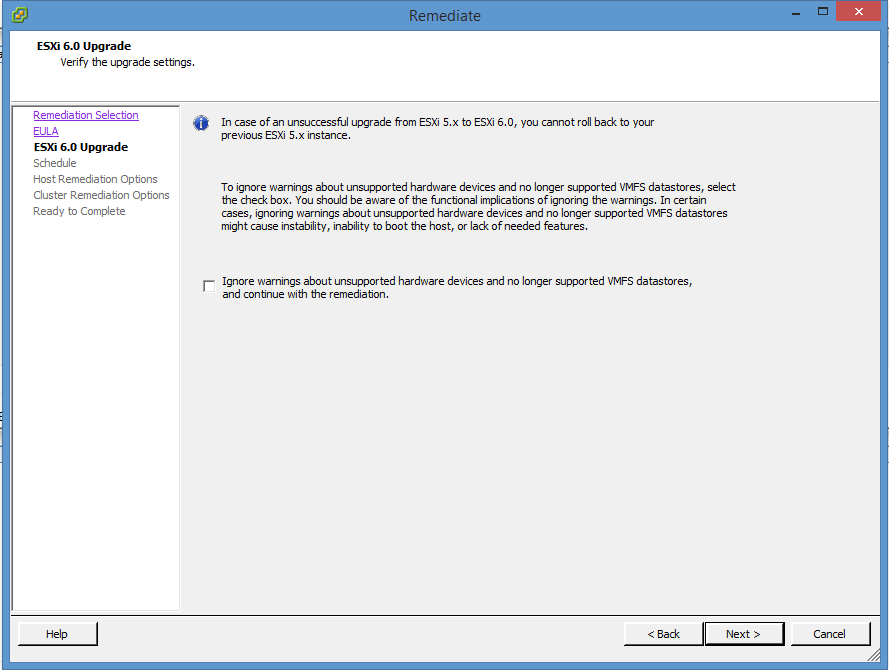
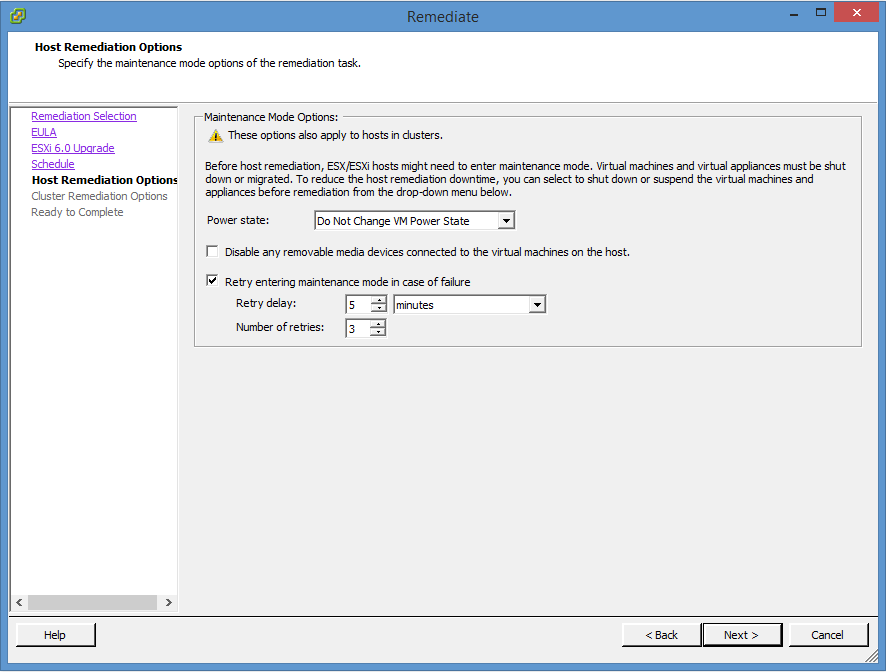
I didn’t take the screen clip below to show it, but it is definitely good practice to Disable any removable media devices connected to the virtual machines on the host.
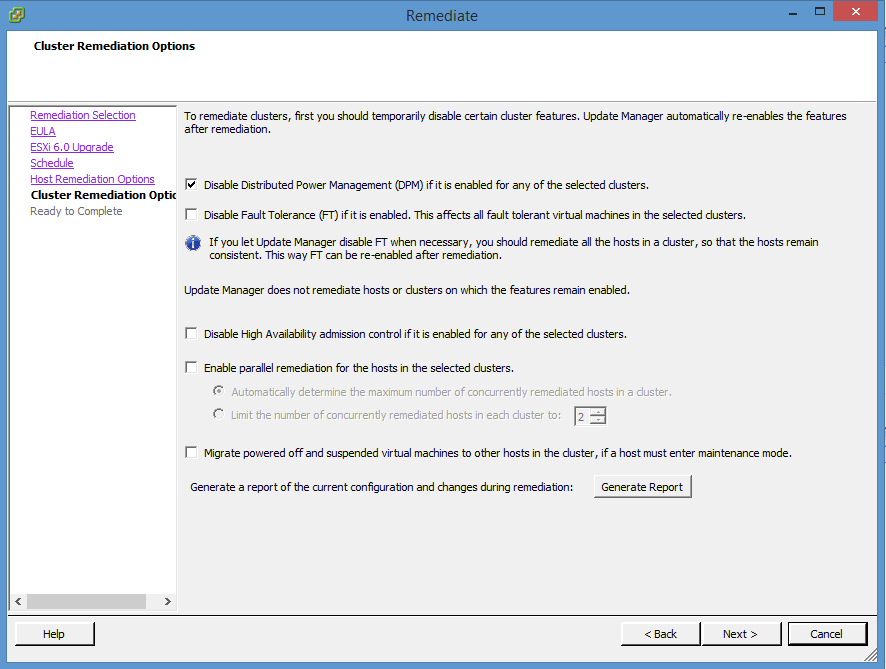
Click Finish to begin remediation.
I like to run the Baseline against a host at a time, however, you can run this baseline against your entire cluster and have the cluster vMotion off VMs and so forth until all hosts are completely up to date. I like to take it a bit slower and cautiously on a production cluster though and have a little more hands on approach to the update process.
Weird Issue
One strange issue I ran into on my first host which is a Poweredge R620, was that after the host rebooted from the initial VUM reboot, it hung on vflash loaded successfully and just sat there. After about an hour or so, I hard powered off and drained the flea power and reset everything. The next boot of the server went through without a hitch and everything worked fine. This must have been something locked or errored out on the first host as I did not have this issue with the other two.
Don’t forget your licenses
Also, don’t forget that you will need to download or update your existing licenses in your VMware portal from 5.5 up to 6.0. The hosts will come in as unlicensed evaluation mode, however, you have the normal evaluation period to get your licenses on your hosts and this is easy within vCenter.
Great tutorial. I also have HP Proliant Gen8’s in addition to Dell r620’s. I can say the HP’s did the same thing about the vflash. Didn’t take an hour, more like 10 minutes or so. Doing it remote I use iLO on HP or iDrac on Dell.